F16C Viper flight side stick controller (SSC)


Print Profile(2)

Bill of Materials


Description
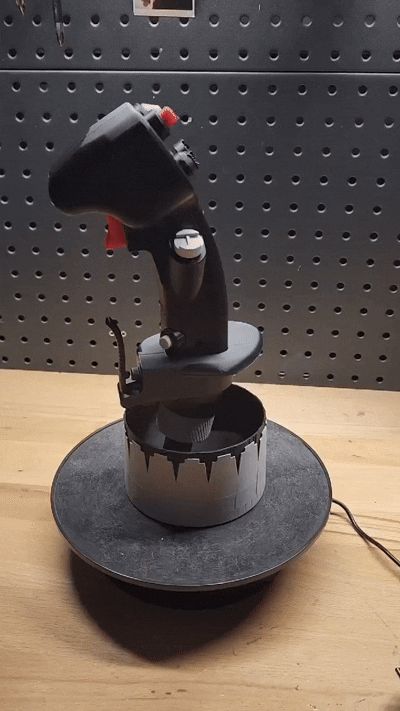
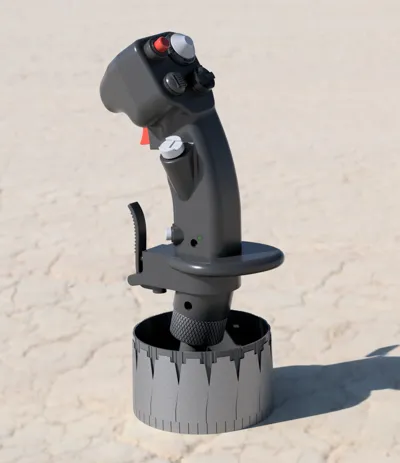
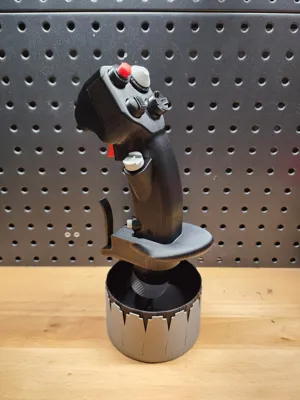
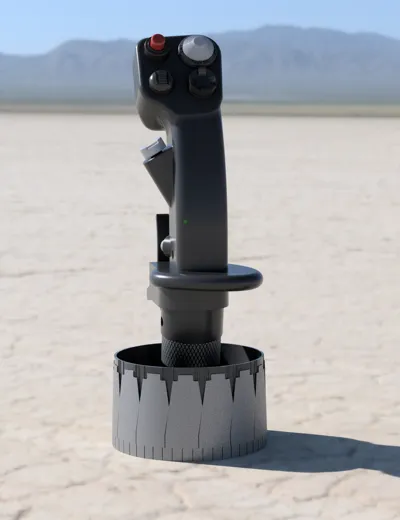
Bring a piece of modern fighter aviation to your desk with this F-16-inspired side-stick controller display. Modeled after the right-hand inceptor used in the General Dynamics F-16 Fighting Falcon, this replica captures the distinctive ergonomics, control layout, and aggressive styling that define one of the most iconic fighter cockpits ever built.
Boost Me (for free)
Boosts are greatly appreciated! They help me to continue pushing out fun, realistic models such as this!

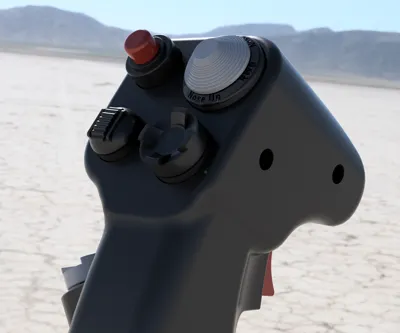
Every detail of the stick was carefully developed from publicly available reference photos, resulting in a visually accurate interpretation of the original design. From the contoured grip to the placement of switches and controls, the model reflects the look and feel of a true fly-by-wire side-stick.
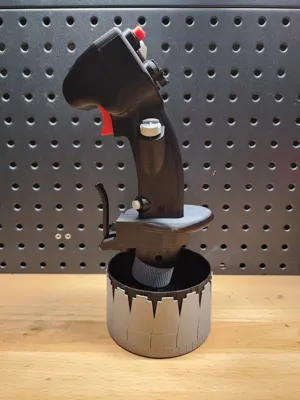
The piece is presented on a custom base inspired by the F-16’s afterburner nozzle, tying the control interface and propulsion system together into a cohesive, aviation-themed display. The textured, petal-like design of the base echoes the unmistakable geometry of a jet engine at full power.
Designed as a display piece, this model is perfect for aviation enthusiasts, sim builders, or anyone who appreciates modern fighter design. It makes a striking addition to a desk, shelf, or workshop.
Materials needed -
- 6x M3x16 screws - readily available on Makerworld or Amazon
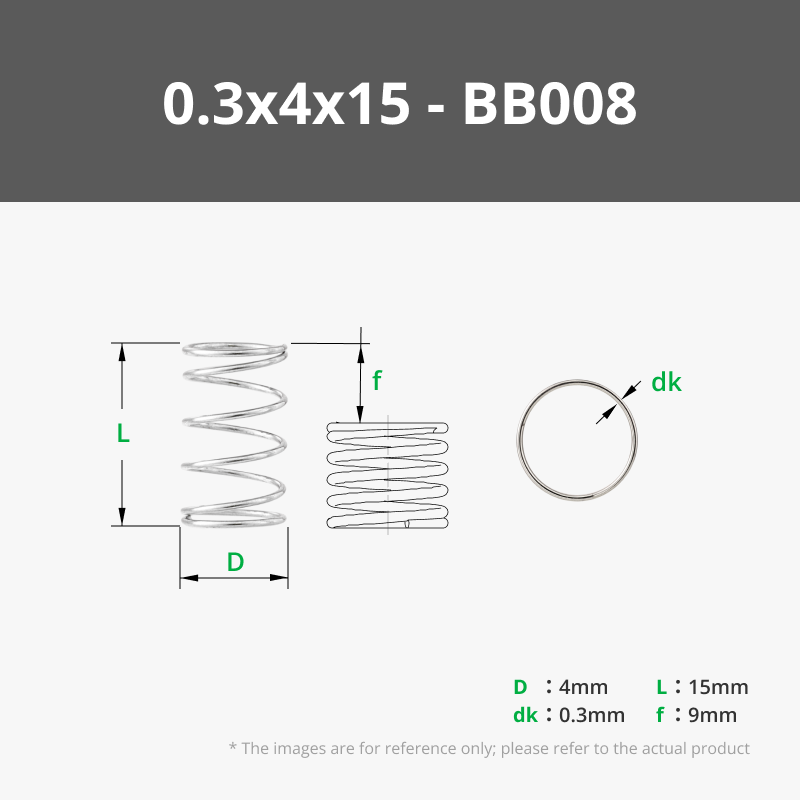
- 1x 0.3x4x15mm compression spring. You can get this on makerworld or just use a spring from a pen.
Assembly Instructions -
- Print out all components and remove all tree supports.
Place the Trigger_Peg into the Body_R. Insert the Trigger over the Trigger_Peg. Place your compression spring (sourced either from a standard pen or Makerworld) in the pegs on the Trigger/Body_R such that the spring pushes the trigger outward.

- With the Trigger and spring in place, place Body_L on top and screw in the primary 4x M3x16mm screws. Test the Trigger and ensure functionality.
- Next, take your 6x Joining_Pegs. Insert them into the 6 corresponding holes. These are friction fit and should be snug. Place the corresponding buttons over the Joining_Pegs as seen in the following 3 photos. They are friction fit and should be snug


5. Insert the Paddle. Insert a M3x16mm screw to lock it in.

6. Insert the Base into the Body. Align the screw holes and insert the final M3x16mm screw
7. Finally, construct the base. Insert the Thruster_Inner into the Thruster_Outer. It should be snug, but it will slide through.
8. Slide the assembled stick onto the base. You're done!
Membership
If you're interested in selling this model, please join my membership! License to sell physical prints of my files are valid while membership is active.
License
You shall not share, sub-license, sell, rent, host, transfer, or distribute in any way the digital or 3D printed versions of this object, nor any other derivative work of this object in its digital or physical format (including - but not limited to - remixes of this object, and hosting on other digital platforms). The objects may not be used without permission in any way whatsoever in which you charge money, or collect fees.
Comment & Rating (46)