
DeWalt Charger Wall mount plate support DCB-1104
Print Profile(1)



Description
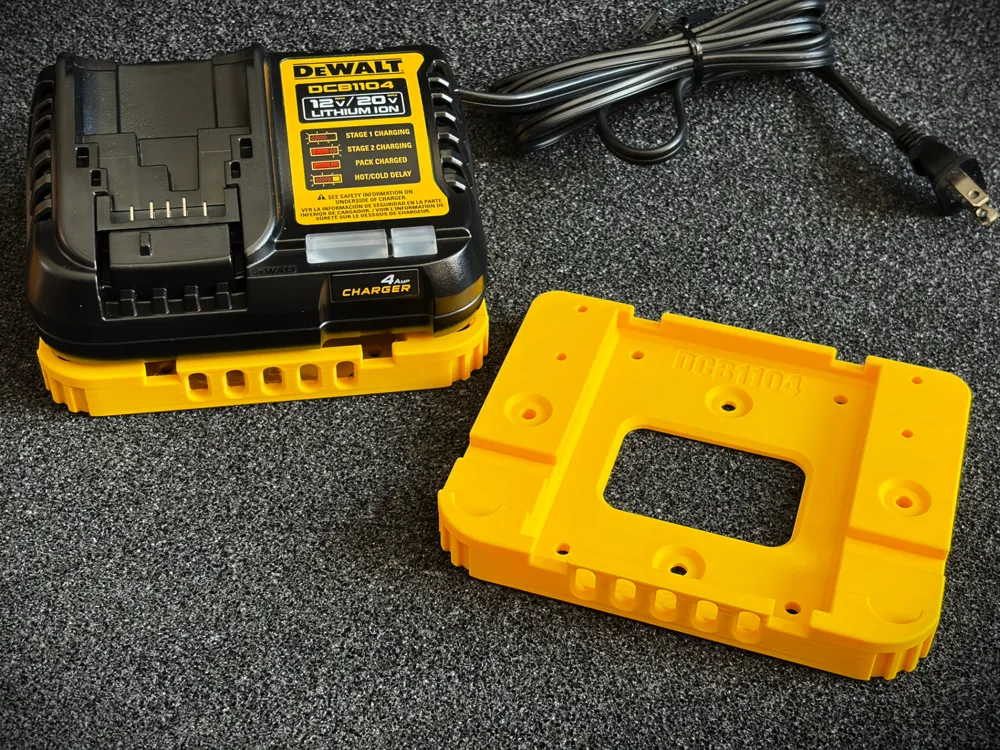
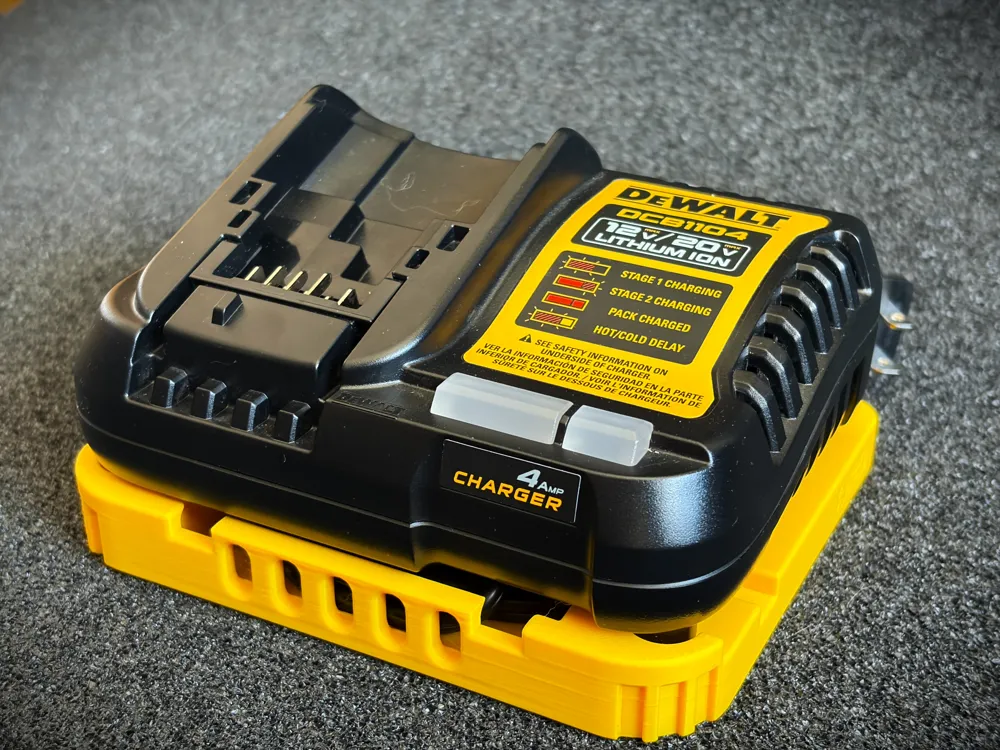
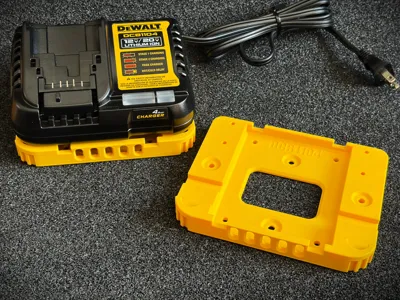
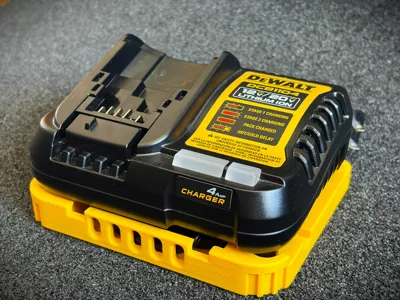
This model is a wall mount baseplate for the DeWalt DCB-1104 chargers (4 amps). Not tested with the other types like the 107 and the 115 types.
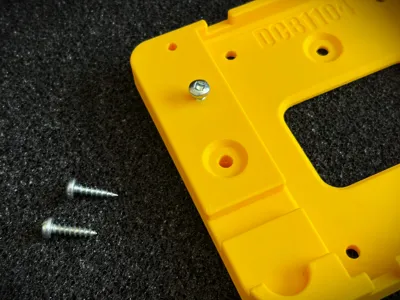
Hardware is required for this model : (4x) Imperial No.8 Screws x ½ or 5/8 long.
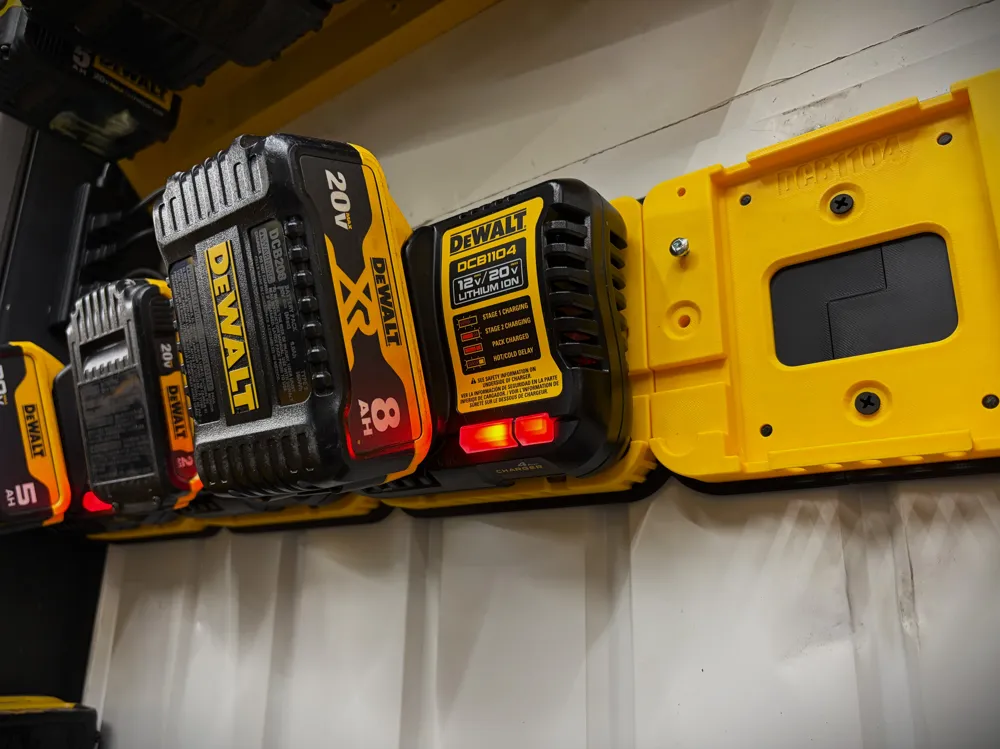
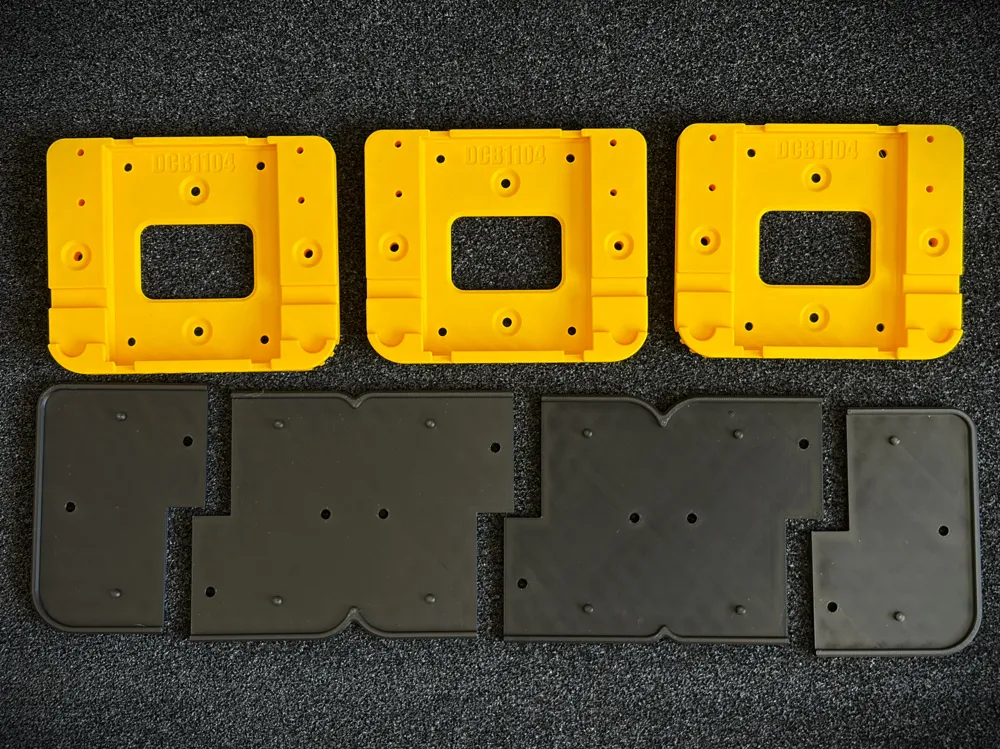
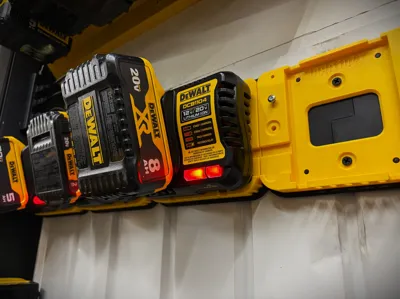
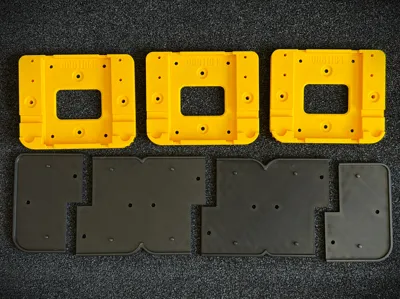
Multi-Group plate available : The modular base plates underneath for multi-charger setups are optional, if you only have 1 charger or don’t have an OCD for them to line up perfectly, the base itself is all you need.
🔌 [ DCB-1104 Wall mount with expansion base plate ]
My model was designed around the following principles:
- Charger shall be locked to the mound and must not move when removing the batteries
- Extra cord length can be snug underneath
- The cord can exit on any side
- Accommodate a multi-charger setup
- Stud mountable (Central holes)
- Charger must be secured by a real screw, not a 3D printed “stub” solely relying on layer adhesion
- Have a “dewalty” look with the corner ribs … cause we like DW stuff 😁
🚩 [ Post-print processing required ]
You must use 4x screws total to secure each charger (2x for the charger and 2x for the foot locktabs).
Step 1 Install the base on the wall. Use only the holes with dimples. Note : For a multi charger array (See Step 5 before).
It's better if the screws are smaller than the holes of the 3D print. Screws should be loose in the 3D print holes. You want to grab the wall, not the mount.
| 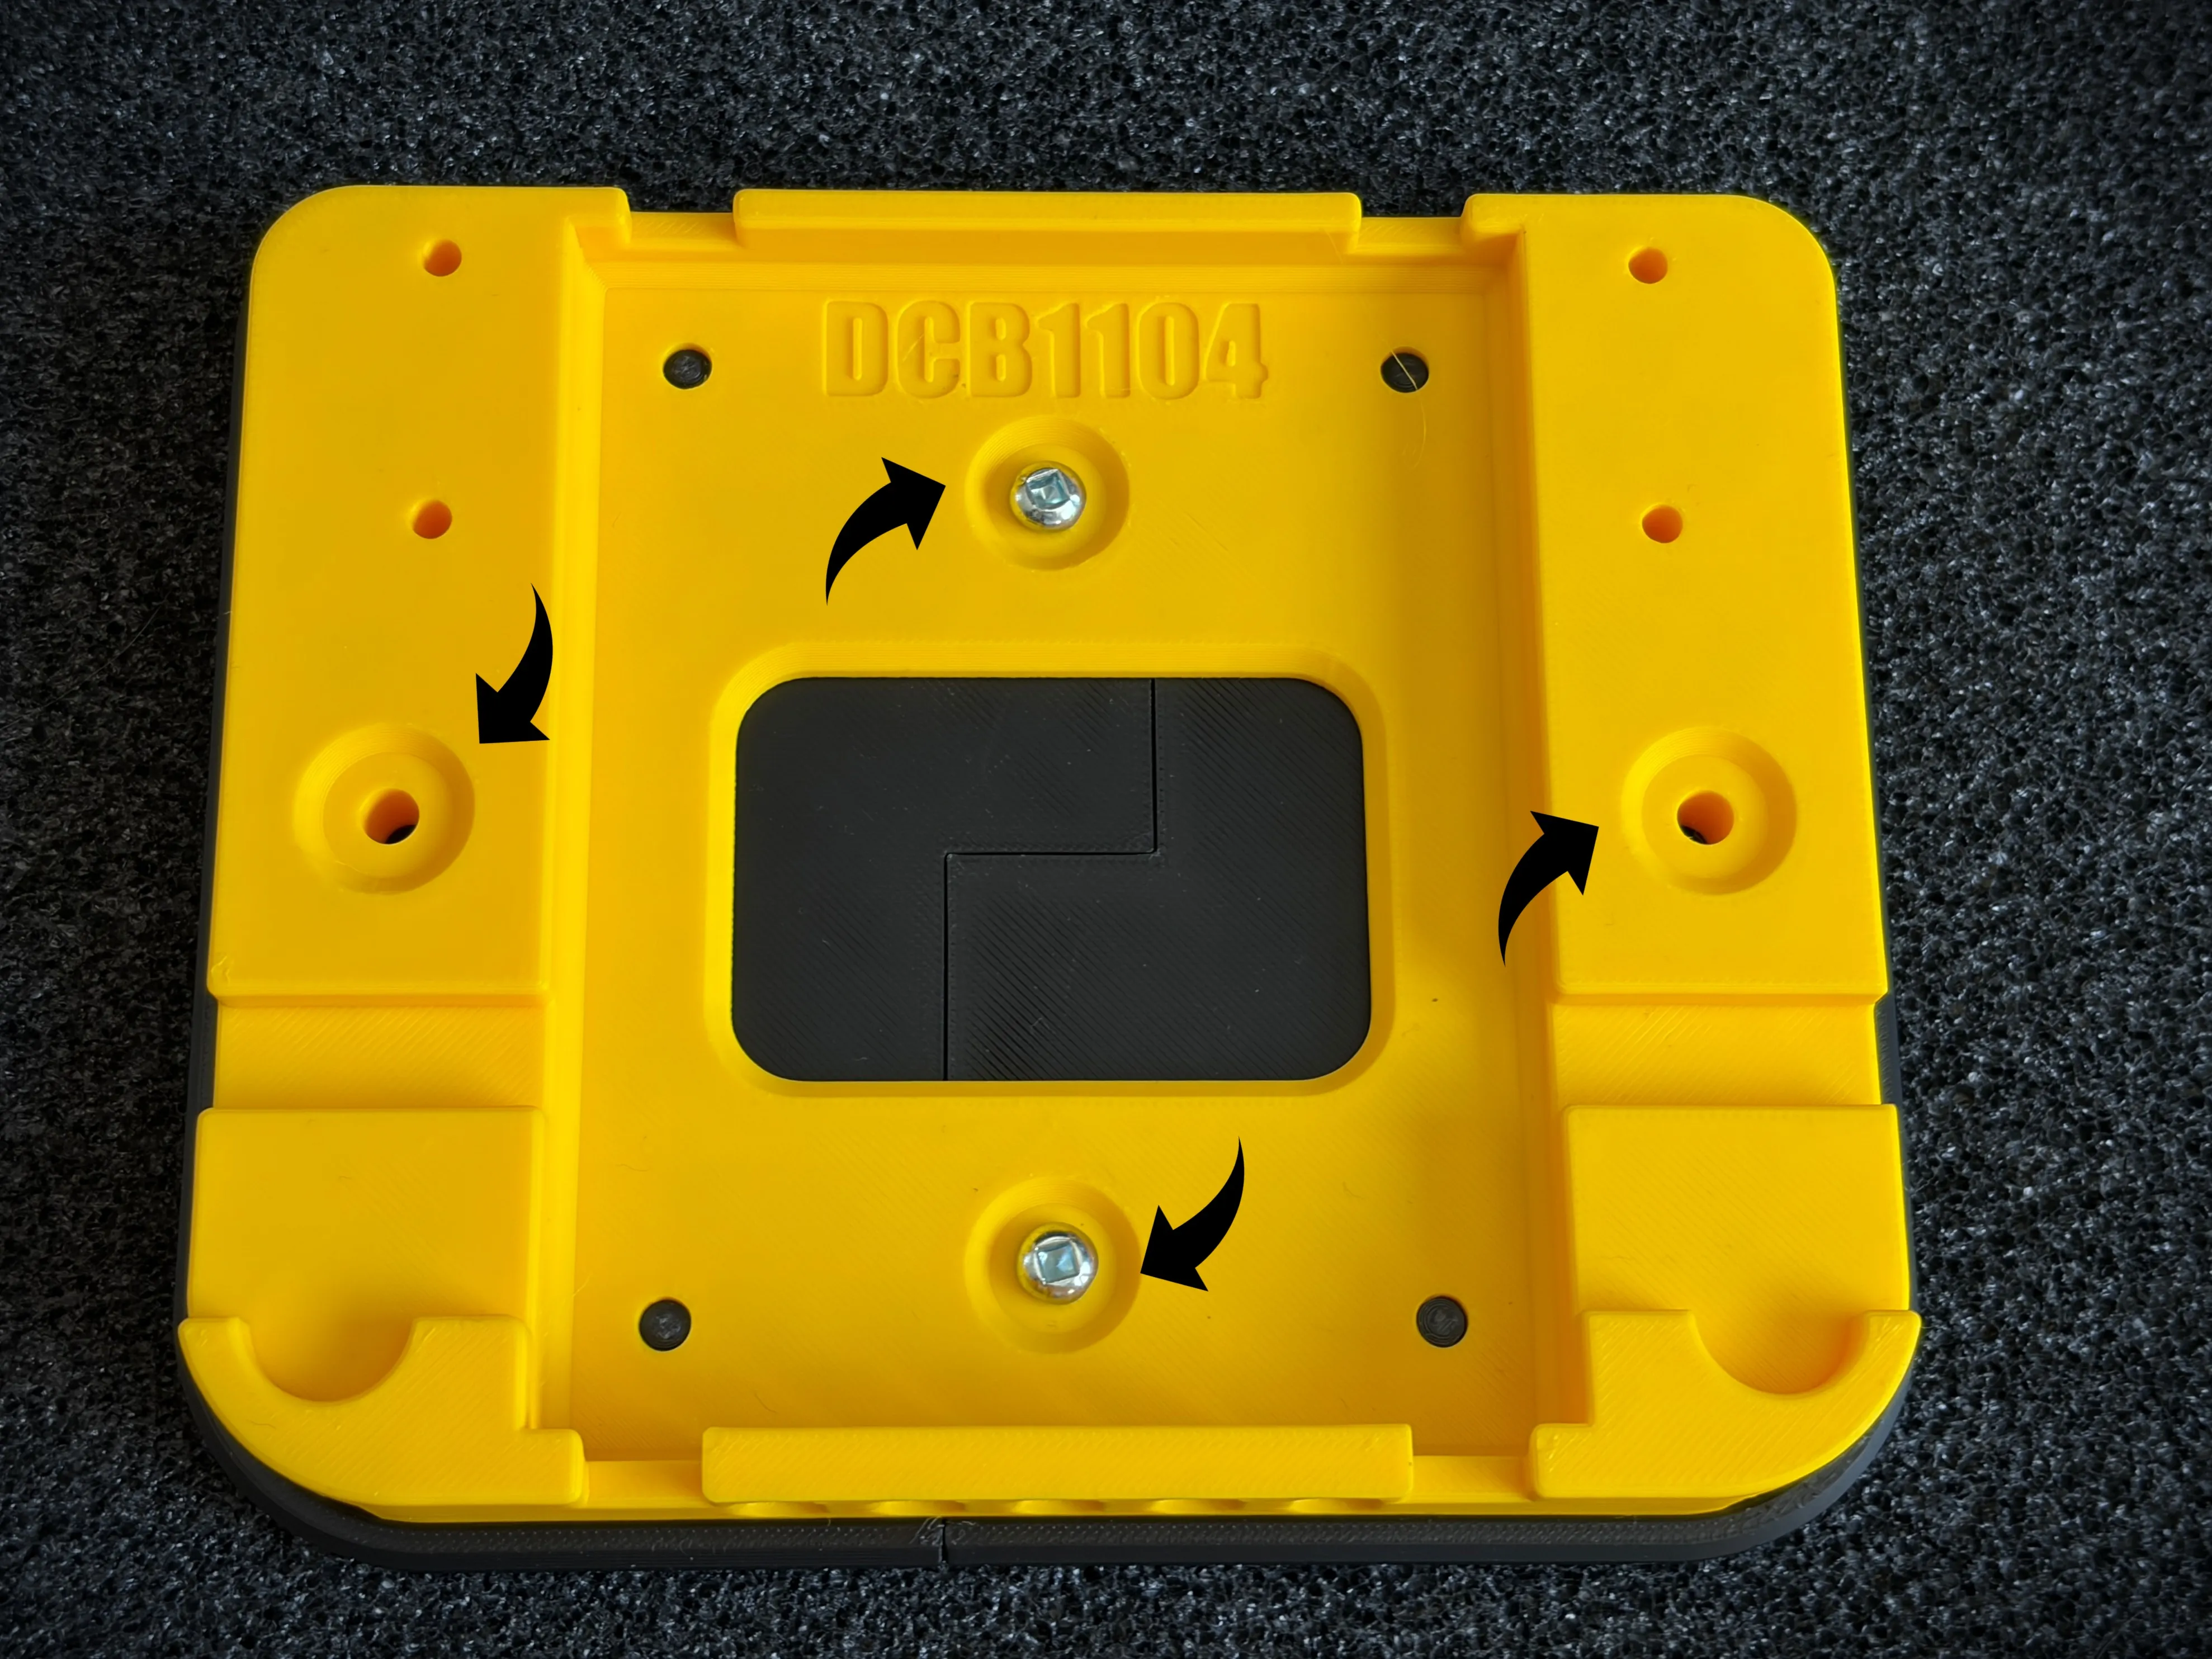 |
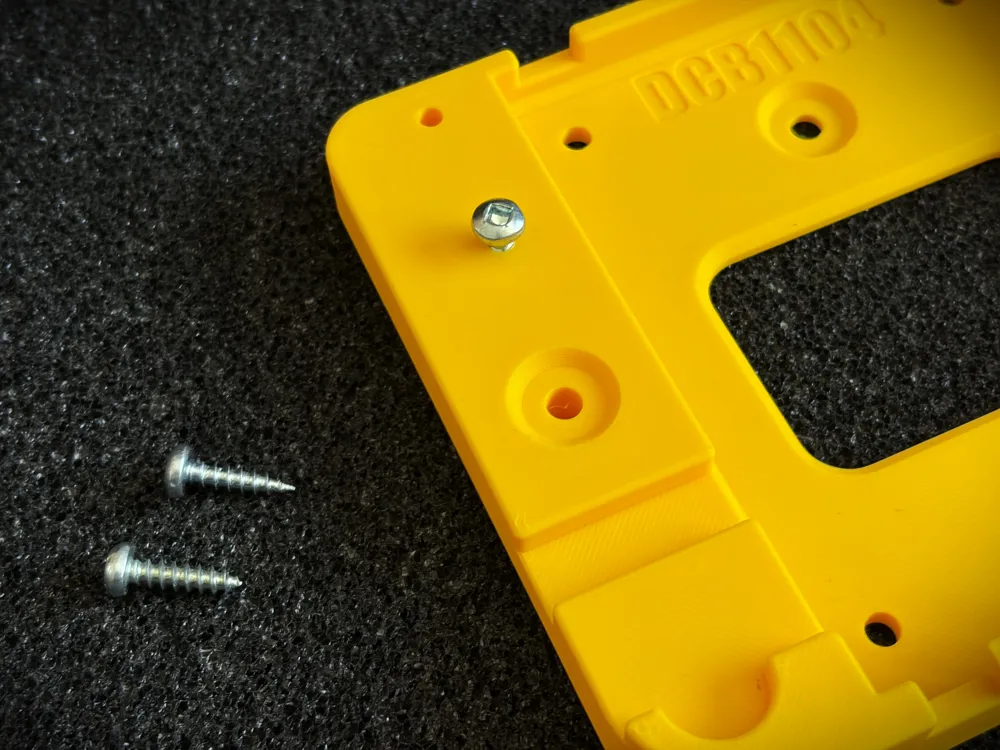
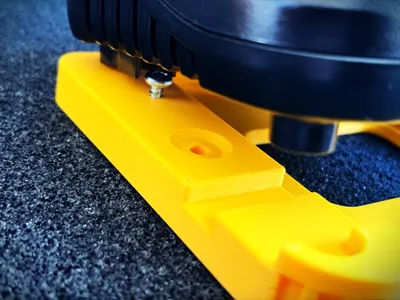
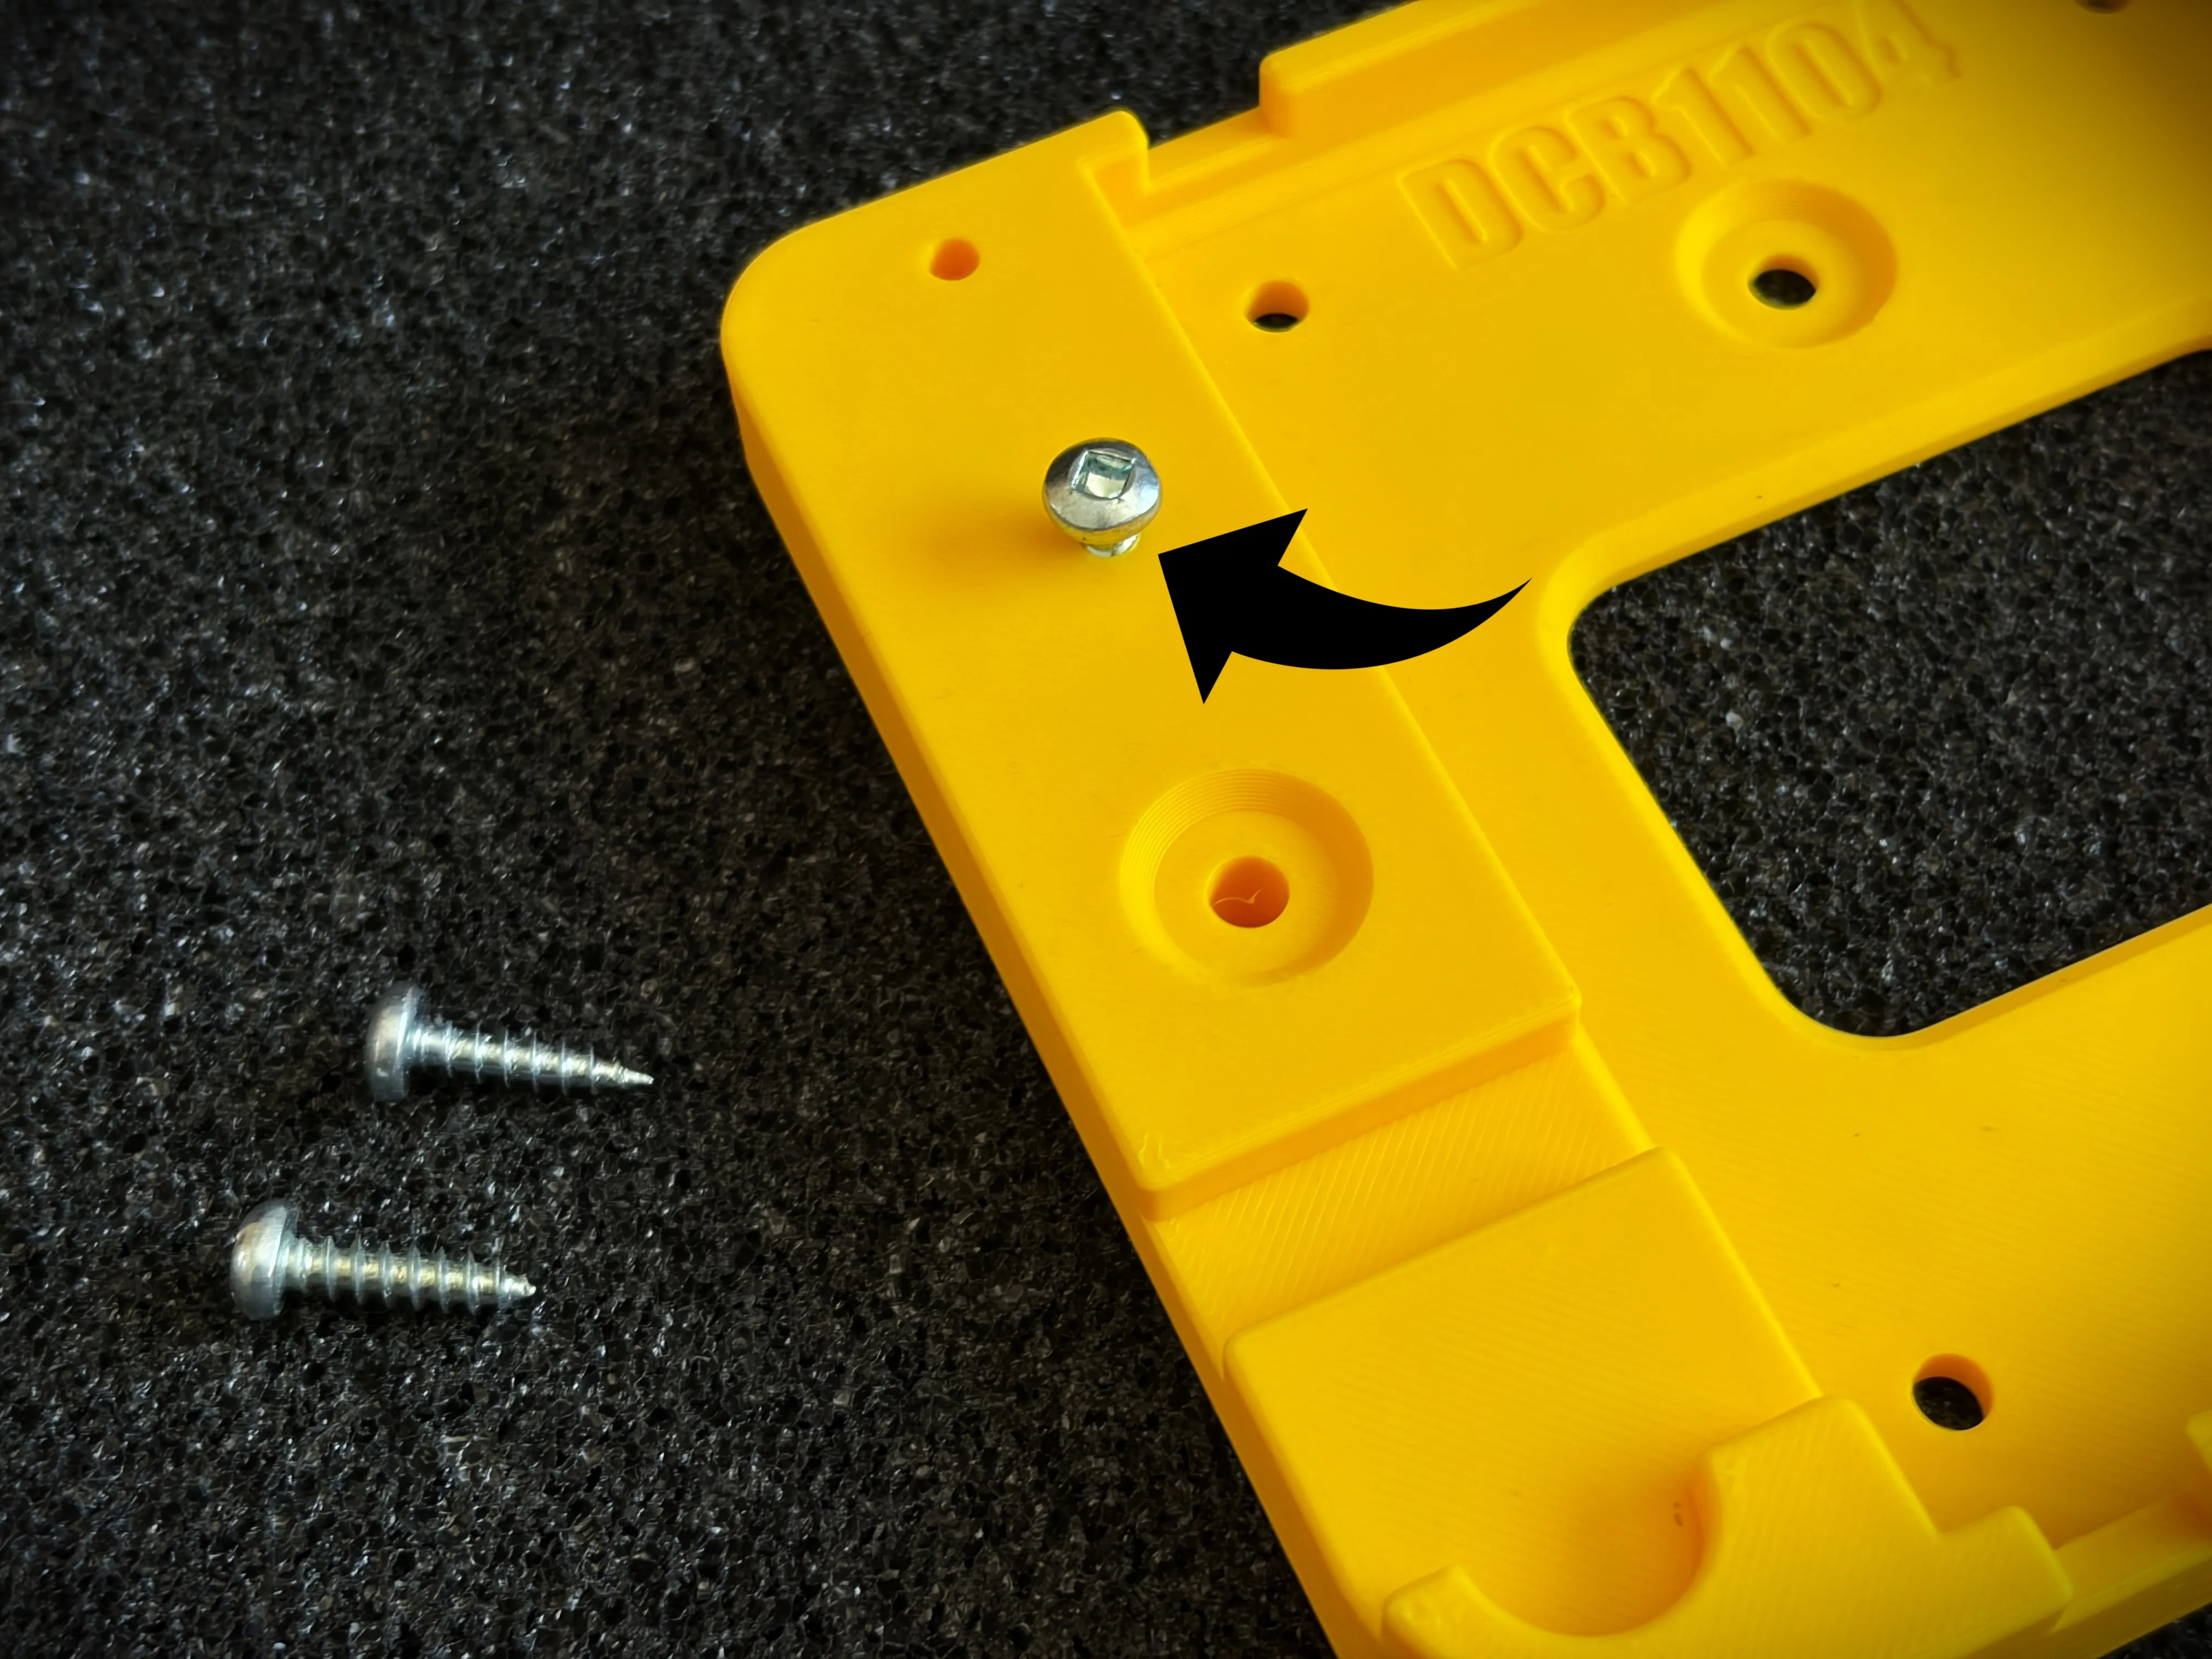
Step 2 Install the charger “slide lock” screws (2x screws) per base.
Imperial : No.8 wood screws ½” and 5/8” long.
Metric: 4.0 mm x 16 mm or 12mm wood screws.
|
|
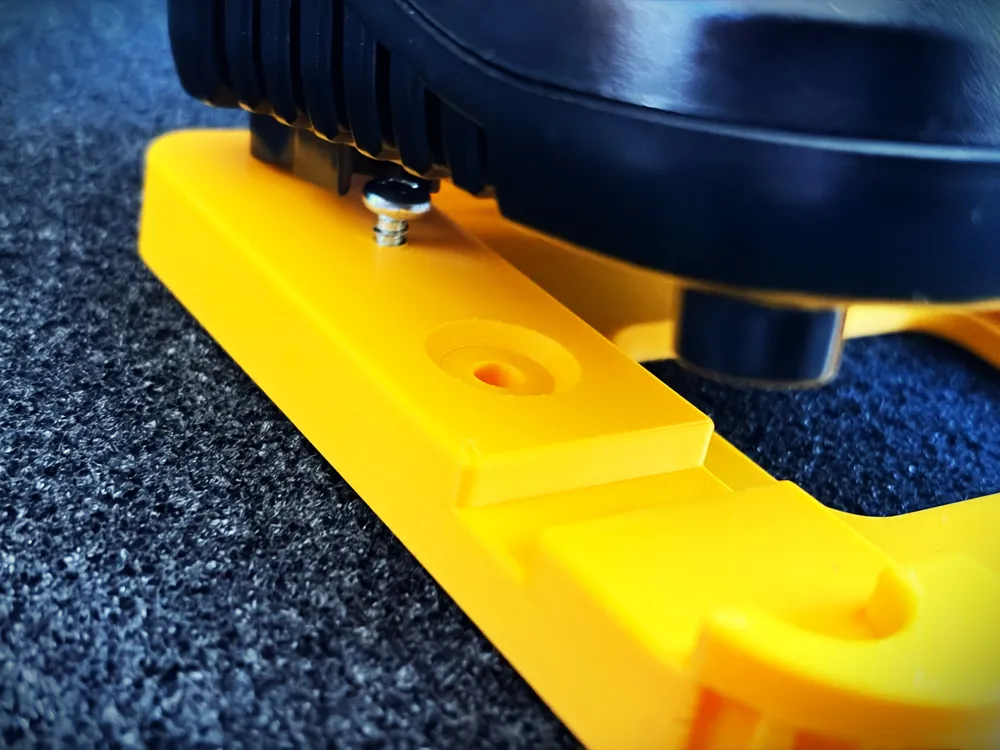
Step 3 Slide the charger on the base to “lock-it” in the top tabs (adjust the screws depth for a snug fit). Push the charger all the way down. | 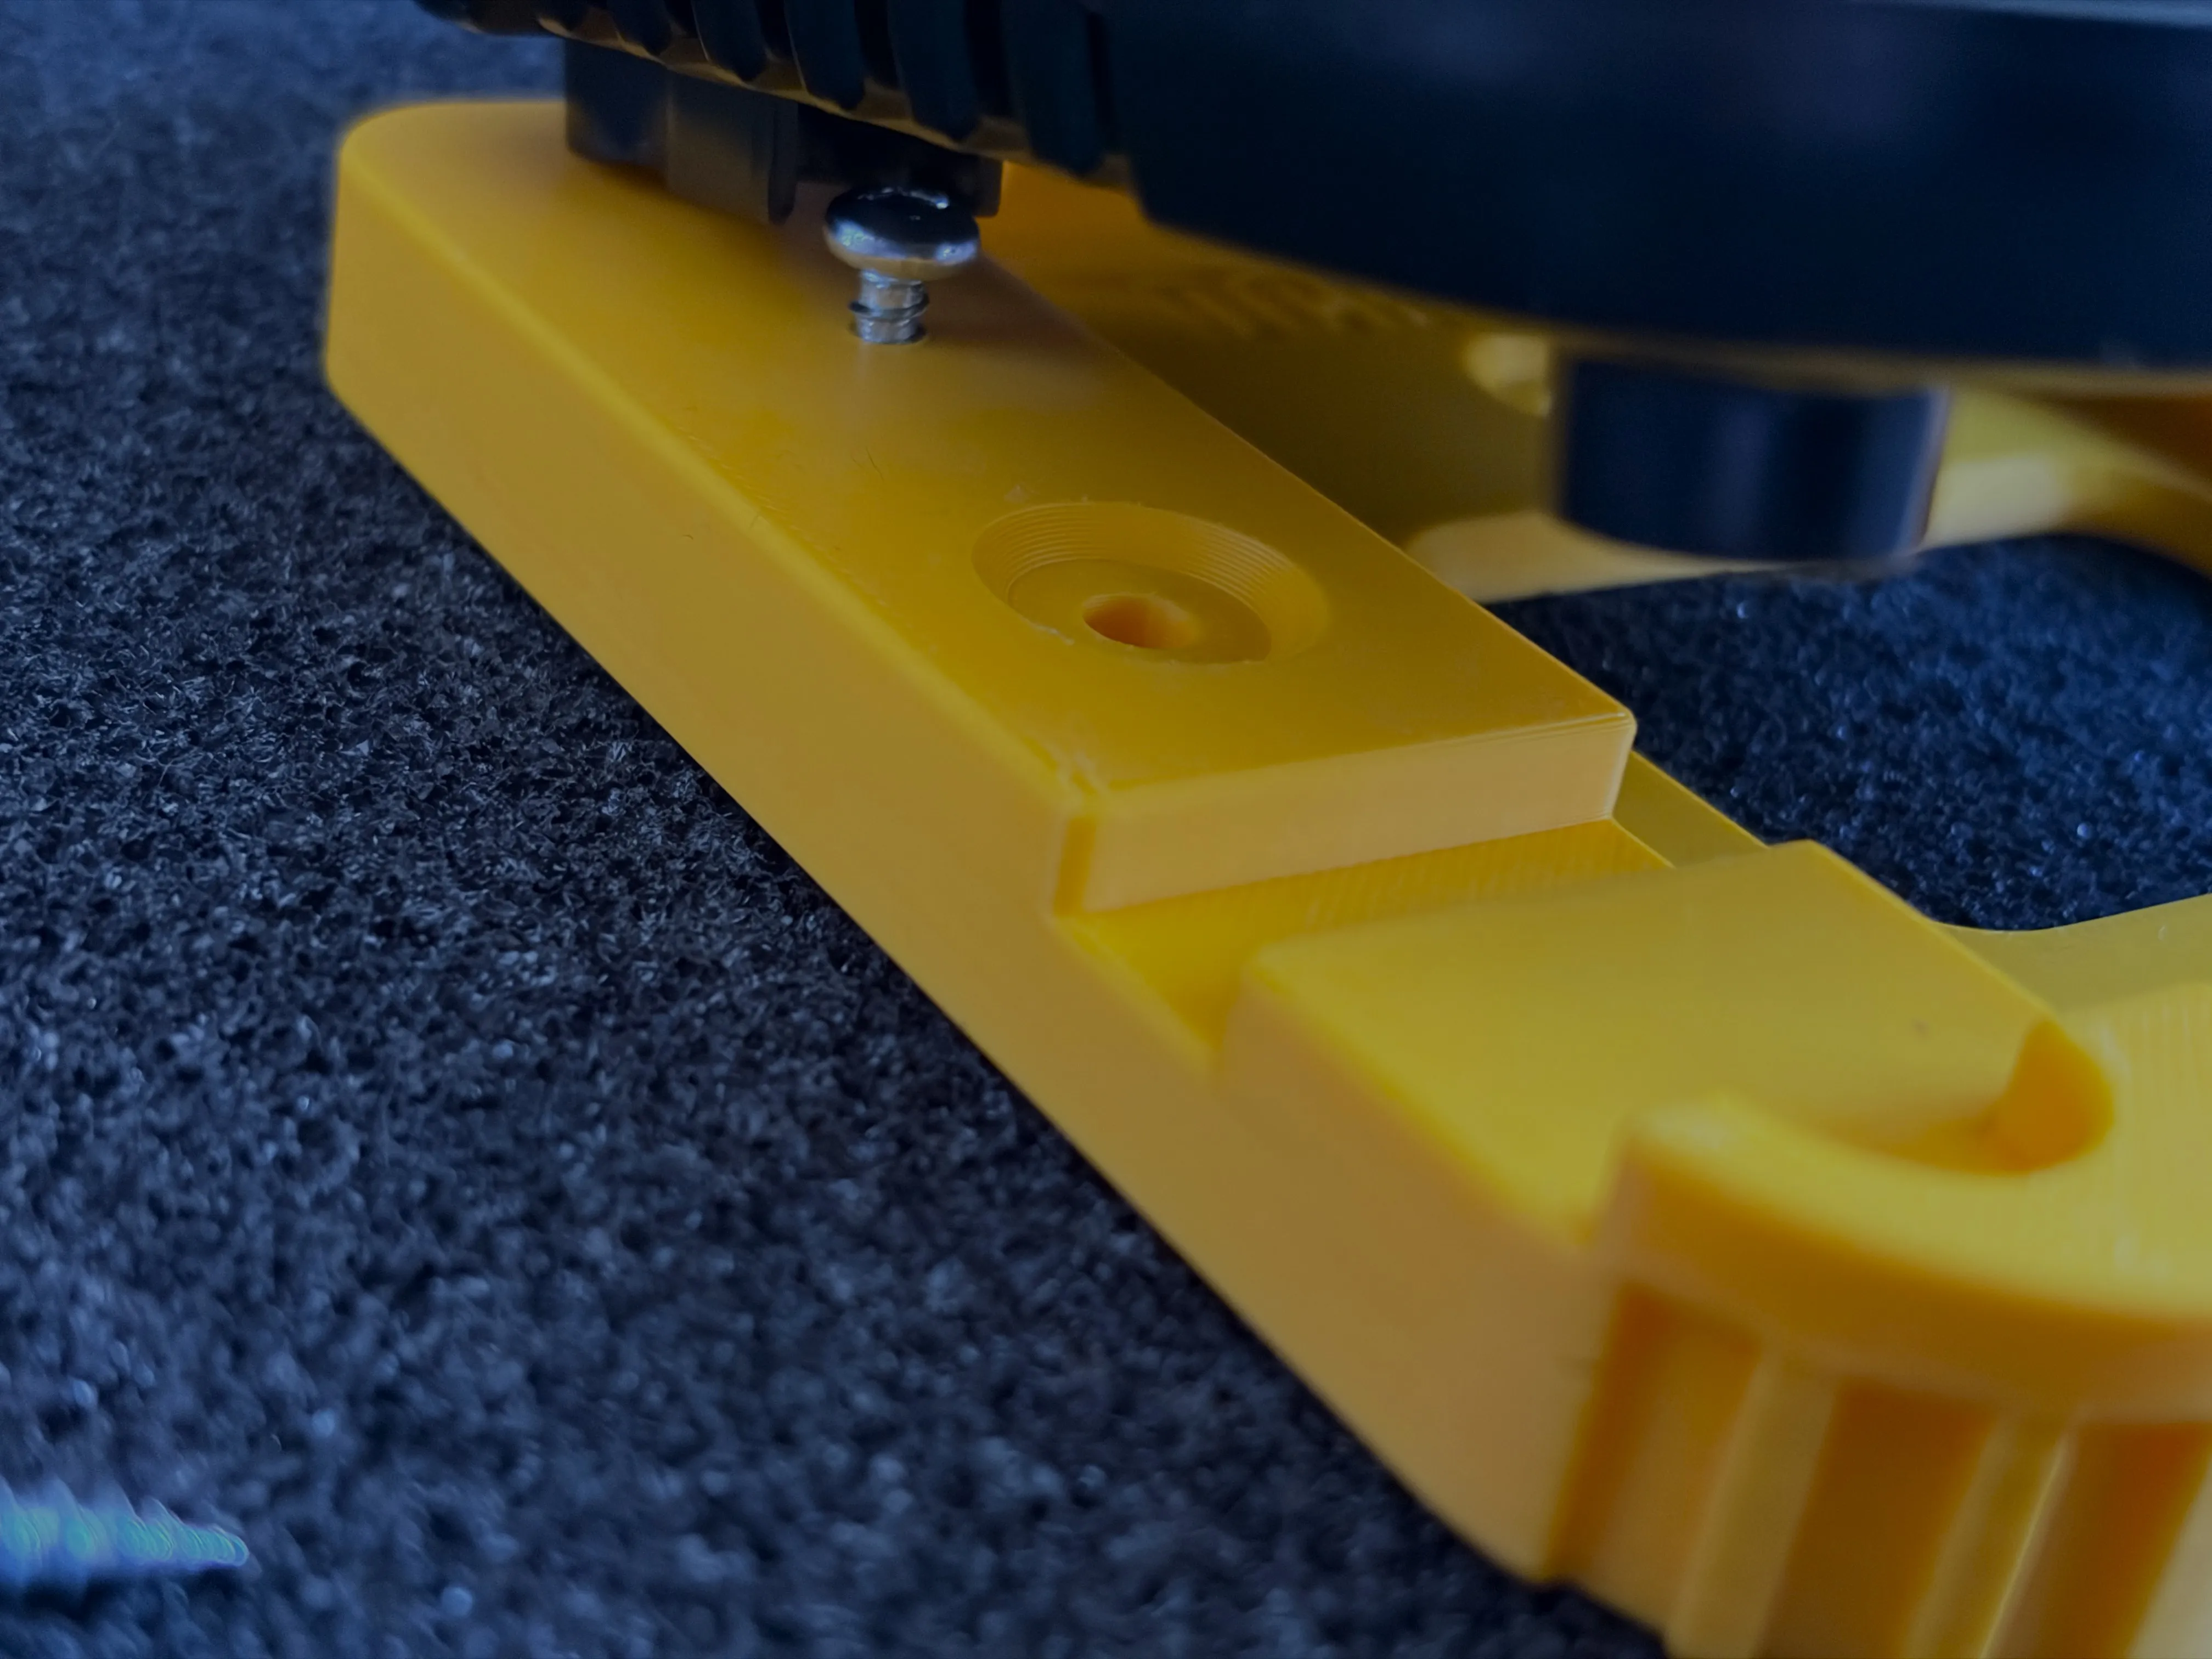 |

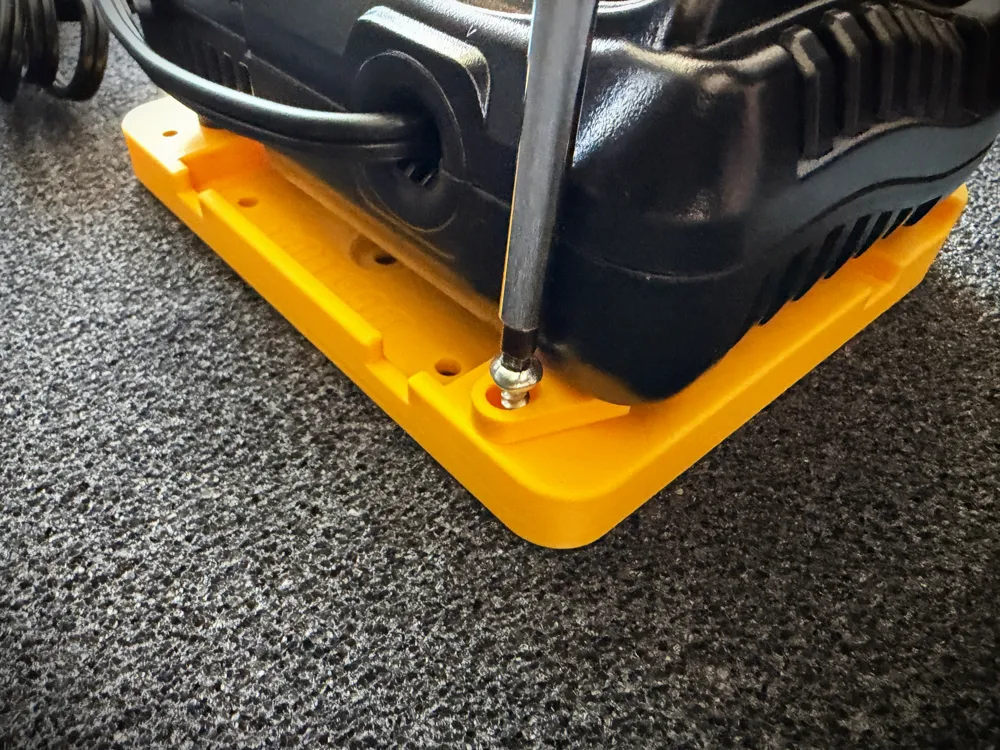
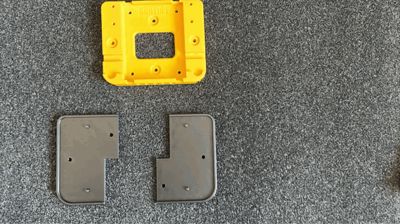
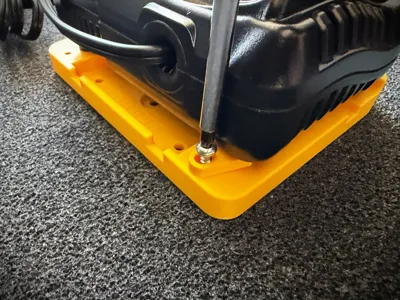
Step 4 Secure the charger with the “Feet Lock Tabs” (2x). The tabs will prevent the charger from sliding off the screws.
Tab shown in black in the photo. | 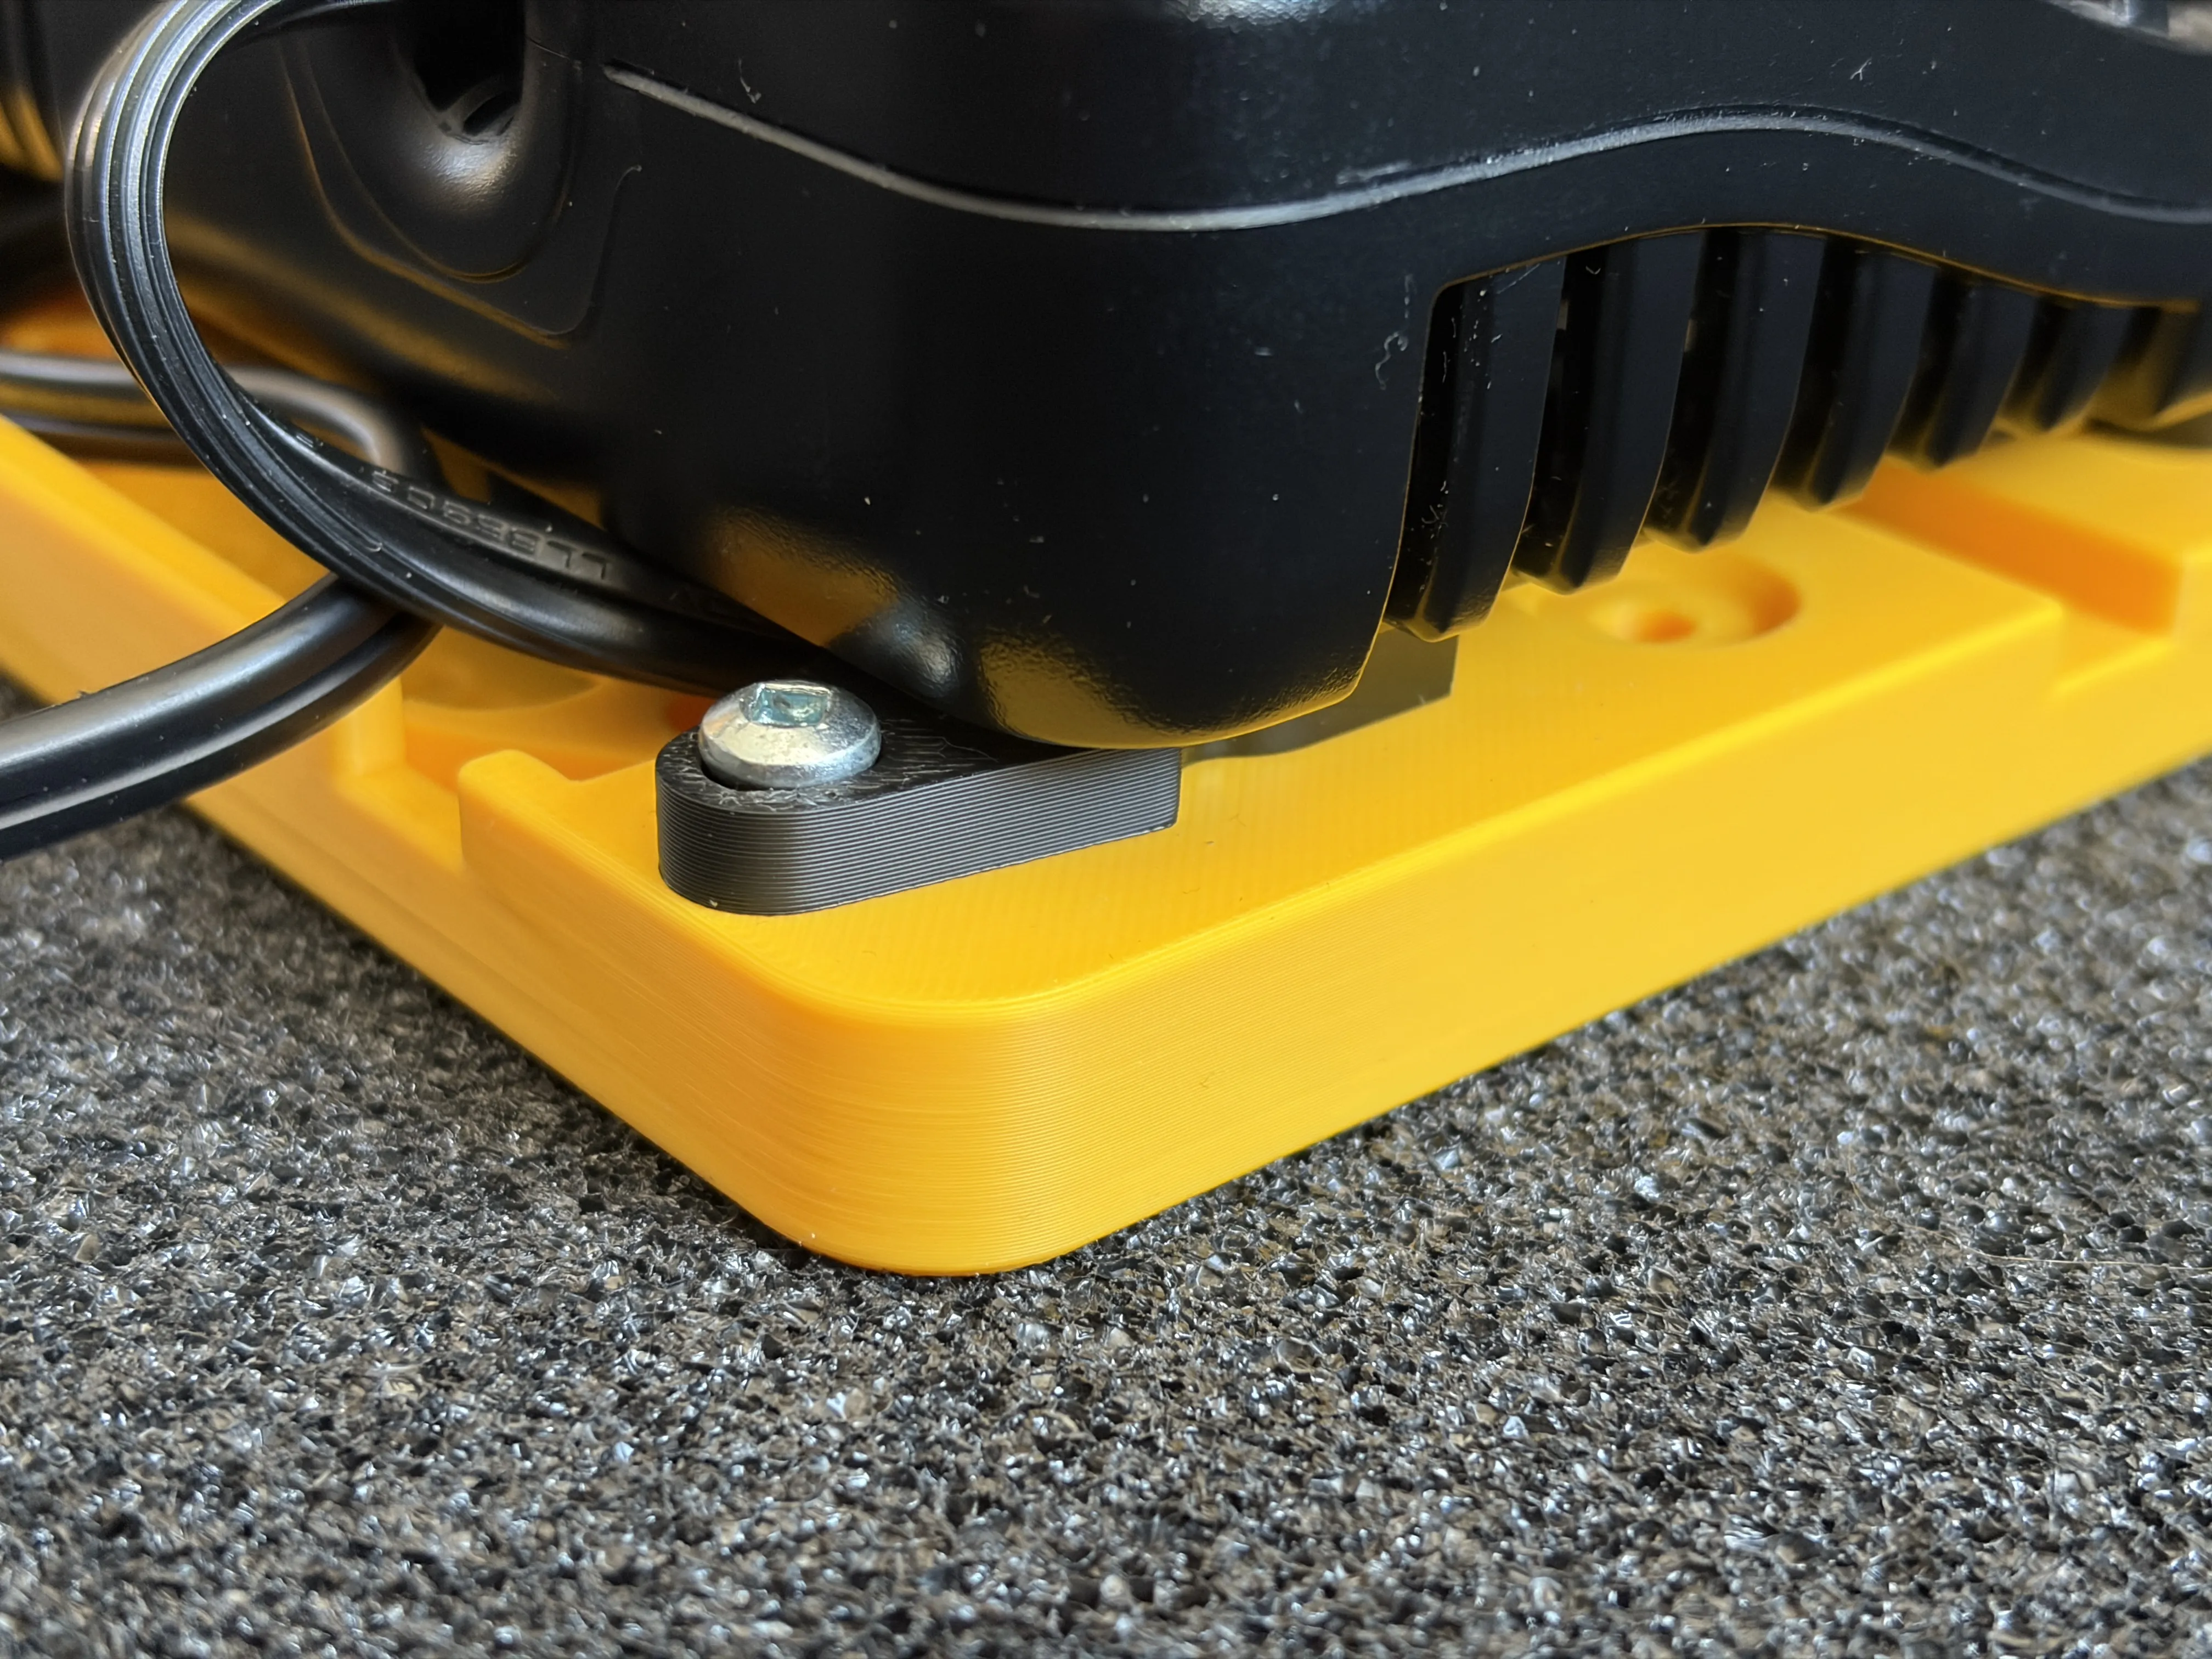 |
Step 5 (Optional - Multi-Plates base) Add the base plates before screwing into the wall. Plates are simply locating plates with pins, so your array of chargers is perfectly aligned. The larger radius goes on the bottom. |  |
📇[ Printing ]
No temporary supports, print and use.
⚖️ [ Licence and terms of use ]
When you download the files, you understand and agree that this content is licensed under a Standard Digital File License.
You can :
(✔) Personal use : Download the digital file(s) for free and print 3D parts from the digital file(s) for your own use.
You cannot :
(X) Sell parts : manufactured from the digital file(s) or any derivative of the digital file(s), no matter how the parts are made, how many parts are made. This also prohibits you from selling parts made from the Digital file(s) on sites such as eBay, Etsy, FB marketplace or any other location.
(X) Share the digital file(s) or resell them.
Liability disclaimer and use:
By downloading the digital file(s) and making a 3D printed derivative object from it, you agree that you're doing it at your own risk and understand the limitations of 3D printed parts. The digital file(s) are not a product and the design do not give any express or implied warranty that, any product made from the digital file(s), will work or perform in a certain way.
License

You shall not share, sub-license, sell, rent, host, transfer, or distribute in any way the digital or 3D printed versions of this object, nor any other derivative work of this object in its digital or physical format (including - but not limited to - remixes of this object, and hosting on other digital platforms). The objects may not be used without permission in any way whatsoever in which you charge money, or collect fees.


Comment & Rating (46)