
1983 Porsche 994 Crank Sensor Setup Jig
Print Profile(1)
Description
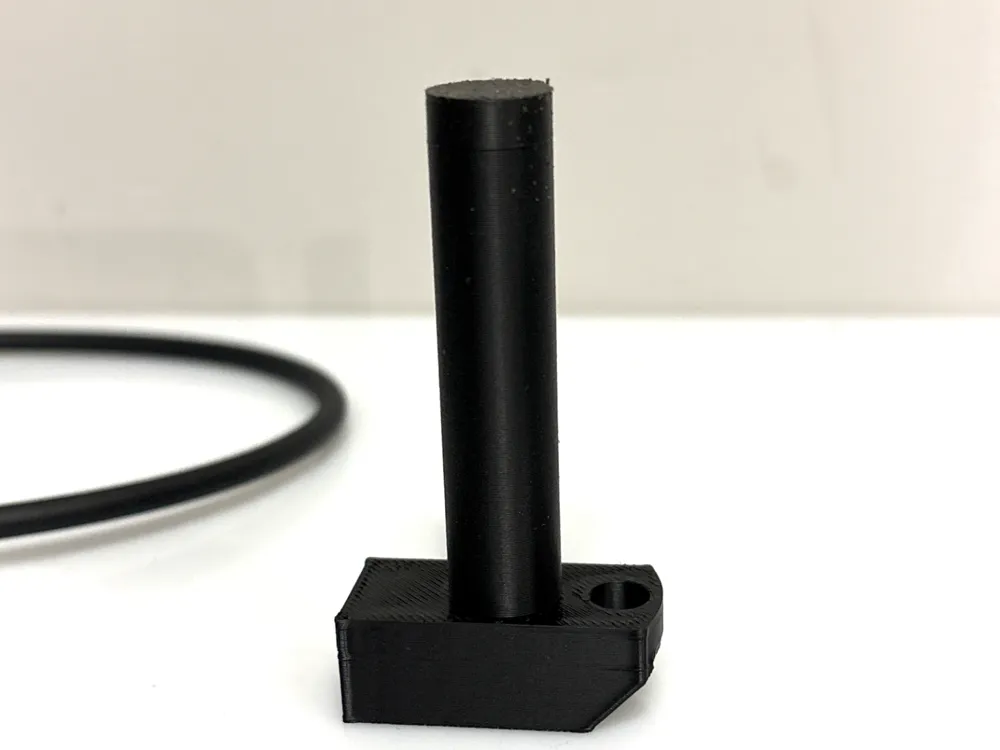
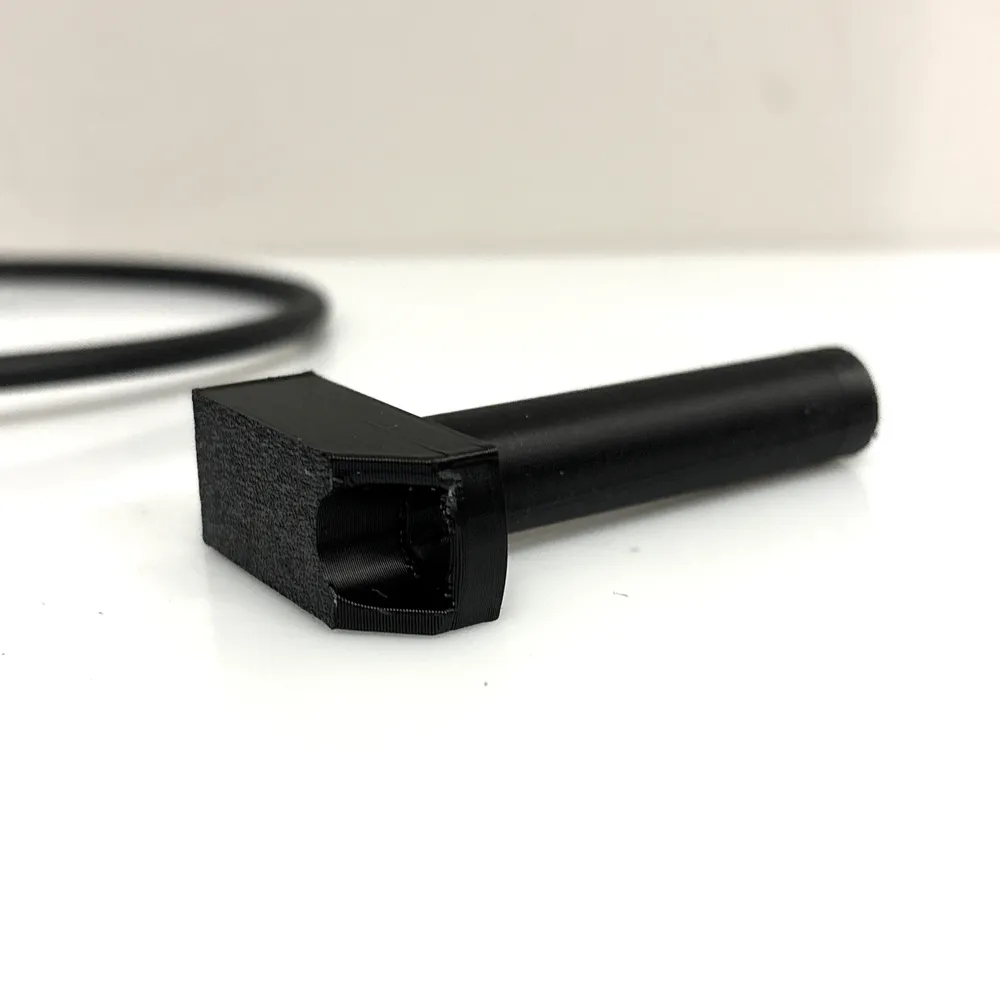
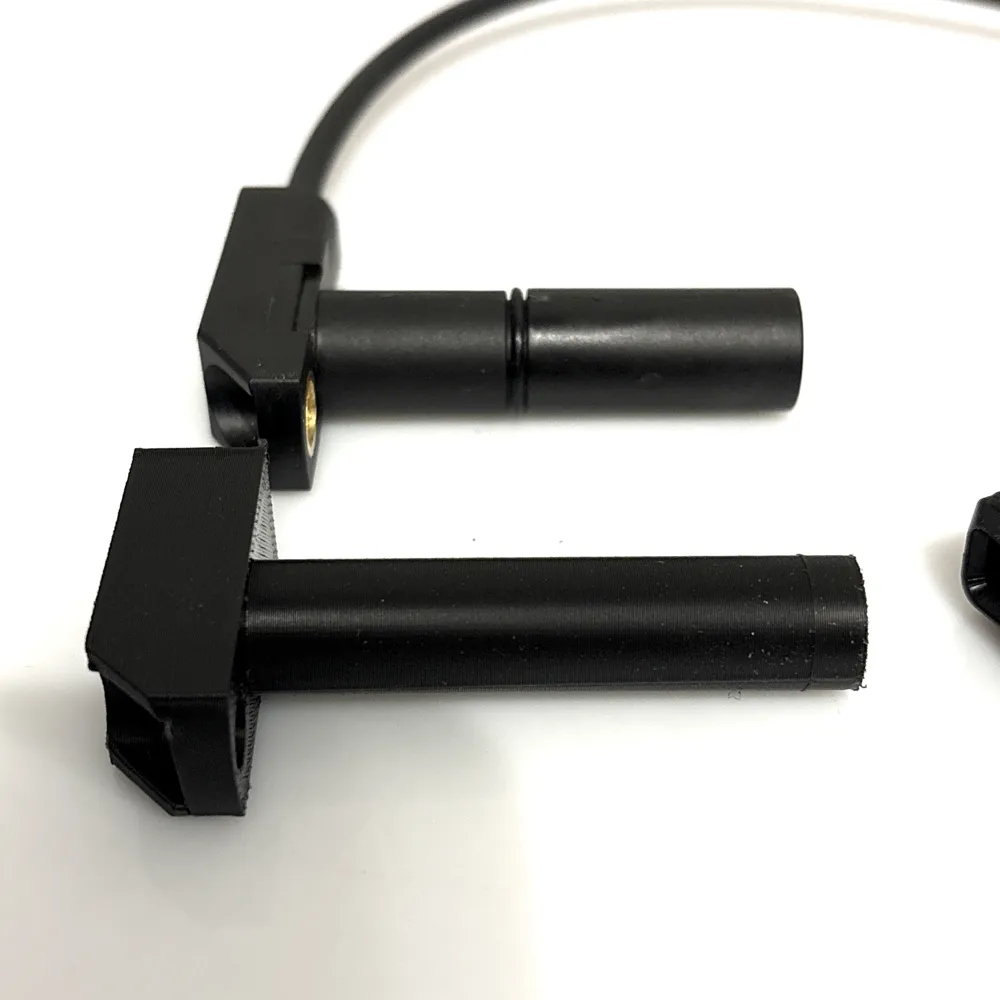
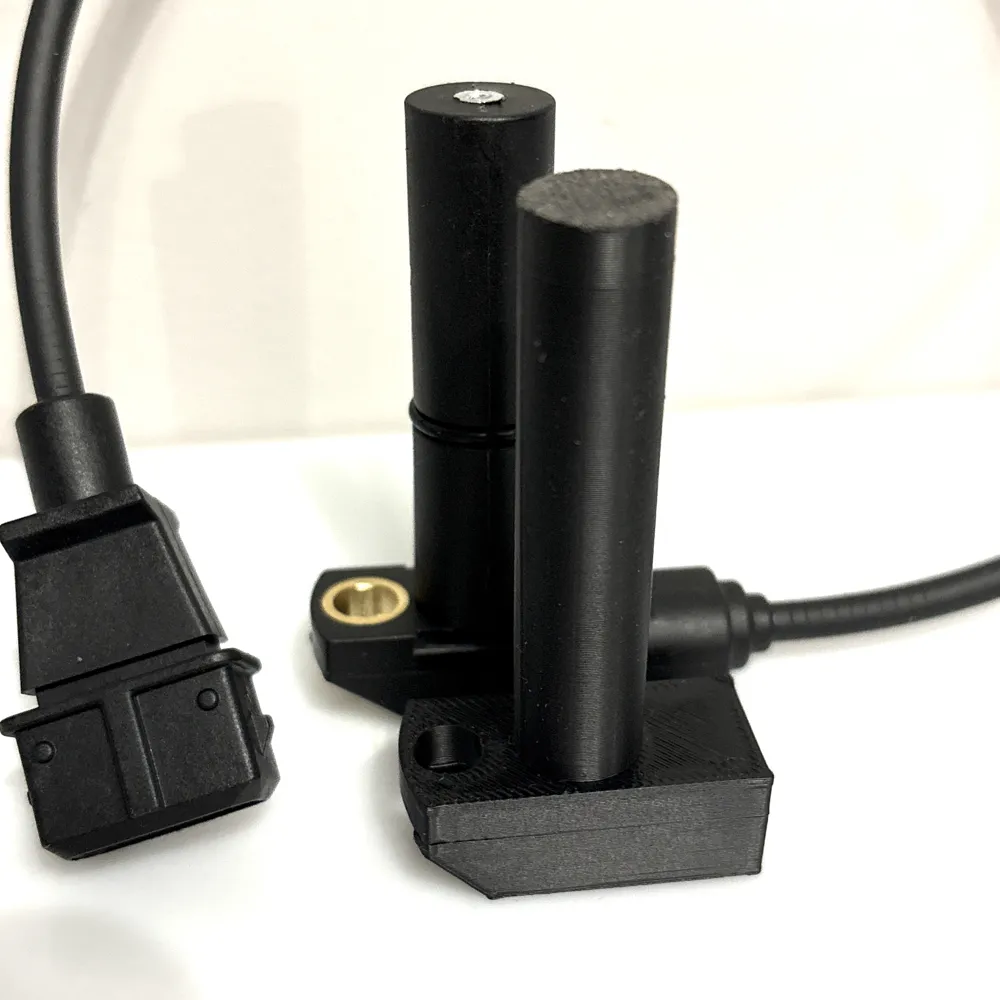
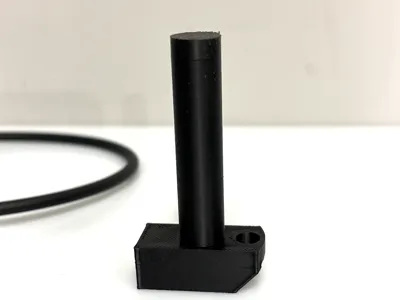
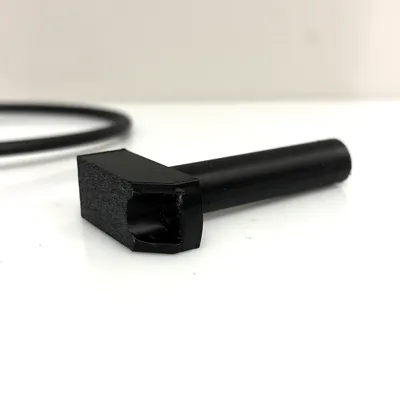
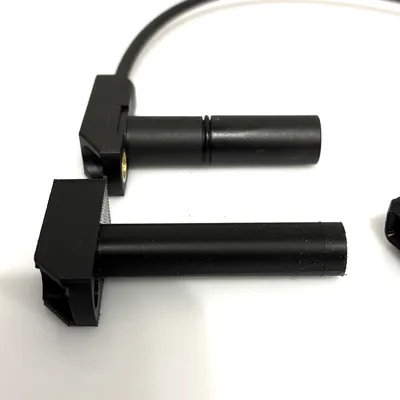
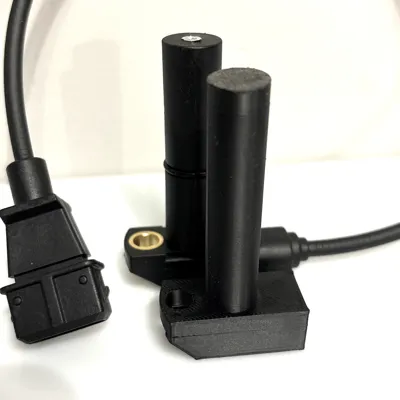
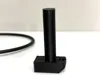
My Porsche 944 needed replacement speed sensors installed. Specification calls for 0.8mm air gap. They recommend adding a washer to the end of the sensor, setting the height, then removing sensor, removing washer (hot glued), then reinstall. I decided to just 3D print a dummy sensor that's 0.8mm longer then my new sensor. It worked great. Your sensor might be a different length, so make sure you check, and if needed, adjust the model accordingly. Also because plastic isn't perfect, be sure to check the length after printing to make sure it's around 0.8mm longer. If it's a bit too long, a bit of course sandpaper will bring it down to size. If it's a touch short, adjust your model. This doesn't use much filament. The tolerance is apparently + or - 0.3mm, so you have a bit of room for error. Hope you find this model helpful. If you do, consider a boost.
License



Comment & Rating (0)