Banjo Head Tensioning Wrench


Print Profile(1)
Description
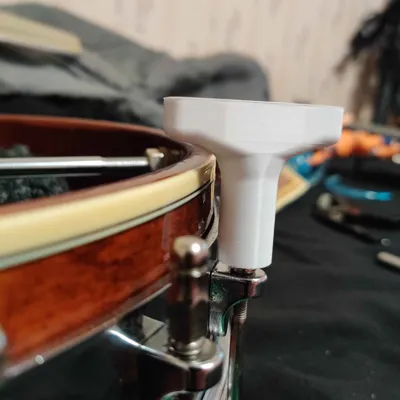
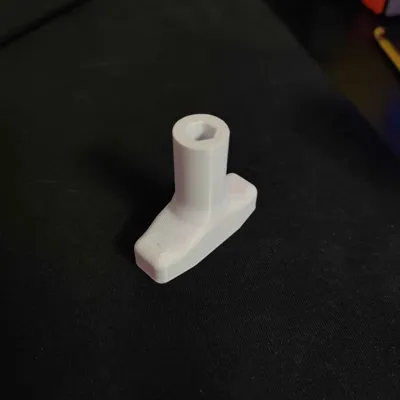
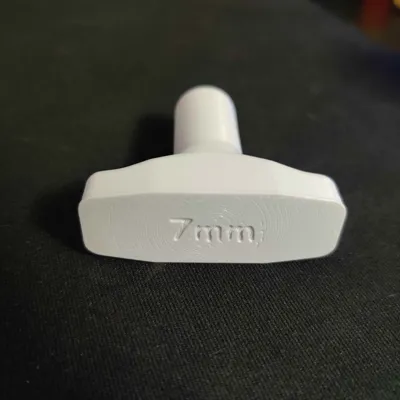
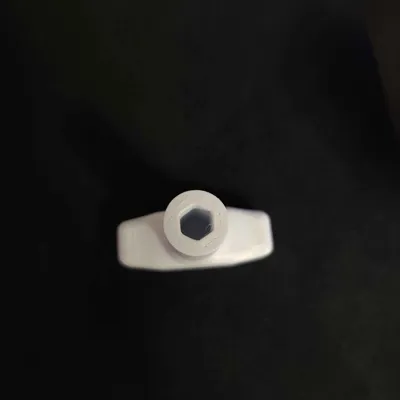
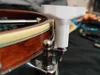
My new banjo uses 7mm nuts to tension the head and I didn't have and couldn't find a deep enough 7mm socket to replace/adjust it so I made this instead.
I attached both OrcaSlicer and Bambu Studio project files with pre-configured print settings for the sake of convenience.
I also went ahead and made a 1/4" version and attached it as well. All I did was resized the hole to have a perpendicular radius of 3.1825mm. (3.175mm is 1/4", plus a ~0.01mm nudge to account for differences in print tolerance and nut size)
--- Key Print Settings ---
- Use 50% sparse infill (or more) --for print strength
- Used 3-4 wall loops --also for print strength
- Enable Small area flow compensation & Arachne wall generation --to avoid over/under-extrusion where the hex walls meet the outer cylinder walls
- Enable Scarf seams (with pre-configured scarf length) --to minimize the seam footprint within the hex socket. This allows for tighter tolerances in the socket (which helps out the strength a lot more than you might think).
--- Less Important Print Settings ---
- Enable "Wipe on Loops" --to reduce stringing
- Enable "Only one wall on first layer" --to make engraved text more legible
- Enable "Avoid crossing walls"
- Disable "Detect narrow internal solid infill"
- Disable "Reduce infill retraction" --To account for an A1 Mini skill issue
But if anything doesn't fit right or needs adjusted, I included the .f3d (Autodesk Fusion) files so adjustments can be made. All key measurements/constraints are defined in the first 2 sketches and first 3 Extrusion steps. If you think that Autodesk is the devil and refuse to use them (understandable) then feel free to adjust the z scale in your slicer or adjust the mesh in some other program. Heck, you can clone the whole thing from scratch if you want, I don't mind.
Comment & Rating (0)