Personalized 12-month baby photo frame


Print Profile(1)
Description
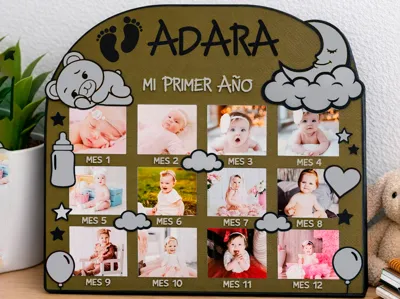
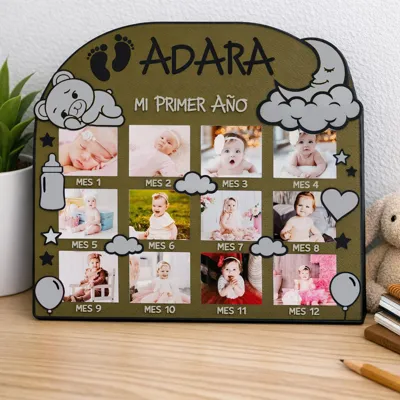
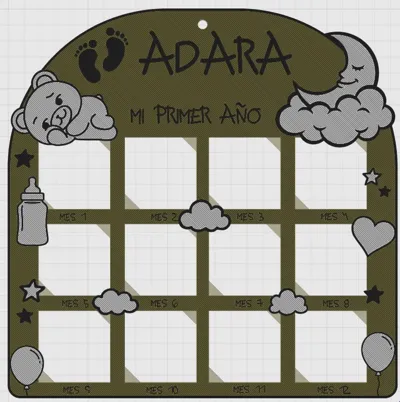
Personalized baby photo frame with 12-month evolution – 3D Printed
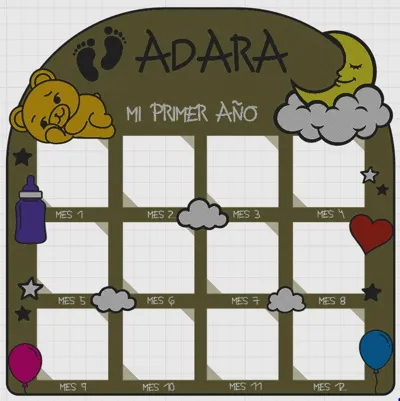
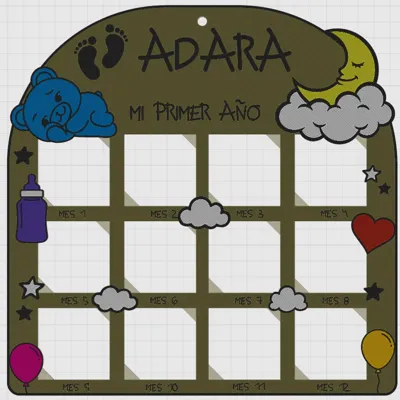
This photo frame is specially designed for babies, ideal as a birth keepsake or a personalized gift, allowing you to place photos from the first month up to one year. The model allows you to customize the **baby's name and all the text that appears in the design. If you wish, you can put the text in your own language, change the font type, and also edit all colors, including the text color, as the design is separated by parts (clouds, moon, teddy bear, baby bottle, balloon1 and balloon2, heart**, creating a customizable, unique, and meaningful piece


Photo size approximately 4.9 cm
Boost Me (for free)
If you like the design, please don't hesitate to give me a boost. It's a great help to me. Thank Thank you!
It is optimized for **PLA printing**, with a **layer height of 0.28 mm**, allowing for fast printing while maintaining a good level of detail
The design **does not require supports**, making printing easy even for beginner users
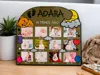
Perfect for decorating children's rooms or as a gift for baby showers and births
There are 2 print plates, 1 without a hole, simply to lean against a wall, and another with a hole to attach a string and hang it
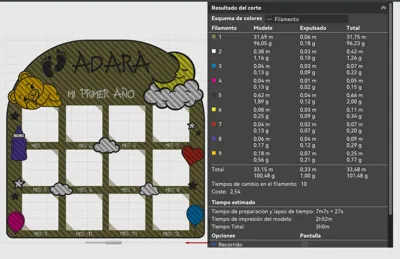
There are more than 4 colors, but you can change the filament in the AMS. For example, start with white. Once the white is finished (**color changes only occur in the first layer**), you can place the fifth color there, and similarly, when the second color finishes, you can place the sixth color there, and so on, depending on how you have configured it when sending to print
MORE DETAILED EXPLANATION AS AN EXAMPLE
Example configured with the following color order: 1-white, 2-yellow, 3-pink, 4-orange, 5-black, and 6-bronze. You will have the AMS with 4 colors: 1-white, 2-yellow, 3-pink, 4-orange. When you start printing, you will need to configure all 6 colors. The first 4 will be set correctly. For the remaining 2, you will need to select BLACK to be taken from the position where white is, and BRONZE to be taken from the position where yellow is. When printing begins, it will start with white. Once white finishes printing, you wait, and when yellow starts, you manually remove the white spool and replace it with the BLACK spool (you don't need to insert the filament all the way to the extruder, just about 10 cm; you will see the AMS indicator light up). Then, you wait for yellow to finish, and when pink starts, in the position where you had yellow, you insert the BRONZE
For any questions, do not hesitate to contact
Print recommendations:
- Material: PLA
- Layer height: 0.28 mm
- Supports: No
Please also check out this photo frame for your baby
https://makerworld.com/en/models/2281663-customizable-baby-photo-frame#profileId-2488219

Please see my collection of customizable keychains
https://makerworld.com/en/collections/21756405-llaveros

Comment & Rating (0)