500% Scale MX Keyboard Switch - Fully Functional


Print Profile(1)
Description
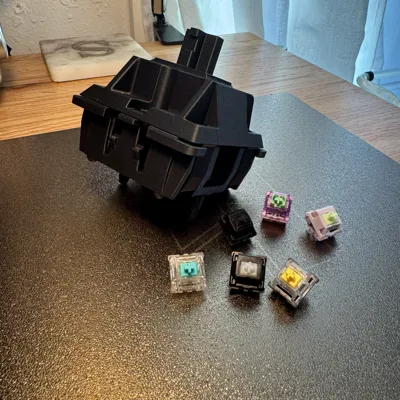
What happens when you take one of the most iconic mechanical keyboard switches and scale it up 500%? You get a fully functional, oversized MX-style switch that clicks with authority and feels absurdly satisfying.
The geometry is dimensionally accurate to MX specifications, scaled up 500%, with minor fit optimizations to ensure smooth, reliable operation at this size.
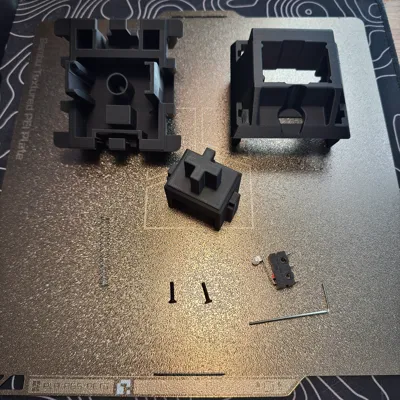
Instead of traditional leaf contacts, this design integrates a roller lever microswitch internally for dependable electrical actuation. The body is engineered with dual mounting positions for the microswitch:
- Left-side mounting replicates standard MX-style travel (10mm scaled actuation)
- Right-side mounting provides a shorter “speed” style travel (6mm scaled actuation)
This makes it perfect for demonstrations, desk toys, educational use, content creation, or just showing off your love for mechanical keyboards in an exaggerated and very satisfying way. I dare you to print a 65% keyboard with it.
Features:
- Fully functional 5:1 scale MX-style switch
- Microswitch-based internal actuation
- Configurable standard or speed travel
Dimensionally accurate scaling with practical refinements
Parts List:
Ball lever microswitch …………. x1

M2.5 x 10mm-16mm …………… x2

Spring 0.5 x 5.5 x 42 mm …….. x1

Switch Installation:
- Insert 1.5mm allen head through the 2 holes in the housing to tighten the M2.5 screws directly into the plastic, no inserts needed.
It helps to loosly add the screws in the switch before you drop the switch into place. Tweezers are your friend here.

Switch Configuration:


- You could technically do both at the same time but I would judge you.
Wiring Connection:
- Run wires up through the holes in the base housing and solder directly to the microswitch.
- I considered coming up with a functional pin connector but time ran short. This would be a cool community colab if you have ideas.
- Or do whatever feels right to you, I'm not your boss.
Noteworthy Comments:
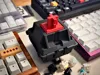
The stem dimensions were tweaked to fit a standard keycap scaled to 500% without an interference fit. See attached print for dimensions.

The switch can be “broken in” by vigorously pressing it until the layer lines smooth, good family bonding time. I also found a light touch of PTFE based oil is all you need but if you are Mr. Moneybags and prefer to waste Krytox 205g0, let me know how it goes, for science.
The “ball lever” part of ball lever microswitch is important here. They make non-ball switches but they will not work with this design.
- The microswitch makes this sound like a “clicky” but without tactile feedback it operates more like a “linear.”
Print it big. Click louder.
Comment & Rating (12)