
Print Profile(1)


Description

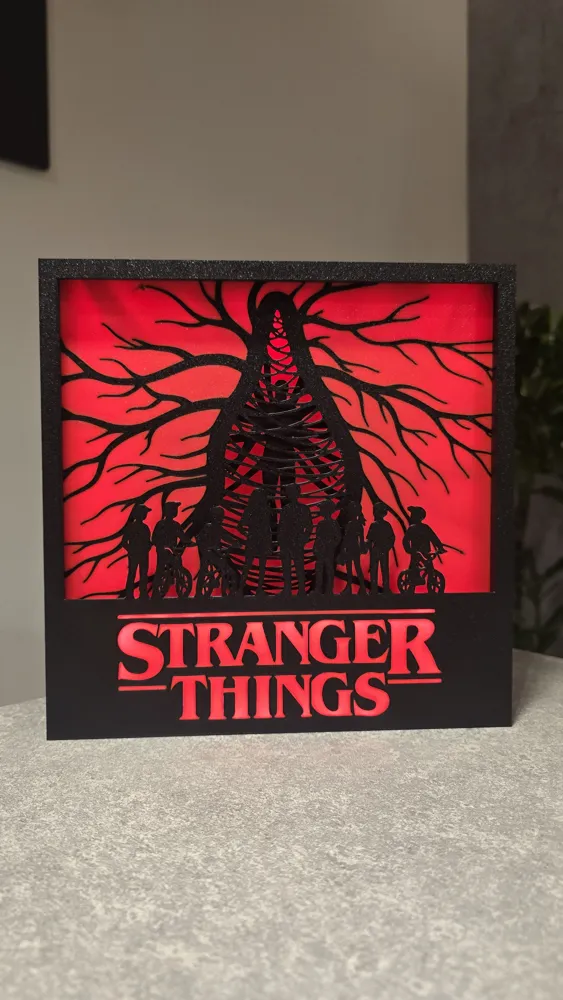

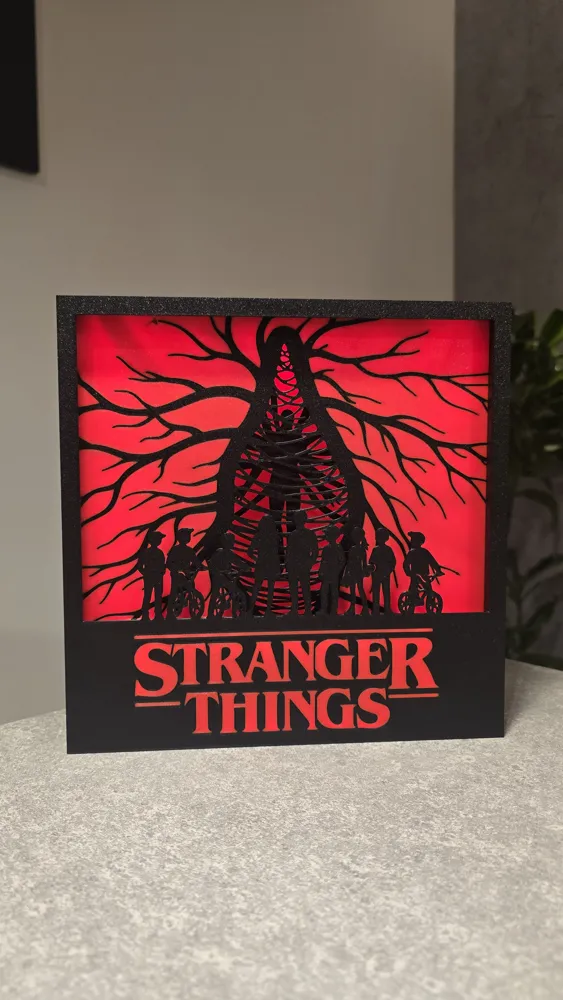
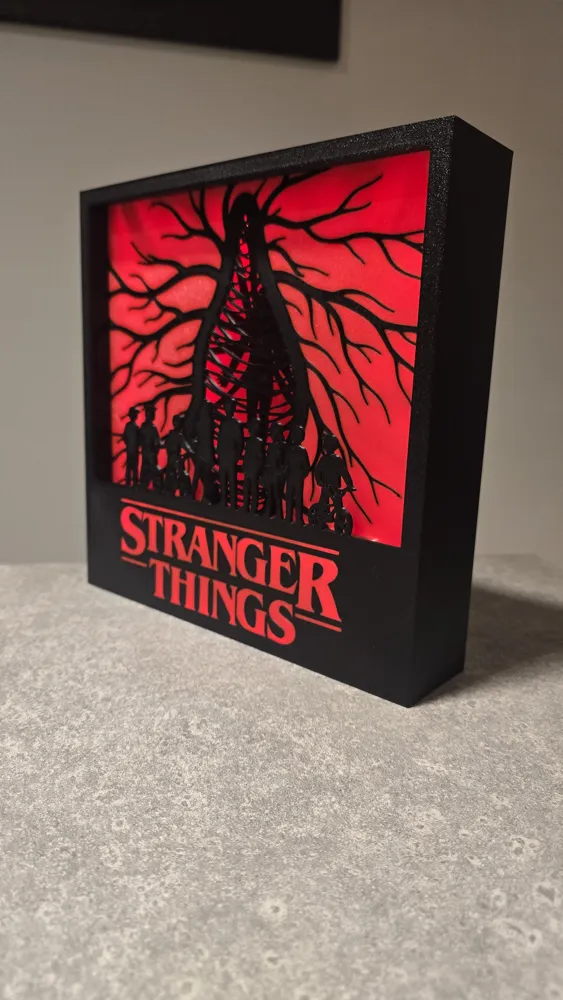
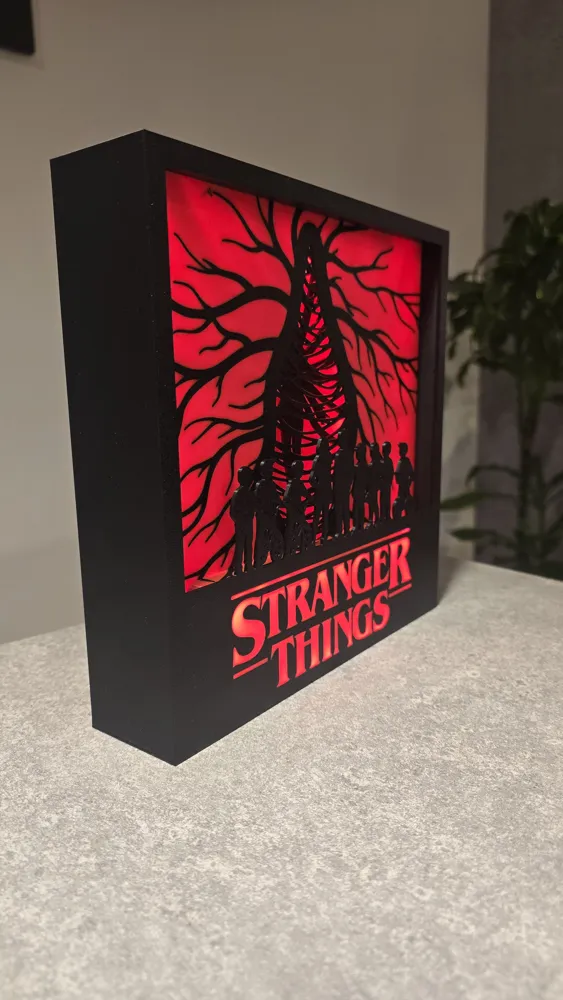
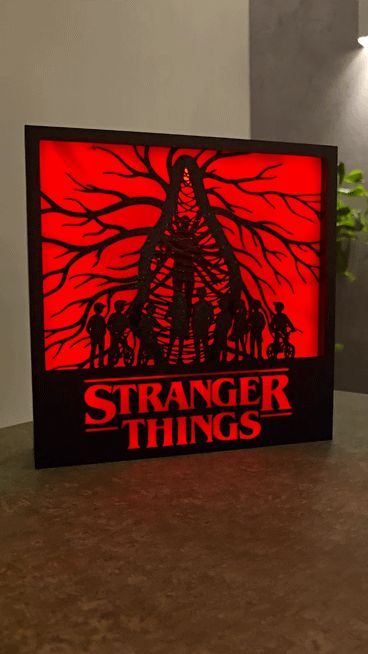
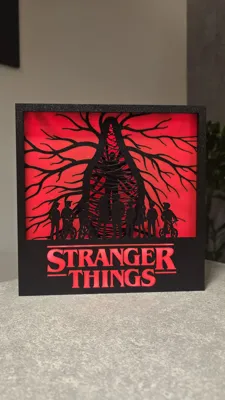
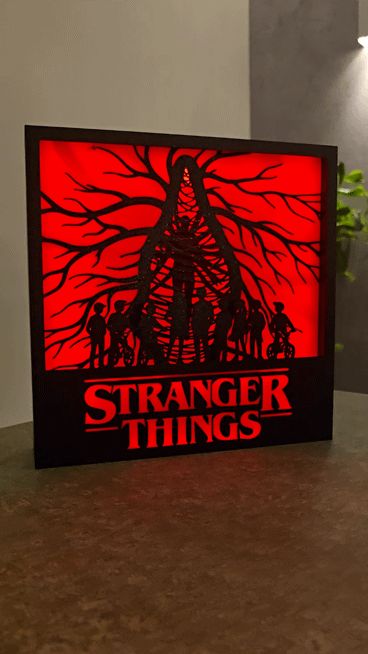
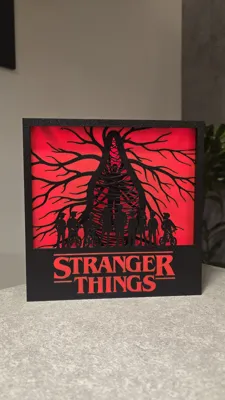
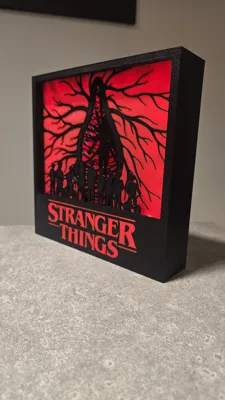
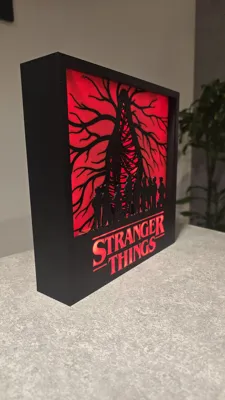
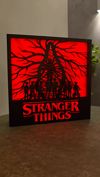
Stranger Things LED Shadowbox / Lightbox
This shadowbox is a decorative standing light, inspired by Stranger Things.
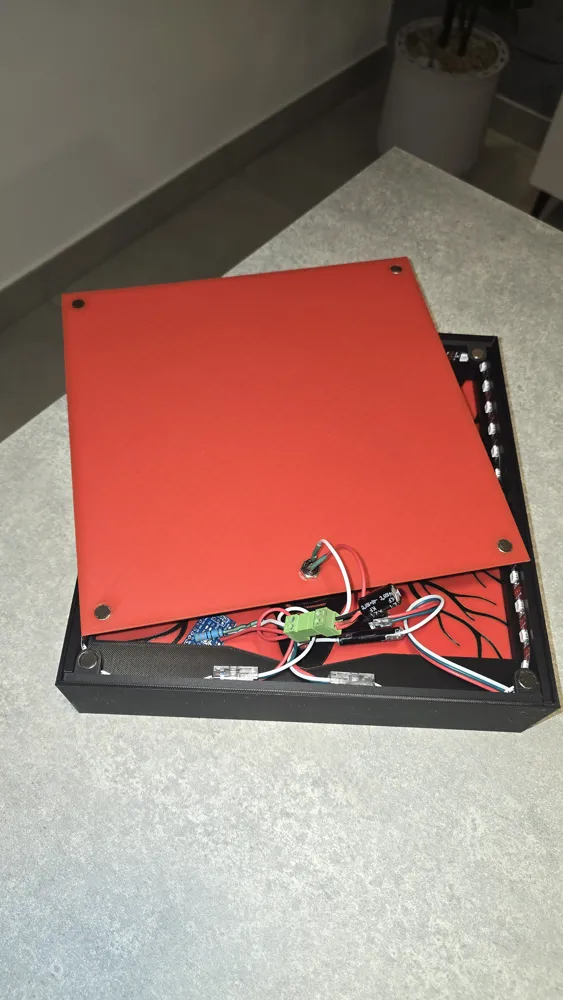
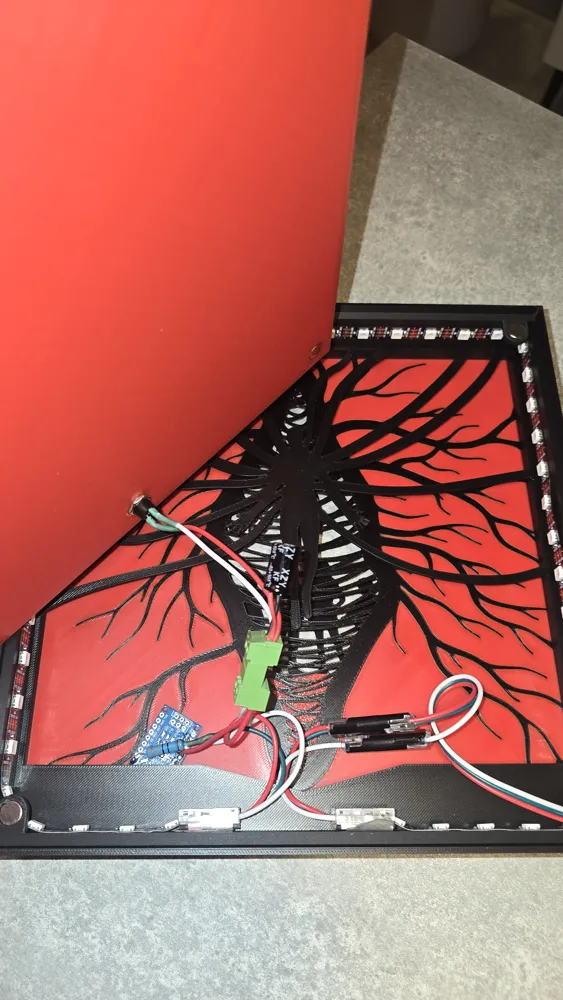
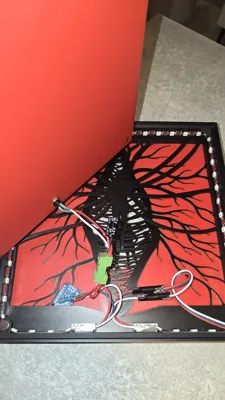
Inside, an addressable WS2812B LED strip works, creating dynamic light effects:
🔴 Irregular flashes that appear at changing positions and seemingly move through the motif
🔴 A gently pulsating Stranger Things logo that slowly brightens and dims
This creates a lively, atmospheric effect that is particularly effective in the dark
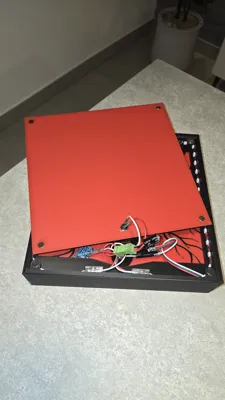
The box is controlled by an ESP32 Nano and operated with 5 V.
All parts are designed so that they can be easily reprinted and recreated
⚠️ Note: This model is a fan project and is intended exclusively for private use
🔌 Technical Data
- LED Type: WS2812B
- LED Density: 60 LEDs / meter
- Total Number of LEDs: 74
- Controller: ESP32 Nano
- Operating Voltage: 5 V
- Power Supply: 5 V / 2 A recommended
- DC Plug: 5.5 × 2.1 mm
- Effects:
- Random flash animation with moving light points
- Gently pulsating logo
🧩 Required Components (BOM)
Electronics:
- 1× ESP32 Nano
- 1× WS2812B LED strip (at least 74 LEDs)
- 1× Electrolytic capacitor 1000 µF / ≥6.3 V
- 1× Resistor 330 Ω
- 1× DC barrel jack 5.5 × 2.1 mm
- 1× 5 V / 2 A power supply
- Cables, heat shrink tubing, or solder connectors
Printed Parts:
- Frame
- Back panel
- Front motif (shadow layer)
- Spacers / mounts (if applicable)
🛠️ Assembly & Crafting Instructions (for MakerWorld)
1️⃣ 3D Printing
- Print all parts in PLA or PETG
- Recommended layer height: 0.2 mm
- Infill: 10–15%
- Front motif ideally black, back plate red (or as preferred)
2️⃣ Prepare LED Strip
- Shorten LED strip to 74 LEDs
- Clean the back side
- Glue along the inner frame (mind the arrow direction!)
3️⃣ Connect Electronics
WS2812B → ESP32
- 5V → 5V
- GND → GND
- DATA → GPIO (as defined in the sketch)
- 330 Ω resistor in series into the data line
Additional:
- 1000 µF capacitor between 5V and GND (close to the LED strip)
Power Connection:
- DC jack → 5V & GND
- Power supply: 5 V / 2 A
⚠️ Important: All GNDs must be connected!
4️⃣ Program ESP32
- Install Arduino IDE
- Add ESP32 board package
- Required library:
- FastLED or Adafruit NeoPixel (depending on the sketch)
- Upload sketch (included with the project)
5️⃣ Assembly
- Store ESP32 and cables neatly in the housing
- Screw or glue the back panel
- Perform a functional test
- Done 🎉
Documentation (1)
License

You shall not share, sub-license, sell, rent, host, transfer, or distribute in any way the digital or 3D printed versions of this object, nor any other derivative work of this object in its digital or physical format (including - but not limited to - remixes of this object, and hosting on other digital platforms). The objects may not be used without permission in any way whatsoever in which you charge money, or collect fees.


Comment & Rating (9)