ELS-Style Fork and Receiver


Print Profile(1)
Bill of Materials

Description
ELS-Style Fork and Receiver
What this is
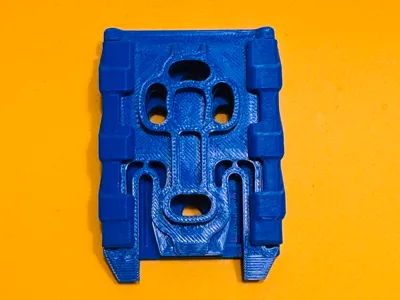
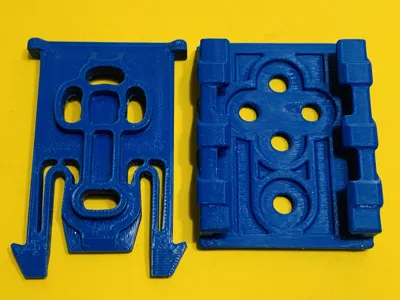
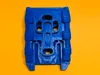
This is an FDM print of an ELS-style Fork that will snap into an ELS Receiver. This is an FDM print of an ELS-style Receiver into which an ELS fork will snap. The Receiver's outside dimensions are larger than an actual ELS Receiver to compensate for some of he shortcomings of the FDM technology compared to injection molded parts made from premium polymer.
What this is not
The Fork and Receiver are not intended to replace their inspiration on your race belt. For use in competition, buy the real thing.
What this is is good for
Casual, non-competitive use.
Engineering Print
Introduction
Despite its limitations imposed by the limitations of FDM printing on consumer 3D printers, this is a demanding engineering print. This specific instantiation is printed in ASA, representing a reasonable balance, given the tradeoffs of the various engineering filaments available from Bambu Labs. The sample here is printed in blue ASA to make the details of the object more visible in the photographs vs. printing the object in the typical black. See the Alternative Filaments section below for why ASA was chosen over other engineering filament alternatives. Due to structural requirements, the objects are all walls, no sparse infill.
ASA Printing Success Factors
Chamber Temperature
ASA need to be printed hot in an enclosed, hot chamber. Since the X1C has no chamber heater, preheating the chamber to a minimum of 44C prior to sending the print job to the printer is required. This is accomplished by manually setting the bed heater to its 110C maximum temperature until the chamber temperature reaches 44C. This will take about half an hour. Only then should the print job be sent to the printer. Chamber temperature steady state during printing will be about 46-48C.
Bed Temperature
ASA requires a high bed temperature. While the X1C can be set to a nominal bed temperature of up to 110C, the bed temperature sensors on the X1C notoriously overreport the bed temperature. Your printer may claim a bed temperature of 108C, when in fact the bed temperature is only 98C. Before printing high temperature engineering materials in an X1C, it is a requirement that you determine the actual bed temperature vs. the displayed bed temperature using a high-quality IR thermometer and compensate for thermistor skew in the print profile.
Bed Adhesion
Bed Adhesion depends on three factors:
- Sufficiently high bed temperature. See above.
- Build plate. For engineering filaments, I use and recommend the Wham Bam Flexi Plate with PEX.
- Bed adhesive. There are many good adhesive in the market place, such as Magigoo, PrimaFix, and more. All are suitable for use with ASA. However, all suffer from the same defect: they ship too concentrated, resulting into too think of an adhesive layer on the build plate, which in turn reduces, rather than increases, bed adhesion. Instead of applying the adhesive using the built-in applicator, use a PE bottle to dilute the adhesive 50/50 with distilled water and apply 3-4 drops on the build plate. Then rapidly spread the drops with the edge of a new plastic customer loyalty card (IKEA cards are ideal) or credit card over the build plate.
Alternative Filaments
The fork will be deformed greatly when being inserted into the receiver. This places severe limitations on the filaments that can be used for this print.
- PC-CF: Structurally ideal. Very high modulus -> minimal flex under load. Excellent creep resistance. I didn't have PC-CF in stock or I would have used that instead of ASA.
- Nylon-CF: Strong, but moisture sensitive. Not ideal when worn on a belt next to a sweating body.
- ASA: Balanced, practical, stable. Good Z-layer bonding in heated chamber. Lower shrink and better Z-layer bonding than ABS. UV stable. Not hygroscopic.
- ABS: Structurally OK, Processing Headache. Shrinks more than ASA. Warps more. Z-layer strength weaker unless annealed. Annealing required for peak performance. Dimensional change after anneal.
- PLA/PETG: Both fail the repeated bending + retention requirement.
Helio
If you have the Helio plugin for Bambu Studio, this print lends itself to the use of Helio for optimization.
Changes
Optimised structural rigidity and printability. Optimized for ASA.
Credits
Credits for the original STL files go to @CadeyzDad on Printables for the creation of the original STL files. The STL files are licensed under a "Creative Commons (4.0 International License) Attribution-NonCommercial, Remix Culture Allowed, which this work inherits.

Comment & Rating (0)