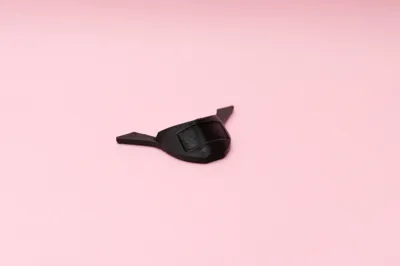
FAT SHARK HDO Nose Light Block Spacer


Print Profile(1)
Description
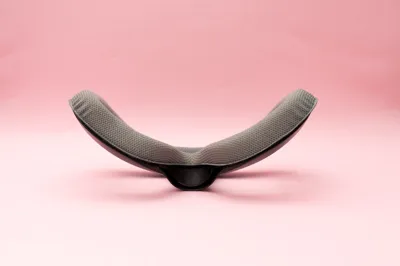
Before getting started, I’d like to recommend a face foam pad.
If you have a lower nose bridge, a thicker foam pad makes a huge difference. It improves the seal around the nose area and significantly reduces light leakage.
From my personal experience, a thick replacement foam pad works great and is very affordable. You can easily find good options on AliExpress for around $6–7. It’s a simple upgrade, but it greatly improves comfort and immersion.


After flying digital systems for a long time, I wanted to try something different and picked up an AIR65 for analog flying. That’s when I purchased a Fat Shark goggle — but unfortunately, it didn’t fit my face very well.
The main issue was light leakage around the nose area. At first, I thought it was just my face shape. However, after asking around, I realized many users experience the same problem with Fat Shark goggles.
It wasn’t completely unusable, but the light leak was distracting enough to affect immersion.
So I decided to design a solution.
This spacer was created for pilots like me — those who love Fat Shark goggles but struggle with nose-area light leakage due to fit issues. It’s a simple but effective mod to improve sealing, comfort, and overall flying experience.
⚠️ Important Notice – Please Read Carefully
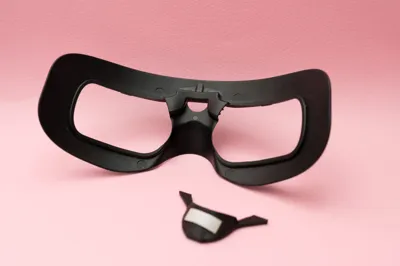
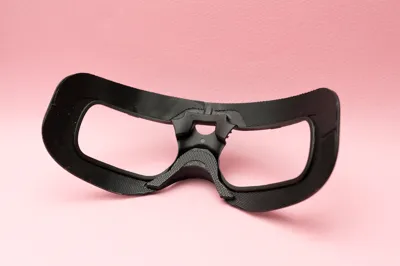
In the photos, you may notice that I removed the original Velcro from the goggle.
This is because the foam pad I recommended is designed for the SKY04 PRO, and its Velcro layout does not perfectly match the Fat Shark mounting position.
If your original Velcro is still properly attached, do NOT remove all of it like I did.
Instead, I strongly recommend trimming or removing only a small portion around the nose area if adjustment is needed.
Removing all the Velcro is not necessary for most users and should only be done if you fully understand the modification.


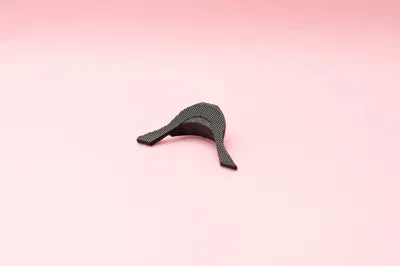
Installation Guide
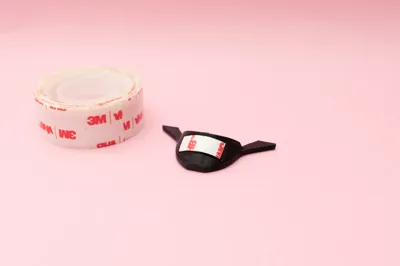
Please attach a 19mm wide thick double-sided tape to the printed part.
The depth of the printed spacer is 3.5mm, so we recommend using a double-sided tape with a total thickness of approximately 7mm to achieve proper compression and sealing.

Installation complete.
Simple, right? 😉

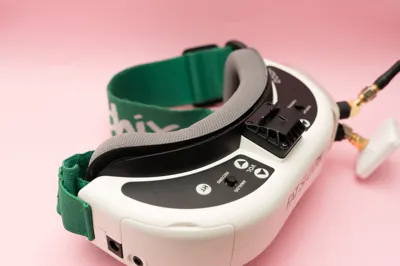
If the original Velcro on your goggles is still securely attached, you can reuse the Velcro included with your foam pad (or any spare Velcro you already have).
Simply apply it as shown in the photos to achieve proper alignment and secure attachment.

Please don’t make the same mistake I did by cutting and reattaching everything unnecessarily 😅
A small adjustment in the nose area is usually more than enough. There’s no need to remove or modify more than required.
Keep it simple and clean for the best results.


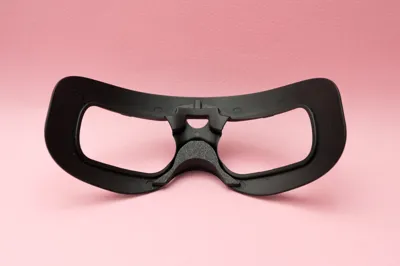
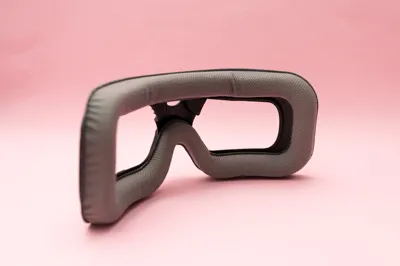
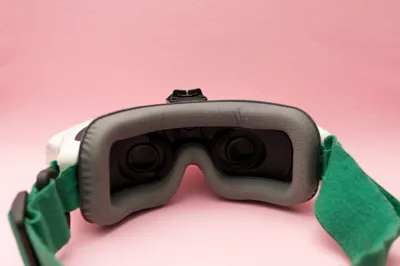
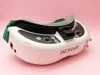
This is how the goggles look after installing the foam pad.
The thicker padding improves facial contact and helps reduce light leakage around the nose area.


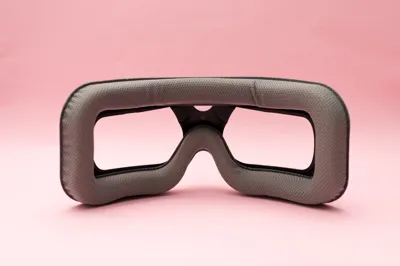
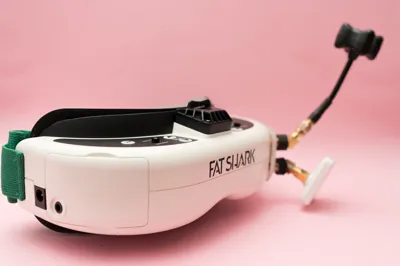
Mounted on the Goggles – Ready to Fly!
Installed and ready to go.
Now it’s time to enjoy analog flying to the fullest!
If you found this print helpful,
please consider giving it a Like, Collect, and Boost!
Your support helps me continue designing practical upgrades for FPV pilots.
License
You shall not share, sub-license, sell, rent, host, transfer, or distribute in any way the digital or 3D printed versions of this object, nor any other derivative work of this object in its digital or physical format (including - but not limited to - remixes of this object, and hosting on other digital platforms). The objects may not be used without permission in any way whatsoever in which you charge money, or collect fees.
Comment & Rating (4)