
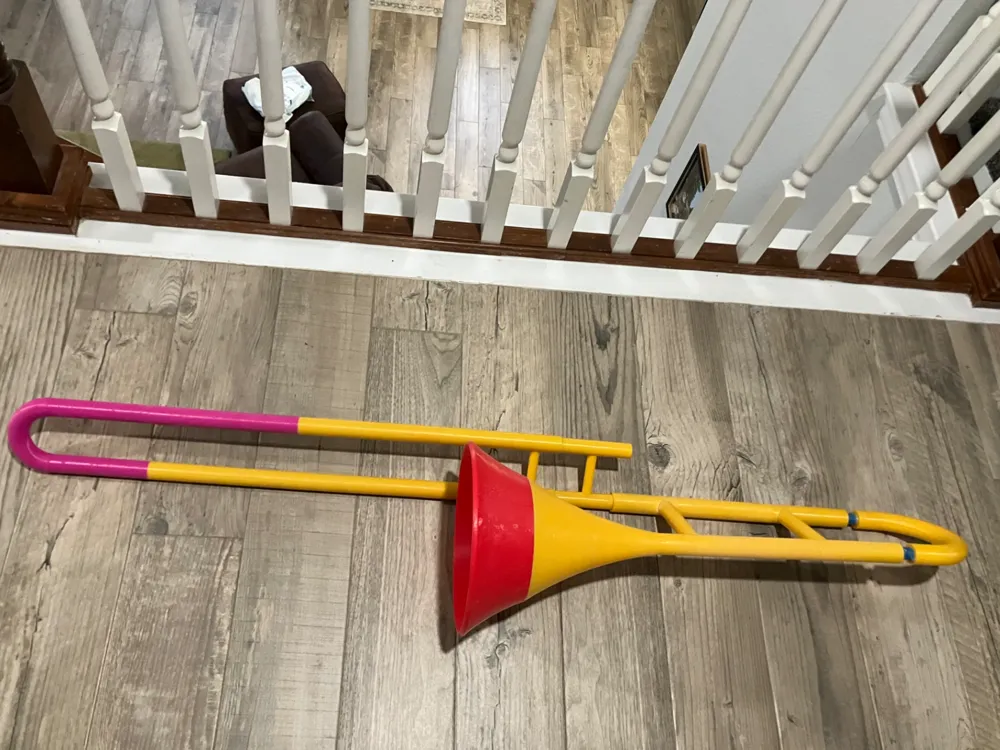
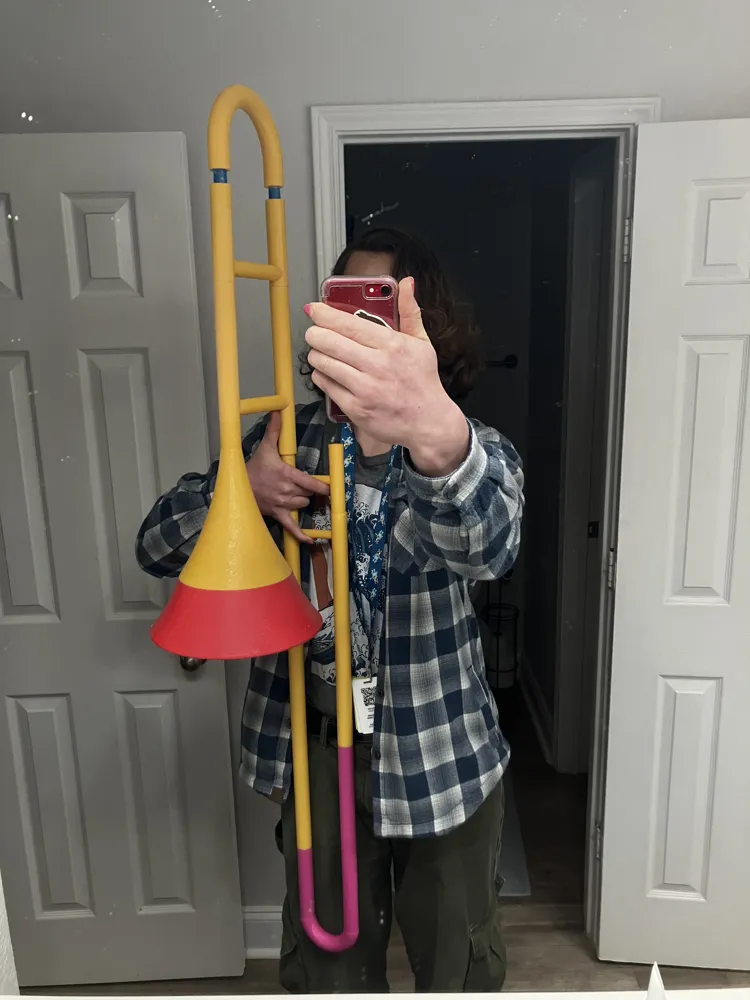
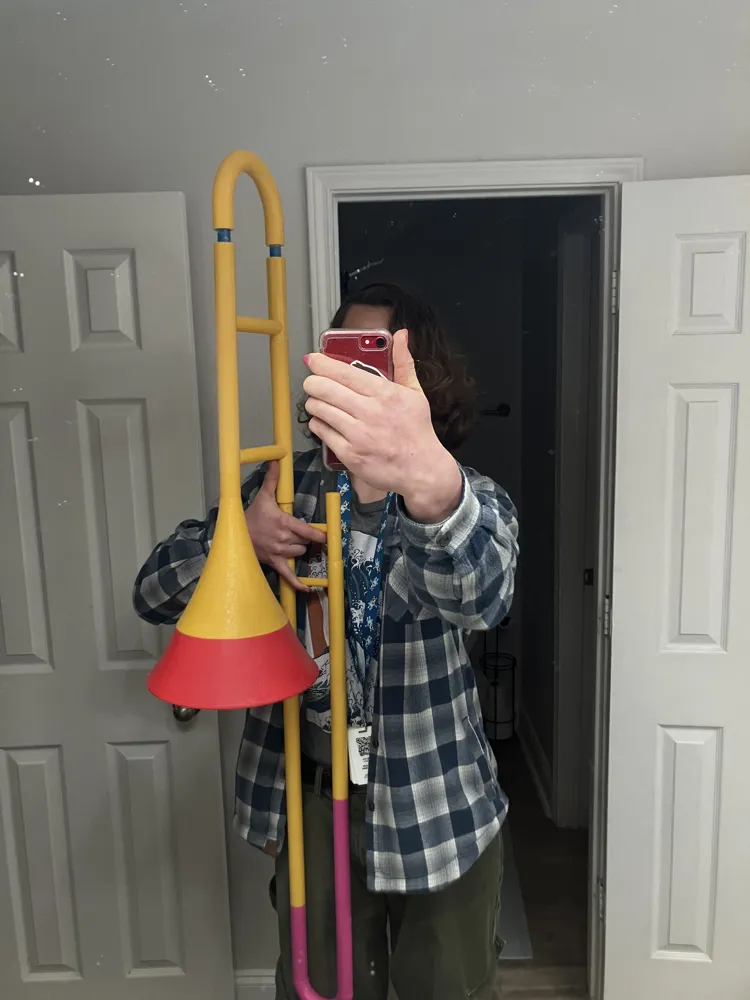
The First FULLY PRINTED TROMBONE Prototype 1.10
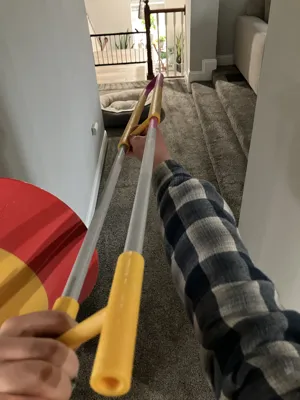
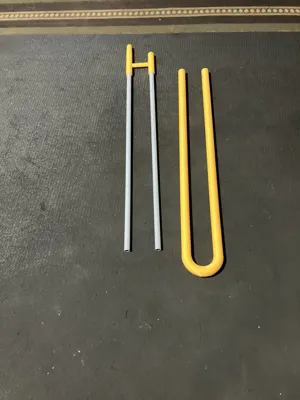
Print Profile(1)
Description
Boost Me (for free)
do you like my models? so do I! it is a blessing to wake up in the morning and see people boost my models. thank you
Well… Well… Well…
Hello, all my wonderful and beautiful people in this community!
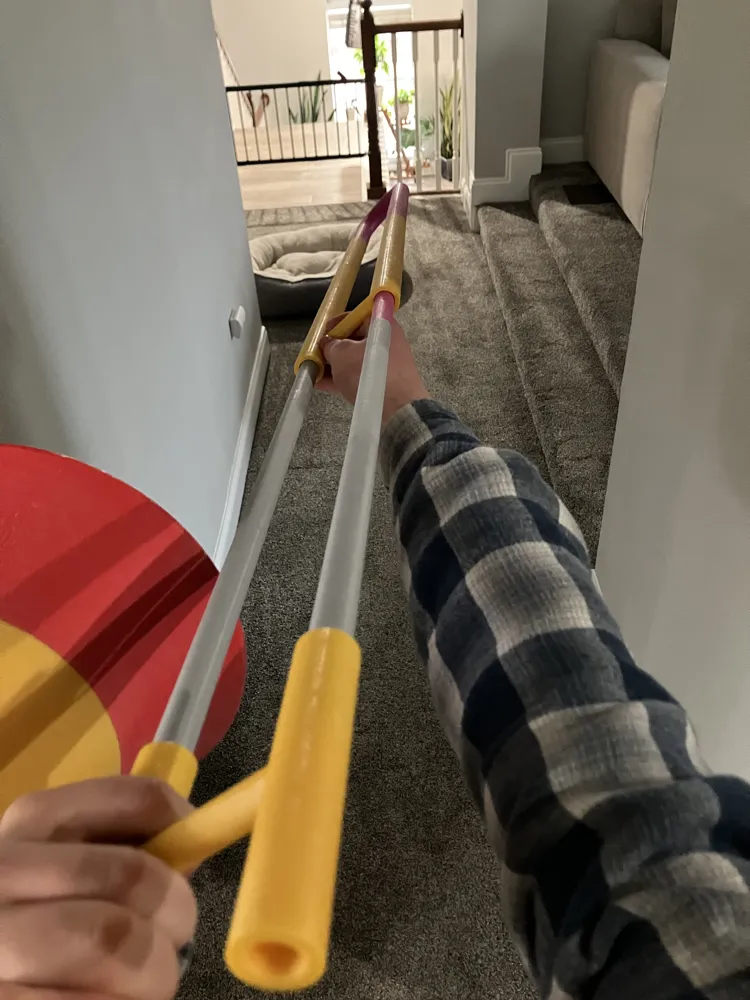
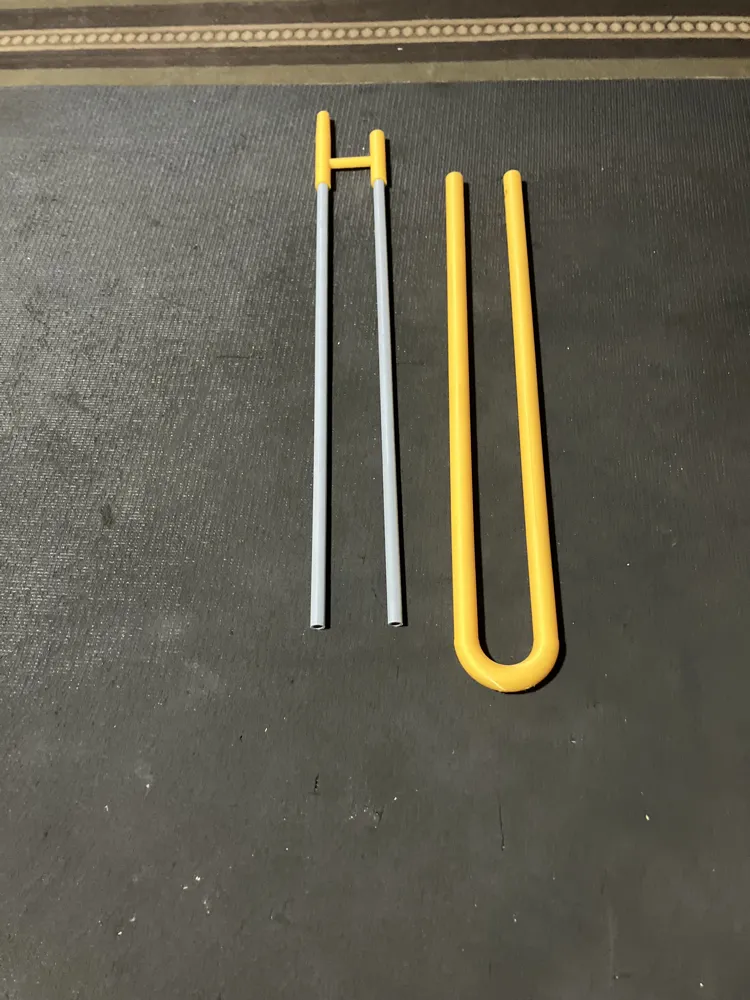
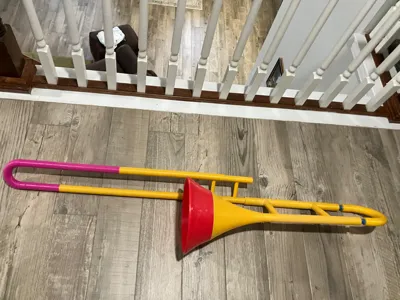
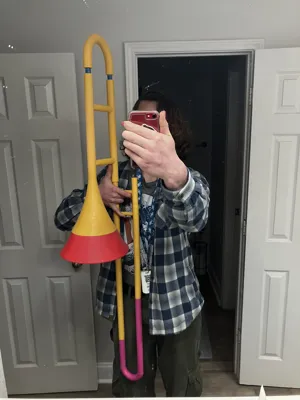
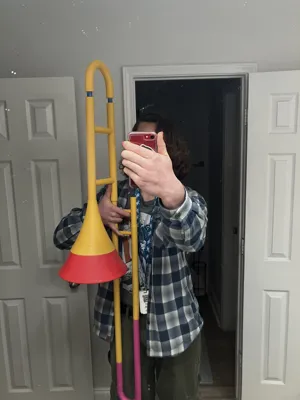
This is a monument moment!! I got REALLY bored, so I came up with during winter break! This model is a fully 3D-printed trombone prototype designed to explore additive manufacturing in functional musical instruments. All major components are printed separately and assembled using threaded connections, adhesive bonding, sealing, and post-processing.
I am so excited for finally releasing this. This took me forever!
Disclaimer: You have to have the basic knowledge of how to play either a Trombone or brass instrument of some kind!
3D-Printed Trombone
Assembly & Finishing Guide
This model is a fully 3D-printed trombone prototype designed for experimental, educational, and maker use. All major components are printed separately and assembled using threaded connections, adhesive bonding, sealing, and post-processing.
This guide assumes basic maker experience with sanding, adhesives, and post-print finishing.
Parts Included
- Total Outer slide rails (8)
- Outer slide connector (1)
- Total Inner slide rails (8)
- Hand holder
- Slide holders (front)
- Bell sections (6 total)
- Connectors
- Two slide options
- Standard slide length
- Extended slide length (experimental)
Tools & Materials Required
- Cyanoacrylate super glue (Gorilla recommended)
- Clear plastic spray sealant
- Sandpaper (medium to fine grit)
- Clean workspace
- Patience (especially for curing)
1. Outer Slide Assembly
Each side of the outer slide is made from three threaded slide segments.
Steps:
- Screw the three outer slide segments together until fully seated.
- Repeat for the second outer slide rail.
- Then, screw both to the end piece.
2. Slide Holder Attachment (Critical Step)
The slide holders attach to the front ends of the outer slide rails.
Steps:
- Apply super glue to the holder.
- Attach the holder to the front end of the outer slide.
- Ensure both holes for the holder are perfectly parallel!
- Allow the glue to fully set before proceeding.
⚠️ Important:
Misaligned holders will cause friction, binding, and excessive slide noise.
3. Inner Slide Assembly
The inner slide is assembled without adhesive.
Steps:
- Screw together the inner slide segments. Make sure you assemble correctly! there will be 2 slides that both screws and bolts, 1 end piece, and one front piece that just bolts.
- Insert the completed inner slides into the hand holder.
Do not glue any part of the inner slide.
4. Slide Length Options
This model includes two interchangeable slide designs:
- Standard slide — 2 inner (and the 2 end pieces) & outer slide rails instead of 3
- Extended slide — all parts included
Both versions assemble using the same method and can be swapped as needed.
5. Bell Assembly
The bell is constructed from four threaded sections.
Steps:
- Screw together the bell sections from largest to smallest.
- Once fully assembled, glue the connector(s) to the bell body. then glue the 2nd half of the body the same ways. Align the holes like you did with the outer slide.
Curing:
- Allow glued bell components to cure for 24 hours
- Full cure is required for structural strength
6. Sealing the Instrument
Once fully assembled:
- Spray the entire trombone with a clear plastic sealant. (EXCEPT THE INNER SLIDE!!)
- Allow to dry for 24 hours.
Sealing improves durability and prepares the surface for sanding.
7. Sanding & Slide Performance (Very Important)
The slide rails require extensive sanding.
Why this matters:
- Rough rails cause mechanical squeaking
- Slide noise directly affects playability
- Smooth rails allow quiet, controlled motion
Recommendation:
- Sand slide rails thoroughly after sealing
- Test slide motion frequently
- Continue sanding until friction and noise are minimized
This step is essential for proper function.
Notes on Use
- This model is a prototype, not a commercial brass instrument
- Designed for experimentation, education, and iteration
- Performance will vary based on print quality, material choice, and finishing.
Thank you for all the things that you guys have done for me! it has been life changing and i wouldn't be as happy as I am today! I love you all so much❤️
License

You shall not share, sub-license, sell, rent, host, transfer, or distribute in any way the digital or 3D printed versions of this object, nor any other derivative work of this object in its digital or physical format (including - but not limited to - remixes of this object, and hosting on other digital platforms). The objects may not be used without permission in any way whatsoever in which you charge money, or collect fees.


Comment & Rating (19)