
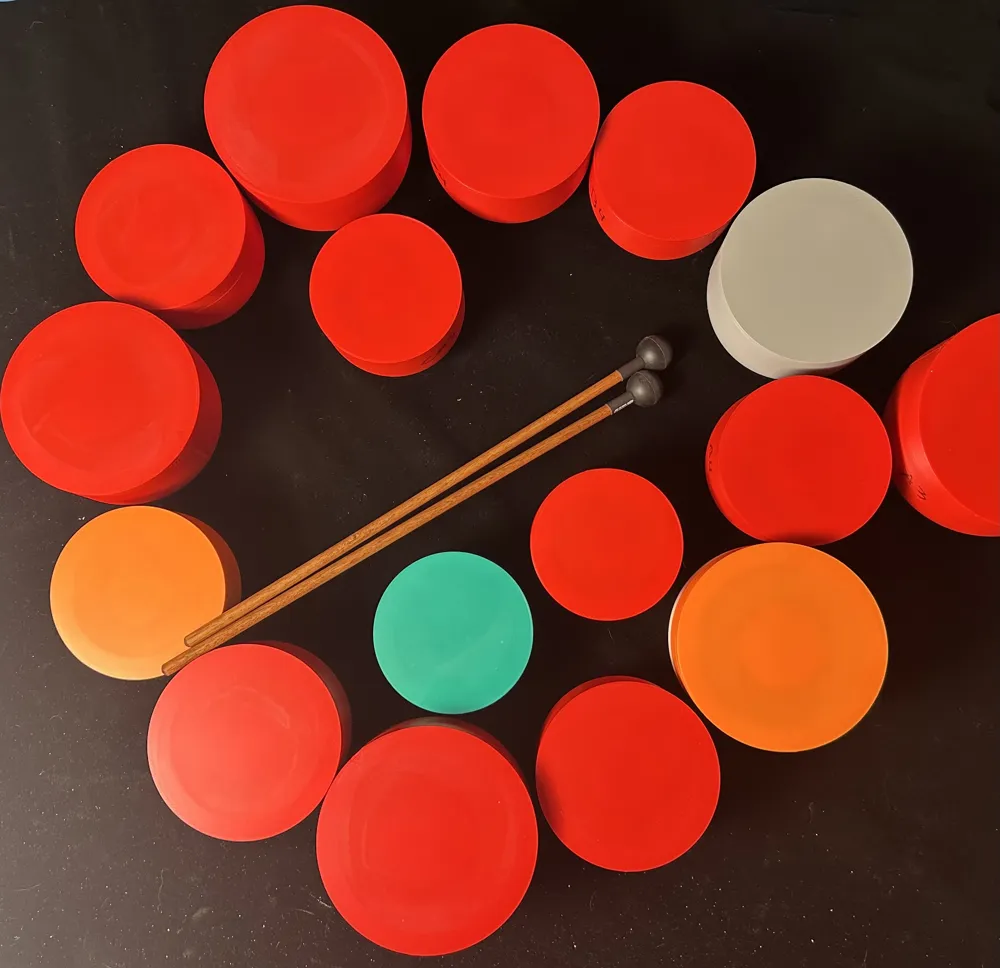
Teacup Gongs - A Solid PLA musical instrument
Print Profile(0)
Bill of Materials
- Mounting Putty x 1:
Description
BUILD INSTRUCTIONS
These have been designed for easy printing, but there are certain settings and materials that must be taken into consideration.
Requirements:
Smooth (not pebbled) PEI sheet
500-1000g filament per note
3M mounting putty
Rubber mallets
Optionally, self-adhesive furniture pads (20-40mm or 1-1.5 in)
Cautionary notes: Your printer and slicer may make minute alterations. A well-calibrated printer is important (if you have a newer CoreXY model then it's probably been factory calibrated already). Additionally, there may be minute differences between brands and pigments with the PLA. When I print my notes, I try to use only Bambu Basic Red for consistency.
DO NOT ATTEMPT TO MAKE NEW PITCHES BY SCALING THE INSTRUMENT IN THE SLICER unless you are prepared to use up some filament experimenting. The gongs are not scaled uniformly.
Step 1. Plating
The head and base (more like a lid, really) are matched per each note. They must be arranged on the plate with the flat side down.
Step 2. Print Settings
Teacup gongs must must must must be printed with 100% solid infill. I recommend concentric infill. I have not tested other infill patterns.
Support should be disabled.
Step 3. Cooldown
Allow 30 mins for the piece to cool on the bed. Additional cooling time after removing from the bed (an hour or so) will make tuning easier, as the fundamental pitch tends to rise and fall as the piece settles.
Step 4. Tuning
Tuning teacup gongs is tricky. But hopefully once you have them in tune, they should hold their pitch fairly well provided there are not major temperature changes in the environment.
At all times during tuning, be careful not to warm the head of the instrument with your hand. Grip it by the sides where necessary, like you would an open jar.
Start by placing the head section, upright, onto the base. Use a soft cloth (or self-adhesive furniture pad) underneath the base for better resonance. Use a tuner app or guitar tuner to get some idea of the fundamental pitch. Strike it moderately with a rubber mallet. At this point, the note should be 20-40 cents sharp of its final pitch depending on the ambient temperature.
Stick some mounting putty directly on the center of the top of the head, and check the pitch again. Adjust until you are within 5 cents of being in tune. Now transfer the putty to the inside of the instrument, placing on the boss or dome.
Some notes may require up to 50 grams of putty, this is not unusual.
Every note should come out of printing very sharp, but if for some reason a note comes out flat rather than sharp and you do not want to reprint it, you may be able to drill out some material from the boss through the bottom. Exercise caution and move slow as PLA likes to stick to drill bits.
Step 5: Assembly
Take more mounting putty and roll it into a kind of snake. Press the snake somewhat flat into a donut around the bottom of the head section.
Taking care not to warm the head, press the base against the putty.
Optionally, apply a furniture pad to the base.
Disclaimer: These instruments have not been evaluated for child safety, and due to significant weight and sharp edges may cause injury.
License

You shall not share, sub-license, sell, rent, host, transfer, or distribute in any way the digital or 3D printed versions of this object, nor any other derivative work of this object in its digital or physical format (including - but not limited to - remixes of this object, and hosting on other digital platforms). The objects may not be used without permission in any way whatsoever in which you charge money, or collect fees.


Comment & Rating (0)