Airpod Pro 1/2 Case (wireless charging)


Print Profile(1)

Description
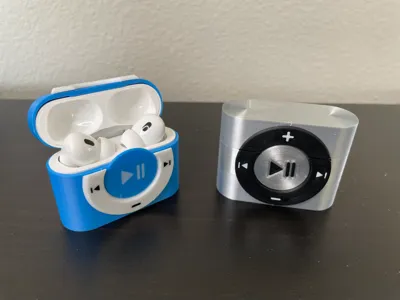
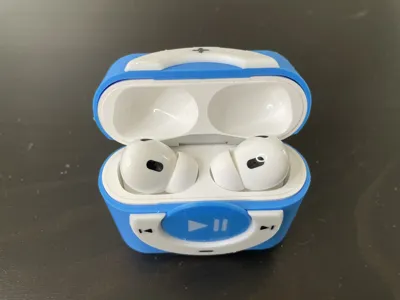
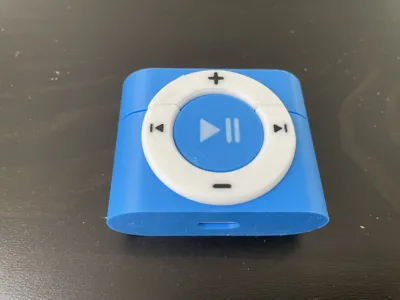
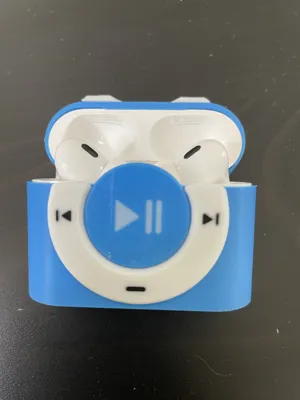
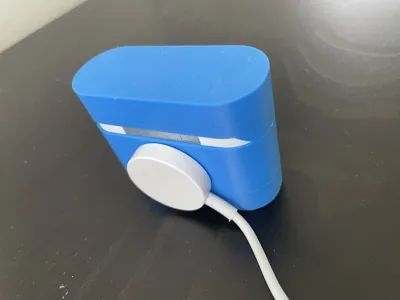
This is an AirPods Pro 2 case inspired by the classic iPod design. It should also fit AirPods Pro (1st generation), although it hasn’t been tested, I only have pro 2.
The case is wireless charging viable, and MagSafe chargers can magnetically attach and charge it normally, as shown in last photo. However, if you are using a charging dock that is angled instead of lying flat, the case will not attach. So you can only use a flat charging dock.
I'm just using filaments I have at hand, they are probably not the best choice. For blue one, I'm using Matte Blue, Jade White , and Matte Black. For silver one, I'm using Silk+ silver, Matte Black, and Matte White. If you find a better fitting filament choice, please let me know, I'd love to try them out. Supposely the body should be good on Metalic PLA filaments? but I've never used any Metalic filaments, so I can't know for sure. The silk+ looks a bit too shinny to my liking.
Now for printing, I separated the components into three plates for simplicity.
- First plate: the case body, this is should be easy to print and very straight forward. No support nor brim needed.
- Second plate: this is the dial part, this is the tricky part to print, due to being a thin donut shape and having two colors. Here are steps you need to take:
- clean and glue your plate.
- make sure both inner and outer brims are enabled, I have done that in print file.
- in the print file, I setup to print three of these. It cost less than 10 g to print 3 including flushing, so it's easier to print several and pick the best result. If you are confident, then just print one, delete rest.
- clean off glue before assembly.
- you may need to adjust flowrate to make the first layer merge better for a better result, as shown below:

Increased Flowrate  Low Flowrate
- Third plate is the dial, it's similar to dial part but easier:
- make sure you clean and glue the plate
- adjust flowrate to merge the first layer
- clean off the glue after print, no sanding needed.
Assembly should be quite straight forward, put super glue in the sockets on the case, insert parts with sockets accordingly, make sure the button is facing the right direction.
Hope you enjoy the print, if there is any issue please let me know, I will try to fix if I can.
License
You shall not share, sub-license, sell, rent, host, transfer, or distribute in any way the digital or 3D printed versions of this object, nor any other derivative work of this object in its digital or physical format (including - but not limited to - remixes of this object, and hosting on other digital platforms). The objects may not be used without permission in any way whatsoever in which you charge money, or collect fees.
Comment & Rating (28)