CZ Rimfire magazines in all calibers


Print Profile(4)
Description
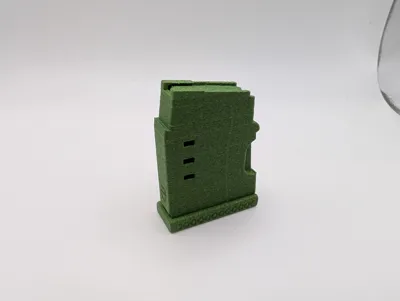
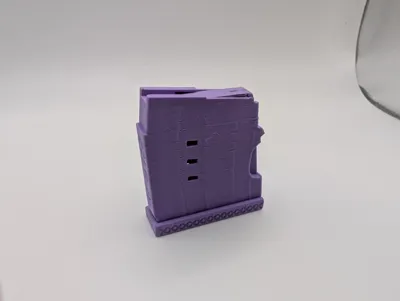
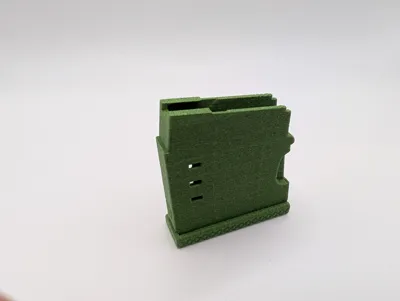
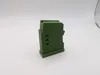
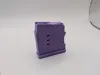
CZ Rimfire magazines in all calibers
- Most likely fits CZ 452, CZ 453, CZ 455, CZ 457, CZ 512, CZ 513 and BRNO 1-5 (tested in CZ 457)
- 22WMR/17HMR, 22LR and HYBRID
- Single shot and 5-shots variants (If enough requests I might add 10 -shots)
Hybrid is 22LR in 22WMR/17HMR body. NOT to do something stupid like firing 22LR in wrong barrel. Instead it is to avoid the need for the magazine well spacer when changing barrels in one of the rifles (455/457) that supports that.
Printing
As with all magazines, the hard part with 3d-printing them is the lack of stiffness in the plastics we are using. This magazines have thin walls and are prone to bulge if put under pressure. Therefore avoid loading them under long time and especially for 22WMR/17HMR it might be better to just use 3 rounds.
Use as stiff material as you have. PLA-CF, PPA-CF and other stiffer materials are recommended but for 22LR, PLA might work.
The print profiles have the recommended settings for print directions and support (only the follower needs support). For the body I'm using adaptable layer hight on the main one so the lips get as smooth as possible but the rest of the body a little higher strength.
For spring I recommend bending spring steel wire but I have provided a printable one as well, Its longevity will be very questionable but good for testing. Use PETG or PC-CF.
Assembly and tuning
Sanding
As already mentioned, I designed those to have maximum stiffness and therefore I try to minimize margins. This together with different materials and printers means that you might need to sand certain areas to get a perfect fit and function. The side of the follower where the support has been should definitely be sanded smooth. I also sand the sides of the body with a fine sandpaper to get it a little more smooth (but carefully, do not remove much material). If it does not click in place in the rifle, remove a little material on the underside of the forward lip on the body.
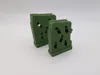
Assembly
As you can see on the picture, the follower need to be placed in a certain direction. The spring you can test turn in different direction but it should not make much difference (depends a little bit on material).

License
You shall not share, sub-license, sell, rent, host, transfer, or distribute in any way the digital or 3D printed versions of this object, nor any other derivative work of this object in its digital or physical format (including - but not limited to - remixes of this object, and hosting on other digital platforms). The objects may not be used without permission in any way whatsoever in which you charge money, or collect fees.
Comment & Rating (20)