
Customizable Cage Generator - Countertop Storage
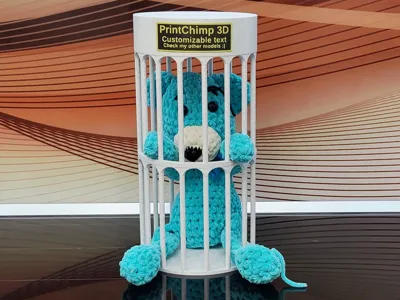
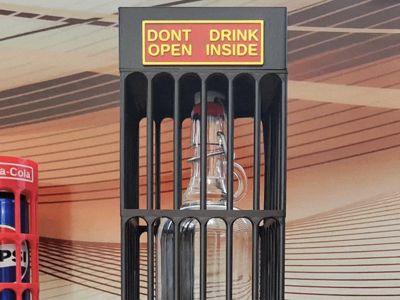
Print Profile(3)
Bill of Materials


Description
Customizable Cage Generator - Countertop Storage
If you like it, support me, sell it → Patreon
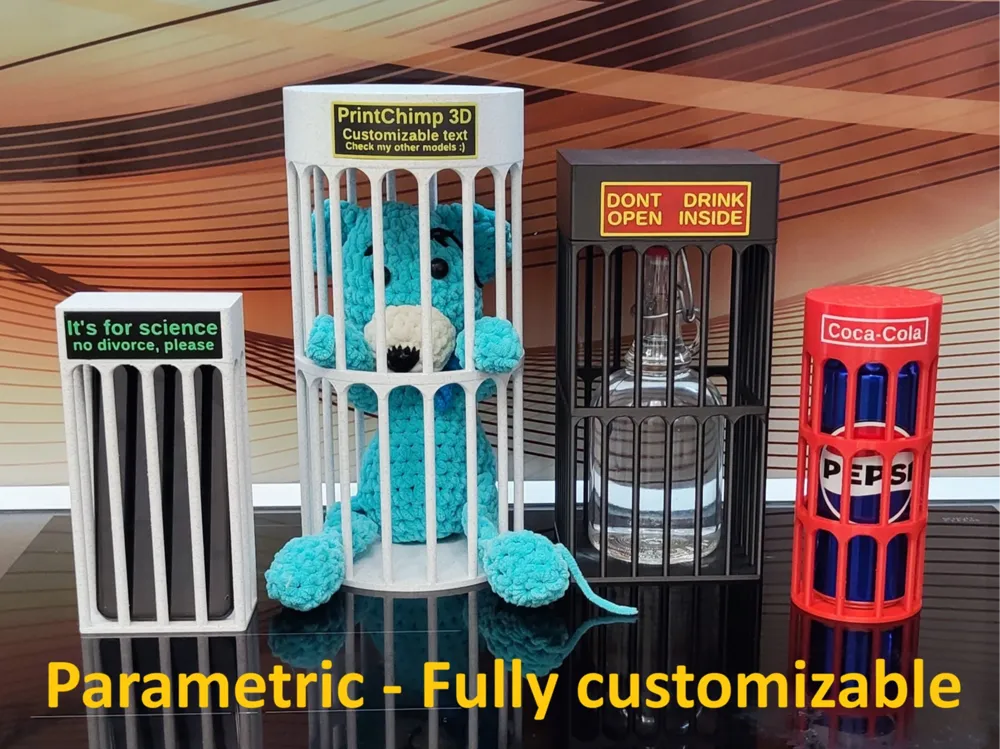
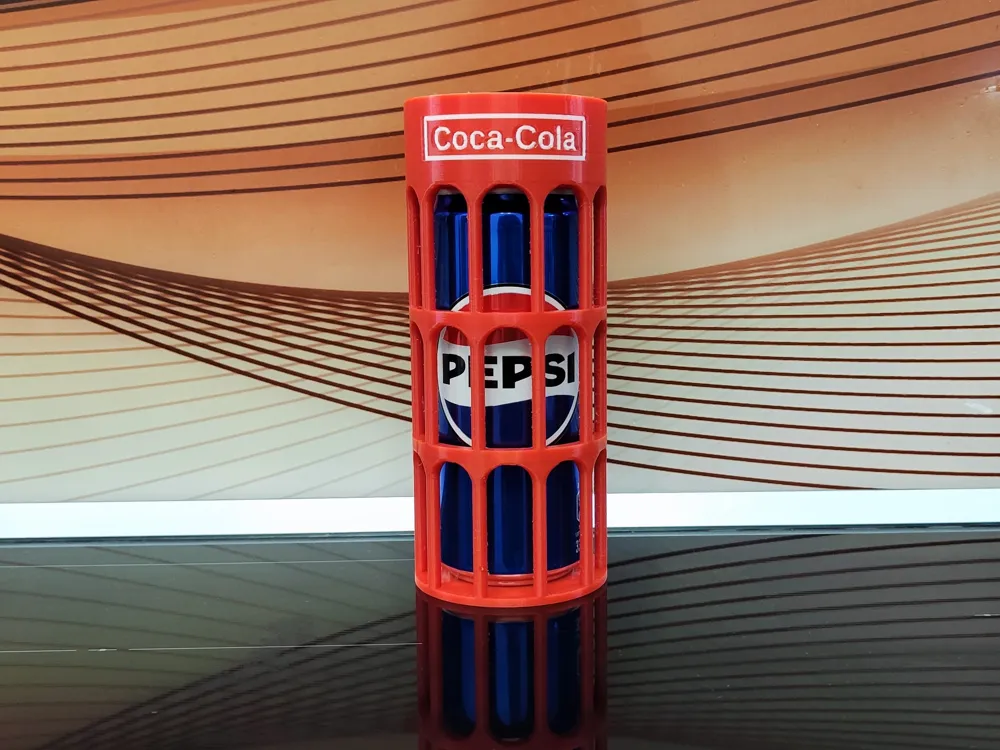
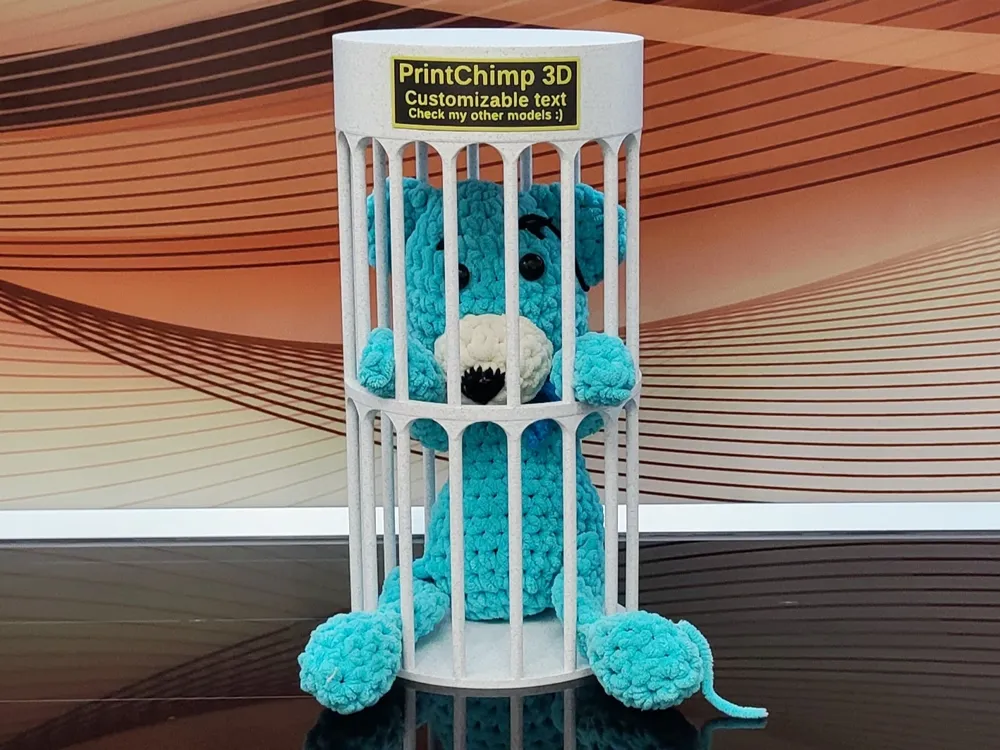
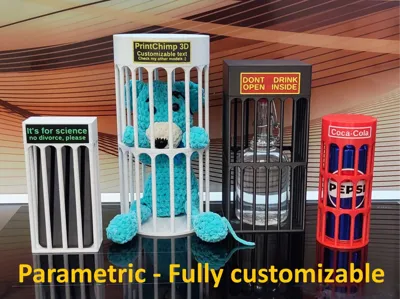
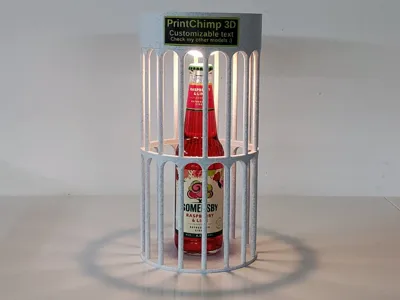
Organize your bar, desk, or kitchen with this fully parametric, support-free cage system.
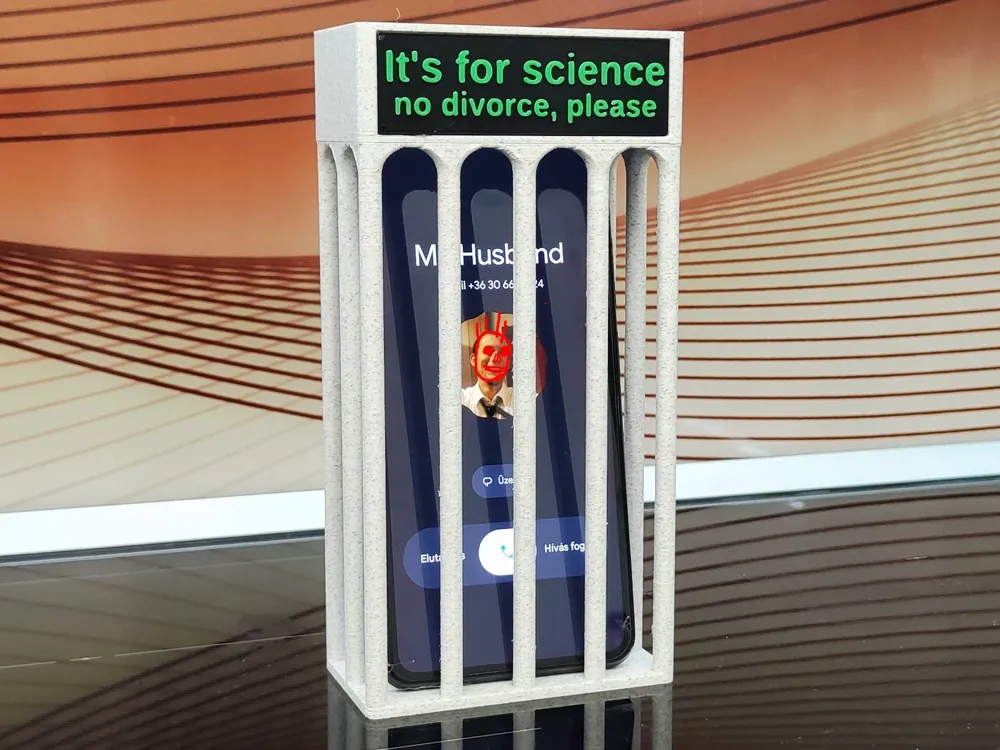

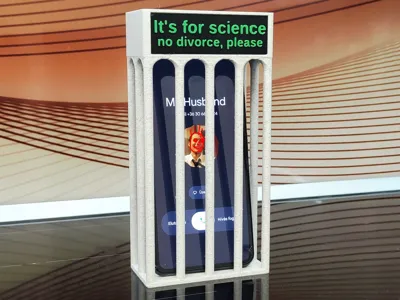
Whether you need a safe spot for your "Top Shelf" bottle, a snack holder for the bar counter, or a "digital detox" cell for phones during a party, this generator creates the perfect fit. Designed for FDM printing, every angle is optimized to print clean without support material.
⚠️ Safety Notes (Encapsulating Objects / General Use)
Only encapsulate objects that are non-flammable, non-explosive, and heat-safe. Do not print over pressurized containers, aerosols, batteries, or high-proof alcohol that could ignite near the hot nozzle/bed. Avoid trapping living animals, perishable food, or anything that can leak, outgas, or deform under heat. If using Pause & Insert, keep the pause as short as possible and never leave the printer unattended while paused.
🌟 Key Features
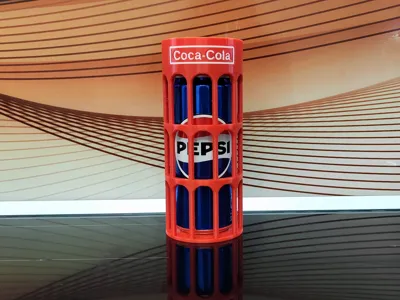
- Universal Parametric Design: Create rectangular or circular cages of any height, width.
- 100% Support-Free: The roof geometry uses internal pyramids/cones and arched bridges, ensuring perfect prints with no waste.
- Custom Nameplates: Includes a parametric nameplate system.
- Choose between Embossed (raised) or Debossed (sunken) text.
- Add up to 3 lines of custom text.
- Generates a mounting slot in the roof automatically.
- Split Printing Mode: Choose Split to print the base and roof separately (with alignment lips) for easy multi-color printing, taller builds than your Z-axis allows, or if you prefer gluing the roof on later instead of inserting an object mid-print.
- Multi-Color & AMS Ready: Standard version uses a separate, glue-in nameplate, while the AMS version features an integrated nameplate for clean multi-color swaps and a smoother finish.
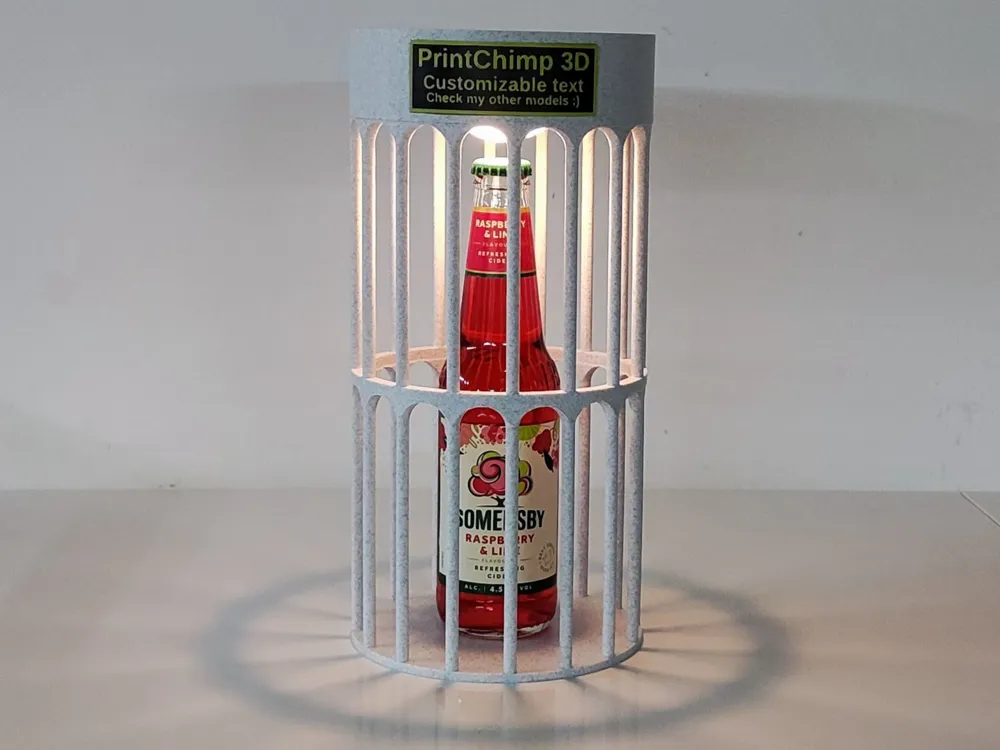
- Optional Lighting Support: Mounts for Bambu Lab LED Lamp Kit (MH001) or Puck (KC007) with cable channels (Only in Split Mode).
🛠️ Adjustable Parameters (OpenSCAD)
General & Print Settings
- Cage Shape: Choose Rectangular for boxes/phones/compact items, or Circular for bottles/cylindrical items.
- Print Configuration:
- Single Piece: Generates the entire cage as one object.
- Split: Generates separate Body and Roof parts with alignment lips/grooves. Use this if you want to mix colors manually, print taller than your Z-axis allows, or if you feel safer gluing the roof on later rather than pausing the print to insert an object.
- Printing Method:
- Standard: Designed for single-extruder printers. Generates a detached nameplate on the build plate with tolerance for gluing.
- AMS: Optimized for Multi-Material systems. Generates the nameplate flush inside the roof slot for a smooth, multi-color surface.
- Lighting Settings: (Split Mode Only)
- None: Standard roof.
- Bambu MH001: Generates a socket and rear cable channel for the LED Lamp Kit.
- Bambu KC007: Generates a socket for the LED Puck.
- Includes a printable snap-fit cap for the light socket.
- Display Mode:
- Full View: Shows the cage and the detached nameplate/cap.
- Cage Only: Exports just the main structure.
- Nameplate Only: Exports just the nameplate object.
- Print Configuration:
- Cage Shape: Choose Rectangular for boxes/phones/compact items, or Circular for bottles/cylindrical items.
Dimensions
- Overall Size: Set the Total Height, Base Thickness, and Roof Height.
- Tip: A higher roof creates steeper internal angles, making support-free printing easier.
- Footprint:
- Rectangular: Set Length (Side A) and Width (Side B).
- Circular: Set Base Diameter.
- Overall Size: Set the Total Height, Base Thickness, and Roof Height.
Bar Settings
- Bar Dimensions: Adjust Bar Thickness and Spacing.
- Recommendation: Minimum 5mm thickness for sturdy prints. Taller cages need thicker bars to avoid wobble. If using thinner bars, slow down printing significantly and tune cooling.
- Middle Reinforcement: Enable the mid-height horizontal frame for extra stiffness. (Highly Recommended for tall prints).
- Bar Junction Style: Choose None, Straight, or Curved arches where bars meet horizontal elements.
- Curved/Straight are recommended for a cleaner look and smoother, support-friendly transitions.
- Bar Dimensions: Adjust Bar Thickness and Spacing.
Nameplate System
- Text Style: Choose Embossed (raised) or Debossed (sunken/flush) for different visual or multi-color effects.
- Depths: Adjust Plate Thickness (glue pocket depth) and Text Depth.
- Border Frame: Toggle the border on/off and set the line width.
- Text Layout: Configure up to 3 lines of text with individual font sizes and a fixed line gap.
- Size & Position: Set the plate width, height, and its vertical offset from the roof bottom.
Fit/Tolerance: (Standard Mode only) Increase the tolerance if your printer produces slots that are too tight for the nameplate insert.
🖨️ Print Settings & Expert Tips
Slicer Preparation:
- If you use the Split configuration for the cage, use "Split to Objects" and arrange the parts on the heatbed as you prefer.
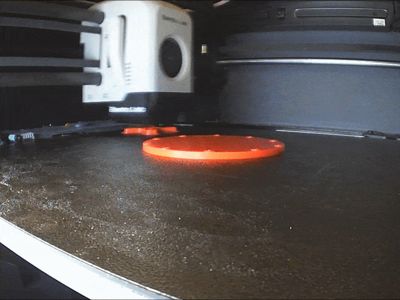
- If you are generating a Nameplate, it is recommended to use the "Split to Objects" function in your slicer and move the nameplate to a separate plate. This allows you to print it with different settings or colors easily. For best results, rotate the roof and print it upside down (with the outer top face on the build plate). This improves surface quality and keeps all internal overhangs support-free.
- To achieve the best results with this support-free model, follow these guidelines:
- Supports: Not required (0%).
- Walls/Perimeters: 2–3 walls are recommended to give the bars enough structural integrity.
- Infill: 10–20% is sufficient for the base and roof.
Layer Height: 0.2mm works great, but for steeper roof angles, 0.16mm can provide an even cleaner internal finish.
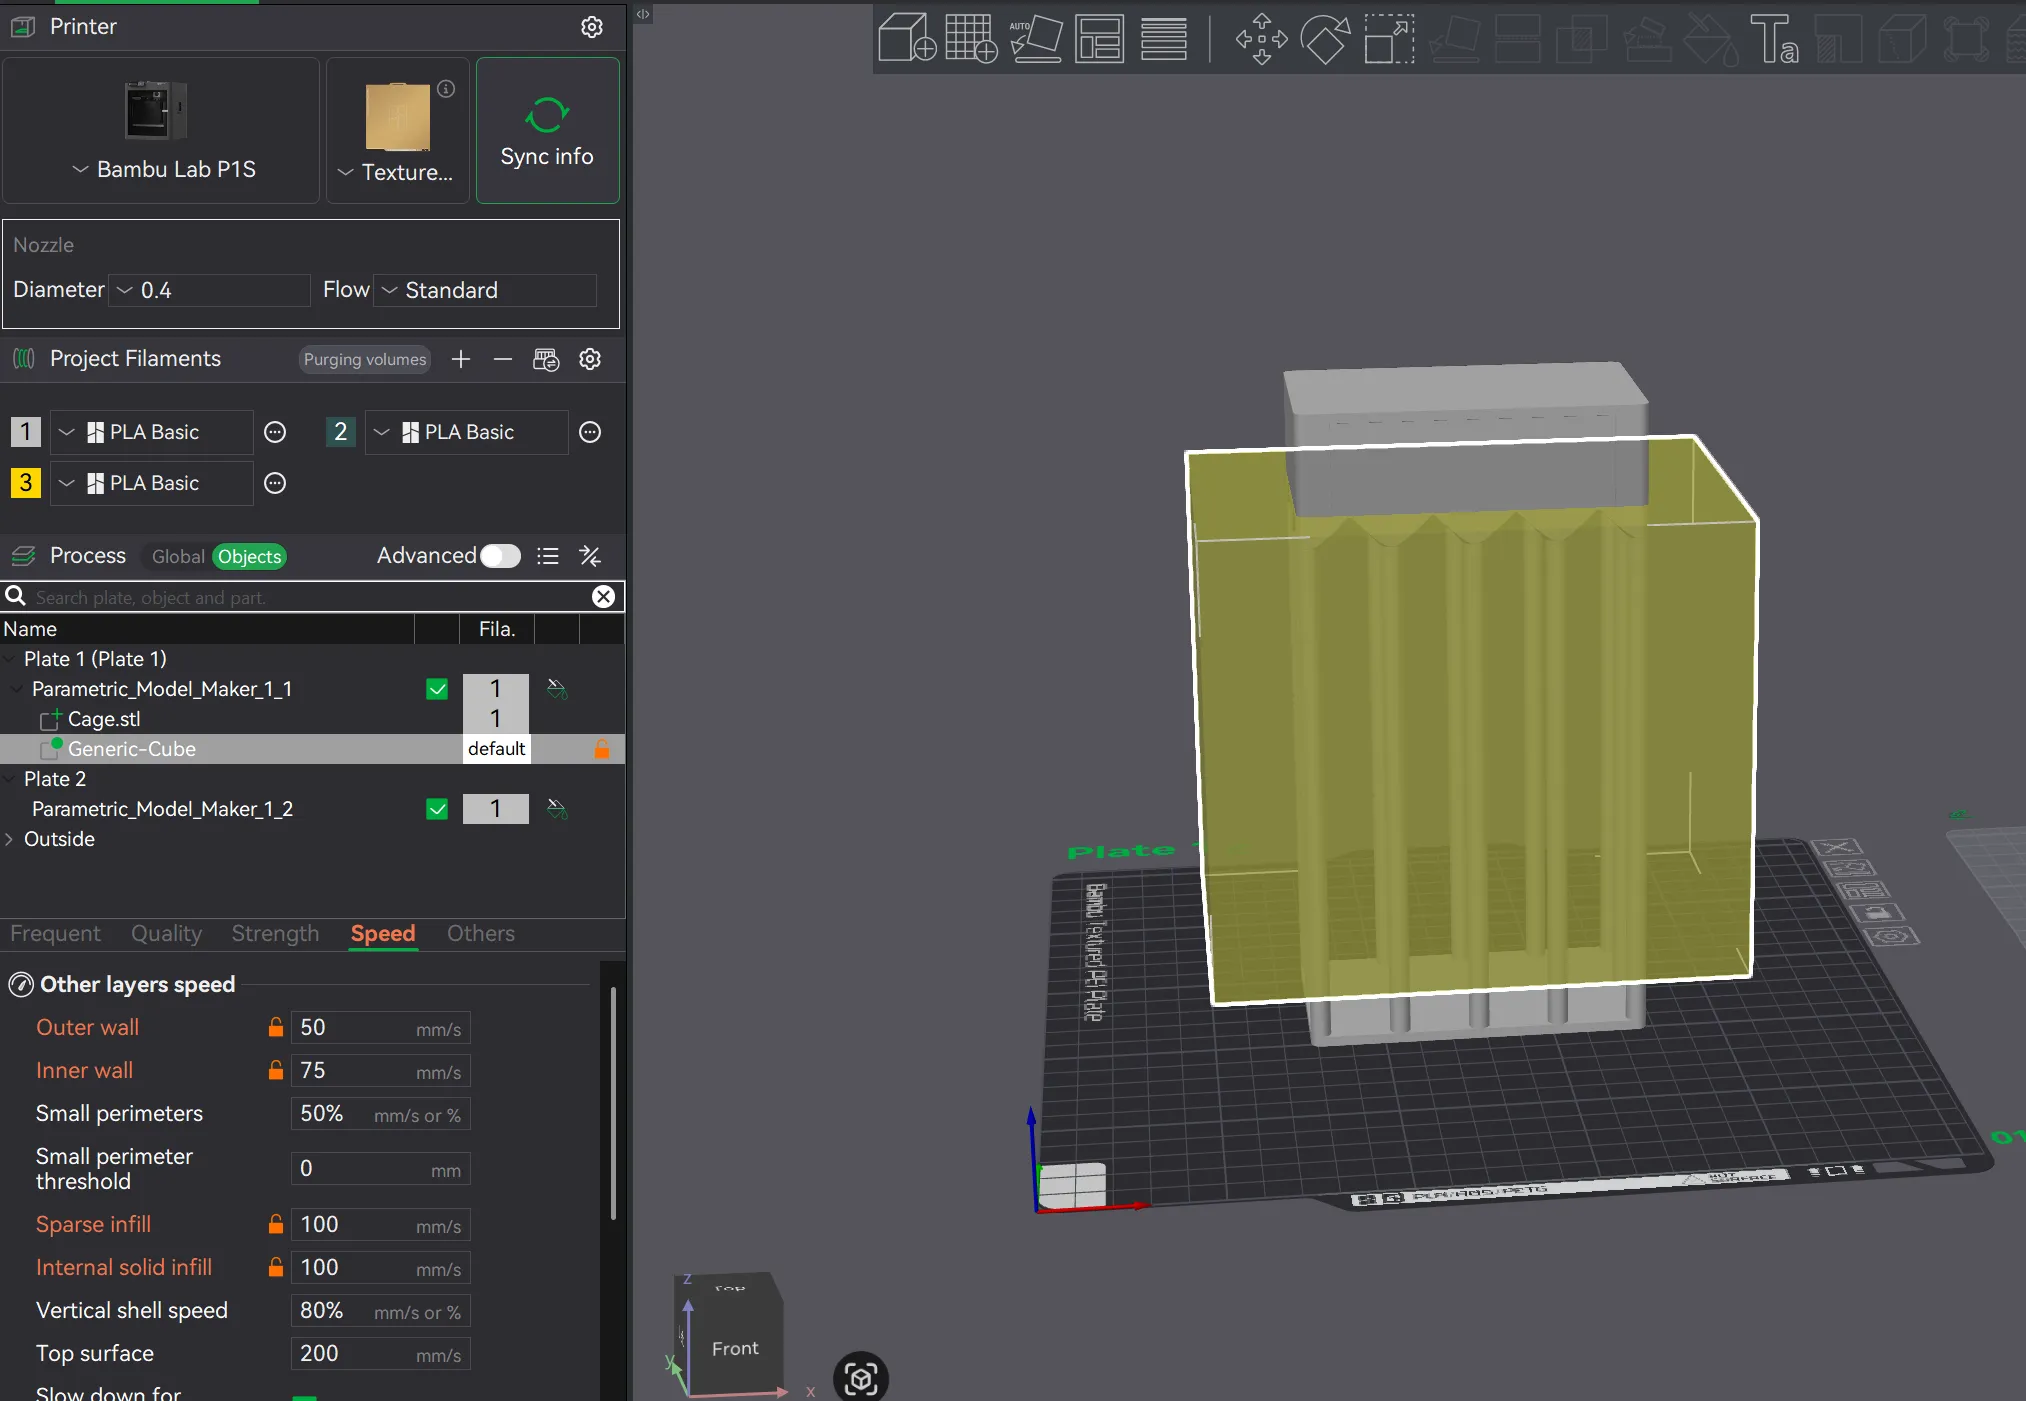
- If you are printing a tall cage or using thin bars (especially without the middle reinforcement frame), the bars may start to vibrate or "wobble" as the print gets higher. To ensure a clean finish:
- Add a Height Range Modifier: In your slicer, add a modifier starting from roughly 50mm height to the top.
- Reduce Speed: Significantly lower the print speed for this upper section (e.g., 20-25% of your standard speed).
Why? This prevents the nozzle from shaking the bars while the plastic is still cooling, ensuring the roof starts on a stable foundation.
- ⏸️ Pause & Insert Strategy (Single Piece Mode):
- If you are using the Single Piece configuration to trap an object inside:
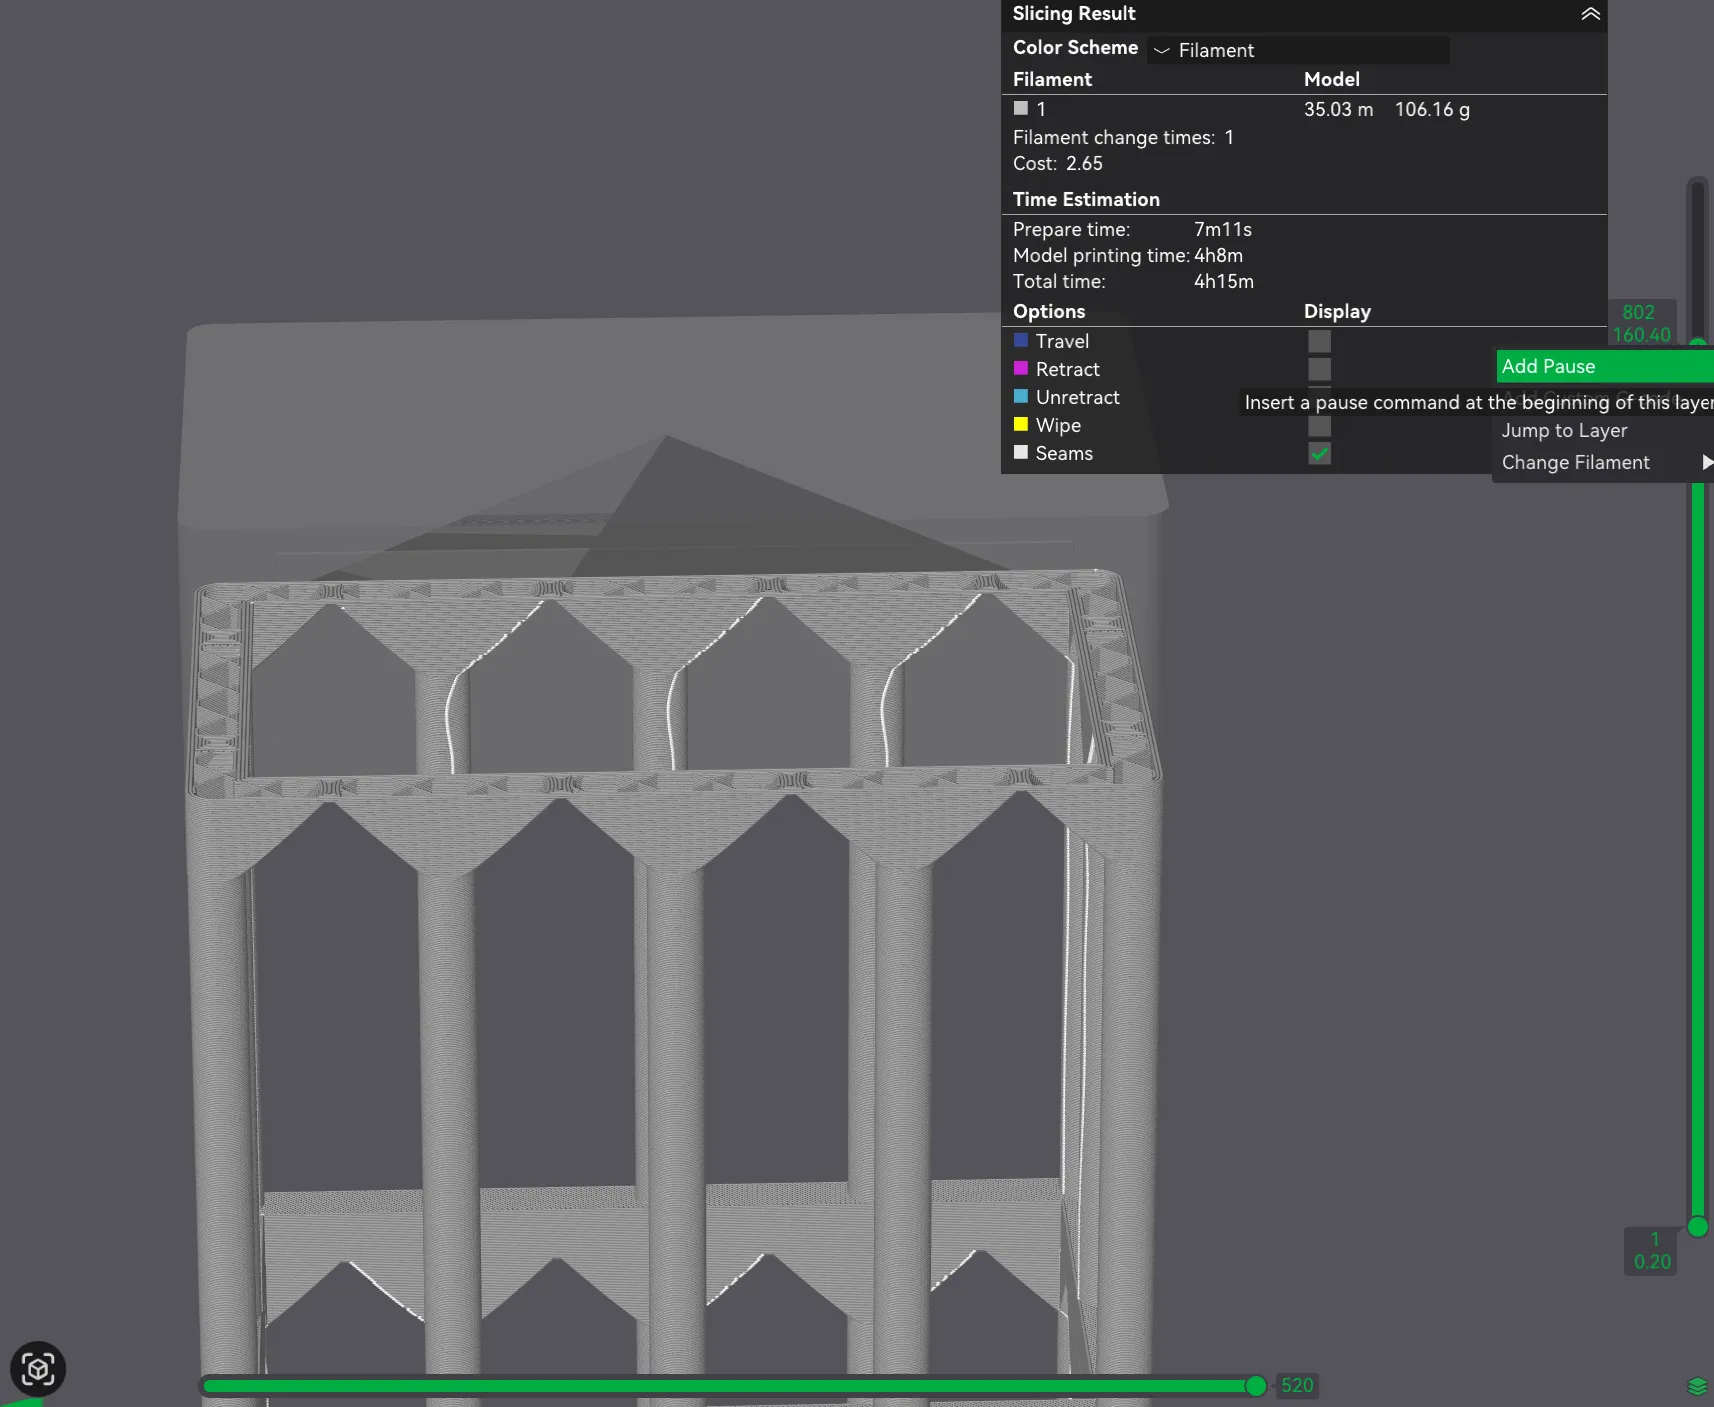
- Set a Pause: In your slicer, add a PAUSE command at the layer where the bars end and the roof begins. This is the last moment you have an open gap to slide your object in.
- Nozzle Clearance: Ensure the nozzle parks at a height significantly higher than the top of the cage to allow enough room for the insertion without burning your hand or hitting the object.
- Minimize Pause Time: Do not leave the print paused for an extended period. Due to material shrinkage as the plastic cools, the model can slightly contract or warp. If the print stays paused too long, the nozzle might collide with the hardened/shrunken part upon resume, or the layers may fail to bond properly.
Insert & Resume: Have your object ready, place it in the cage immediately, and resume the print while the plastic is still warm to ensure a seamless transition to the roof.
⚠️ Printer Type Recommendations (Encapsulating Objects)
If you plan to use Single Piece mode to trap an object inside during printing (Pause & Insert):
- Bed Slingers:
- NOT Recommended 🛑. The rapid Y-axis movement of the bed can easily dislodge the inserted object, causing print failure or damage.
- Recommendation: Use the Split config and glue the top on.
- CoreXY / Fixed Bed:
- Safe for Single Piece printing. You can pause the print at the top of the bars, insert the object, and resume.
- If using Pause & Insert, keep the pause as short as possible and never leave the printer unattended while paused.
🧩 Assembly & Nameplate
- Split Cage: If printing in two parts, apply a small amount of glue to the alignment lip on the base and press the roof on firmly.
- Nameplate:
- Apply a few drops of glue to the back of the nameplate or the slot.
- Slide or press the plate into the mounting slot.
- Circular Cages: The nameplate is designed to be printed FLAT. It is thin enough to remain flexible. Simply bend it gently to follow the curve of the roof as you glue it in place. If you don't want to hold it by hand, use a clamp to secure it until the glue sets. This ensures the best print quality for the text.
License

You shall not share, sub-license, sell, rent, host, transfer, or distribute in any way the digital or 3D printed versions of this object, nor any other derivative work of this object in its digital or physical format (including - but not limited to - remixes of this object, and hosting on other digital platforms). The objects may not be used without permission in any way whatsoever in which you charge money, or collect fees.


Comment & Rating (0)