Scuba Diving Nitrox Analyser


Print Profile(1)
Description
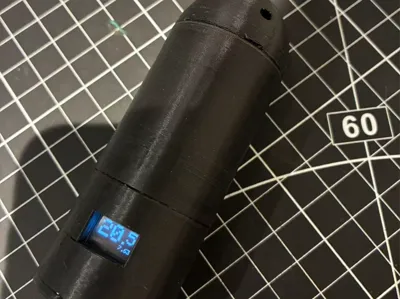
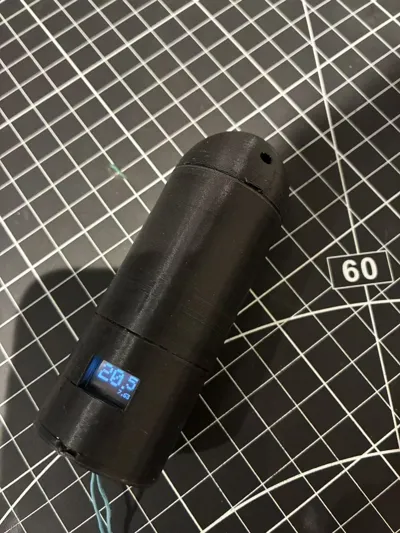
Nitrox analyser for scuba diving.
ESP32-C3 based. Powered by a super capacitor, battery life is only 10 minutes but more than enough for a weekend of use. Using super capacitor instead of lithium battery allows flying in hold luggage.
You can use any molex connector oxygen cells, I recommend using retired cells from Diversoft/Kiss/XCCR rebreathers.
JJ and AP CCR cell is not supported as they use coaxial connector, it's a easy mod though just extend the length of sensor tube.
Description of the electronics and code in links below:
https://github.com/tl5915/Nitrox
--------------------------------------------------------------------------------------------------------------------------------------------
Material required:
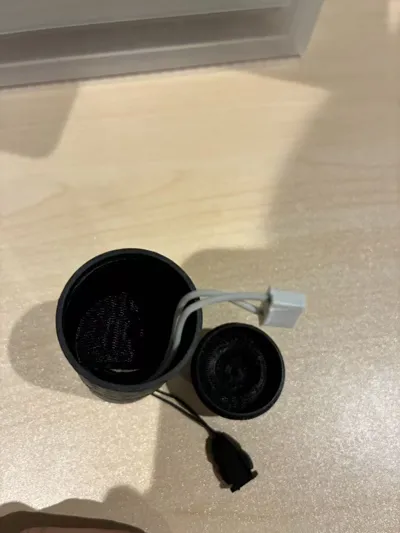
1. Sensor tube to be 3D printed
2. Screen protector - transparent acrylic folder page, cut to approriate size
(https://amzn.eu/d/059uF1ne)
3. Oxygen Cell (any 3-Pin Molex type, e.g. Vandagraph R-22VAN, retired sensors from Diversoft/Kiss/XCCR)
4. ESP32-C3 Development Board with 0.42 Inch OLED Display
(https://amzn.eu/d/0FZCRB2)
5. ADS1110 Analog To Digital Converter Module
(https://ebay.us/m/G5uvKG)
6. Switch
(https://amzn.eu/d/fneWX5r)
7. M2 x 3mm screw
(https://amzn.eu/d/fZkoRWB)
8. 5.5V 5F H-Type Button Super Capacitor
(https://amzn.eu/d/1qX6MRr)
9. Prototype Board(cut to 8x8, do not use edge of the board, too wide)
(https://amzn.eu/d/03sAWb33)
10. 8-Pin Female Headers
(https://amzn.eu/d/0gmsWj1w)
11. JST-XH (2.54mm) 3-Pin Female Connector (cut the locking arrows off to fit Molex header on oxygen cell)
(https://amzn.eu/d/00dJxi24)
Circuit connection:
1. ADS1110 VCC connects to ESP32C3 V3 pin (3V3)
2. ADS1110 GND connects to ESP32C3 GD pin (Gnd)
3. ADS1110 SCL connects to ESP32C3 pin 6 (GPIO6)
4. ADS1110 SDA connects to ESP32C3 pin 5 (GPIO5)
5. ADS1110 VIN- connects to Oxygen Cell pin 1 (-)
6. ADS1110 VIN+ connects to Oxygen Cell pin 3 (+)
7. ESP32-C3 V5 pin (Vcc) connects to the switch
8. The other end of the switch connects to + side of the super capacitor
9. ESP32-C3 GD pin (Gnd) connects to - side of the super capacitor (marked by black arrow)
(polarity of the oxygen cell pins doesn't matter, software will convert to differential voltage)
Assembly:
1. Cut acylic sheet to appropriate size and place in the slot in electronics tube, secure it by pushing in the screen protector plug
2. Wire all electonics as described above
3. Place super capacitor in the seat in sensor tube, snap on electronics tube
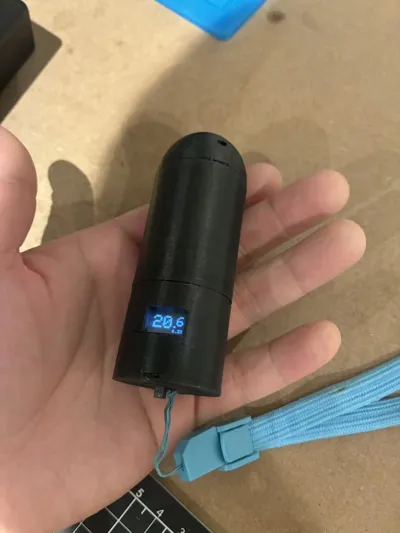
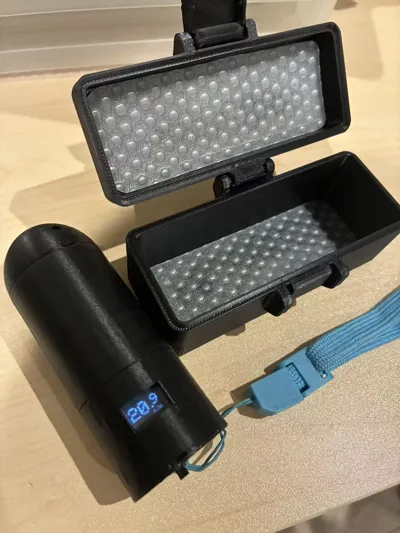
4. Thread a lanyard on end cap through the slots if desired. Lanyard must be attached for safety if intended to insert into any body cavity!
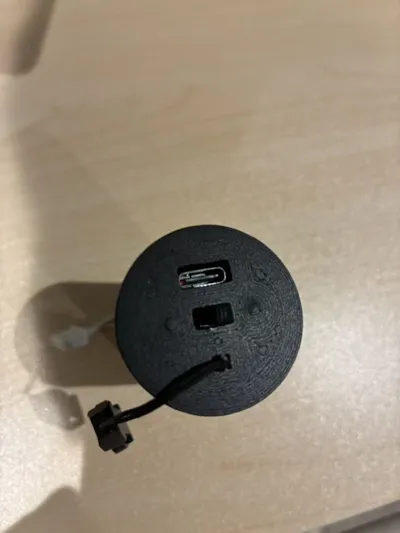
5. Screw the switch onto end cap with two M2 x 3mm screws
6. Place ESP32-C3 in electrnics tube, OLED side towards screen opening, USB-C side towards outside
7. Align USB-C with the opening on end cap, snap on end cap
8. Screw oxygen cell on front cap
9. Connect molex connector to oxygen cell
10. Snap on front cap
UI instruction:
- Charge the super capacitor with USB-C cable with switch on, charging takes 3 to 5 minutes. This will provide about 10 minutes working time for the analyser. Switch off after charging.
- Switch on in air, analyser will calibrate automatically, screen shows 21% after air calibration (available when voltage is between 5 to 15 mV)
- To calibrate with 99% oxygen, place censor on oxygen cylinder for 15 seconds when switched off. Switch on, screen shows 99% after oxygen calibration (available when voltage > 30 mV)
Comment & Rating (0)