
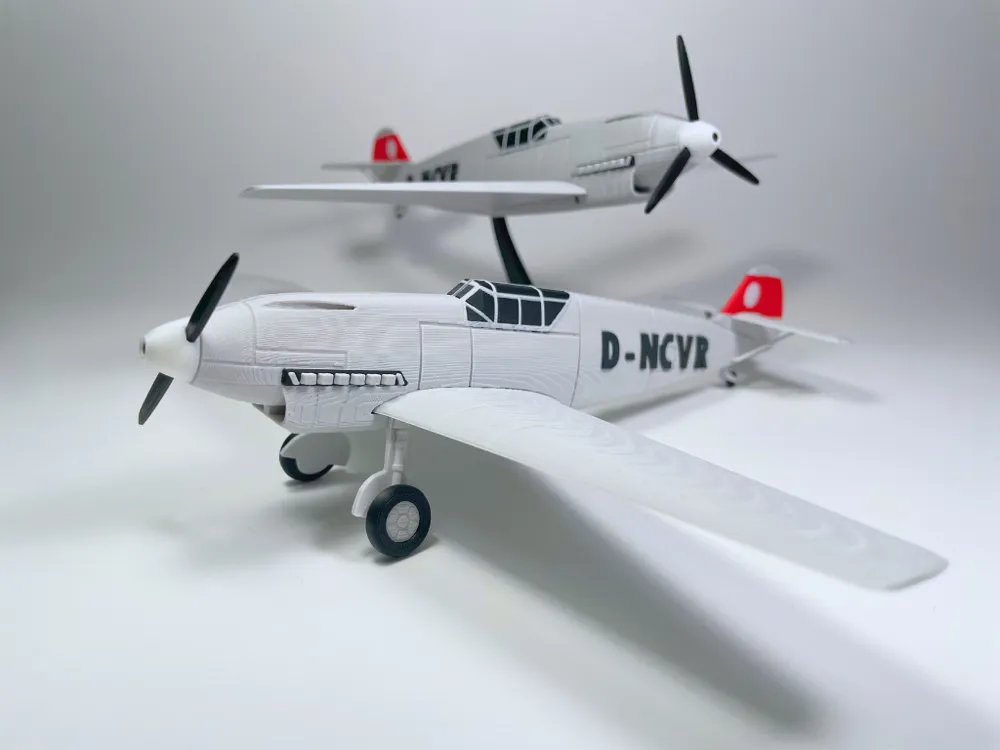
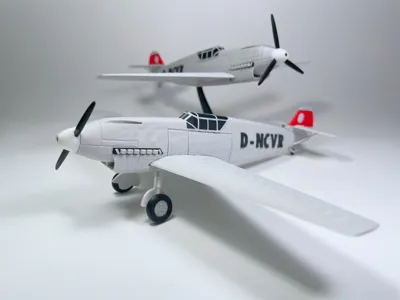
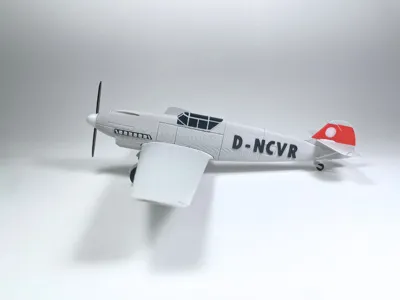
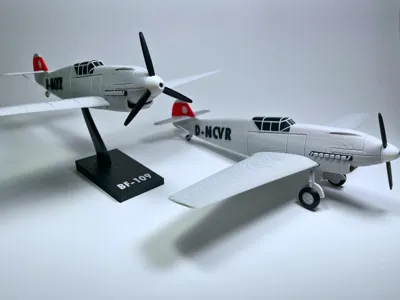
1:48 Scale BF-109
Print Profile(1)
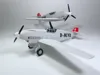





Description
The Messerschmitt BF 109 was a prolific aircraft flown by the Luftwaffe and other countries during WW2. It was developed in the late 1930's, with upgraded variants being produced until the end of the war in 1945. At the time of its initial deployment, the BF 109 was one of the most advanced aircraft in the world, featuring an all-metal monocoque design, retractable landing gear, and a powerful engine, allowing it to outperform many of it's contemporaries. The BF 109 was initially designed to be an interceptor, but ended up being developed to perform many other roles, serving fighter-bomber, recon aircraft, bomber escort, and all-weather fighter roles, among others. By the end of the war, 9 main variants (A through K) were produced.
About The Model, Please Read Before Printing.
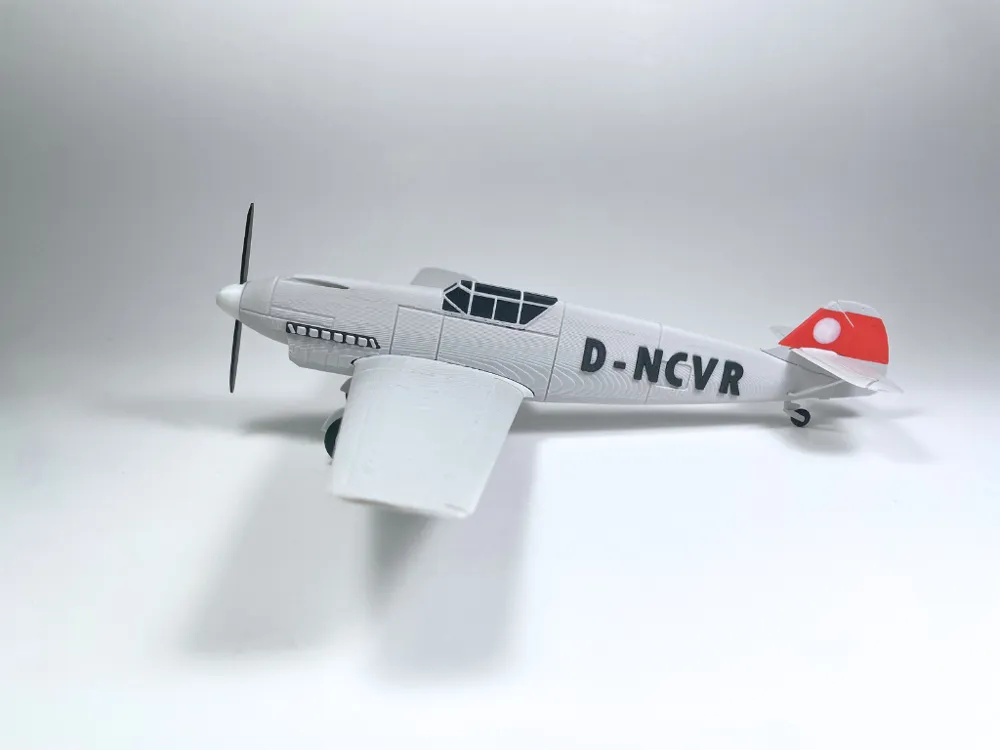
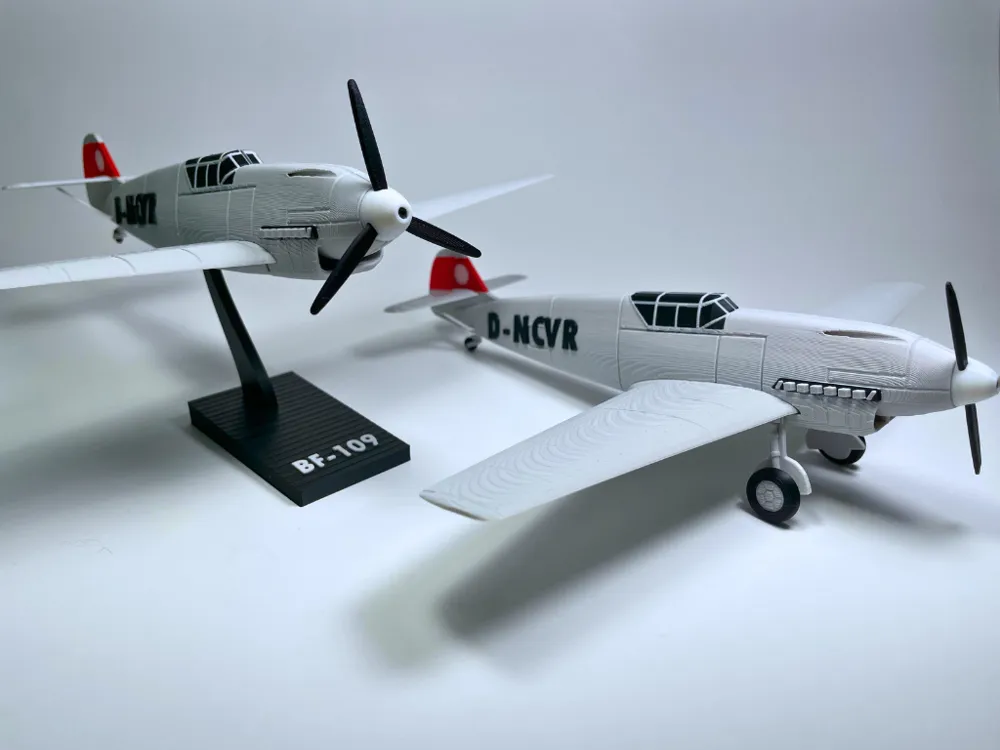
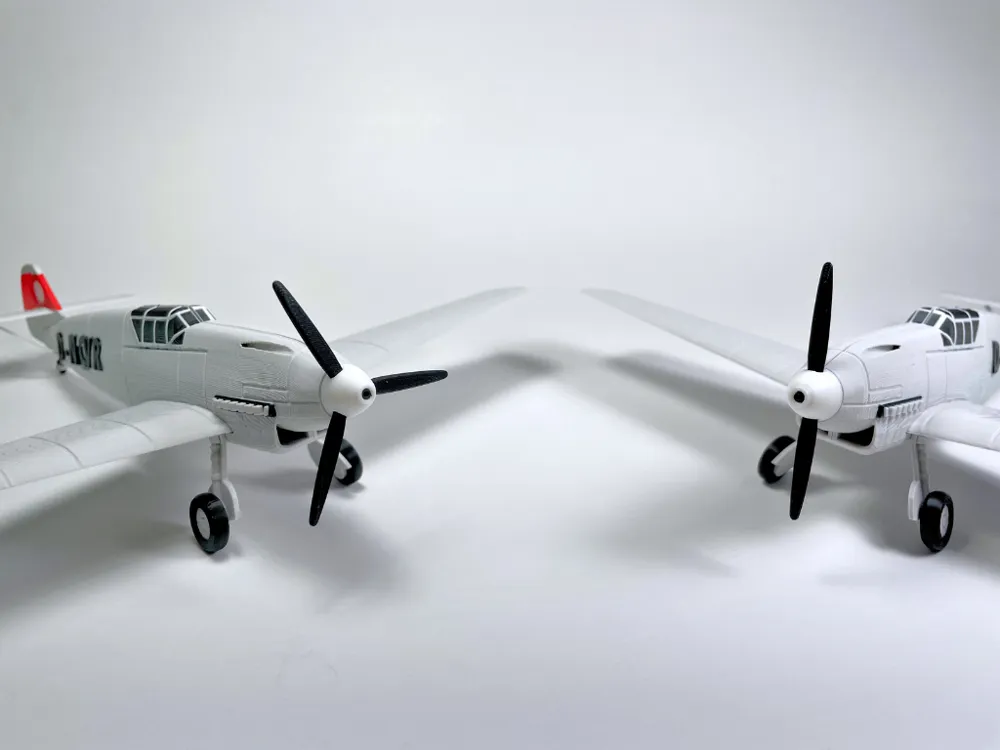
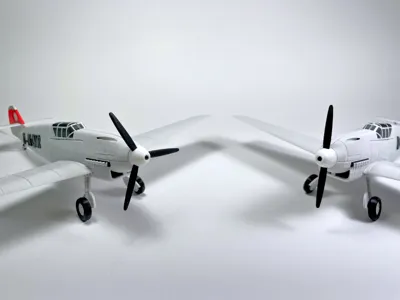
I designed this model due to the lack of existing models of early BF 109 variants. While models of the E and G are more common, the A, B, C, and D variants are much less common. This model is designed to adhere to the main design features of these rare early variants, including the large intake under the nose, horizontal stabilizer struts (also found on the E model), and the 2-Bladed Propeller. (I also included a newer 3-bladed prop in the print profile)
Ensure your printer and filament are sufficient for this print, as certain small parts such as the struts and the tail gear require GOOD adhesion to print correctly. If you are unsure if they will print well, open the 3mf in Bambu studio and move the parts to an new plate, as this will reduce the filament waste in case of failure as well as allowing you to determine exactly which component may not be working. When I printed the final versions of this model, I used a cool plate on A1 Mini, and there were no issues whatsoever. All the text (Registration #, Stand label) on the model is editable in Bambu studio, and can be changed to your liking.
Assembly
Remove all components from the plate, and verify that there are no deficiencies in any of the parts. Reprint individual parts if necessary.
Connect the 2 Fuselage halves with the rectangular connector. If it is too tight, sand it. If it is too loose, glue it.
Connect the Vertical stabilizer front section (the one with the white circle) to the top of the rear of the fuselage. Slide in the Horizontal stabilizer component, and then affix the rear (rudder) section of the vertical stabilizer.
Connect the wings to the fuselage on their respective sides.
Connect the landing gear tires to the gear. The tires should be cambered, just line up their angle with the angle of the “rim”
Connect the 2 pins into the landing gears. the flanged edges of the pin should touch the left and right sides of the hole. make sure to insert it from the detailed side up, so when it is affixed to the plane the landing gear can be properly oriented. (Symmetry of the pins do not matter, however symmetry of the landing gear itself does.)
Connect the landing gear to the airplane, using the square holes created by the fuselage and the underside of each wing. If the pin contacts the bottom surface of the wing, remove the pin and rotate it 90 degrees, so it can sit flush.
Connect the rear (tail) landing gear to the underside of the fuselage at the rear. This component is pretty small, and may require you to sand it or glue it if the fit is suboptimal.
Put the rear tail wheel tire into the tail landing gear AFTER the gear has been affixed to the airplane. You can use glue between the tail gear and tail tire if desired, but if you are just using the model for display, this should be unnecessary. Still, feel free.
Choose a propeller hub, between the 2 bladed or 3 bladed variants. You can set aside or discard the one you don't want. Put the blades into the hub, again, sanding or using glue as you see fit. The tapered edge of each blade should face forwards to allow for correct insertion into the slots on the propeller hub.
Insert one end of the propeller shaft into the front of the plane, and the other end into the assembled propeller from the previous step. The shaft may need some modification (ie. sanding) due to the difficulty of printing small cylinders. I found I did not have any difficulty printing it, but just keep that in mind.
Gently insert the horizontal stabilizer struts into their own sides of the fuselage and bend them up. This step can be difficult, be patient with the components to avoid damaging them. the struts should be inserted so that the main arm of it angles towards the rear of the aircraft, refer to the images.
- Assemble the stand, and insert it into the underside of the aircraft if desired, or else you can display it as a landed model with the gear out. The gear can easily be removed and put on if desired. Note: if you do display it in the “flying” configuration, you can leave the tail wheel in, as on most BF 109 variants the tail wheel was not retractable.
Post-assembly notes. Depending on the printer and the filament, you may experience some noticeable gaps between the fuselage halves if they are not completely flat. However, you can easily fix this with Cyanoacrylate (superglue) or any other glue that works on your chosen filament by just pressing the halves together and allowing it to set. Enjoy the model, and feel free to share your makes!
License

You shall not share, sub-license, sell, rent, host, transfer, or distribute in any way the digital or 3D printed versions of this object, nor any other derivative work of this object in its digital or physical format (including - but not limited to - remixes of this object, and hosting on other digital platforms). The objects may not be used without permission in any way whatsoever in which you charge money, or collect fees.


Comment & Rating (13)