
The Goblin's Grip | Pumpkin Bomb Custom 21mm Knob
Print Profile(2)
Description
🚀 Support My Creative Journey🚀
If you find my designs helpful or inspiring, there are two ways you can help me keep creating:
Boost Me (for free)
If you're on MakerWorld, a "Boost" helps me reach more makers and keeps the filament flowing! It's Free!!🚀
Buy me a coffee☕: For those who want to go the extra mile to support my work and my family.
📖 Description
"Out, am I?!"
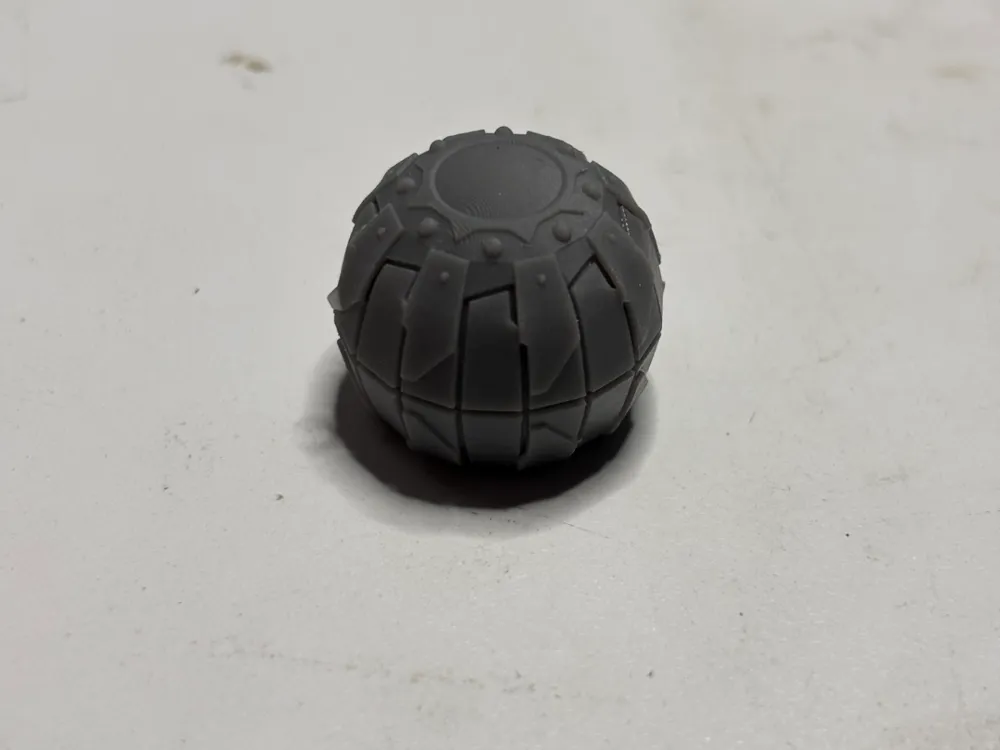
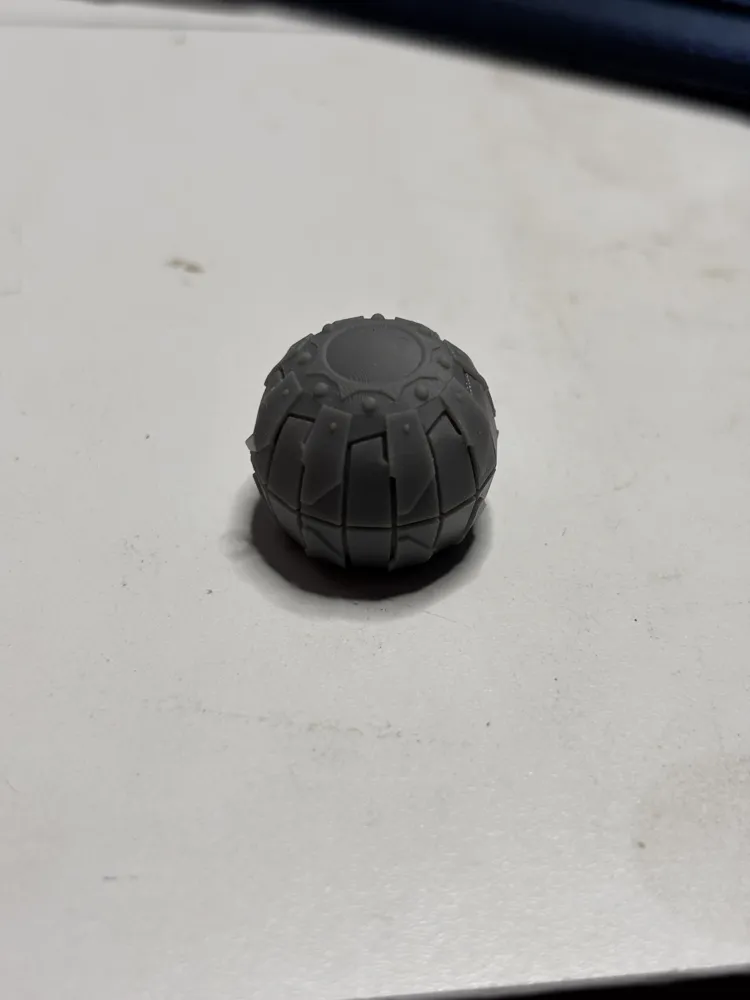
Give your pedalboard a taste of pure chaos! The generic plastic knobs are history. If you want your tone to strike fear into the hearts of your audience, the Green Goblin Pumpkin Bomb Knob is the only upgrade that matters.
Whether you’re building a "Sinister" fuzz or just want to add a touch of Marvel villainy to your rig, this 21mm knob is engineered to look like it came straight out of the Oscorp weapons lab.
Why you need this on your board:
- Oscorp Tech: Instantly transforms your gear into a high-tech villain's masterpiece.
- Aggressive Grip: The distinctive "pumpkin" ridges provide a surprisingly firm, tactile feel for high-precision adjustments.
- Maximum Presence: At 21mm, this knob makes a bold statement on any stompbox.
- The Ultimate Villain Rig: Finally, a knob that matches the chaotic energy of your most sputtering, aggressive distortion pedals.
🛠 Technical Specifications
- Diameter: 21mm (for maximum visual impact).
- Compatibility: Fits all standard 6.35mm (1/4") potentiometer shafts.
- Mounting: Secure M3 Set-Screw system.
- Hardware Required: 1x M3 Nut + 1x M3 Set Screw.
🔧 Assembly Instructions
- Insert the Nut: Slide the M3 Nut into the internal hexagonal slot.
- Prepare the Screw: Thread the M3 Set Screw into the hole until it meets the nut.
- Mounting: Place the knob on your 6.35mm shaft and tighten the screw until it locks firmly.
🖨 Printing & Finishing Tips
- Material: PLA+ or PETG. Resin is highly recommended to capture the menacing texture of the bomb.
- The "Classic" Look: Print in Metallic Orange or Deep Pumpkin Orange.
- Pro Detail: Paint the recessed "eyes" and "mouth" with a Translucent Yellow or Glow-in-the-Dark paint to simulate the fiery explosion inside!
- Layer Height: Use 0.1mm to ensure the curved pumpkin shape stays smooth and professional.
Don't let your tone be a hero. Download and print the most explosive knob on MakerWorld!
📦 Looking for more? Check out The Signature Control Vault for vintage replicas and pop-culture knobs!
License

You shall not share, sub-license, sell, rent, host, transfer, or distribute in any way the digital or 3D printed versions of this object, nor any other derivative work of this object in its digital or physical format (including - but not limited to - remixes of this object, and hosting on other digital platforms). The objects may not be used without permission in any way whatsoever in which you charge money, or collect fees.


Comment & Rating (0)