
Chainmail Hood Coif for Cosplay
Print Profile(3)
Description
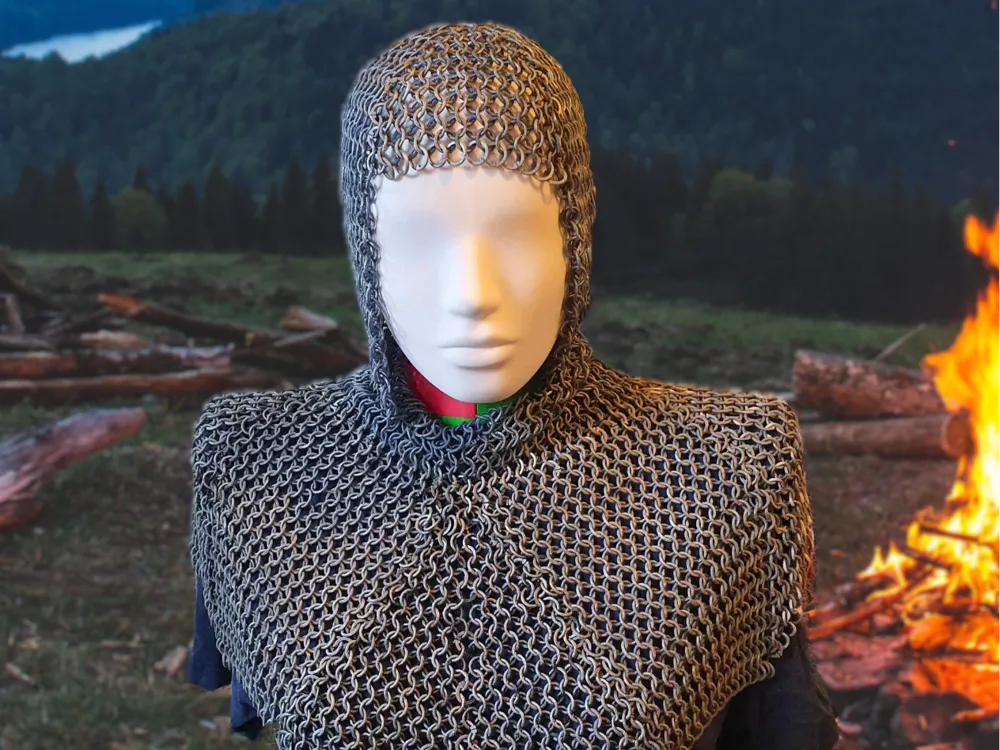
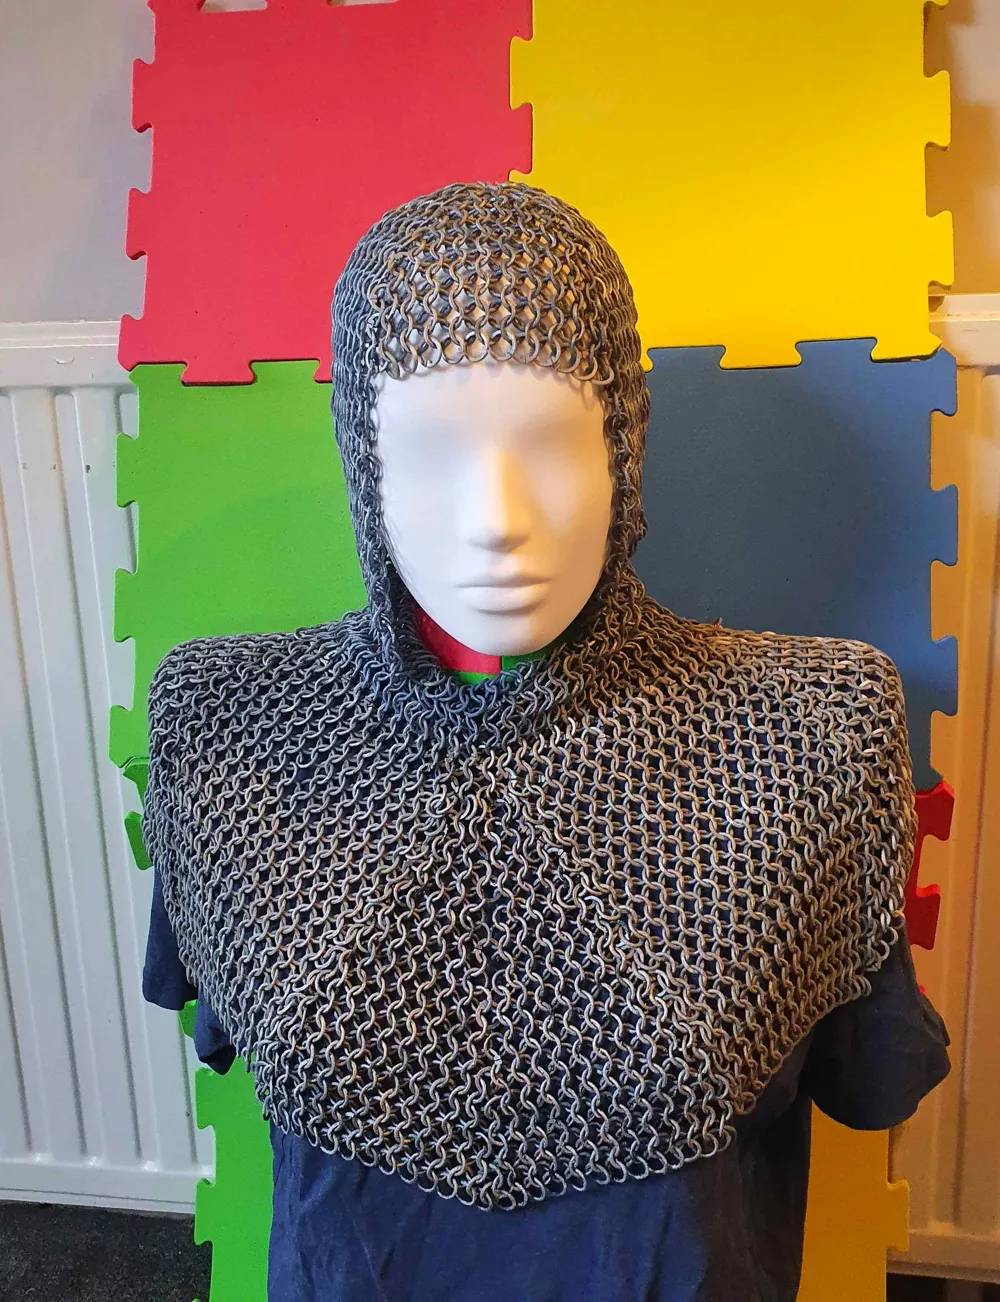
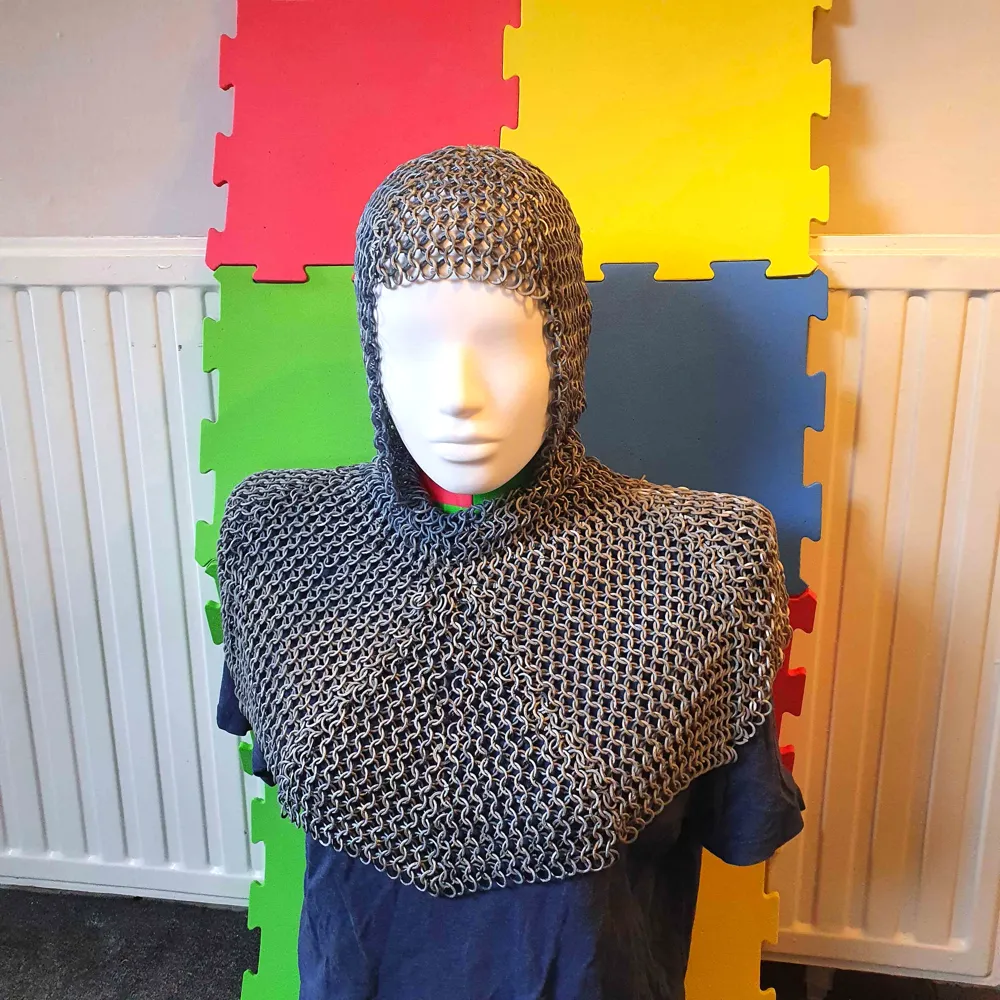
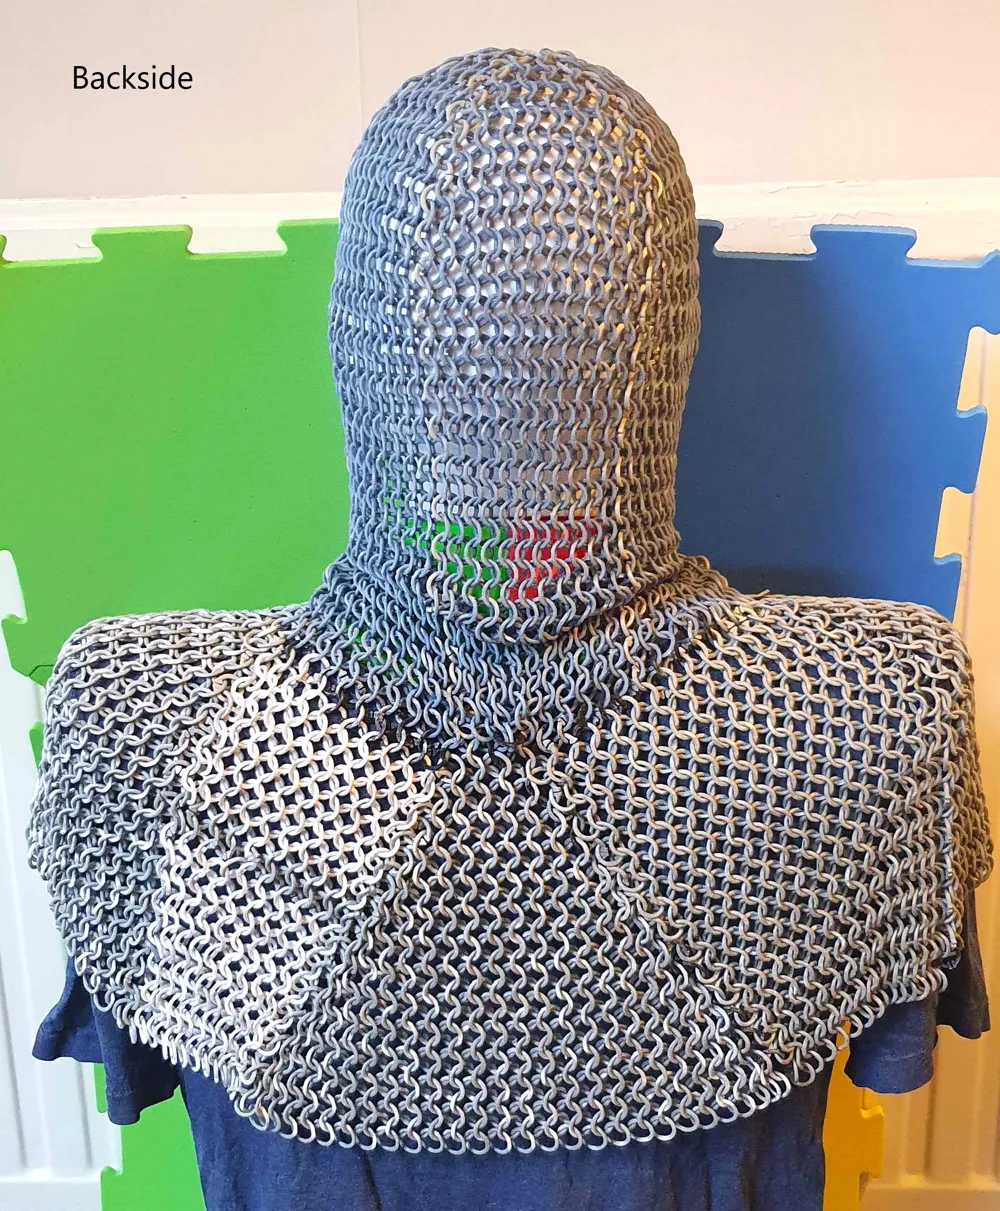
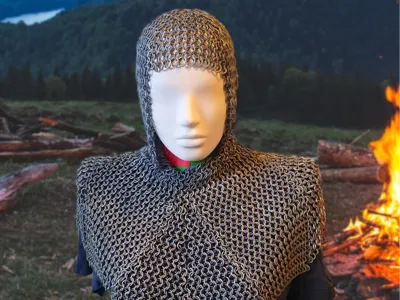
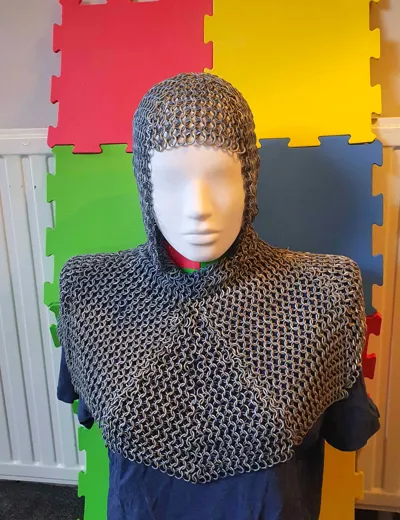
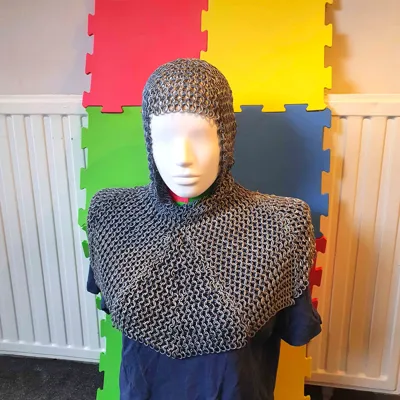
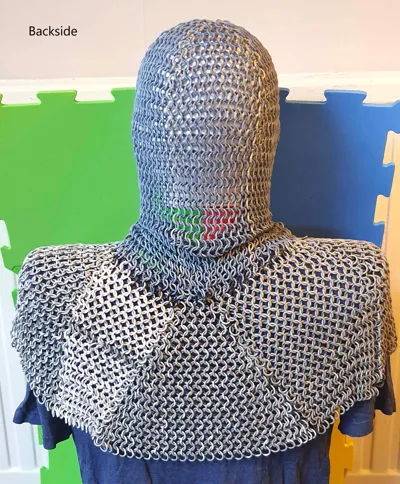
An adaption of my original coif with my bishops mantle design, so that the coif makes a full hood and shoulder cover.
This I hope will be perfect for anyone who want to use it for cosplay. I have improved the release of the chains from the baseplate so there should be alot fewer broken links when removing the chains than on my previous chainmail designs.
Print specifics
This print is a project that takes roughly 5 days to fully print all the buildplates (Please note you have to print a few of them multiple times , this is noted on the plate name). Once printed the sheets can be connected using the connection links provided.
to all those who are not using the included print profile I recommend a temperature of initial layer 220 and all later layers to be 200c.
I have printed these in pla Basic. Silk pla is too brittle and the layers will come apart so instead print in gray and for shine use a sponge to apply silver paint if desired.
NOTE: these links are very small and should never be given to children
Troubleshooting
chainmail failures are usually due to the print head bumping the underlayer at speed. This https://makerworld.com/en/models/2371201-chainmail-v2-test#profileId-2595063 is a test model I made for fine tuning issues (prints in 30 mins so saves you a whole lot of testing time if you are having problems). could you try that a few times with a few suggested changes.
1. Gently wobble the nozzle to make sure it is seated correctly and has no movement. (if print head is wobbling reseat the nozzle and check bambu help for securing the 3 screws behind the nozzle if needed. )
2. filament changes , I only use pla basic, silk never has enough layer strength for me. never used petg so I cant say what temp and speed is best for that. sorry to say the cliche but dry filament and run a filament calibration before print.
3. temp, I recommend 200c to help it prevent curling as it cools, if already using that, try maybe 5c above or bellow to finetune for your printing area.
4. speed, slower printing prevents the head from forcing the links around, go to slower speed, you can wait till later in the print to slow down to save time but normally about the half way mark is a good estimate if speed change is needed.
Boost Me (for free)
If you like my creations a boost or a review with feedback would be hugely appreciated :) . Thank you
Build Instructions
There are 2 main elements to the print, The head cover and the shoulders.
For the head: Print the 2 head buildplates (for those using stls, headtriangle 5x, front facing rect, and front facing triangle )
Print approx 4 plates of the connectors
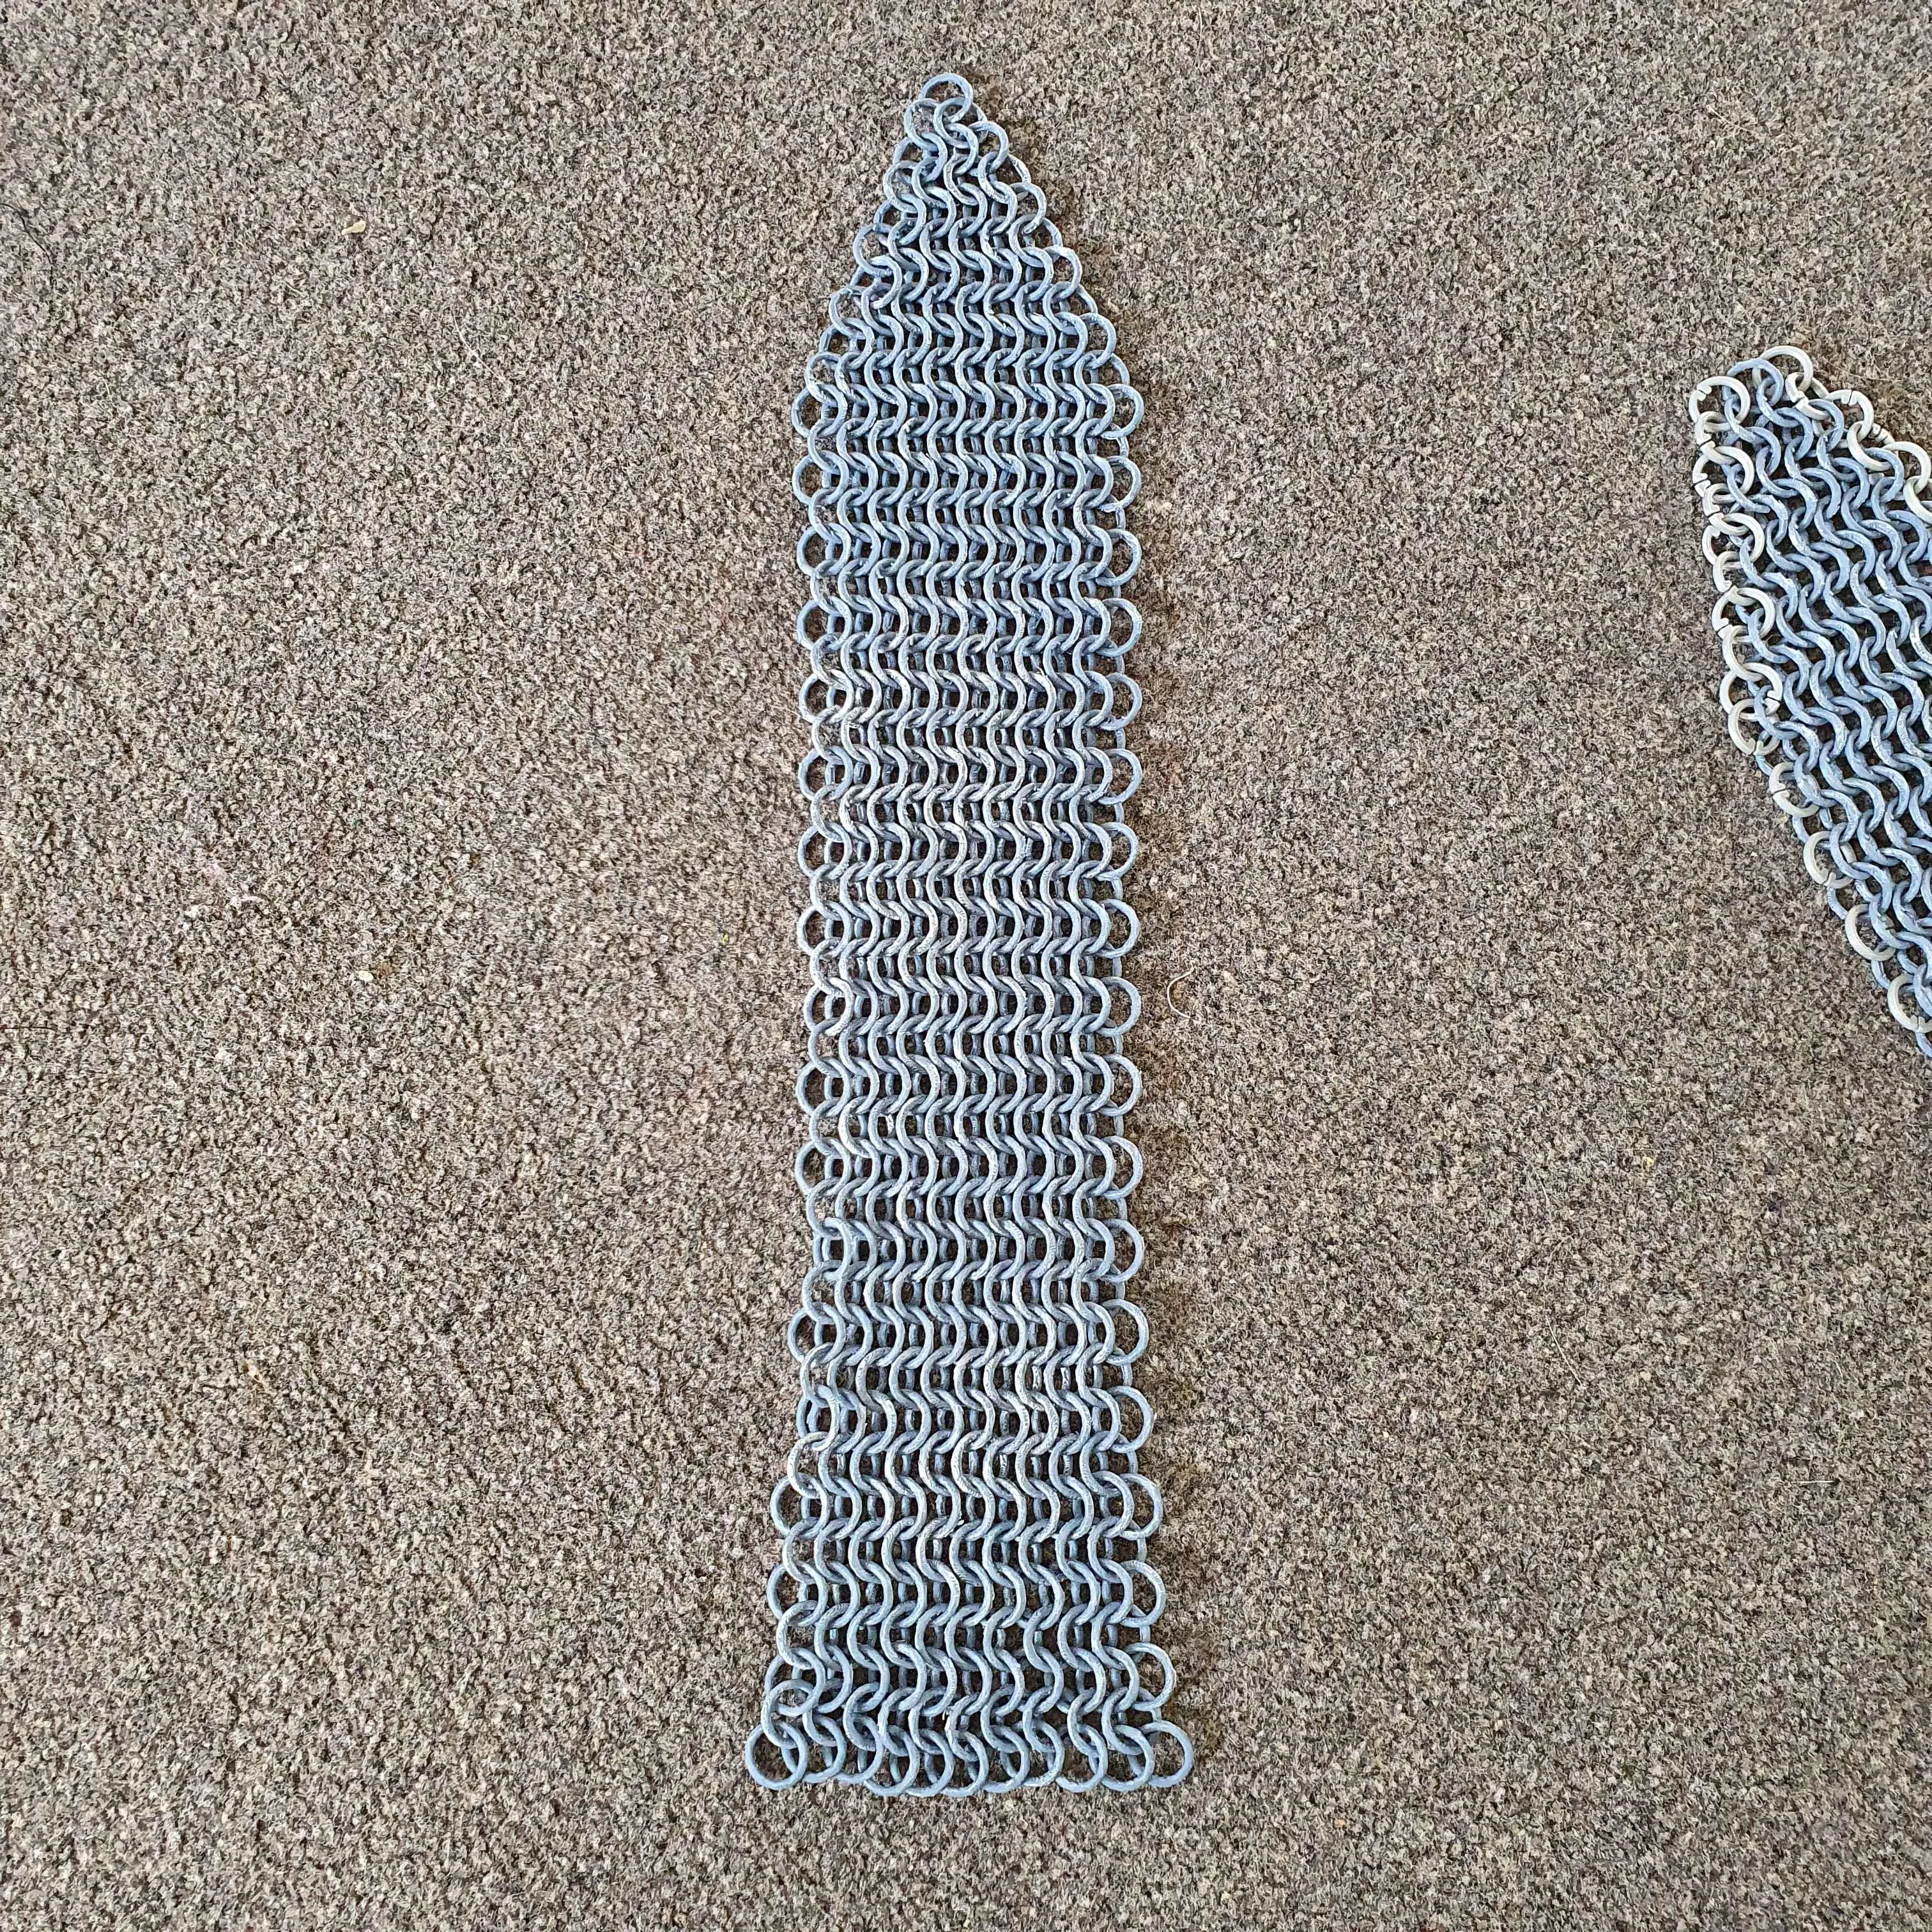
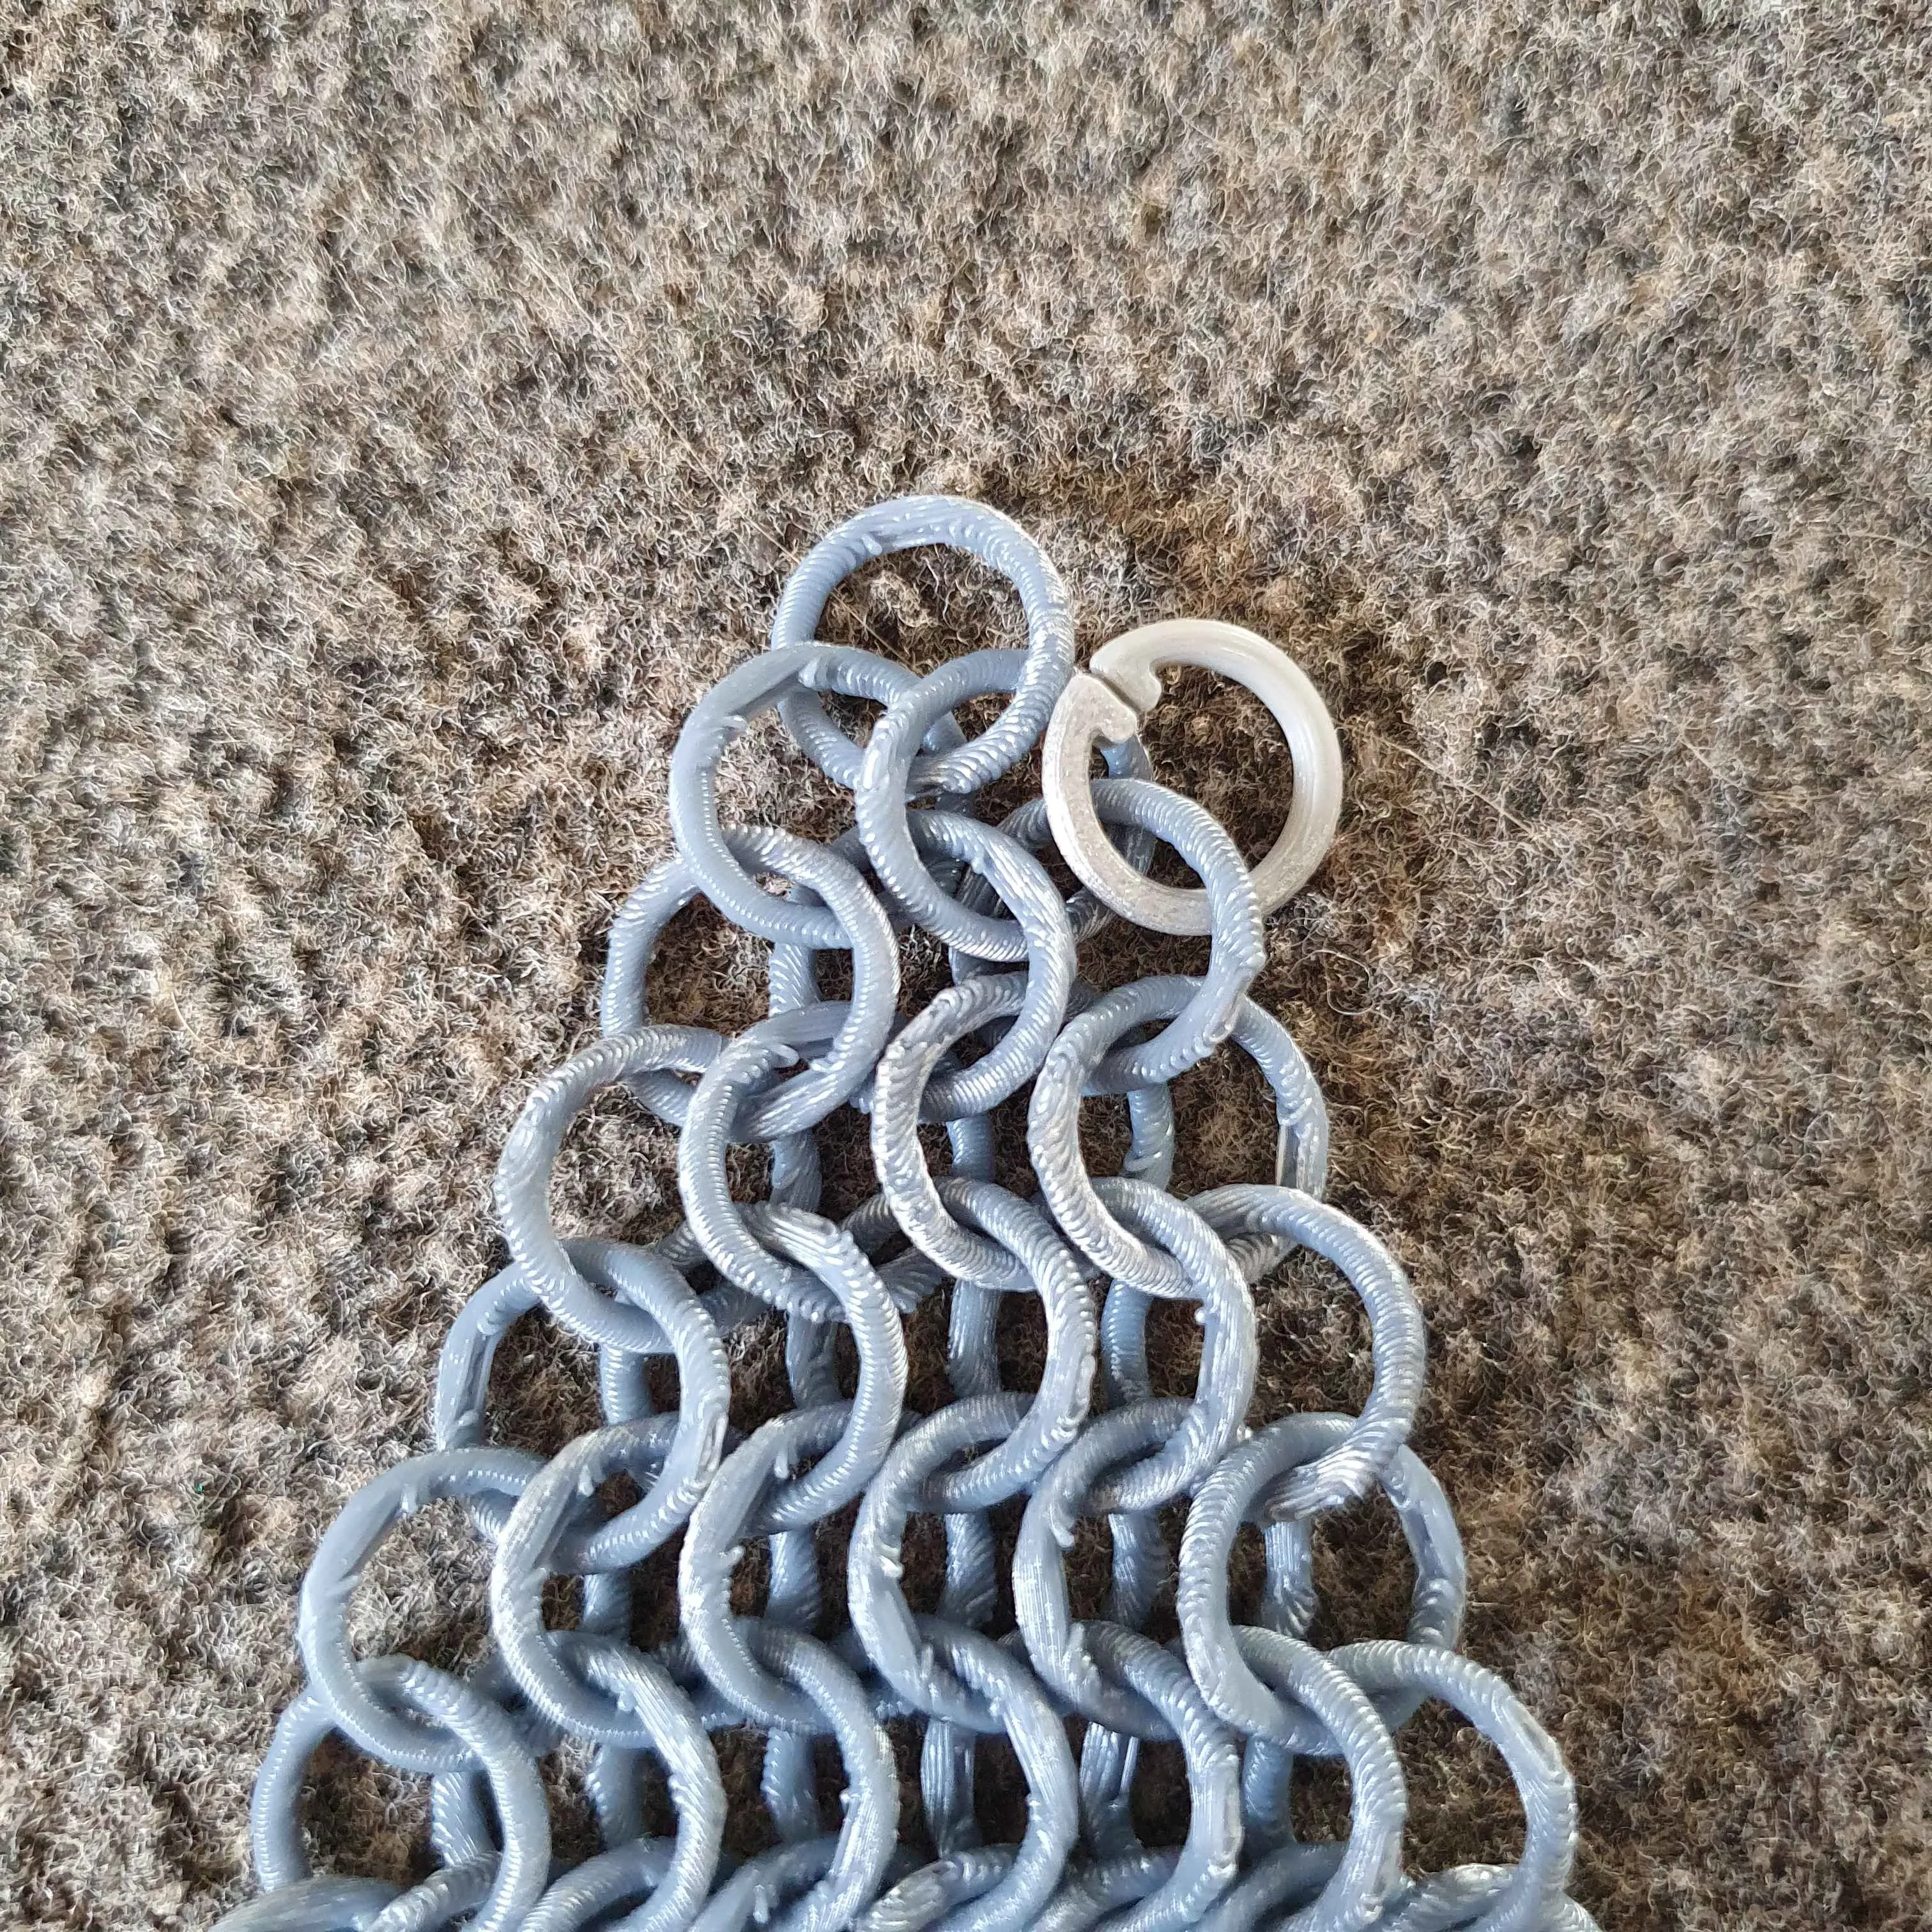
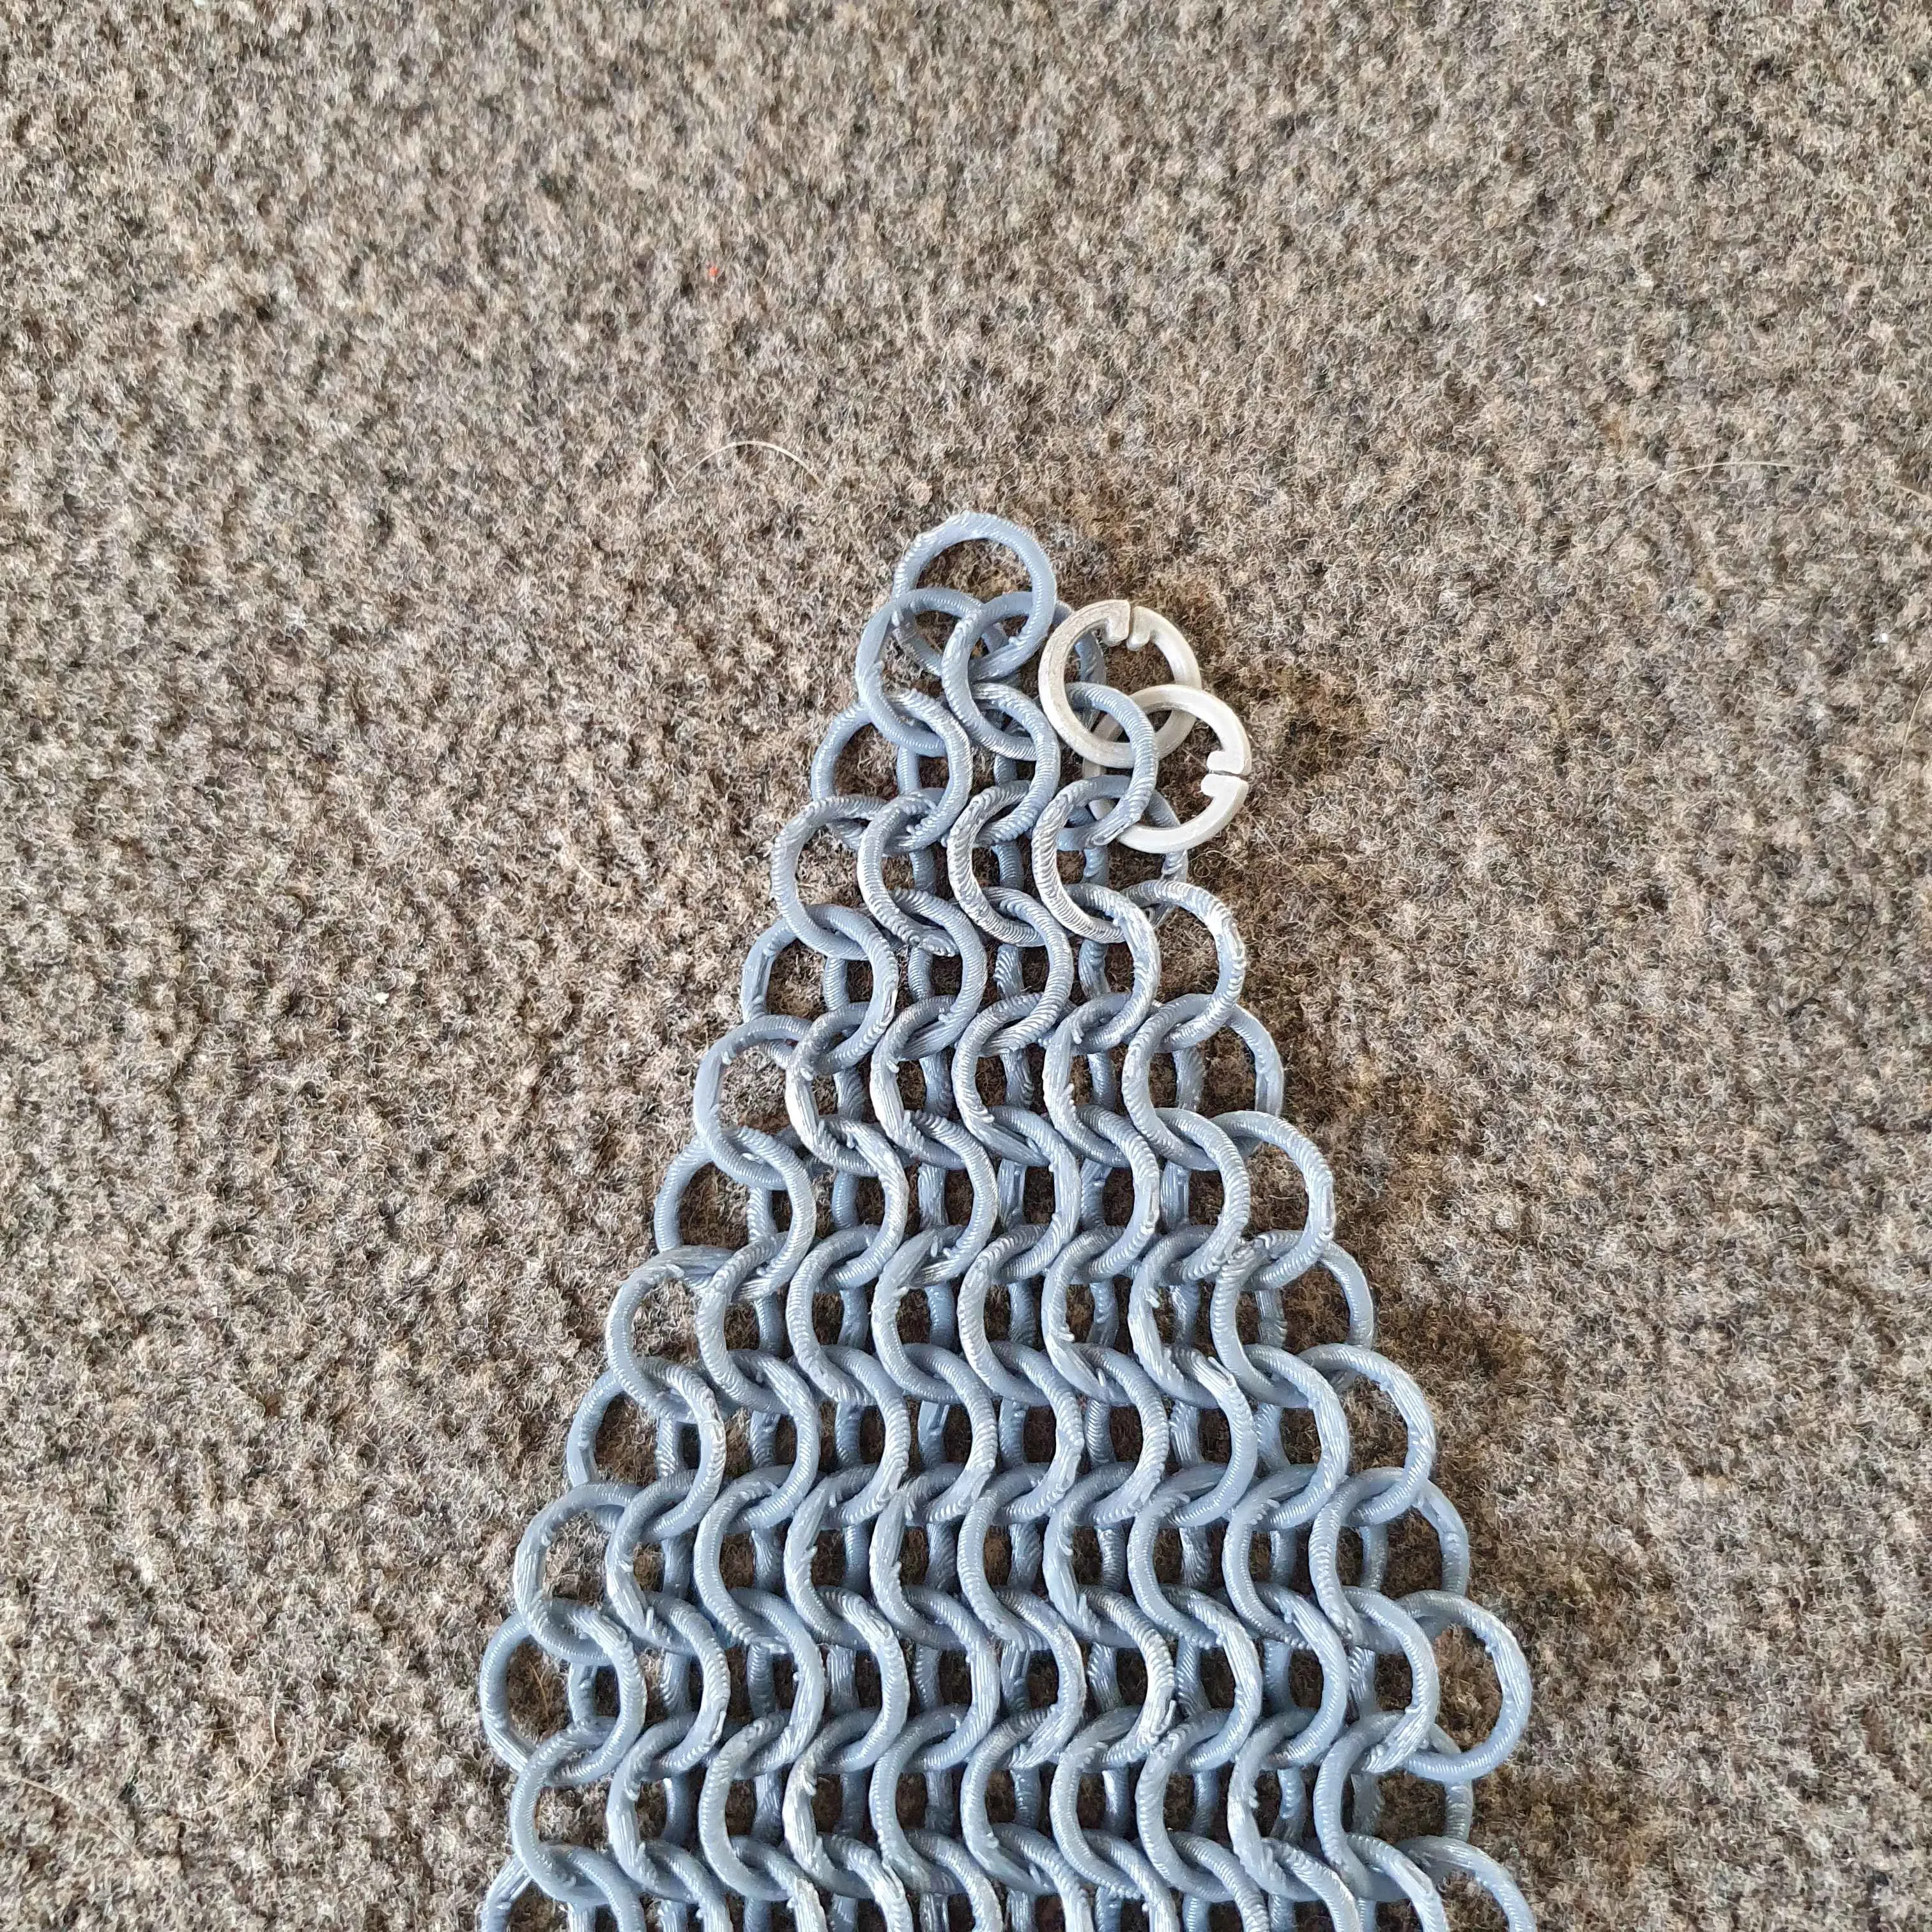
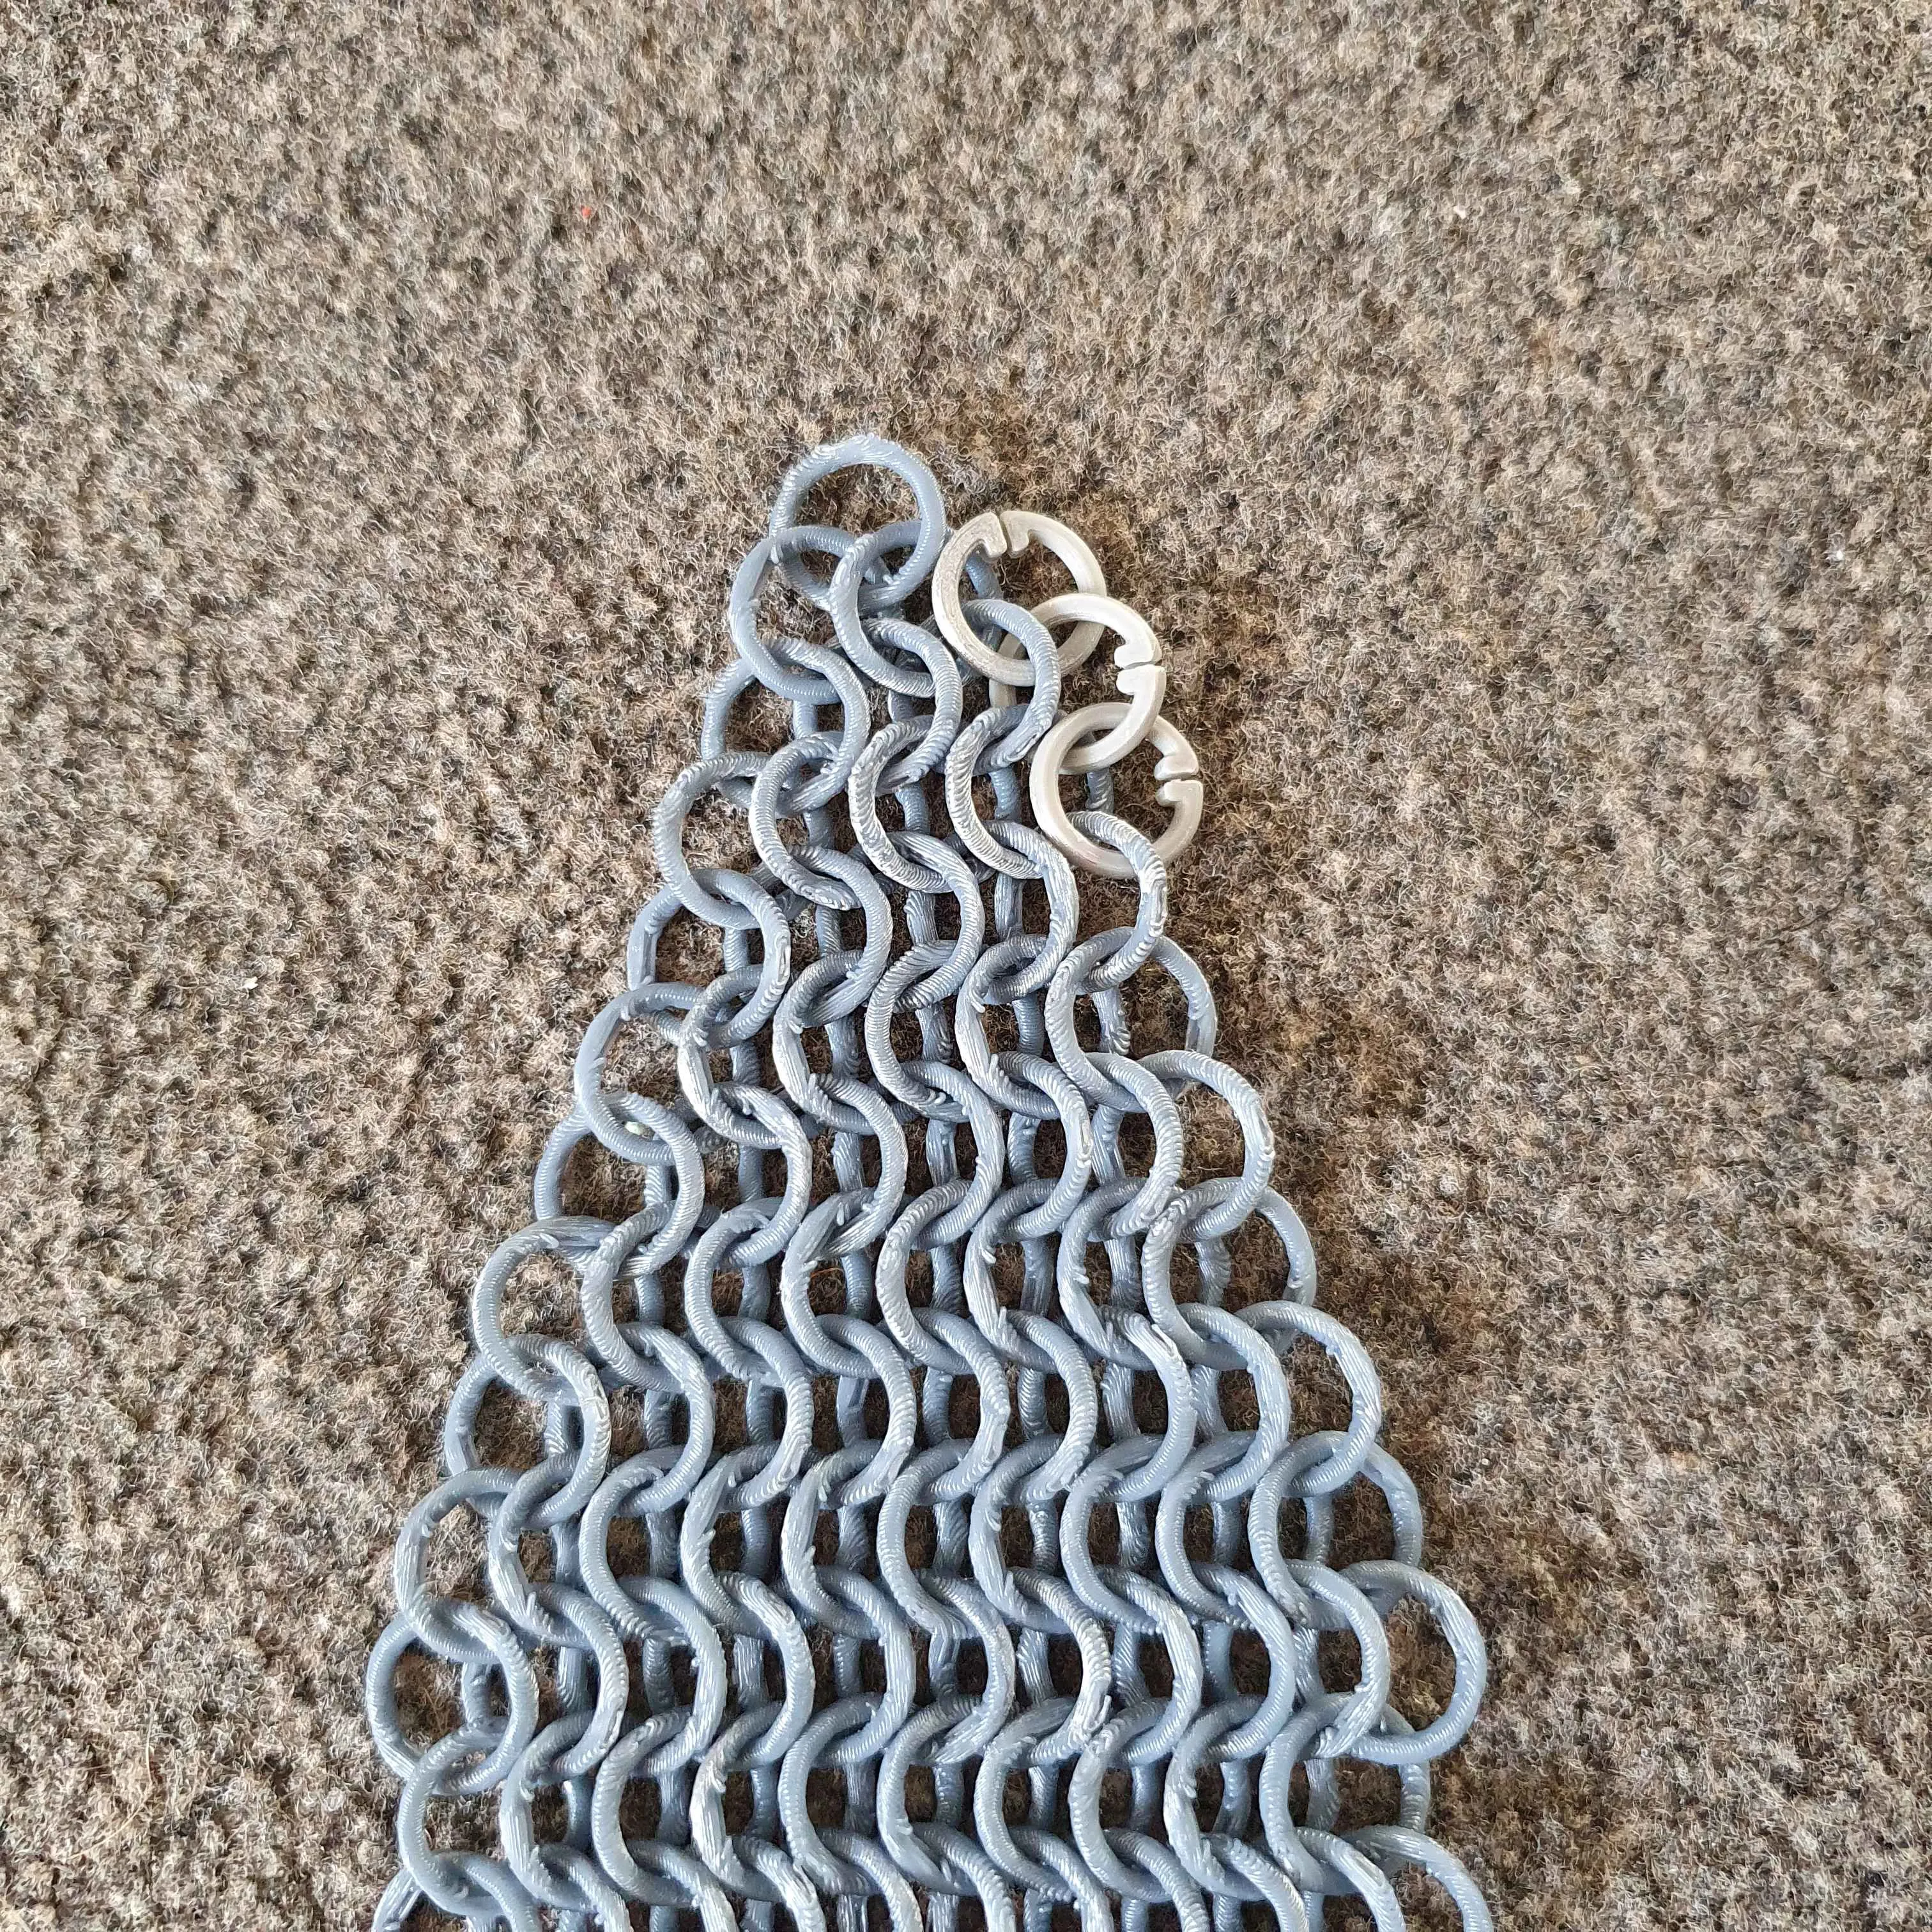
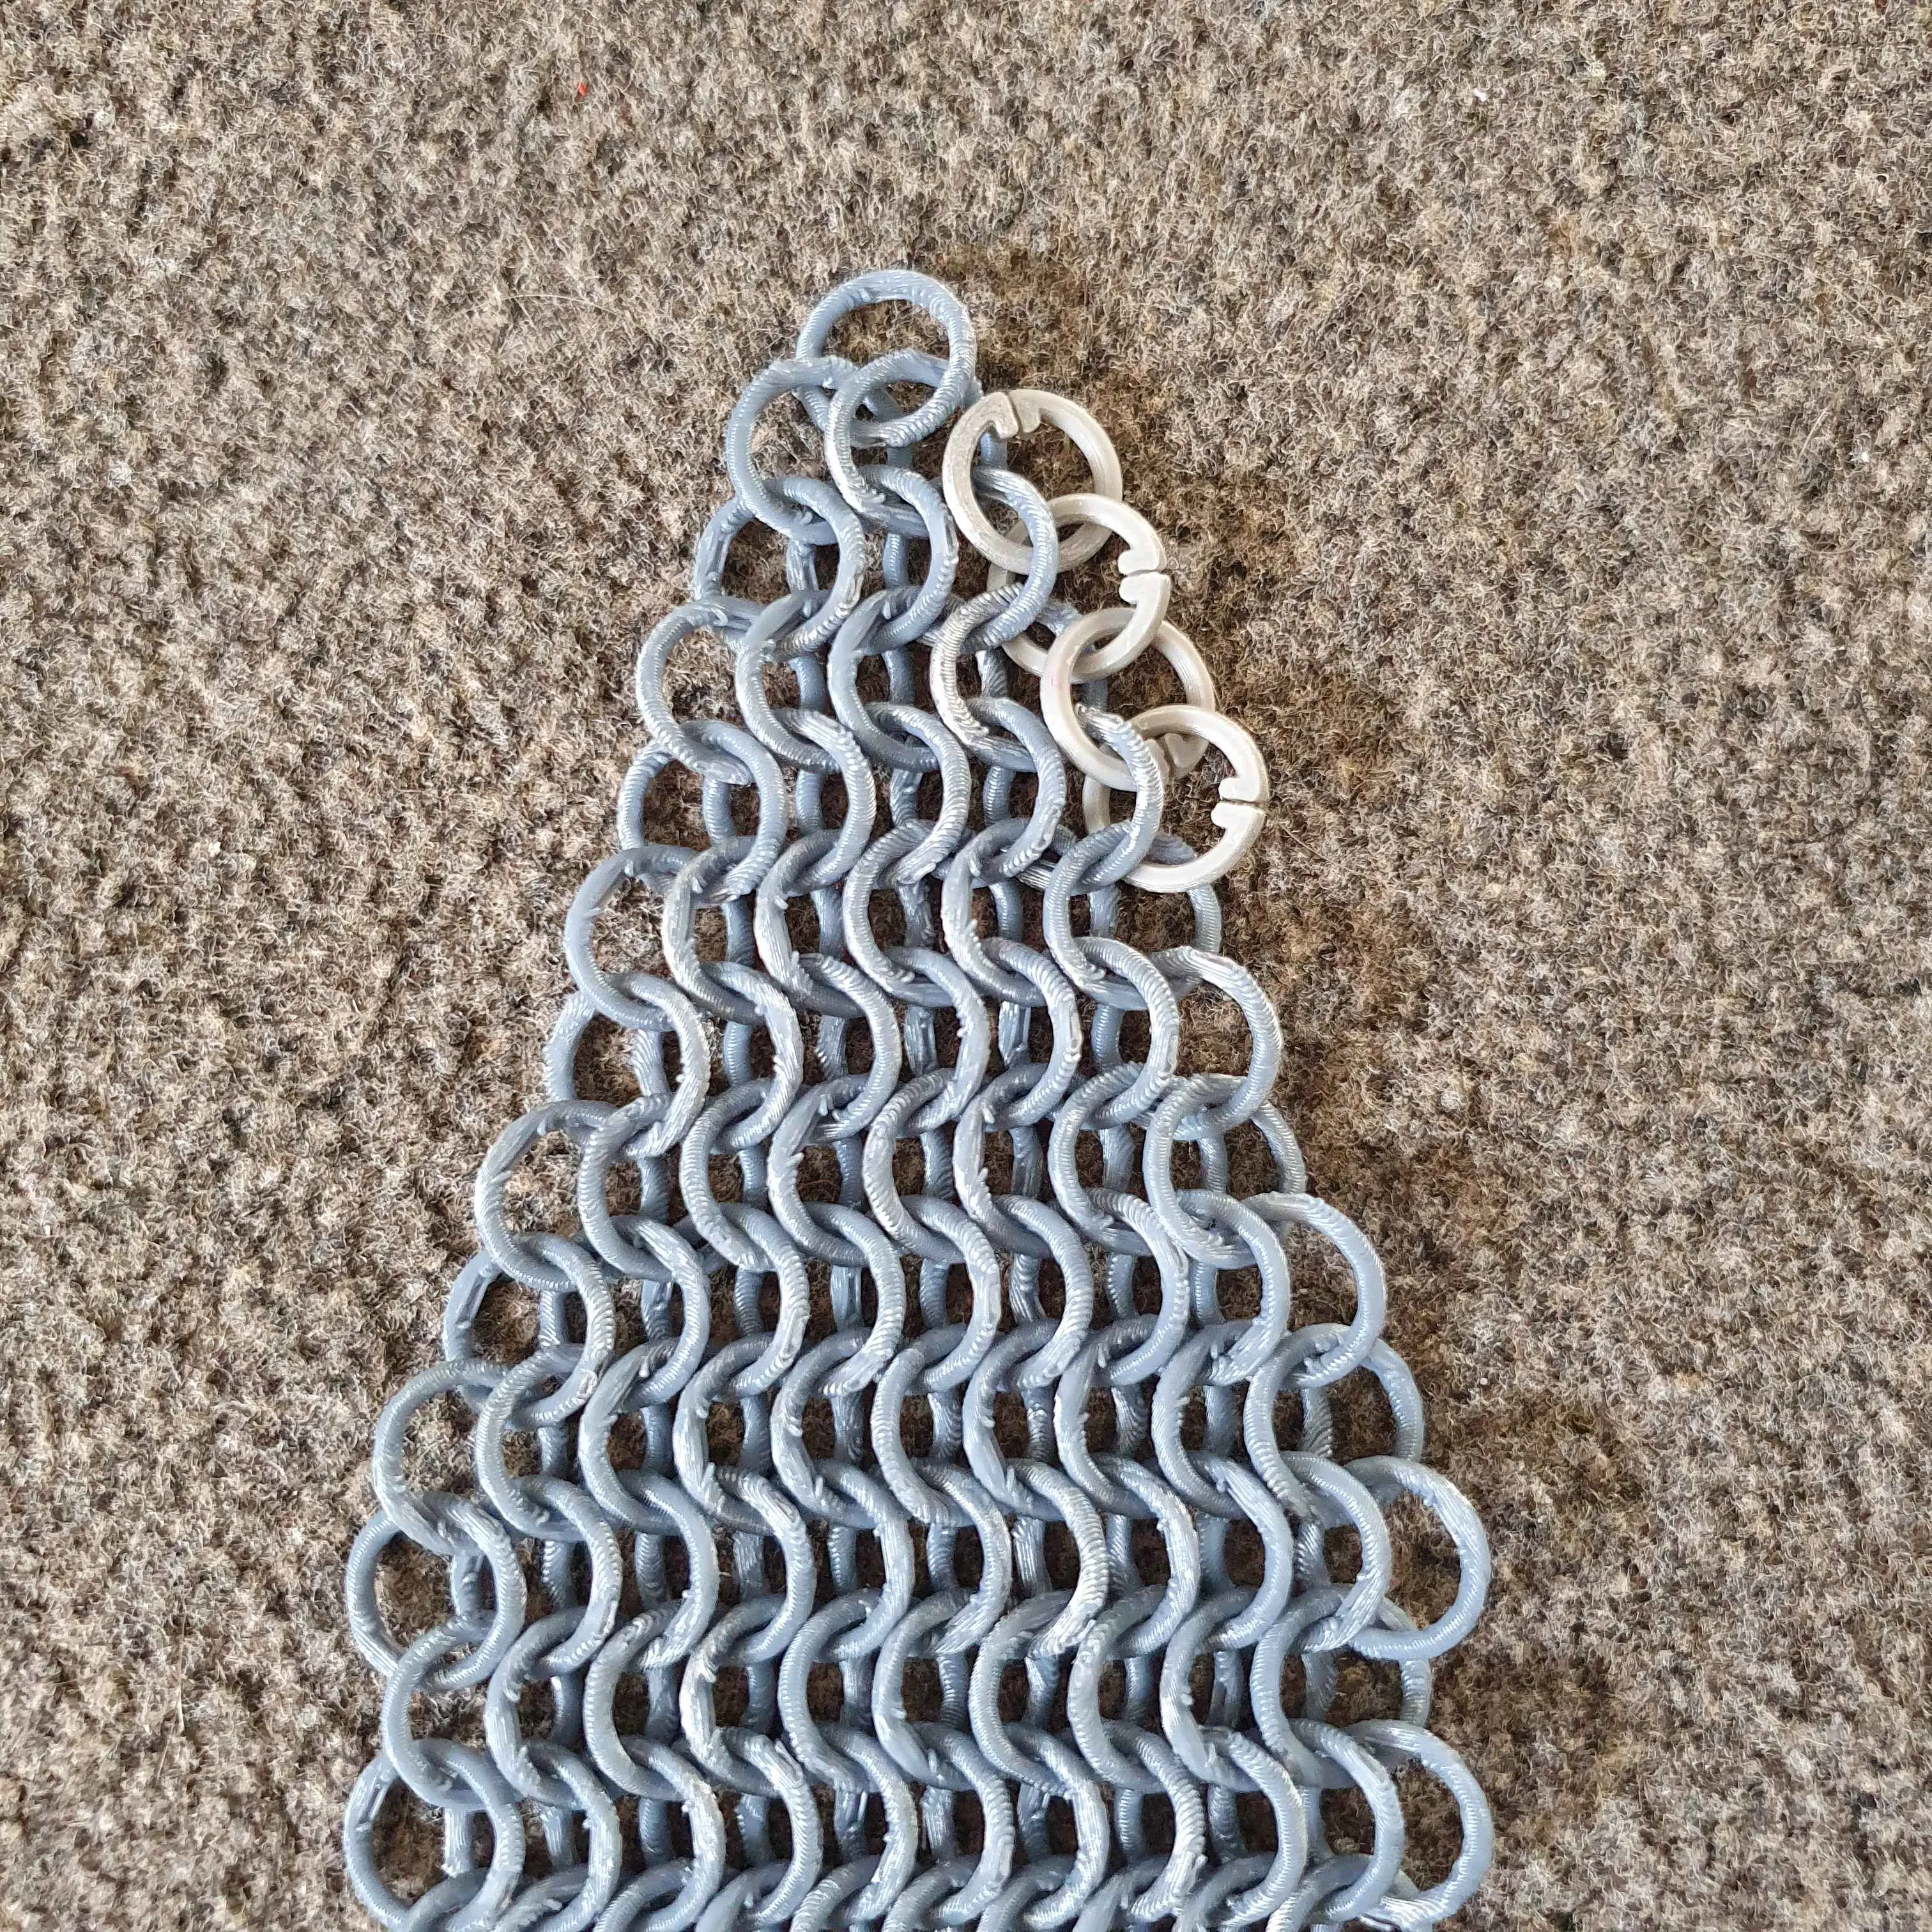
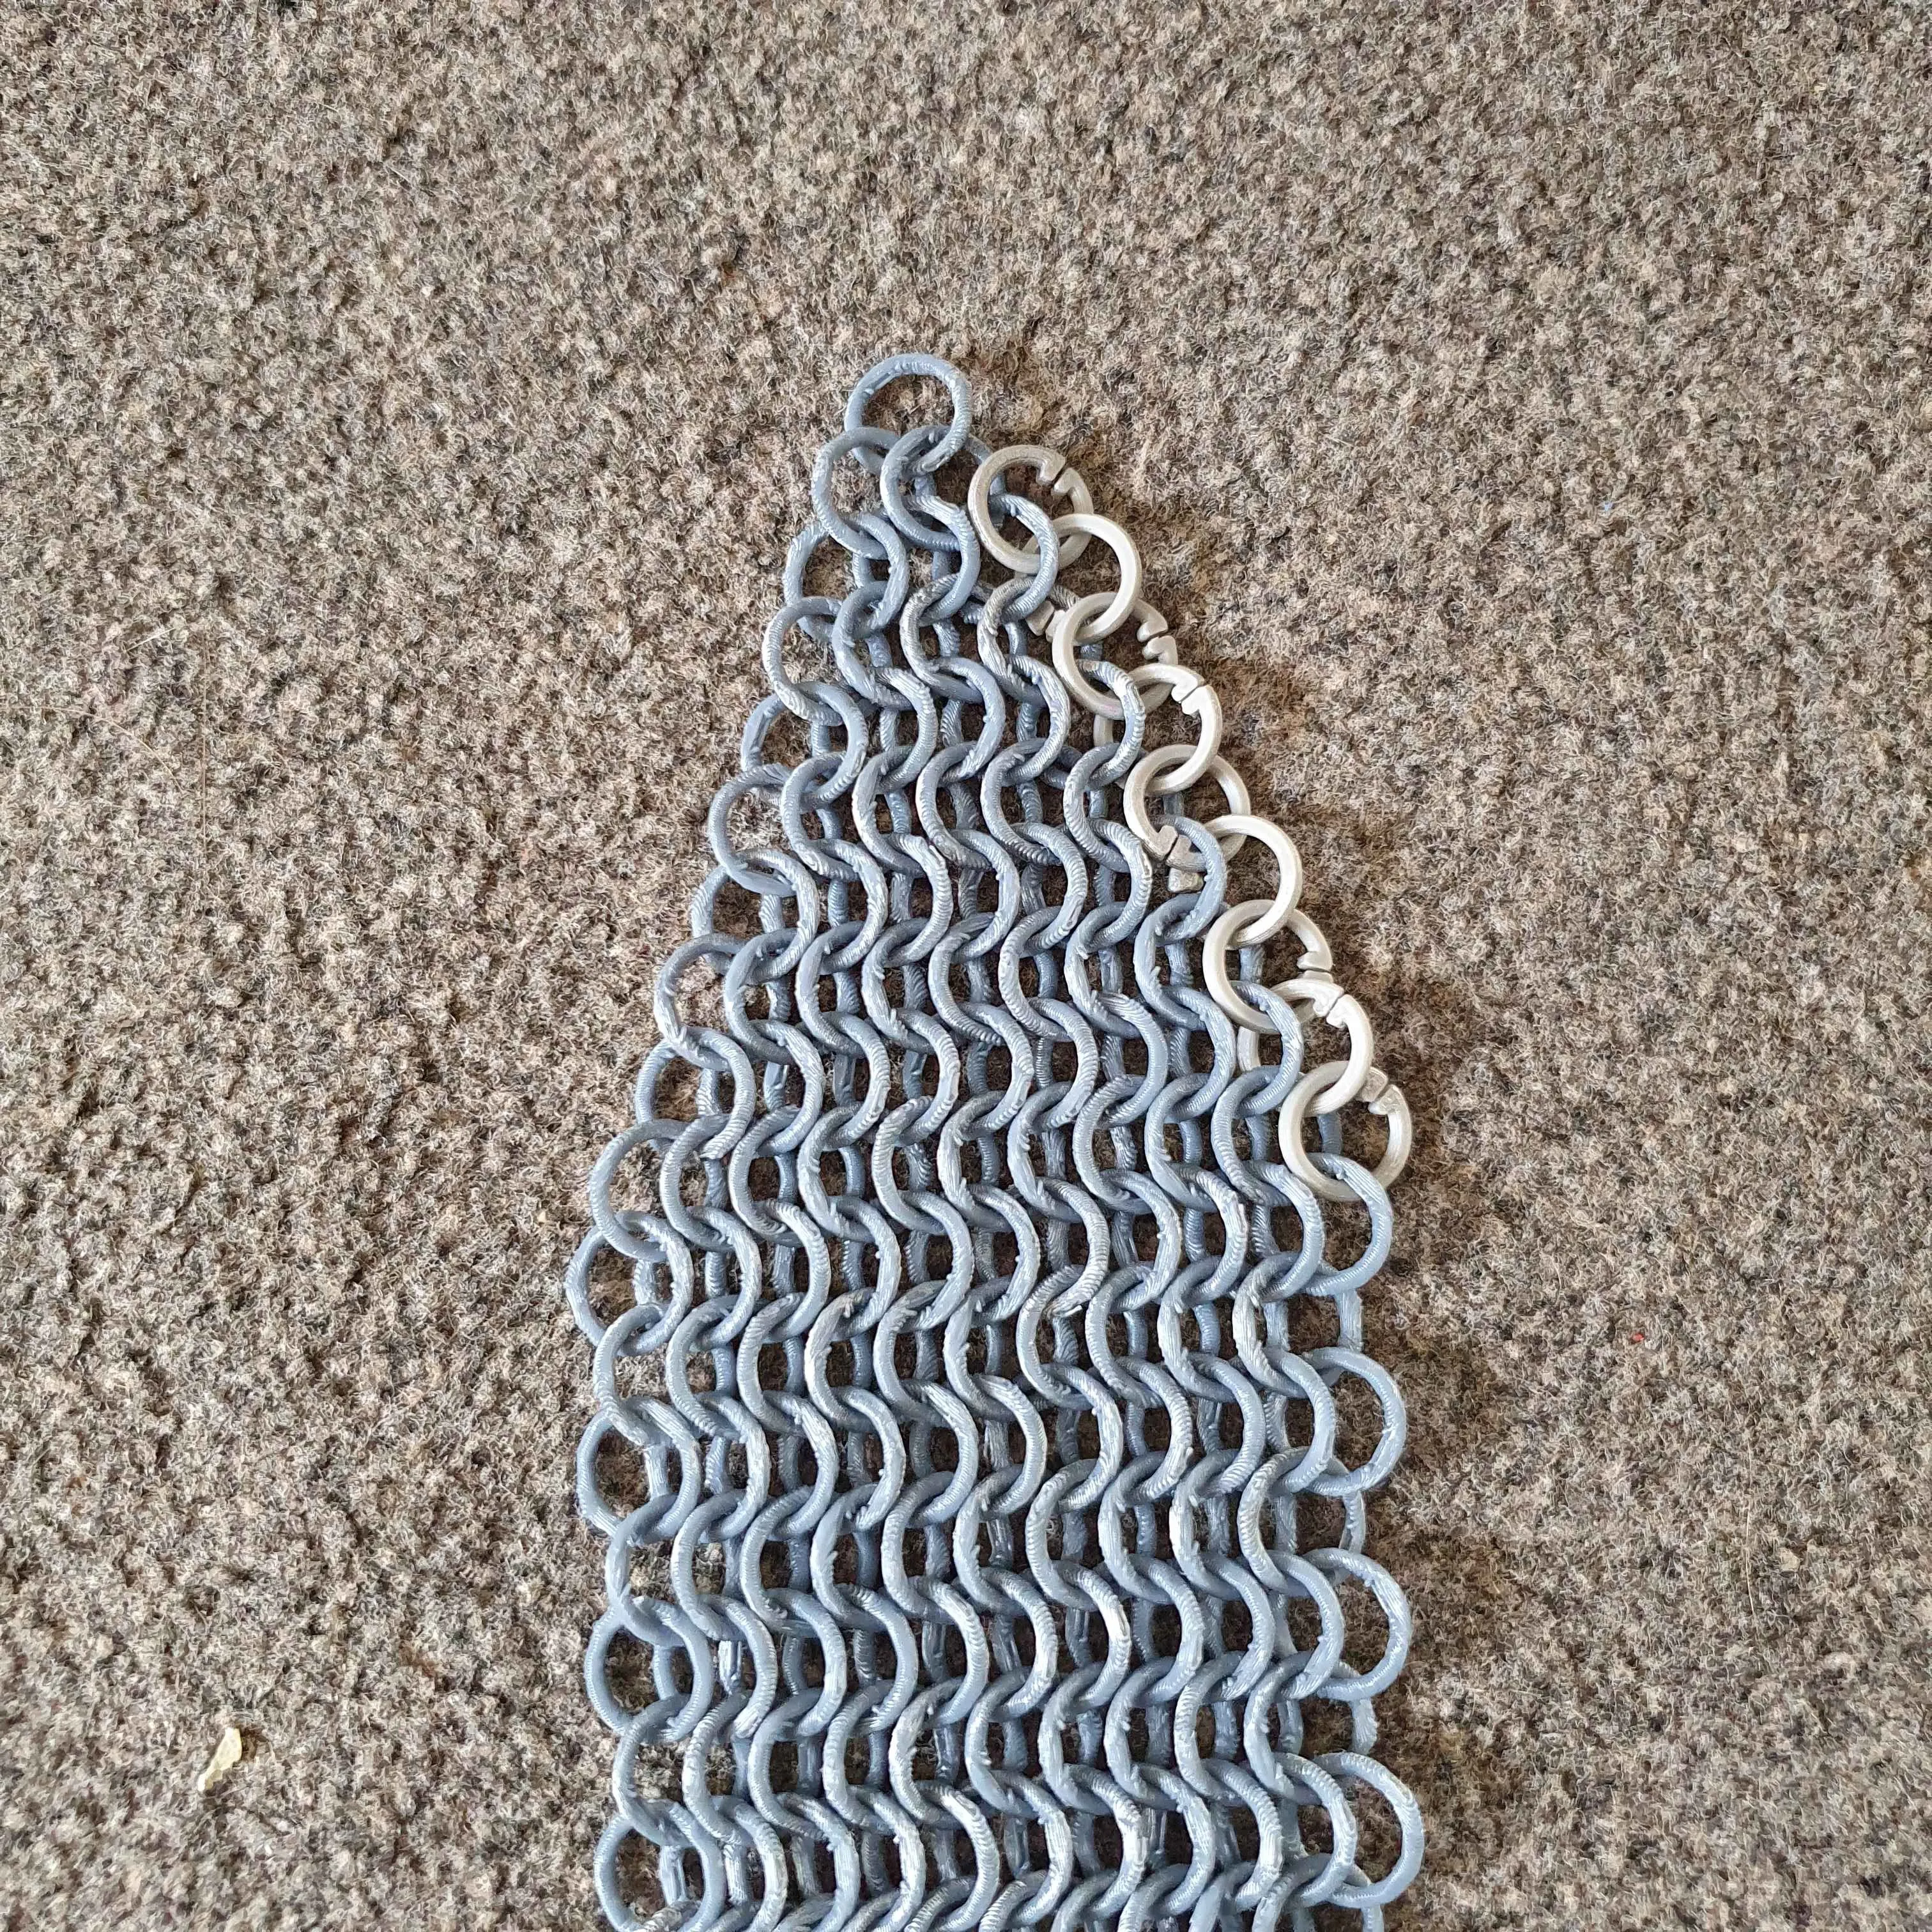
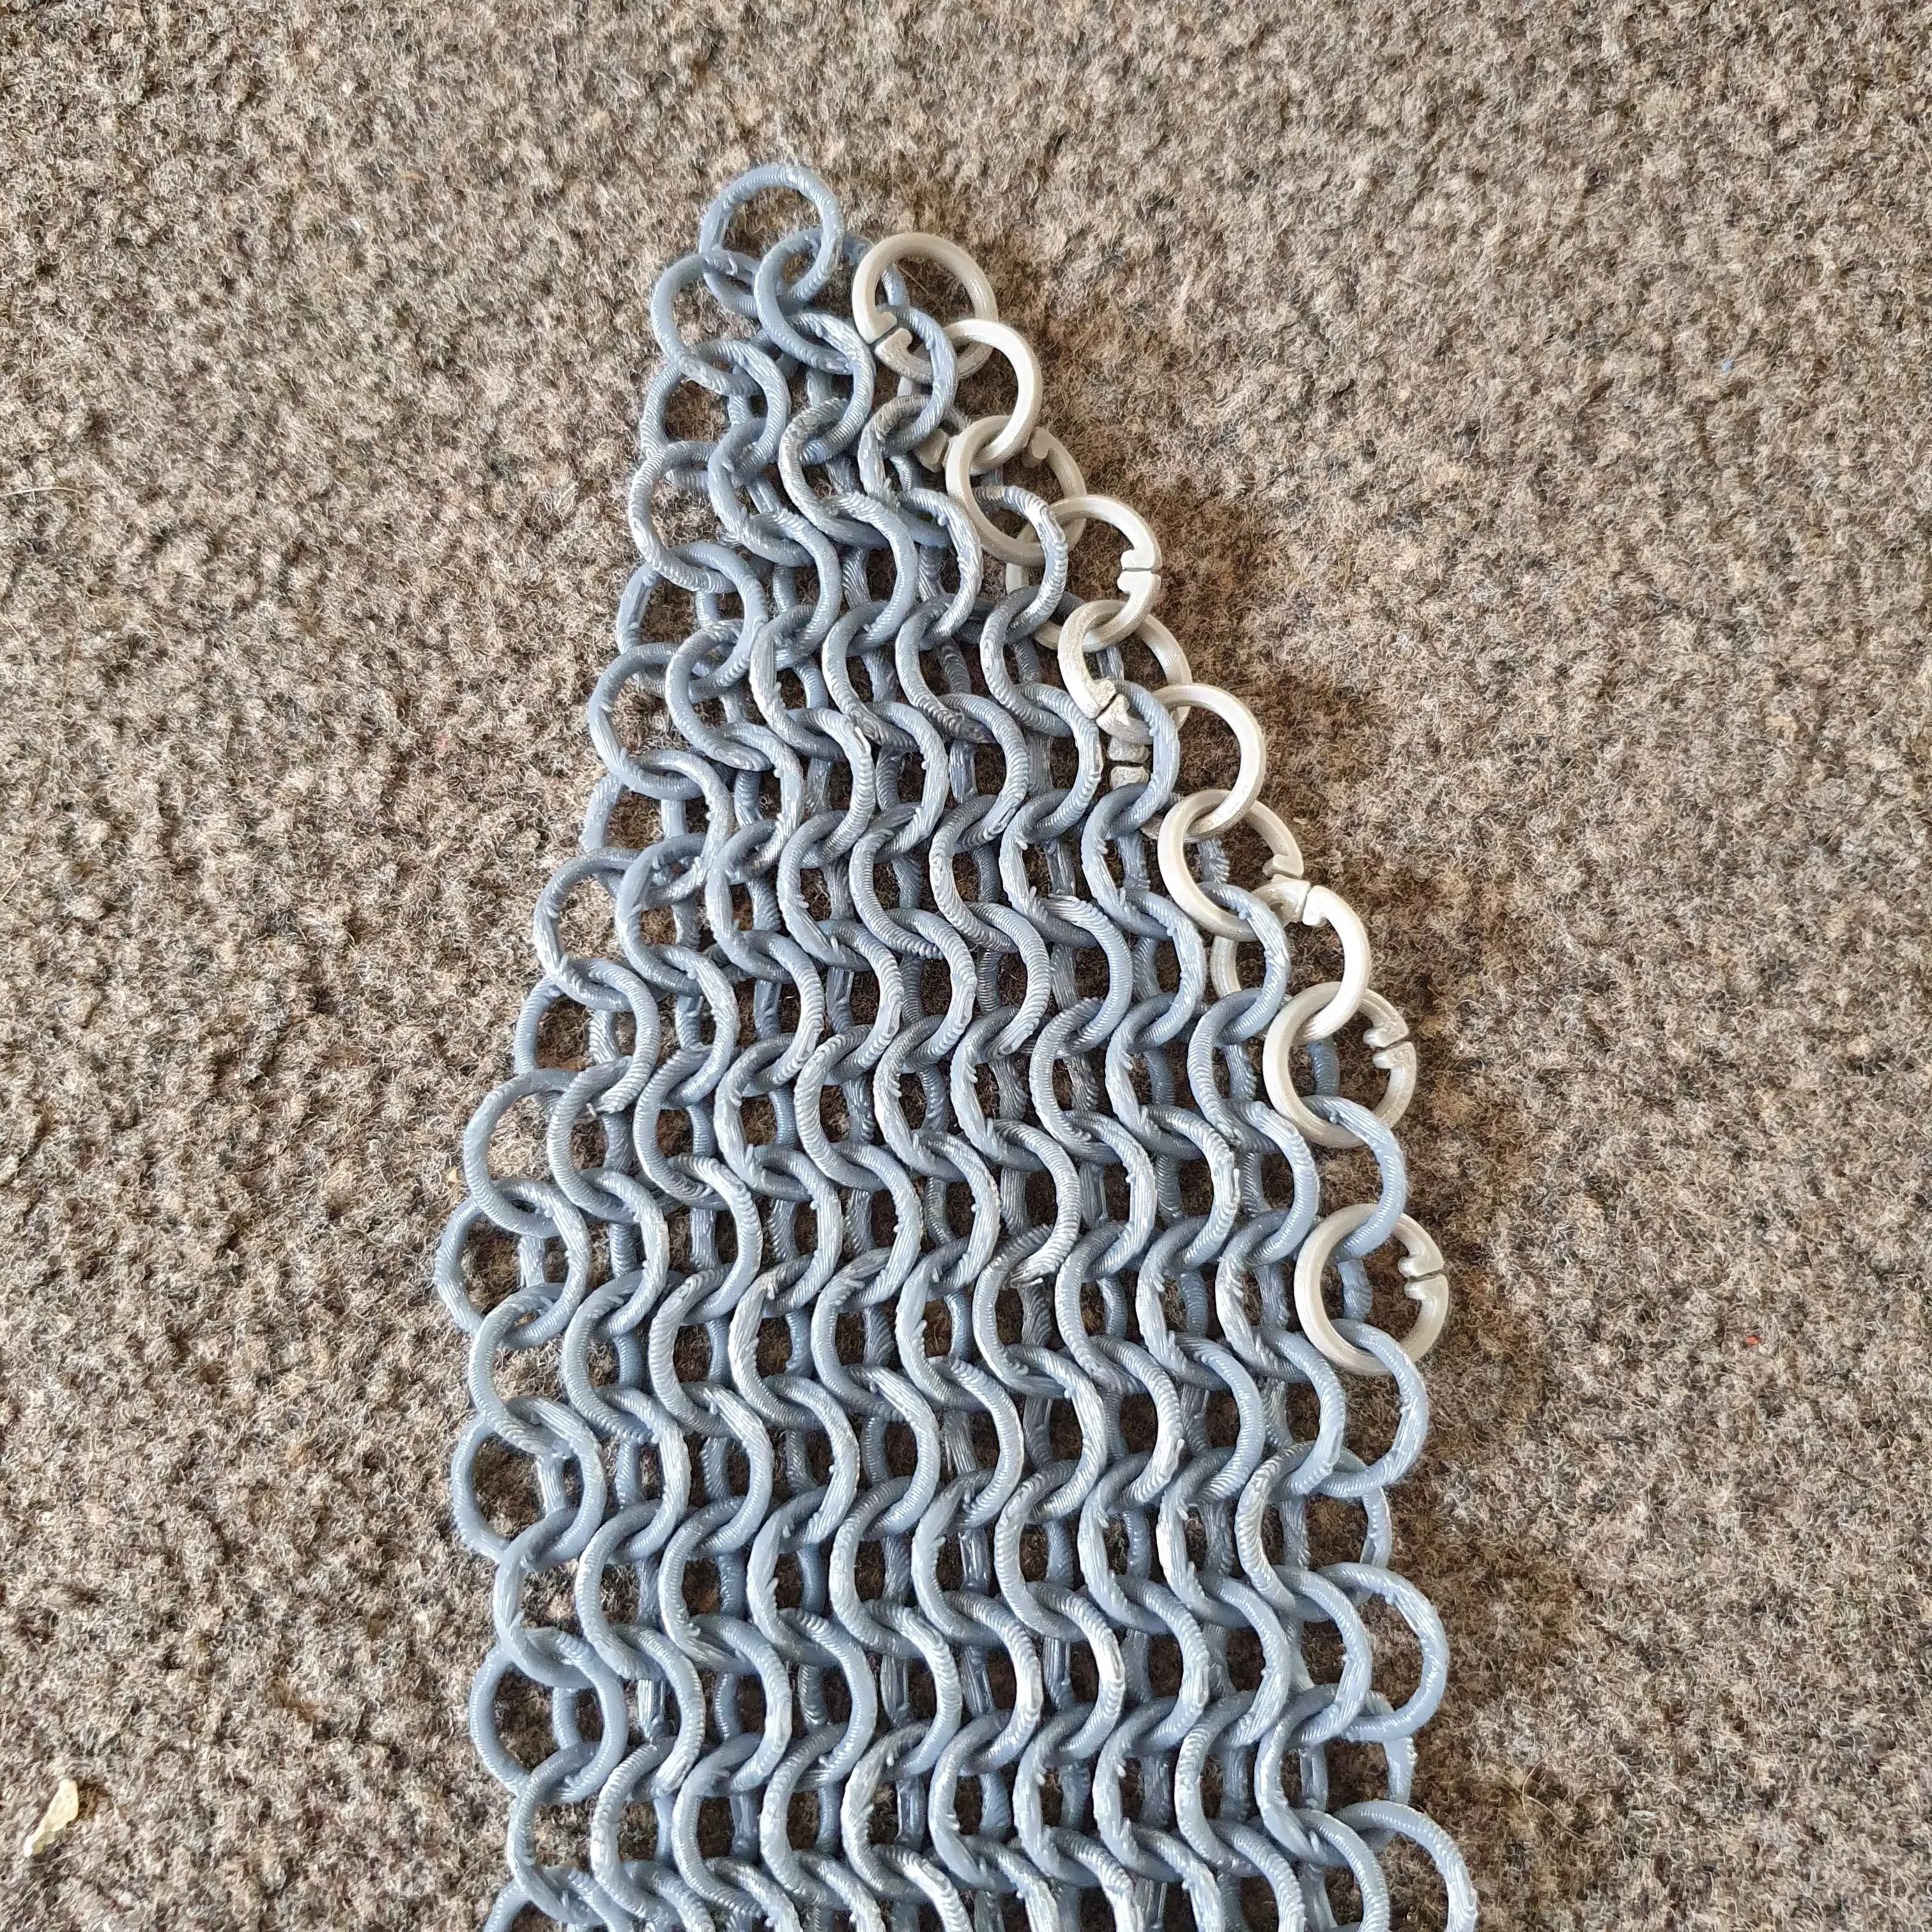
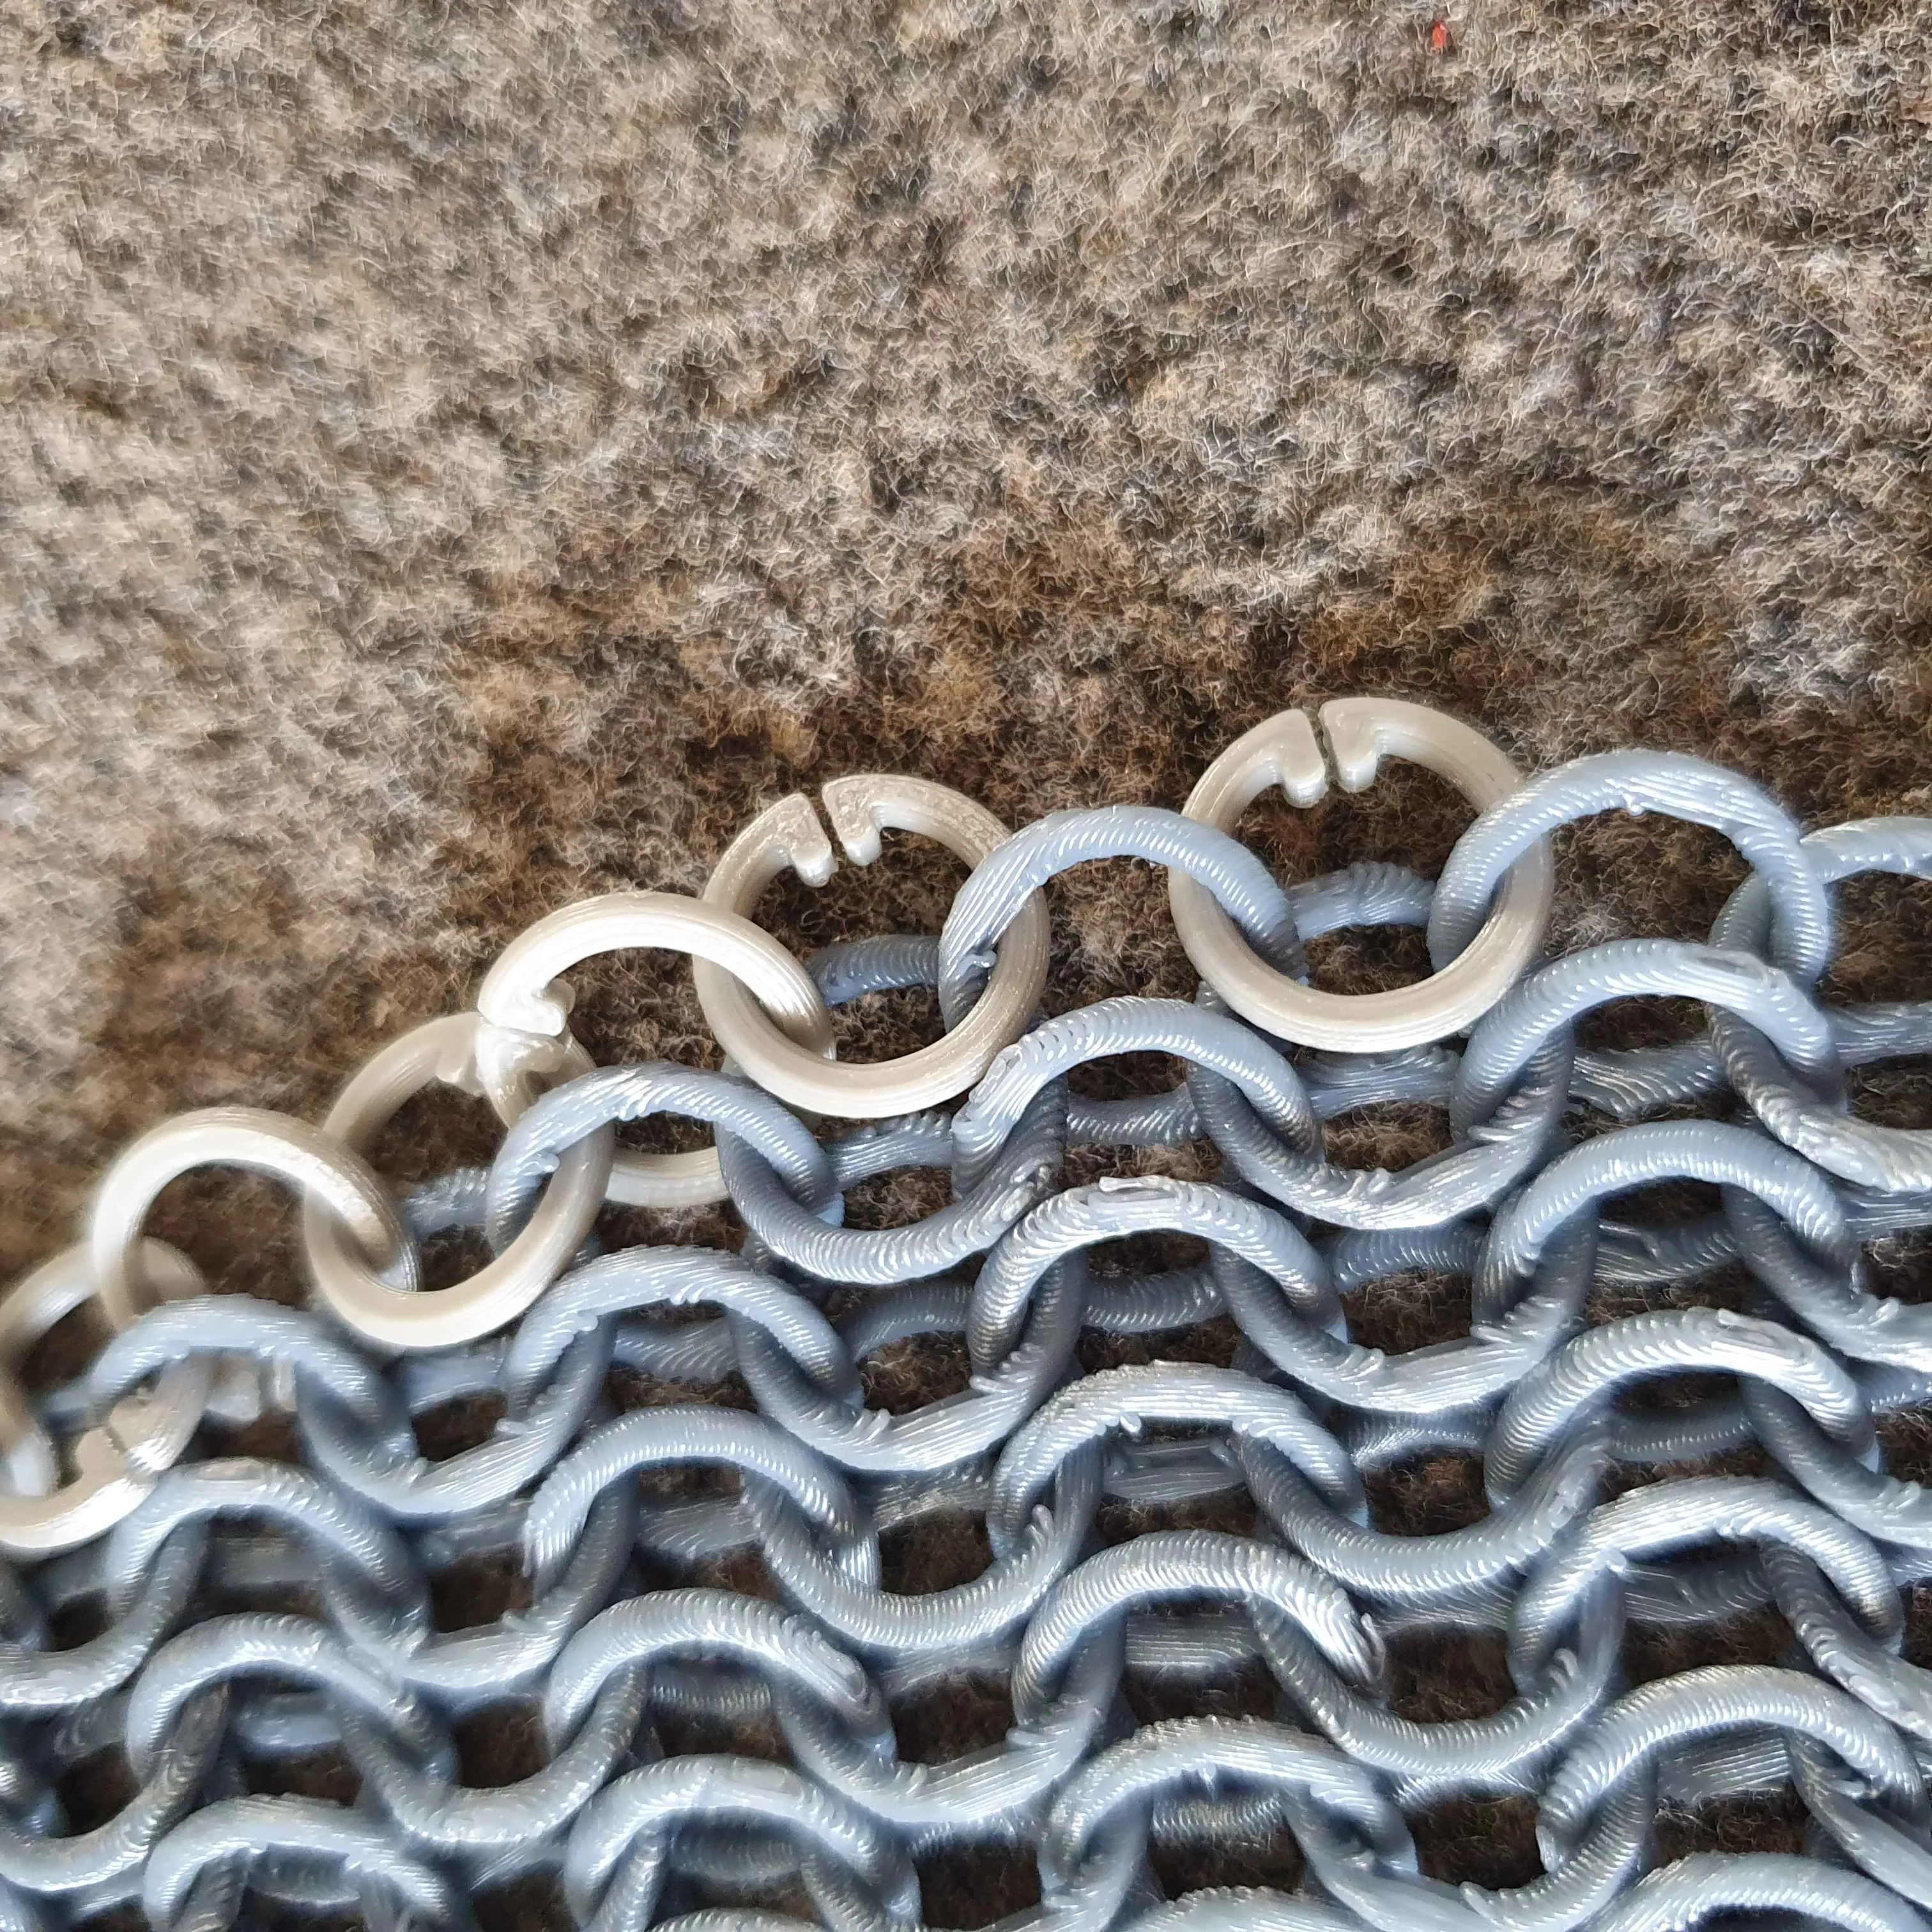
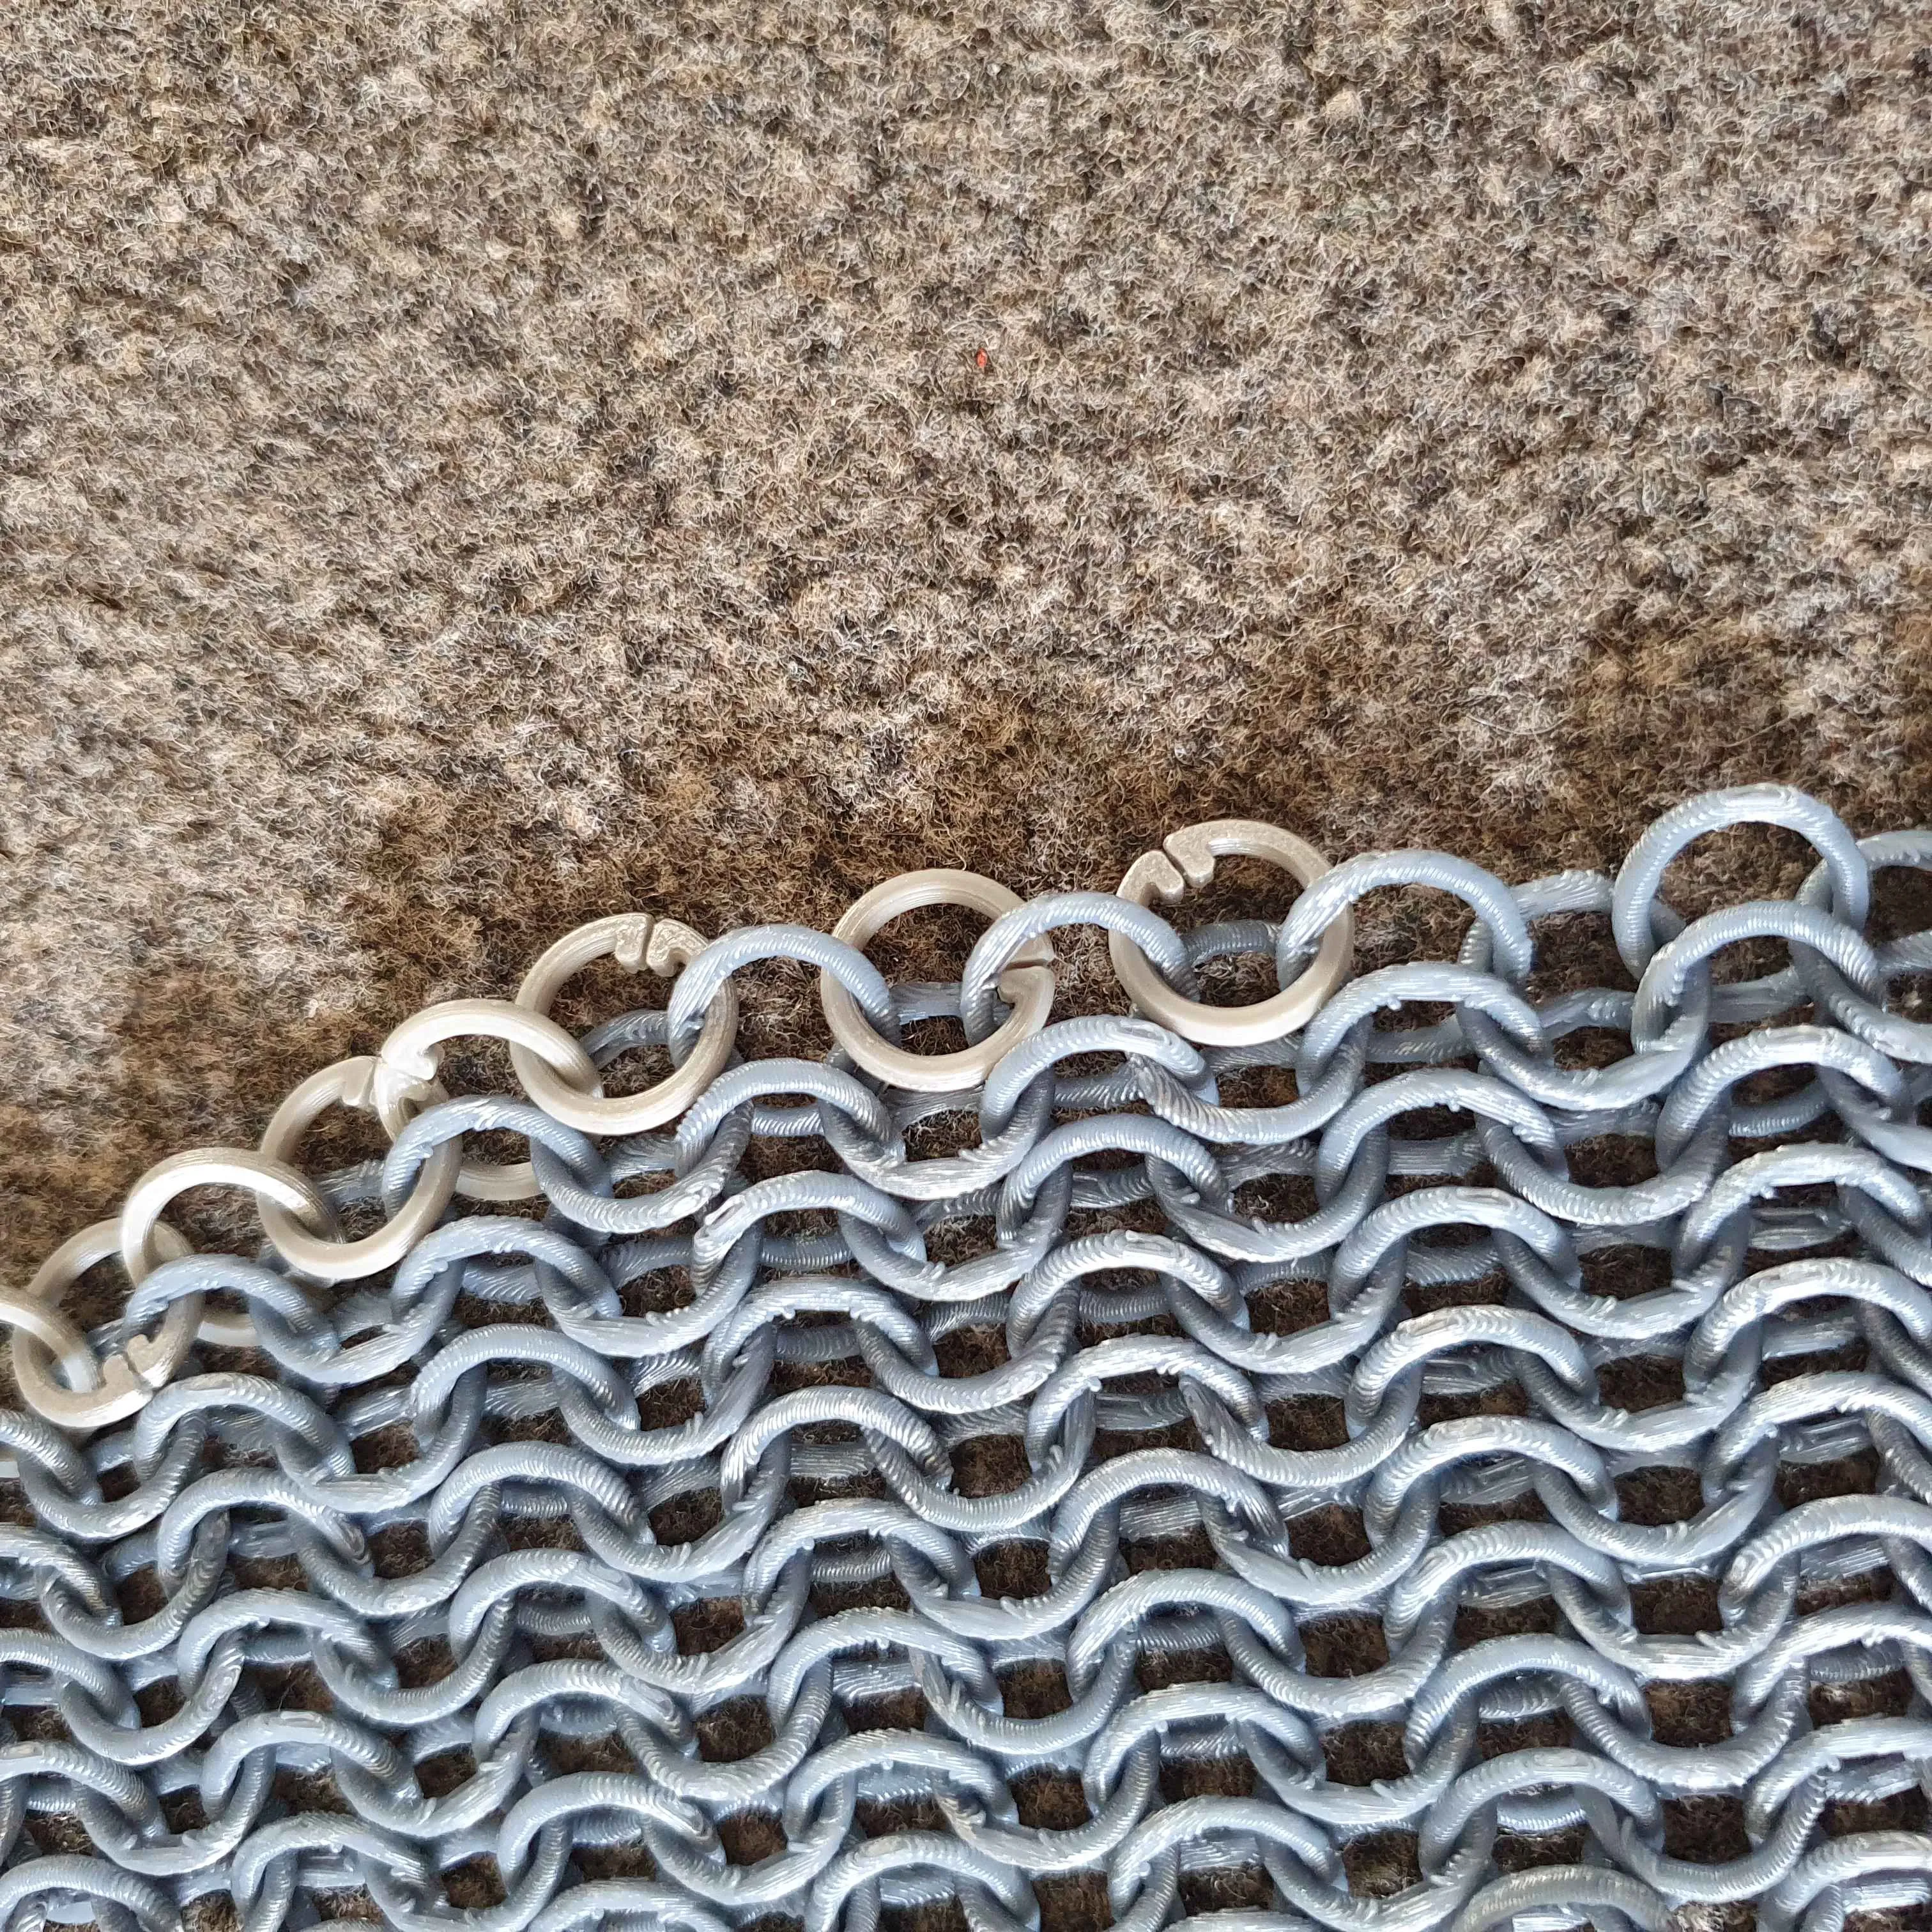
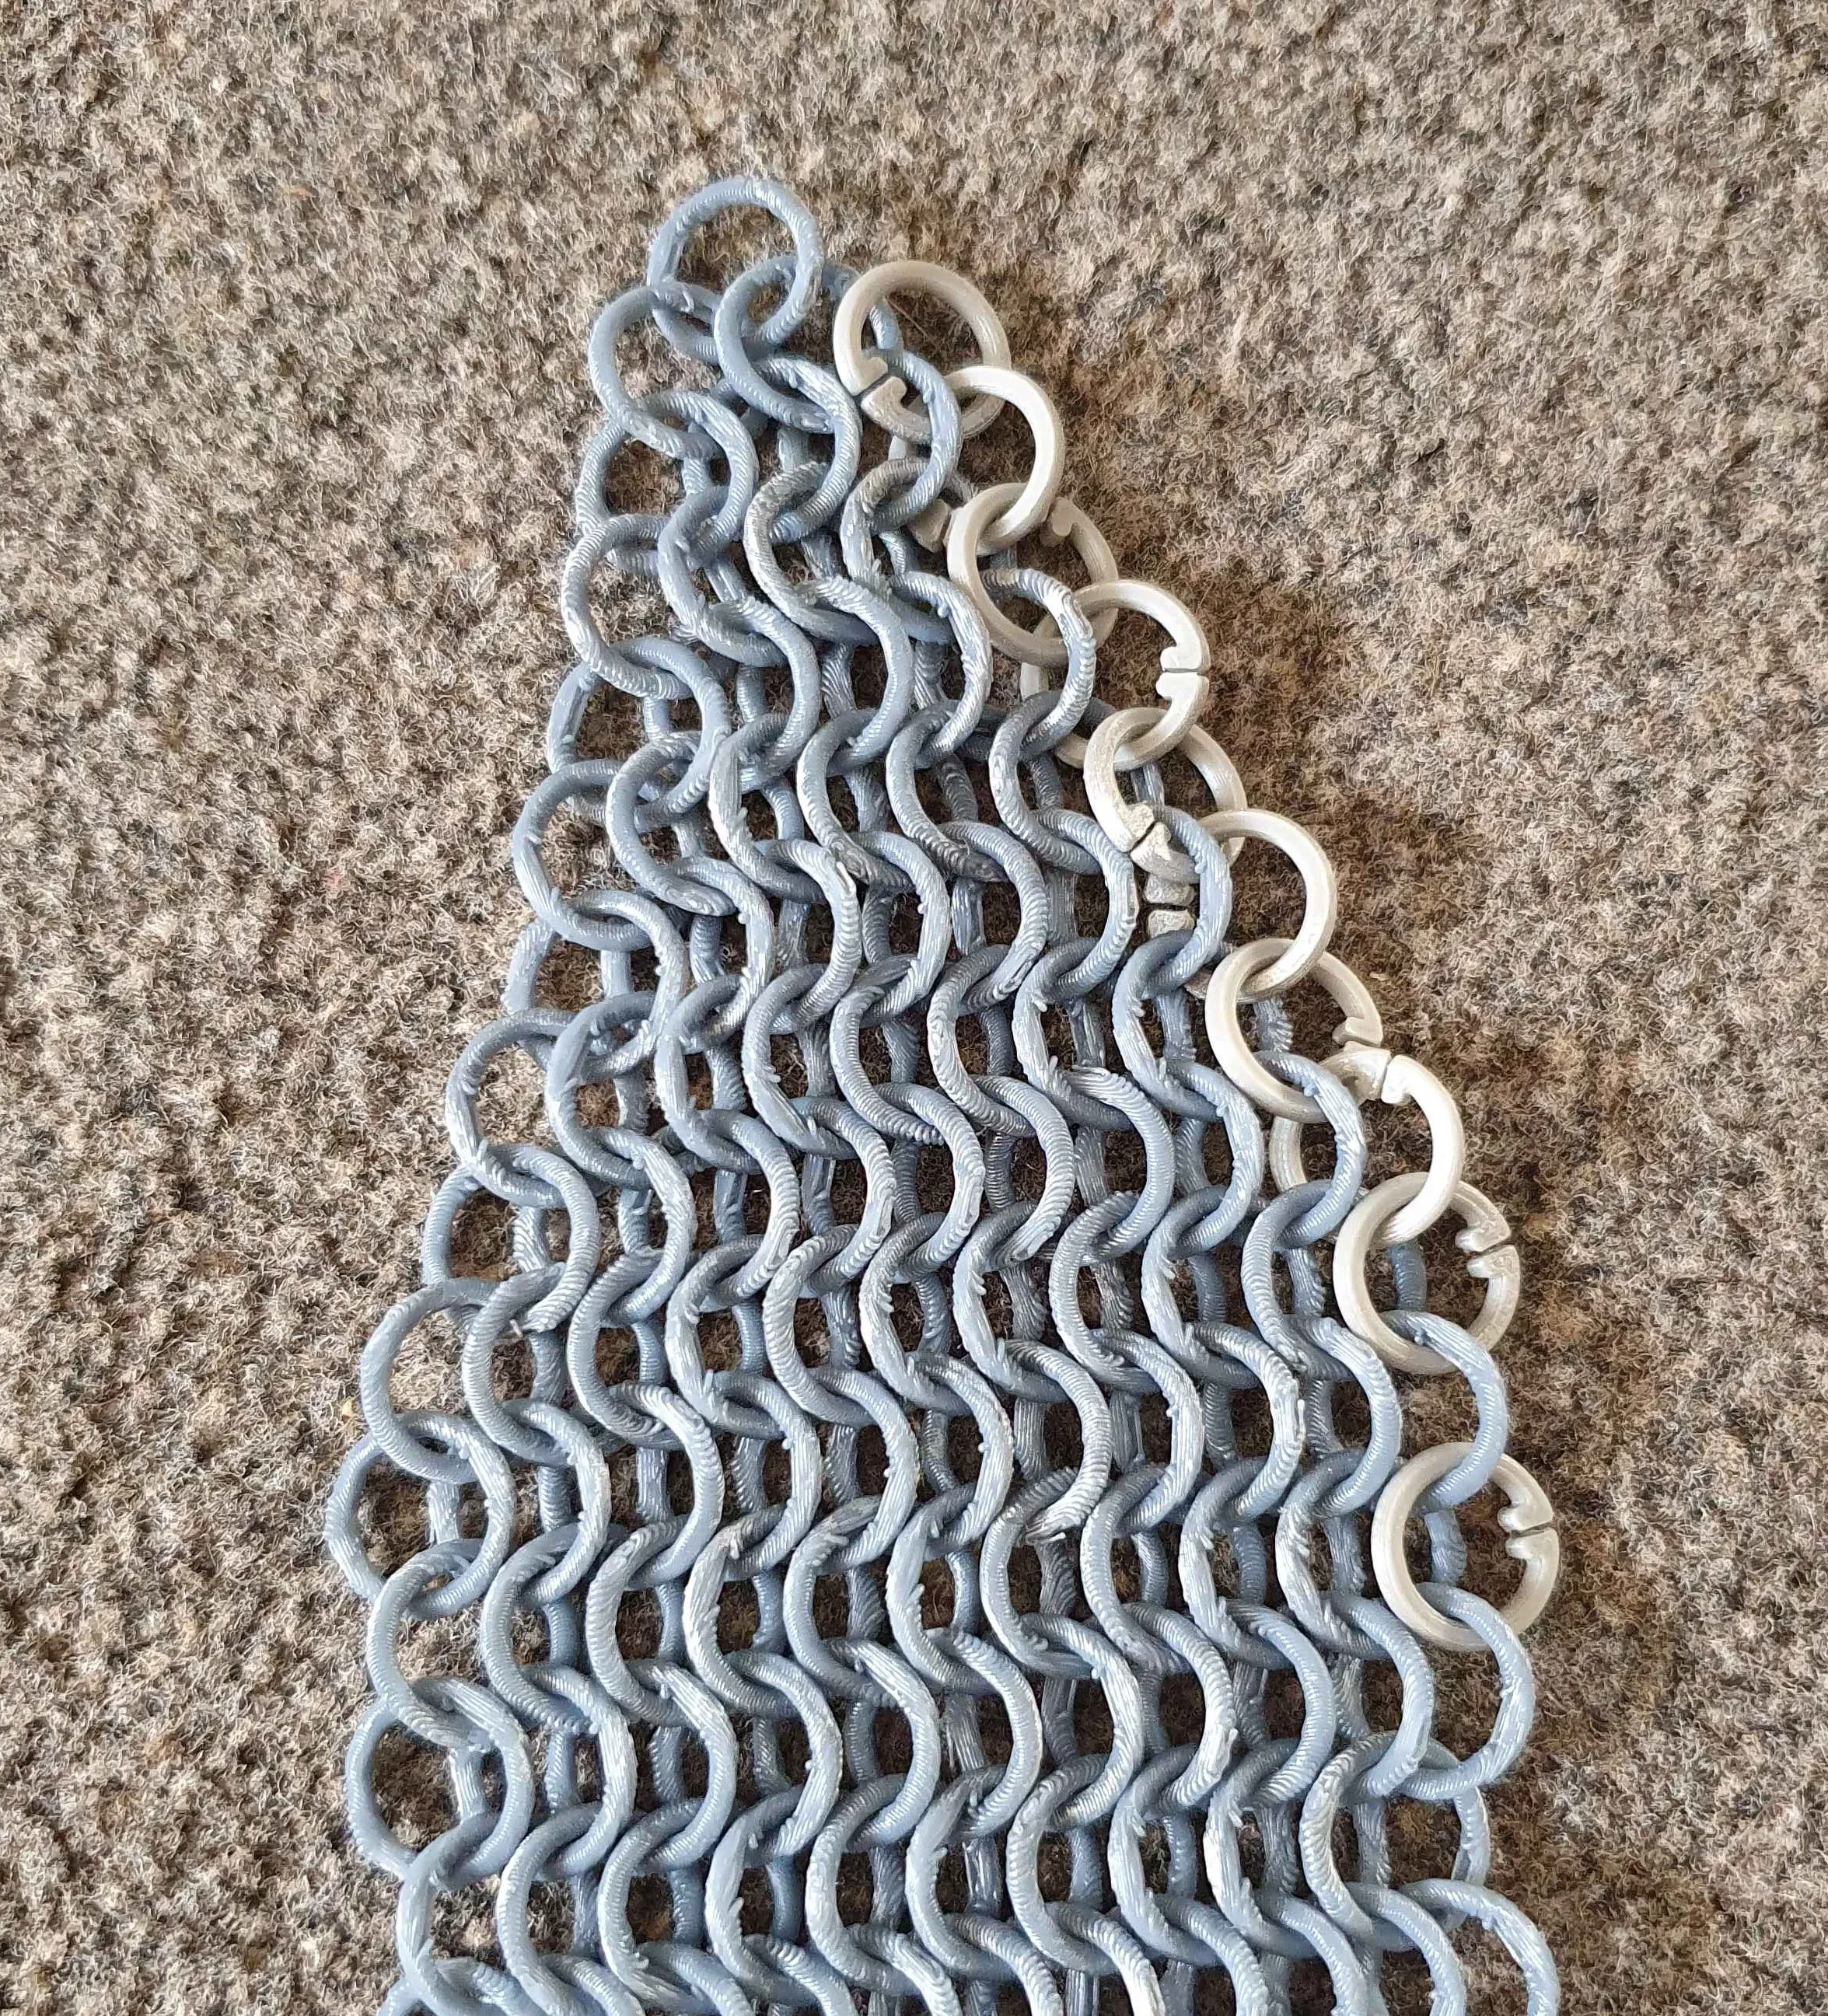
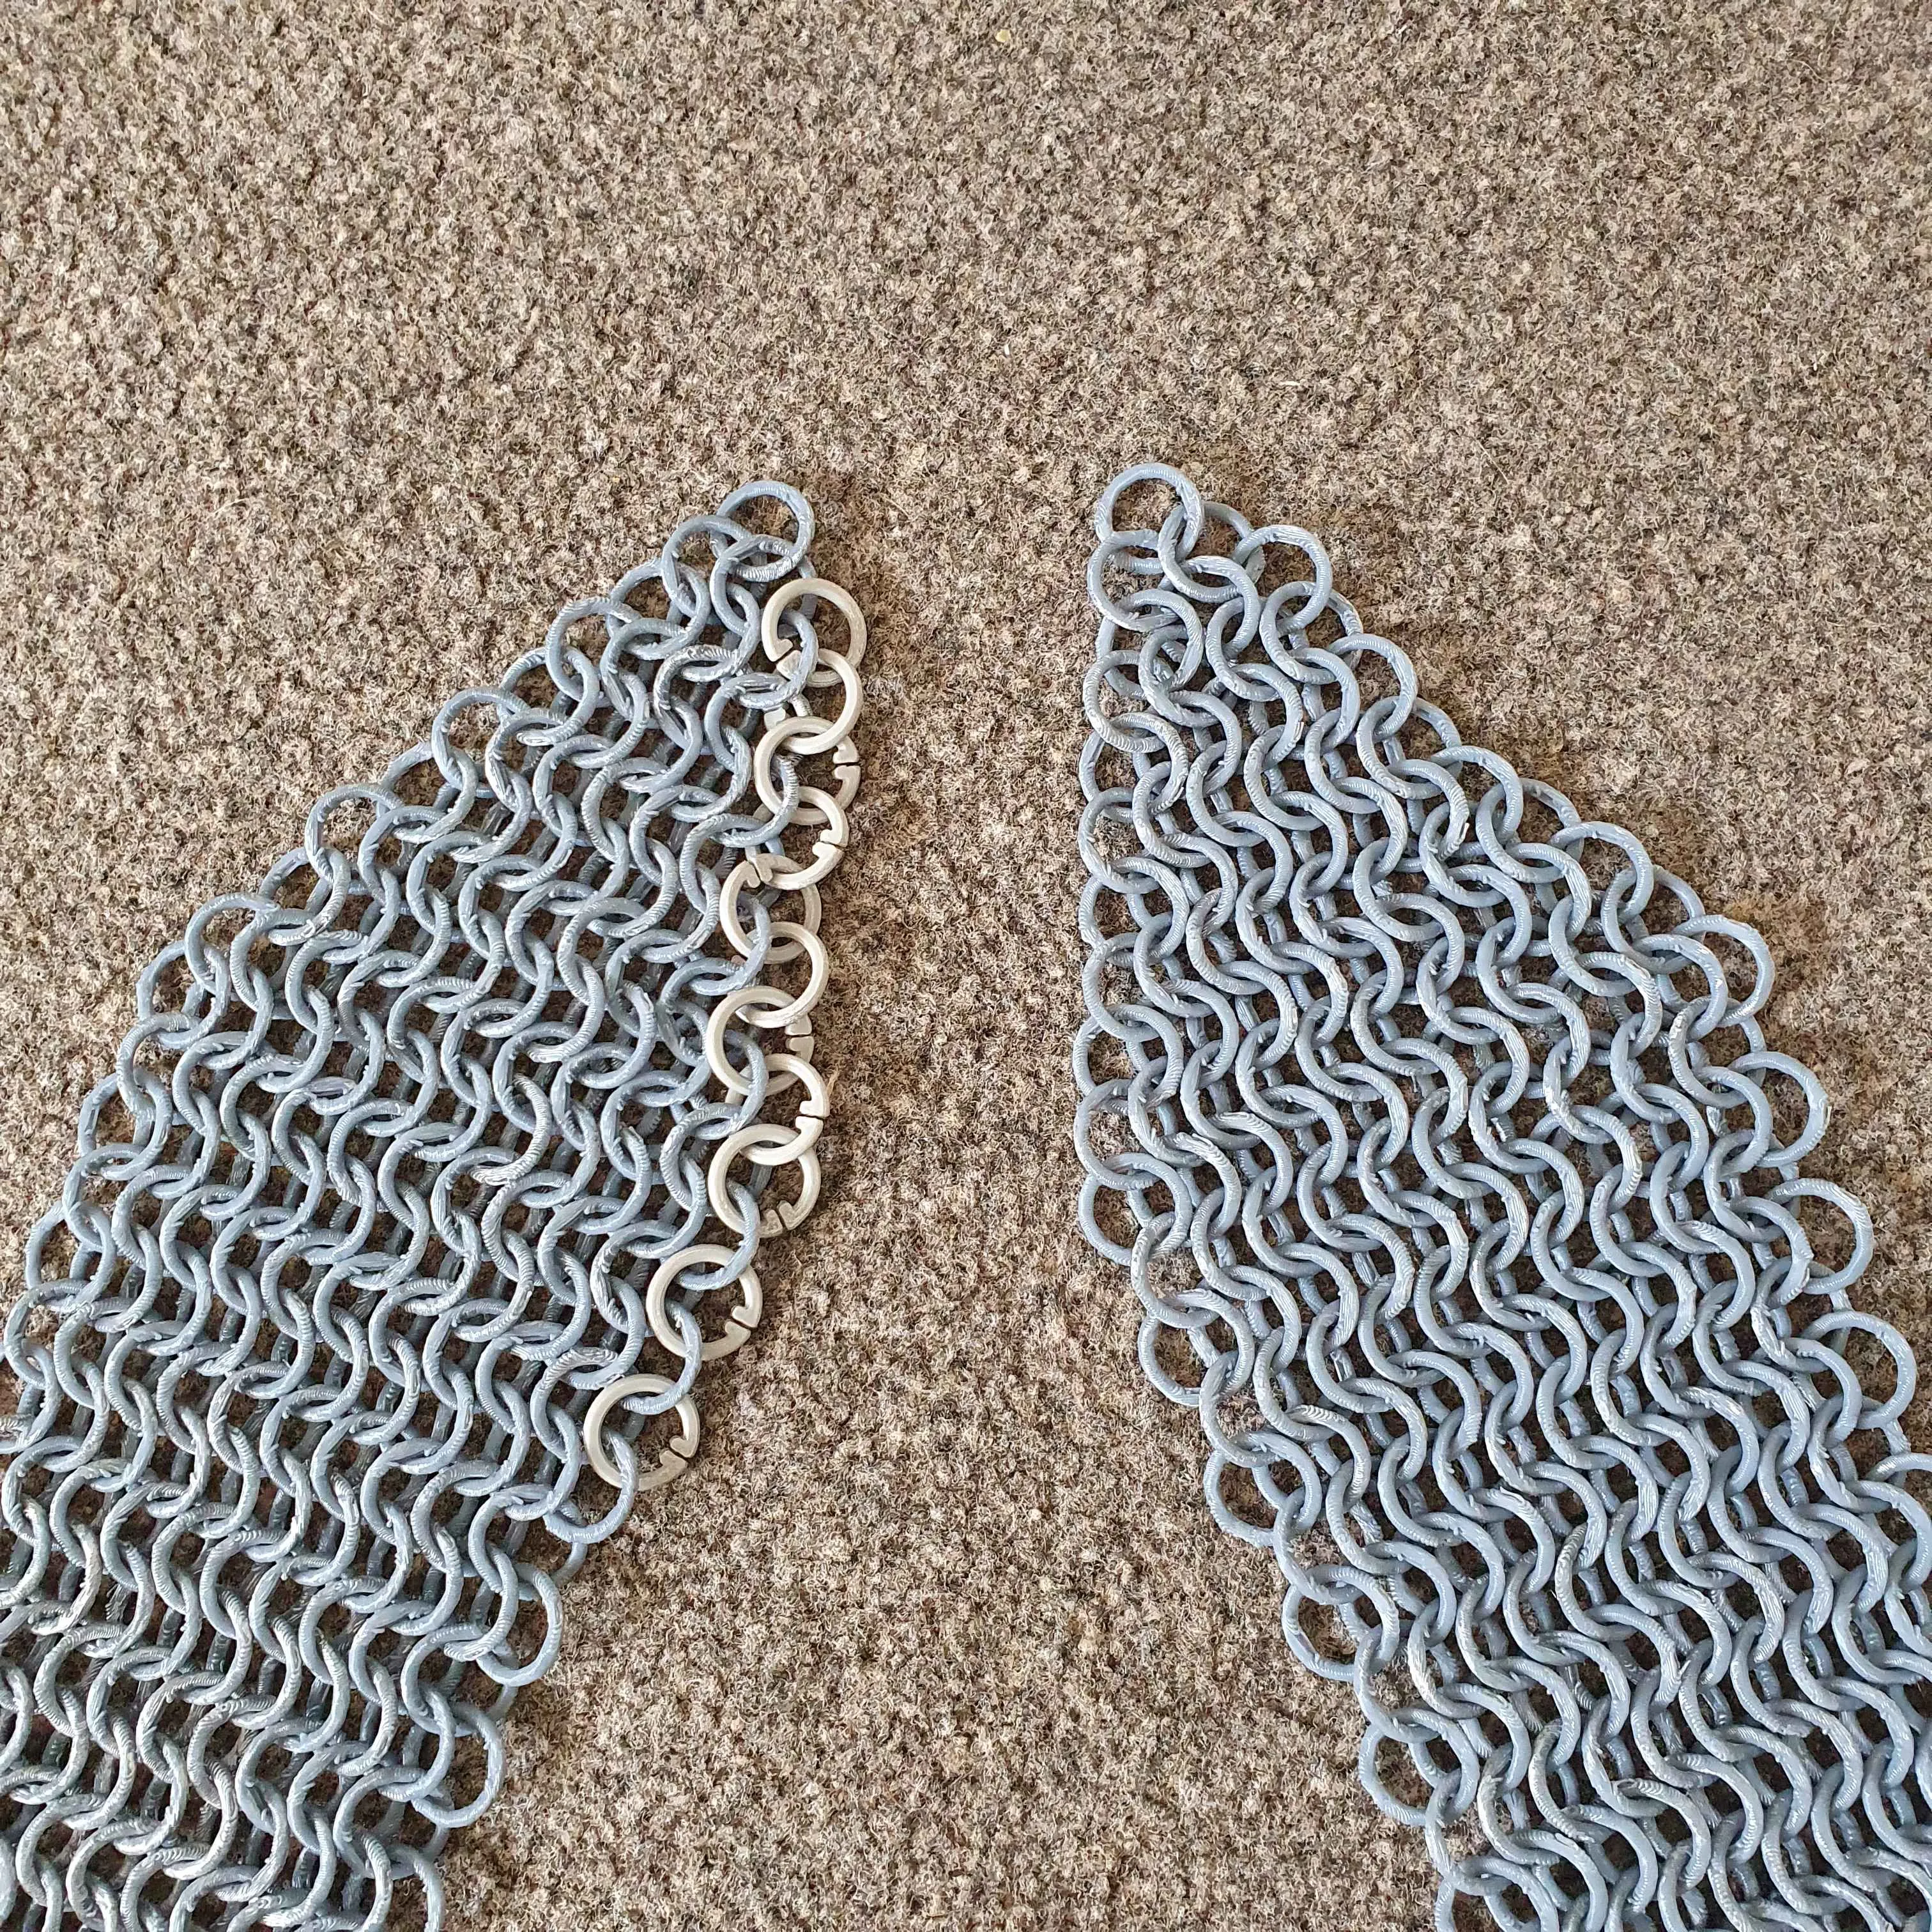
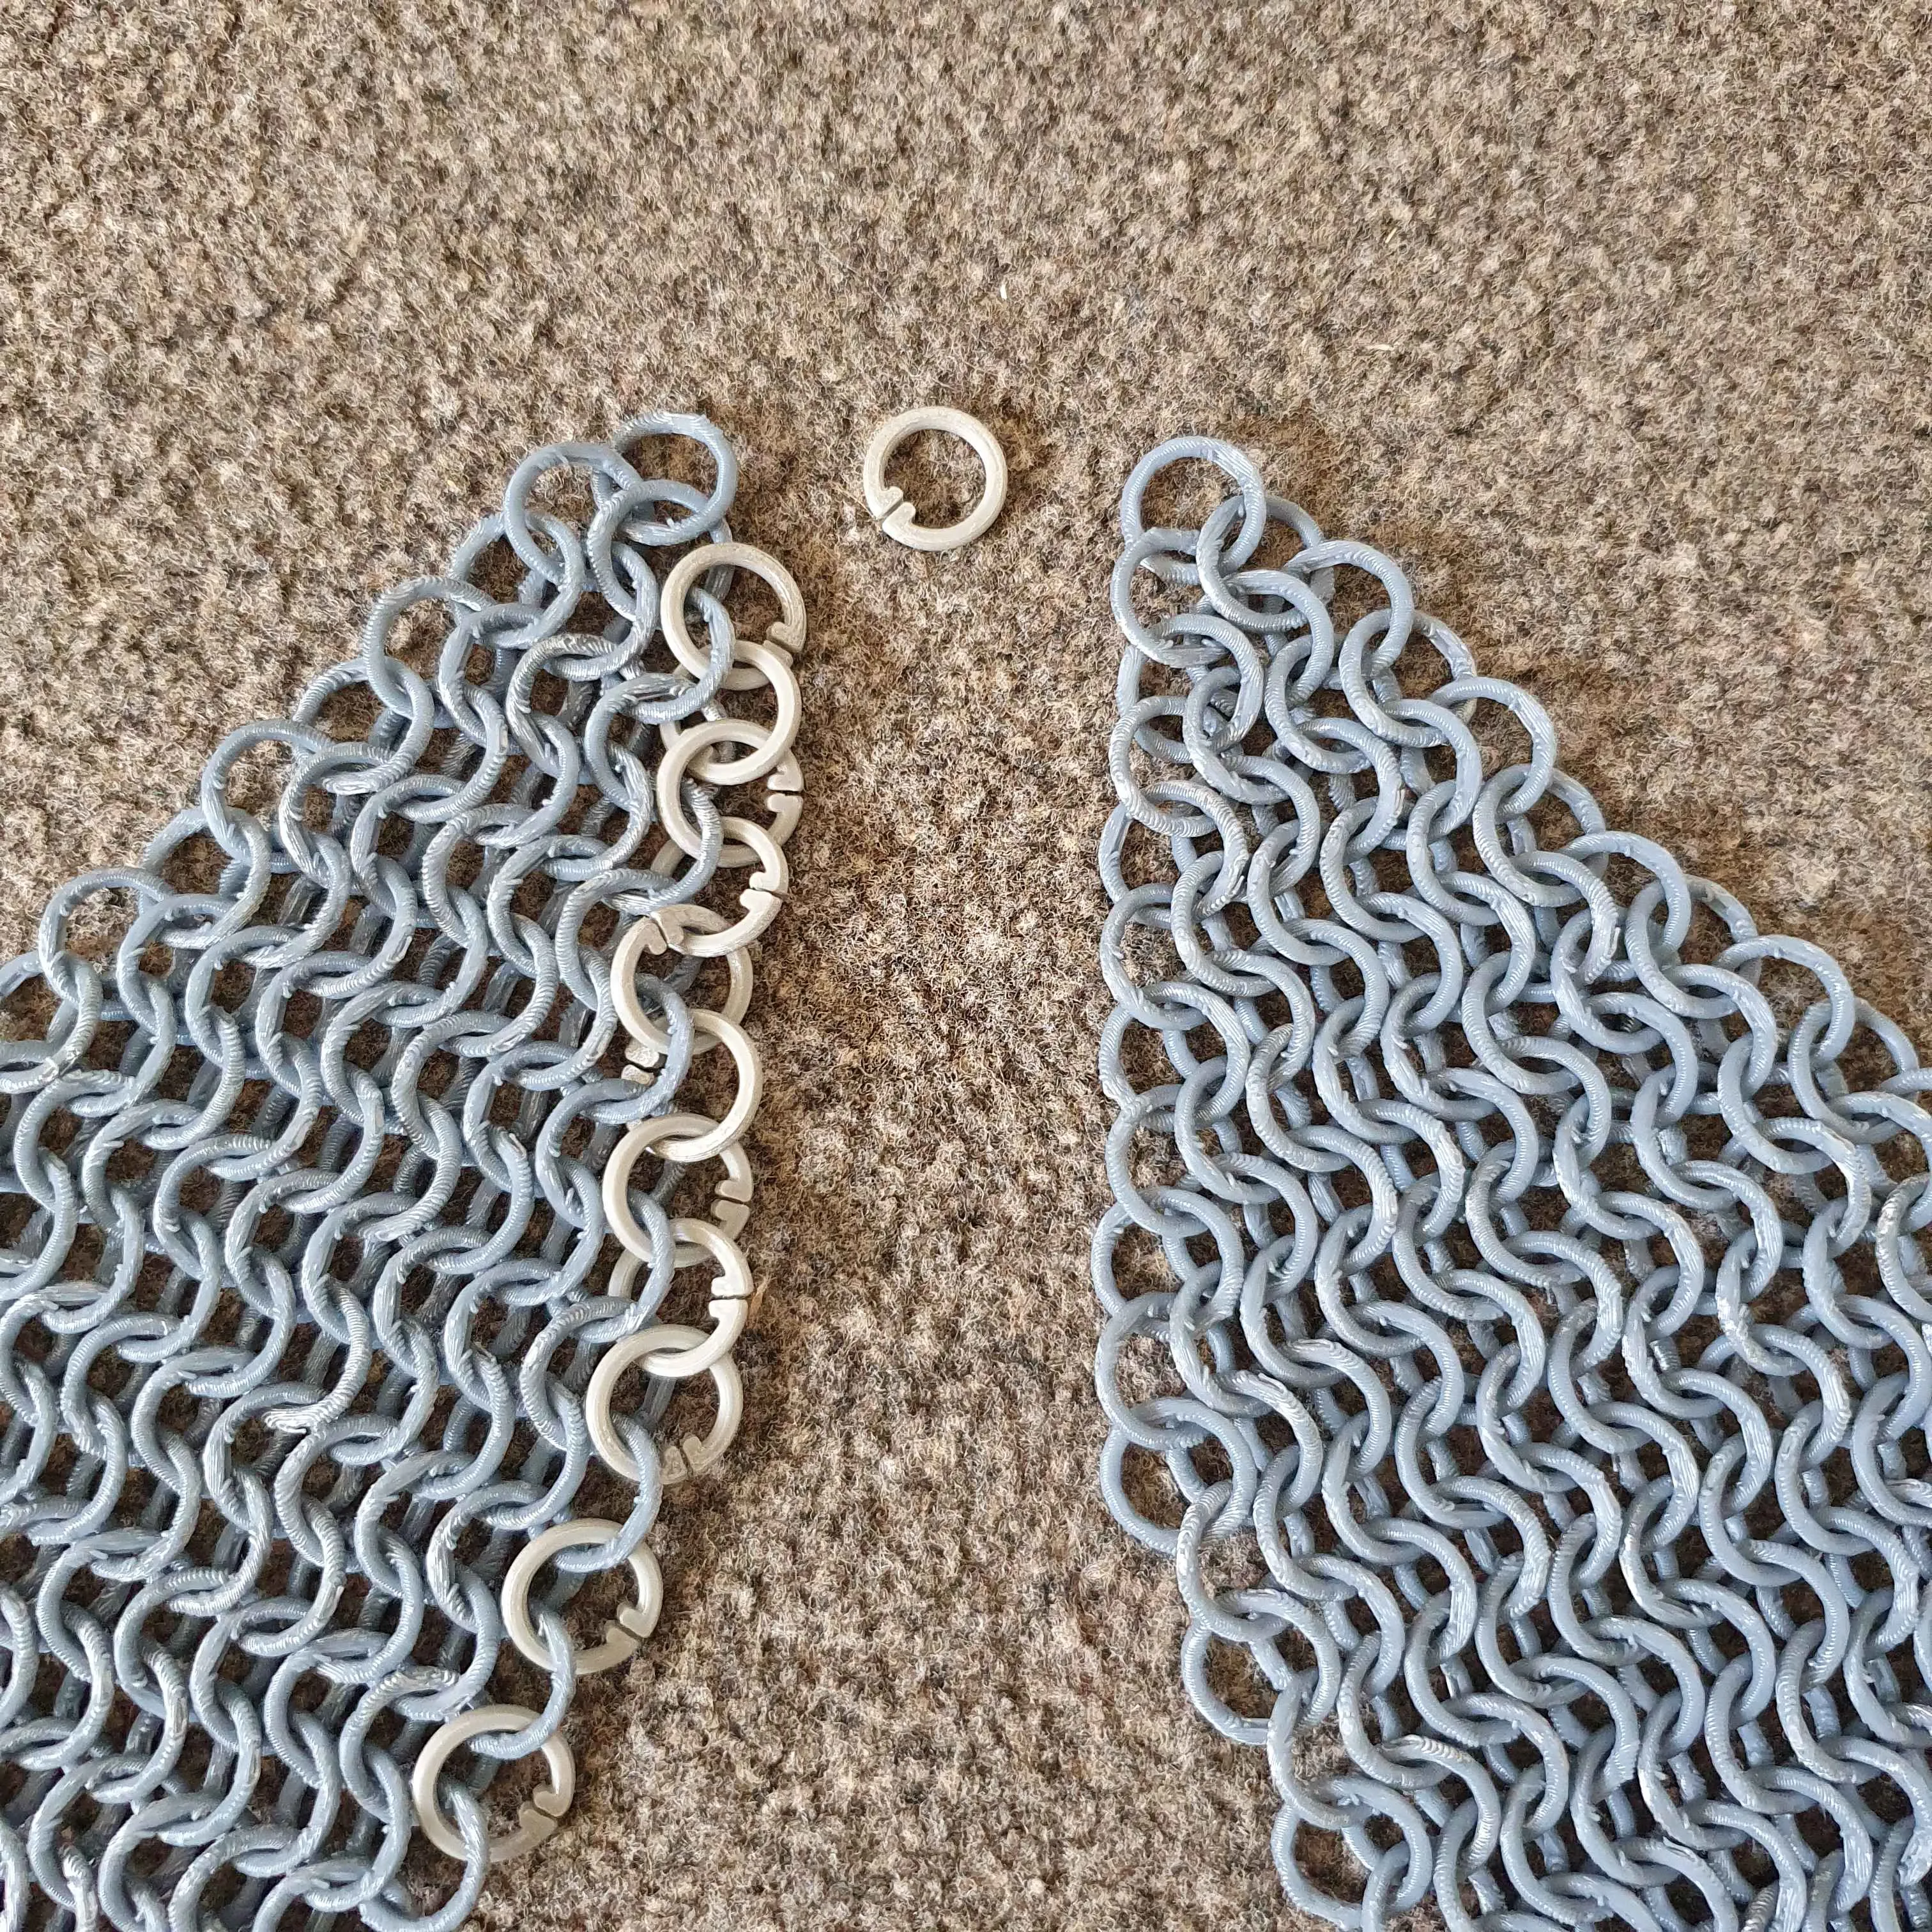
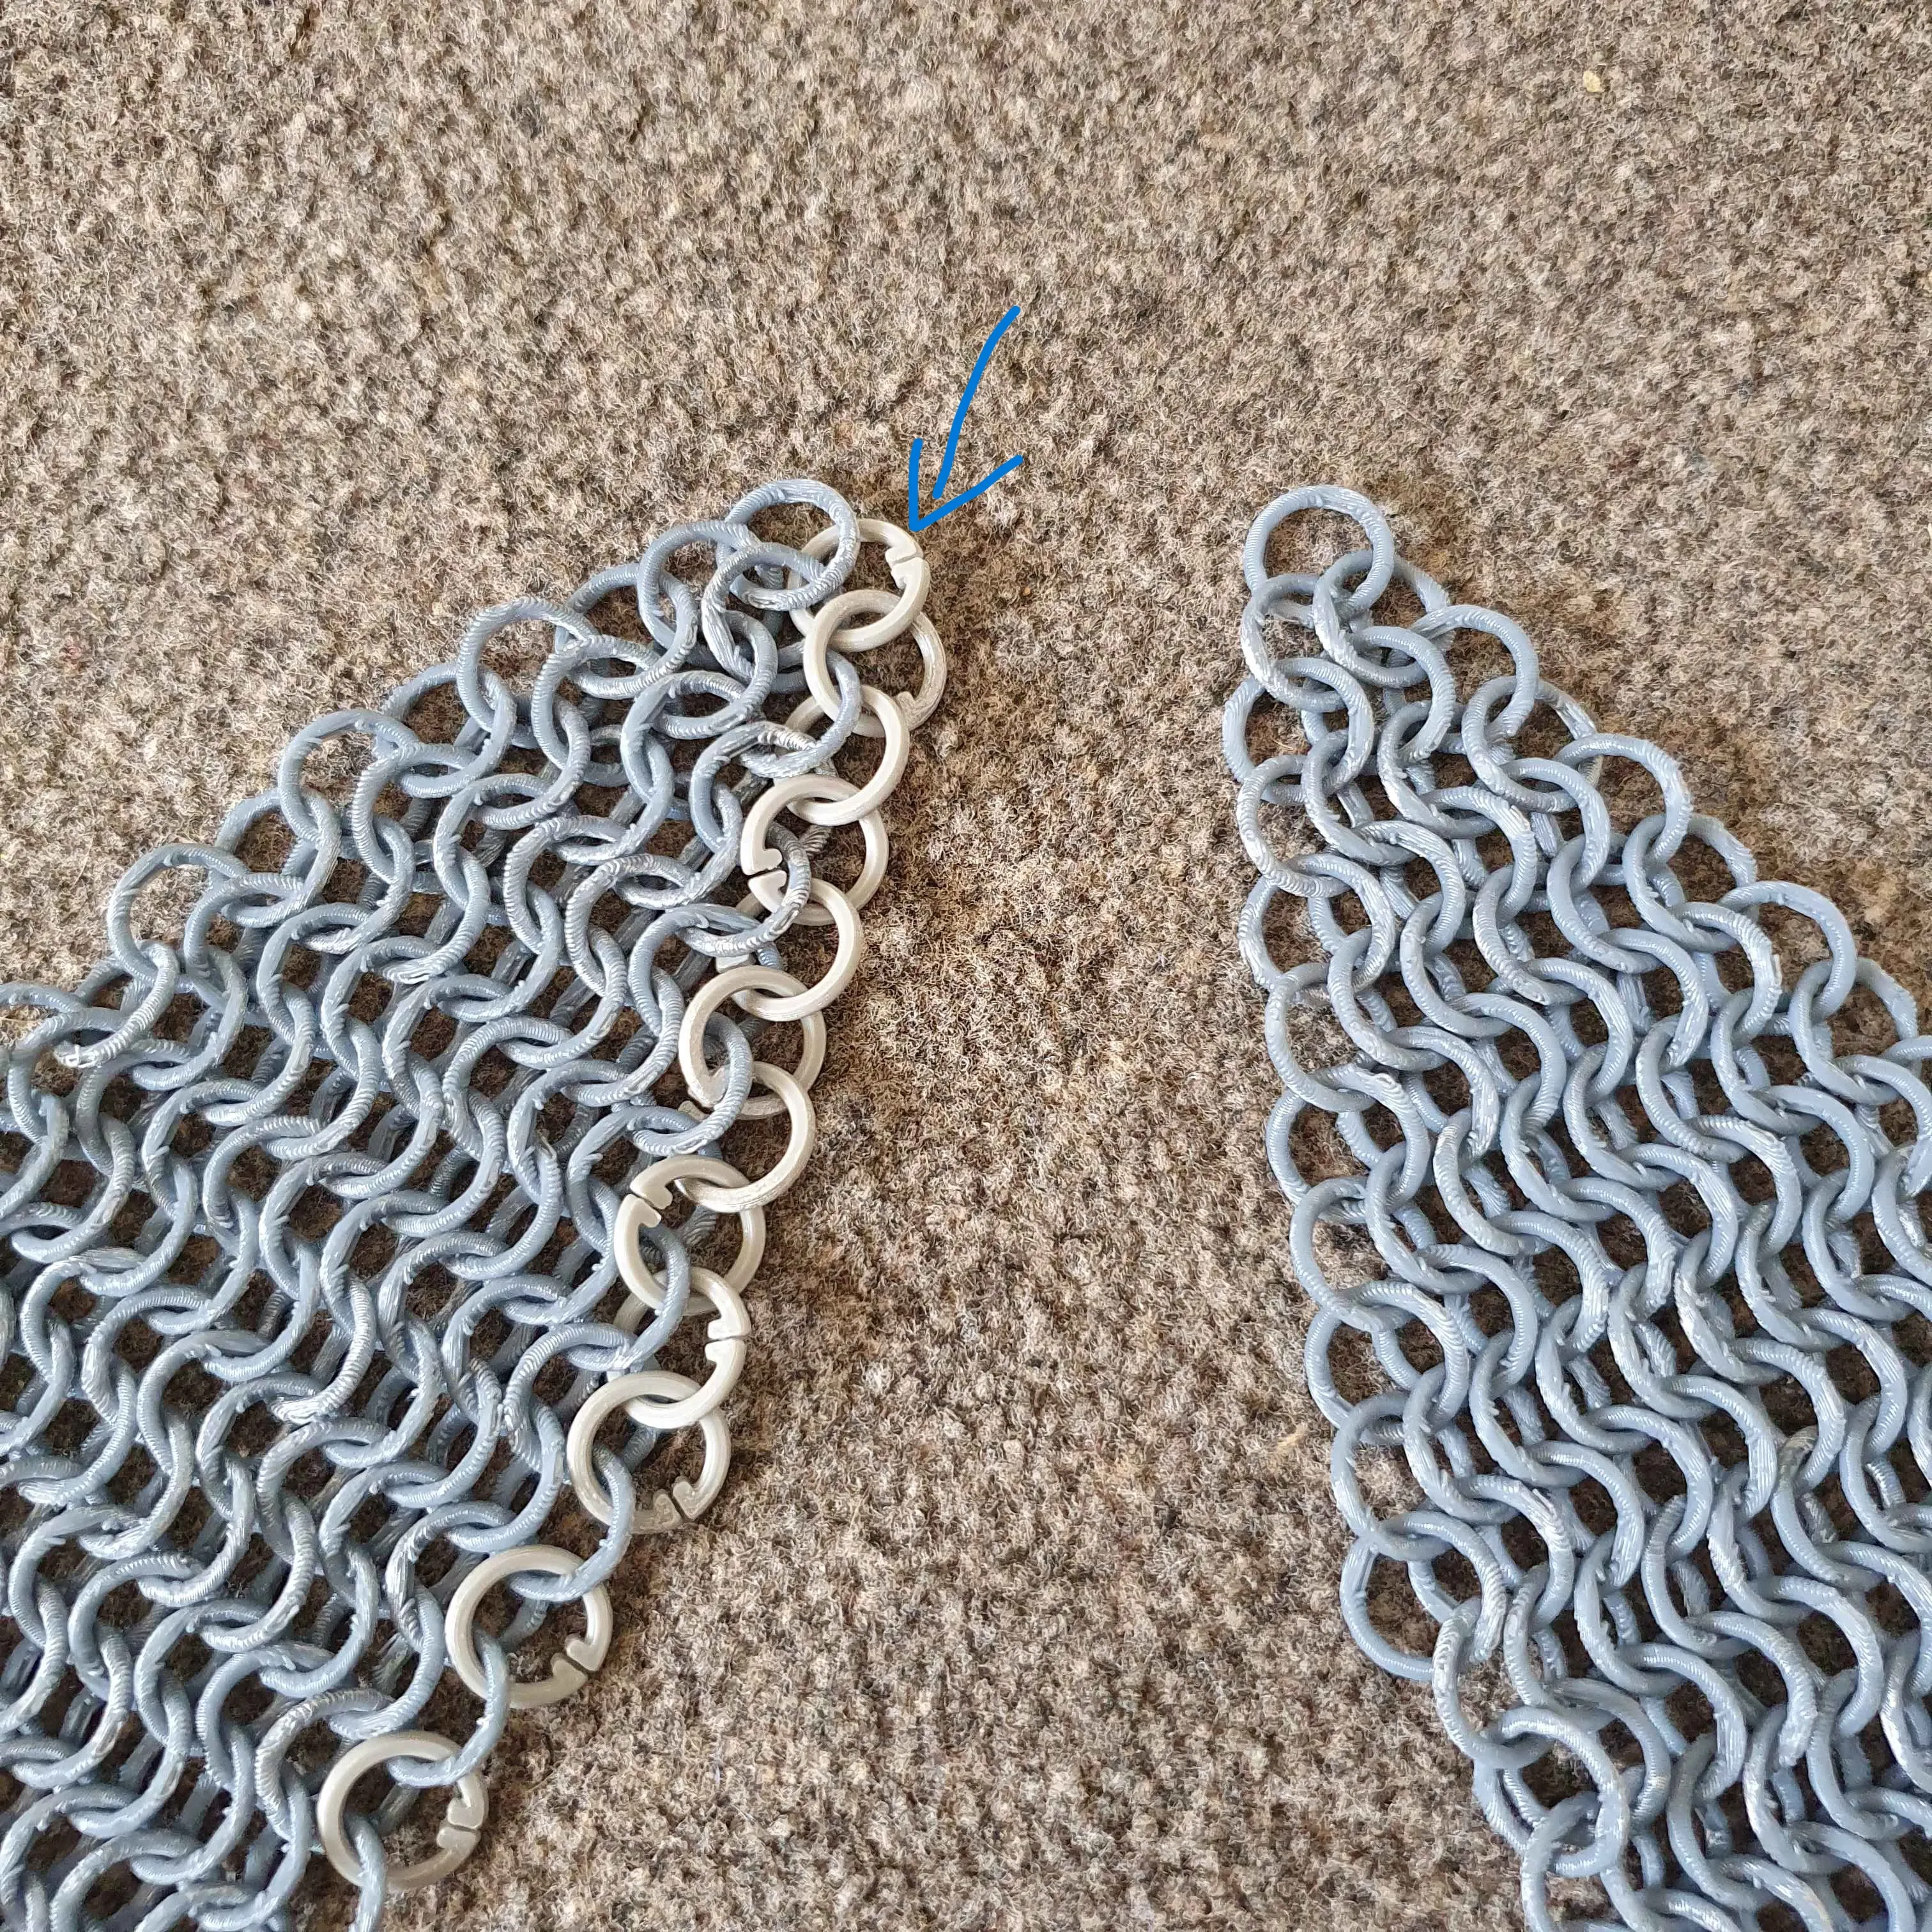
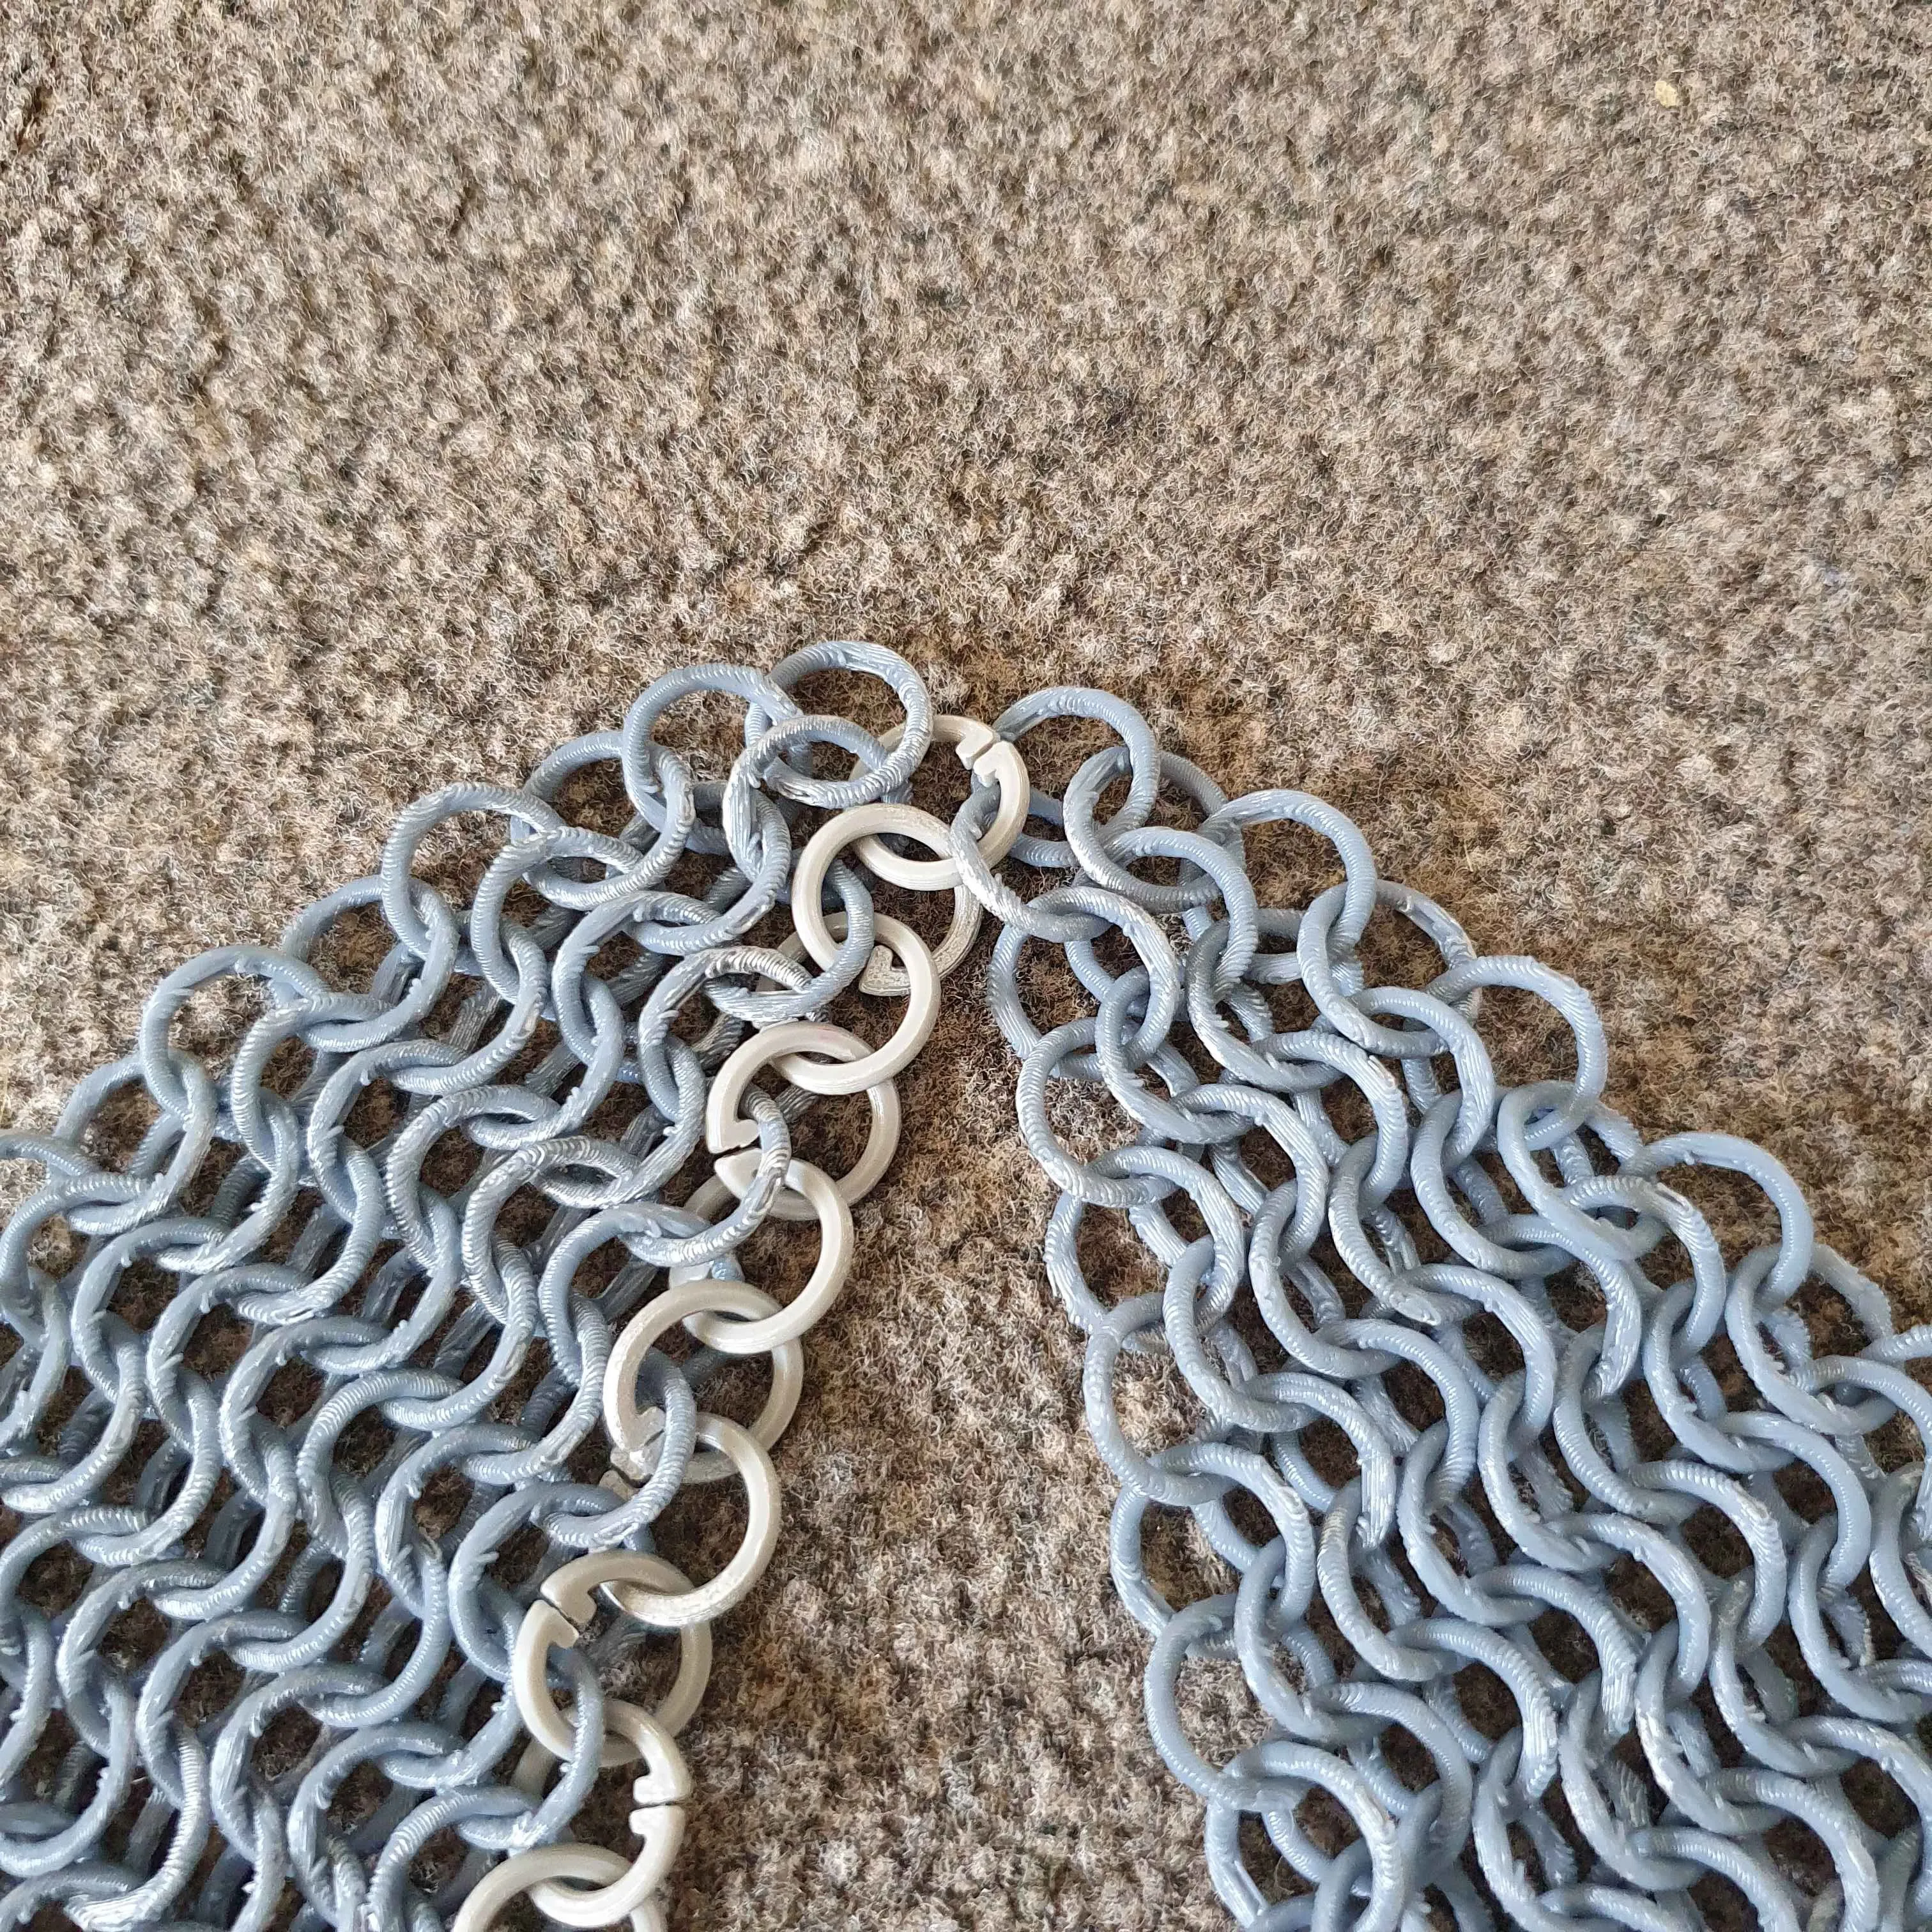
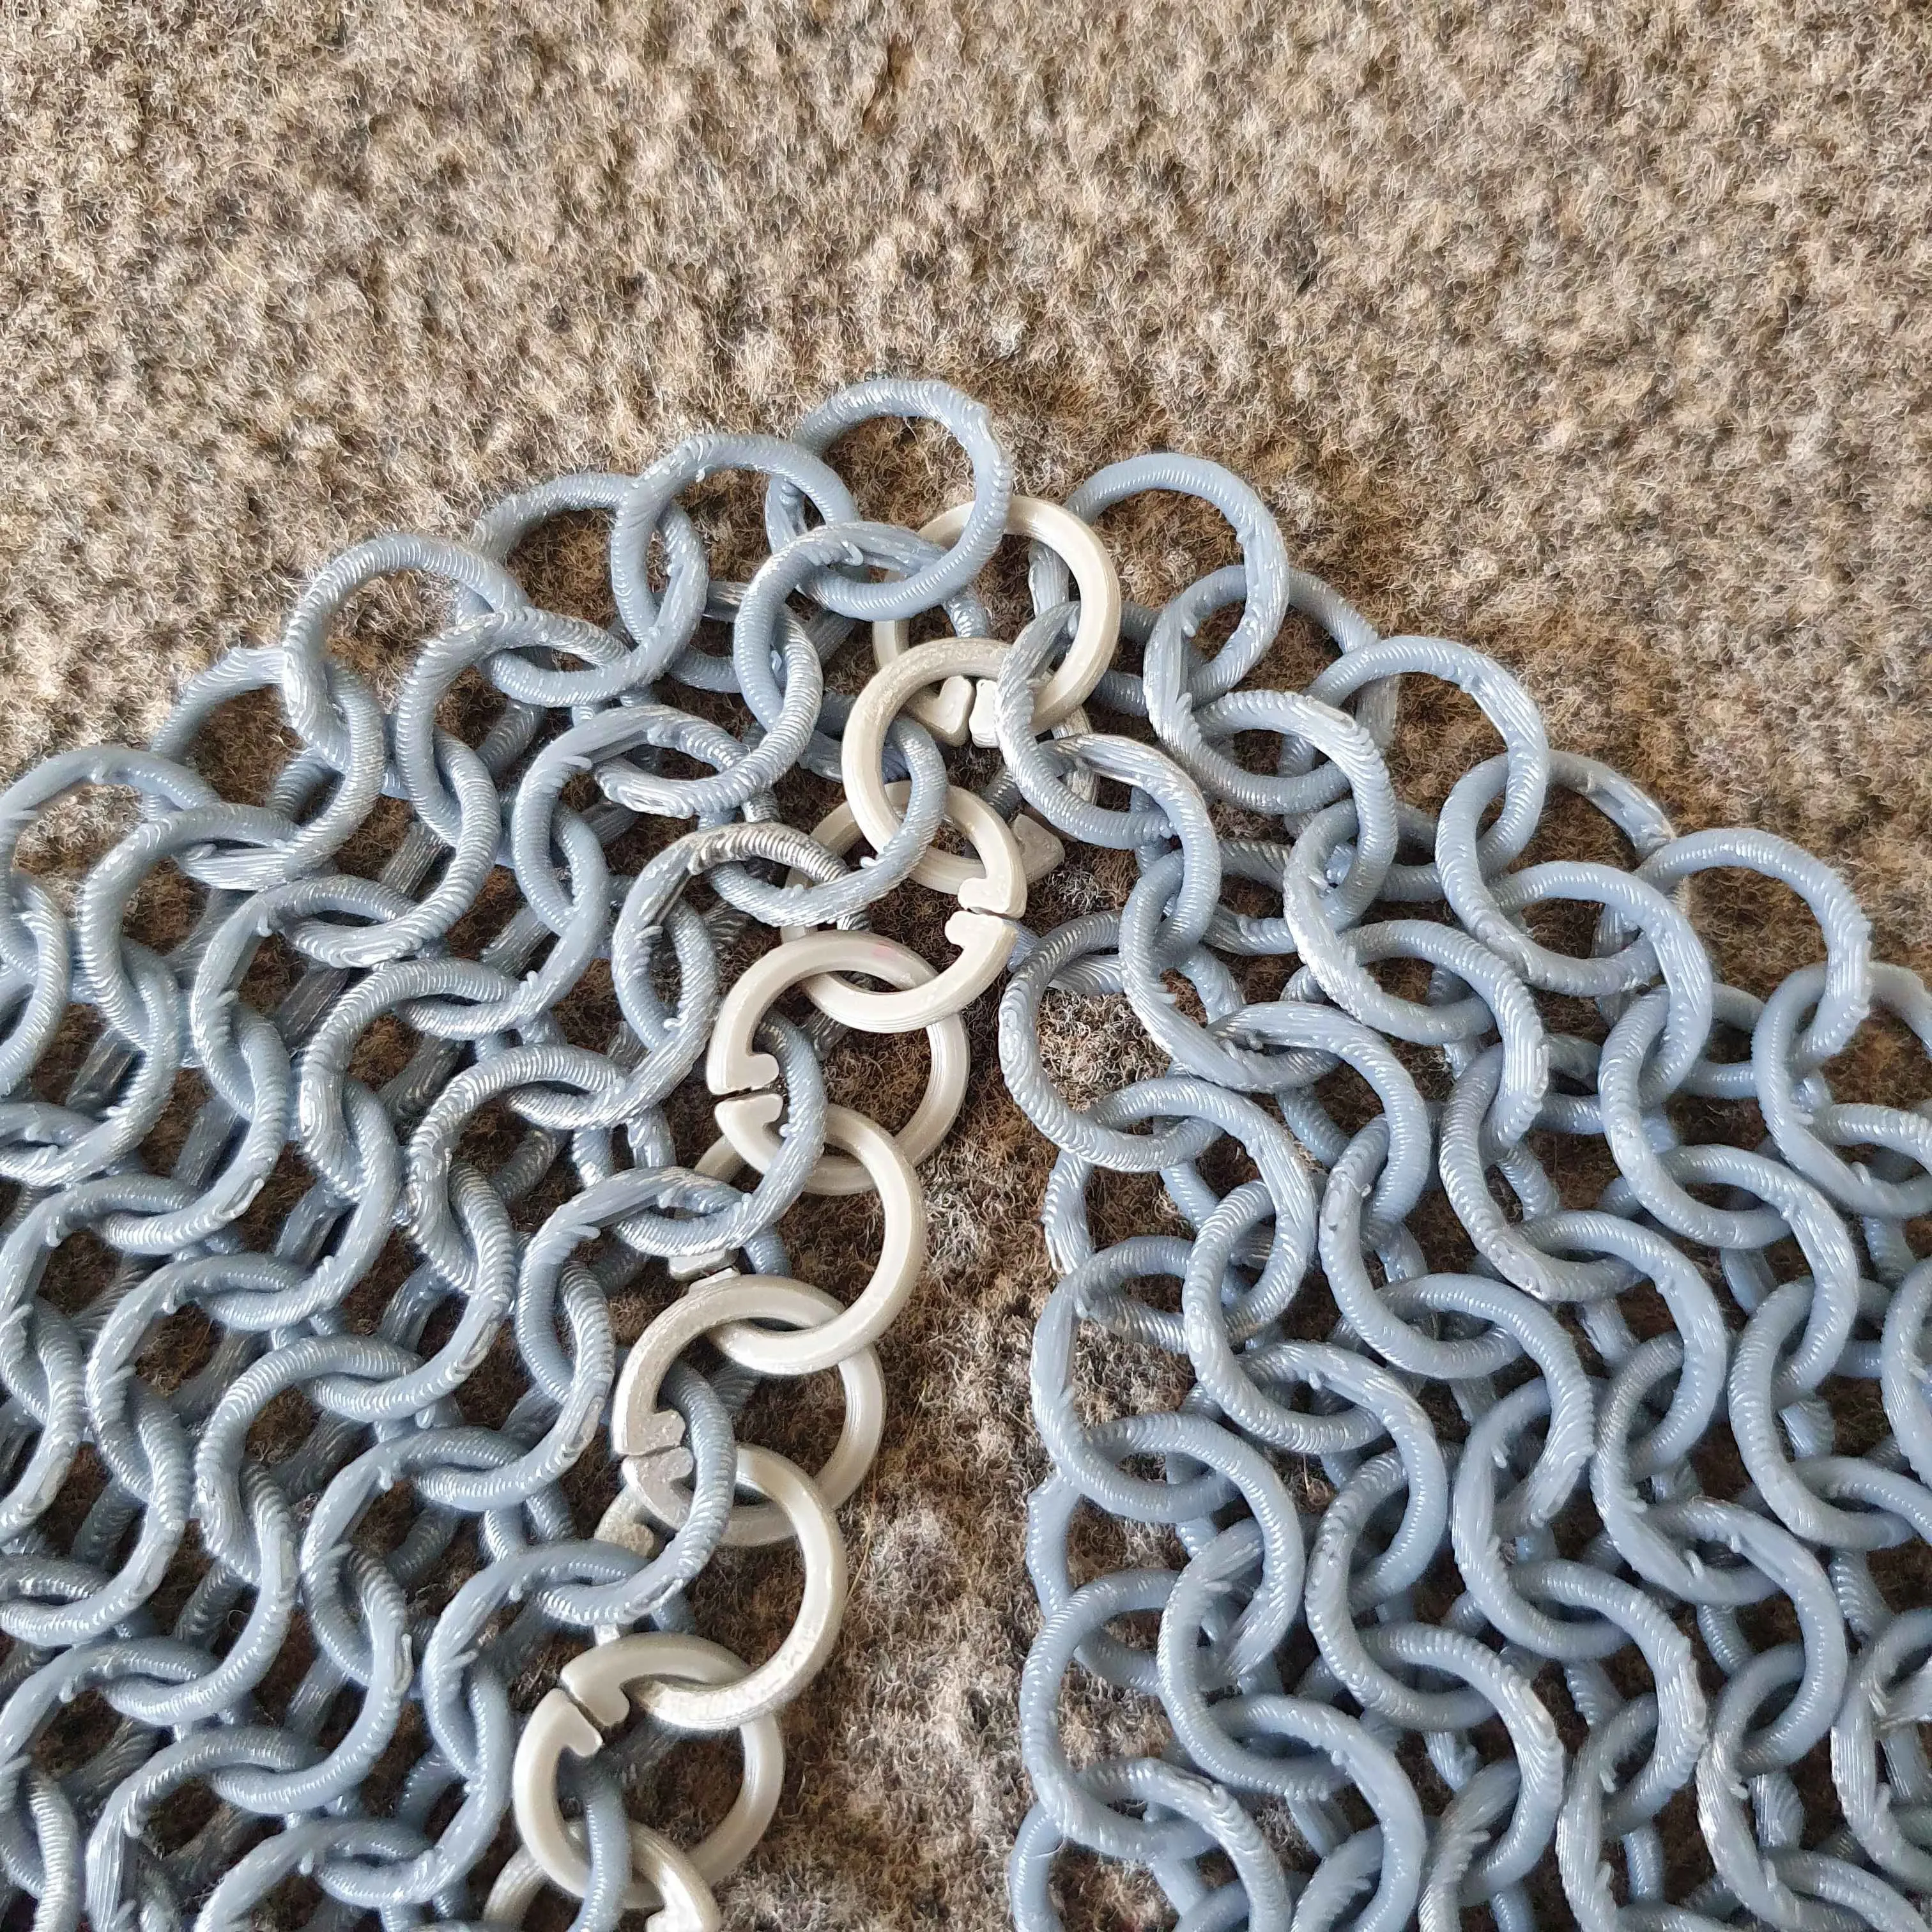
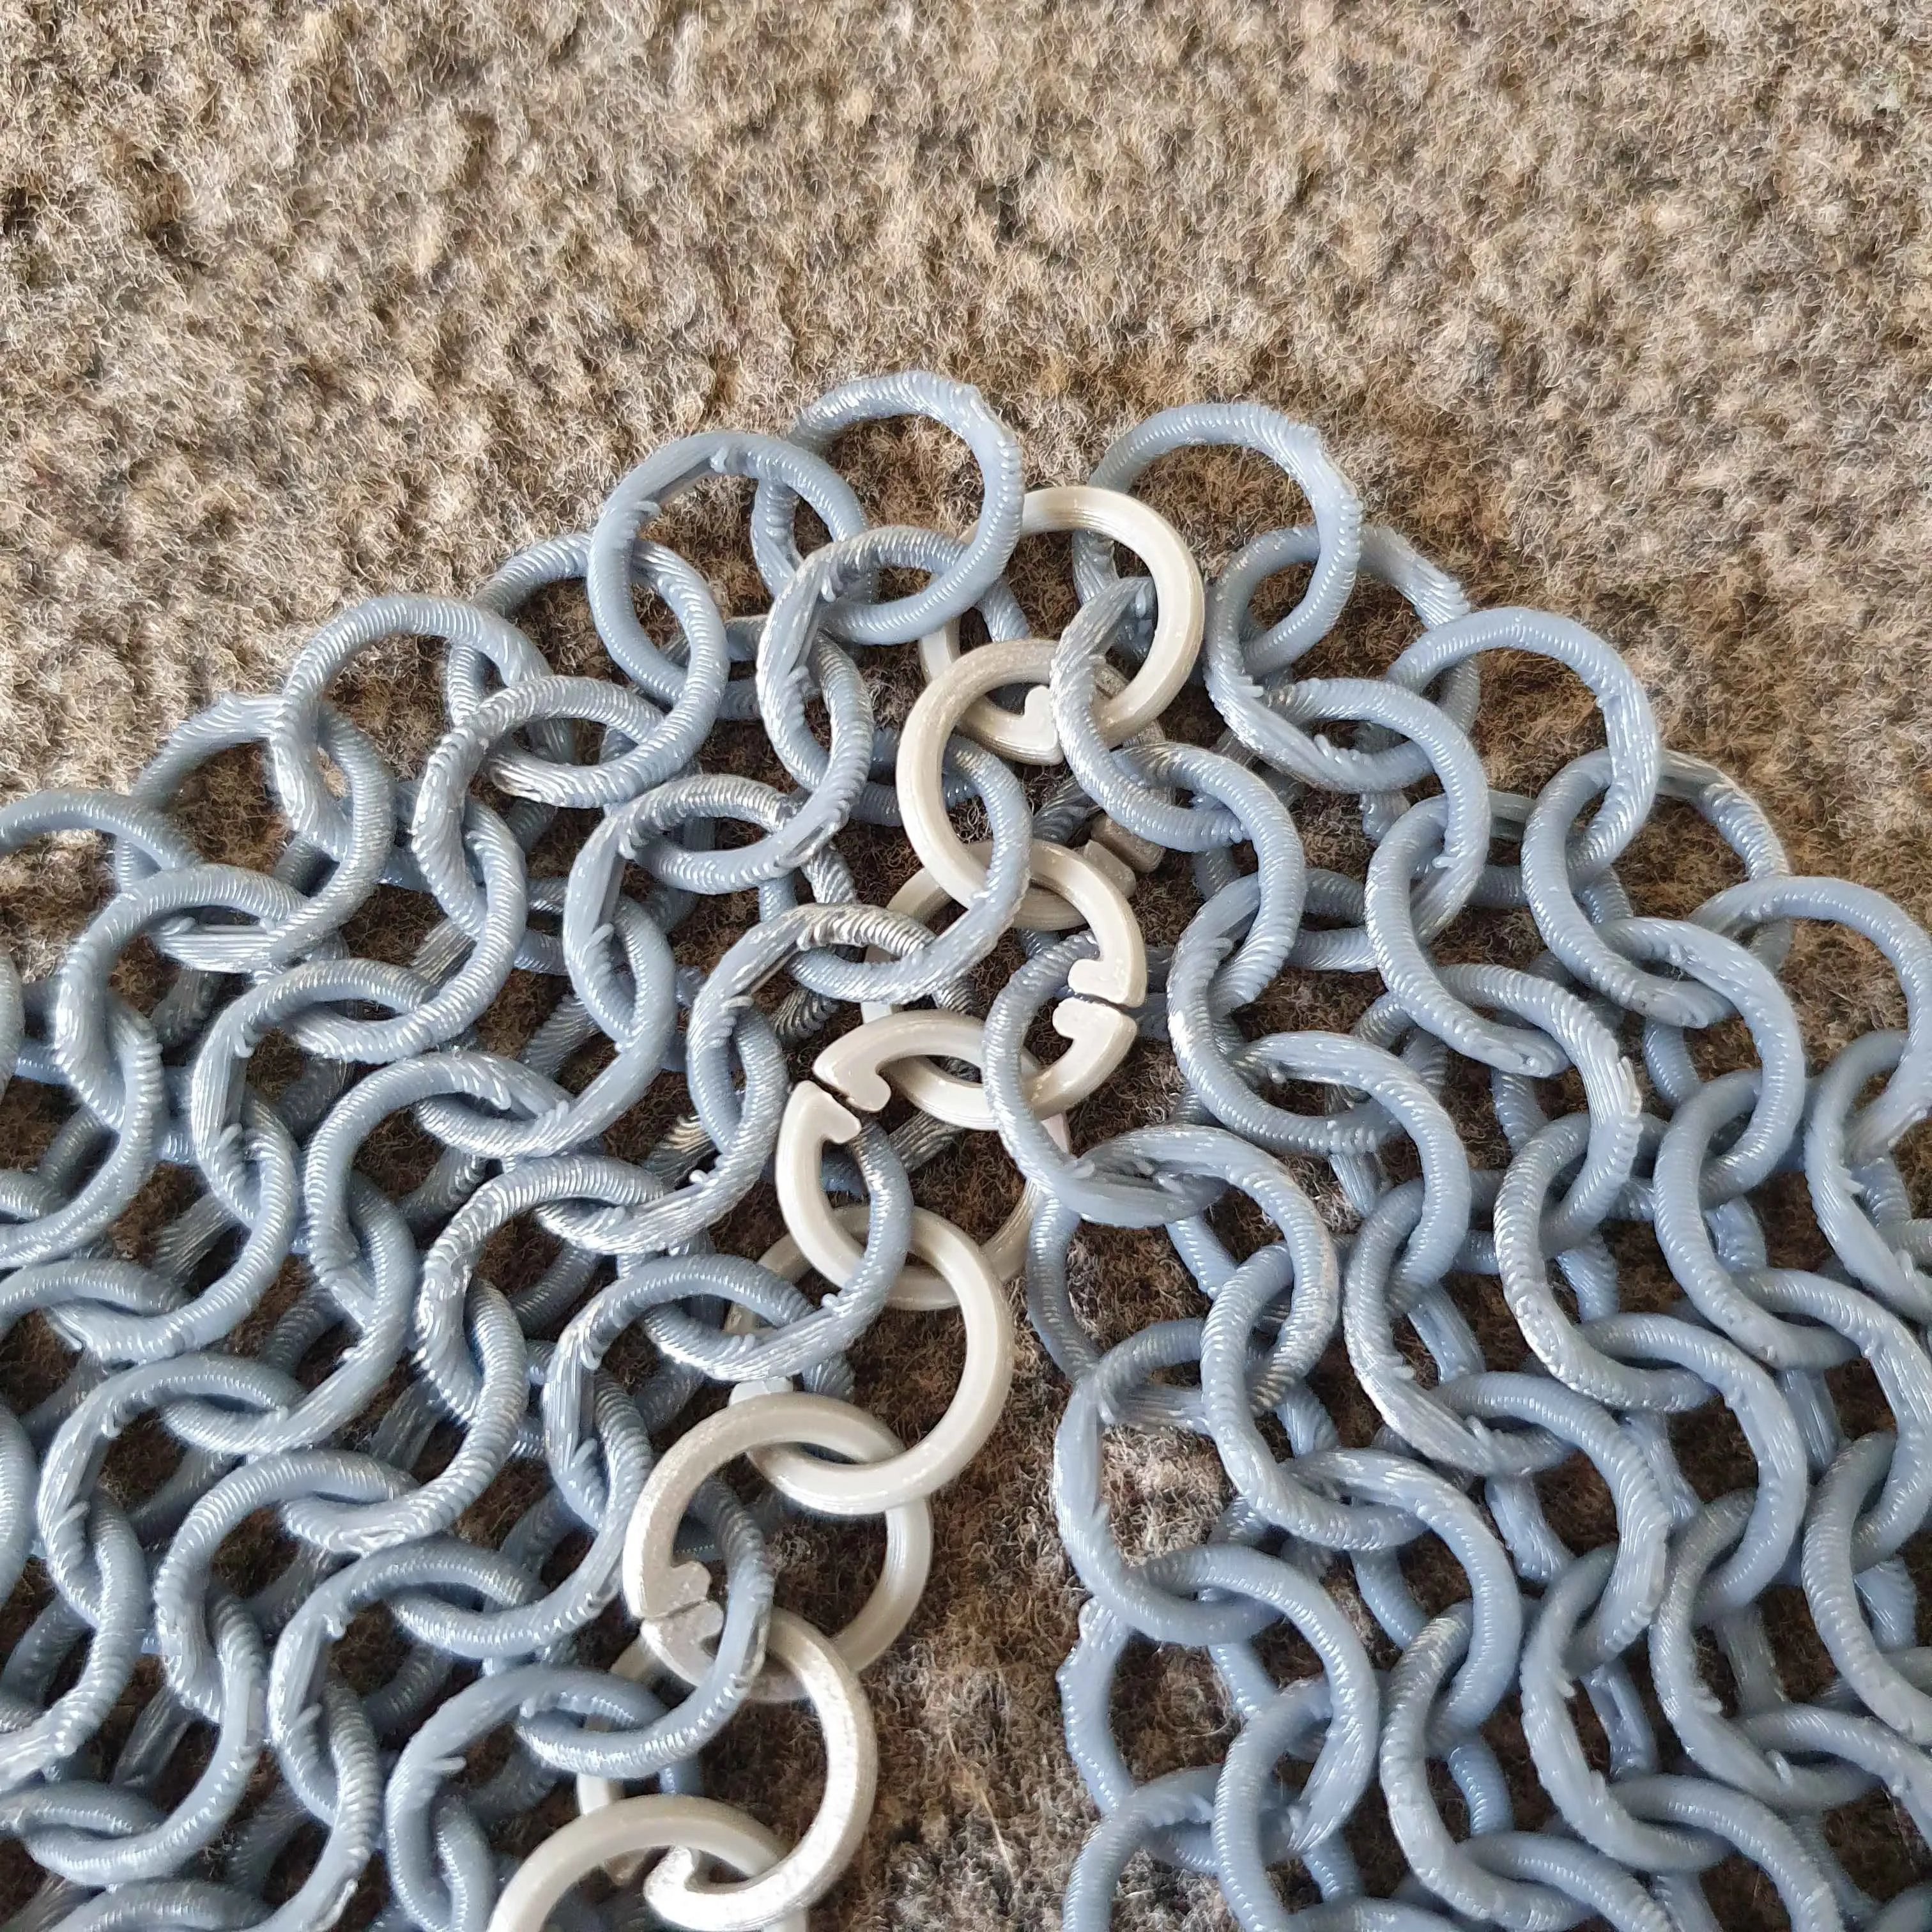
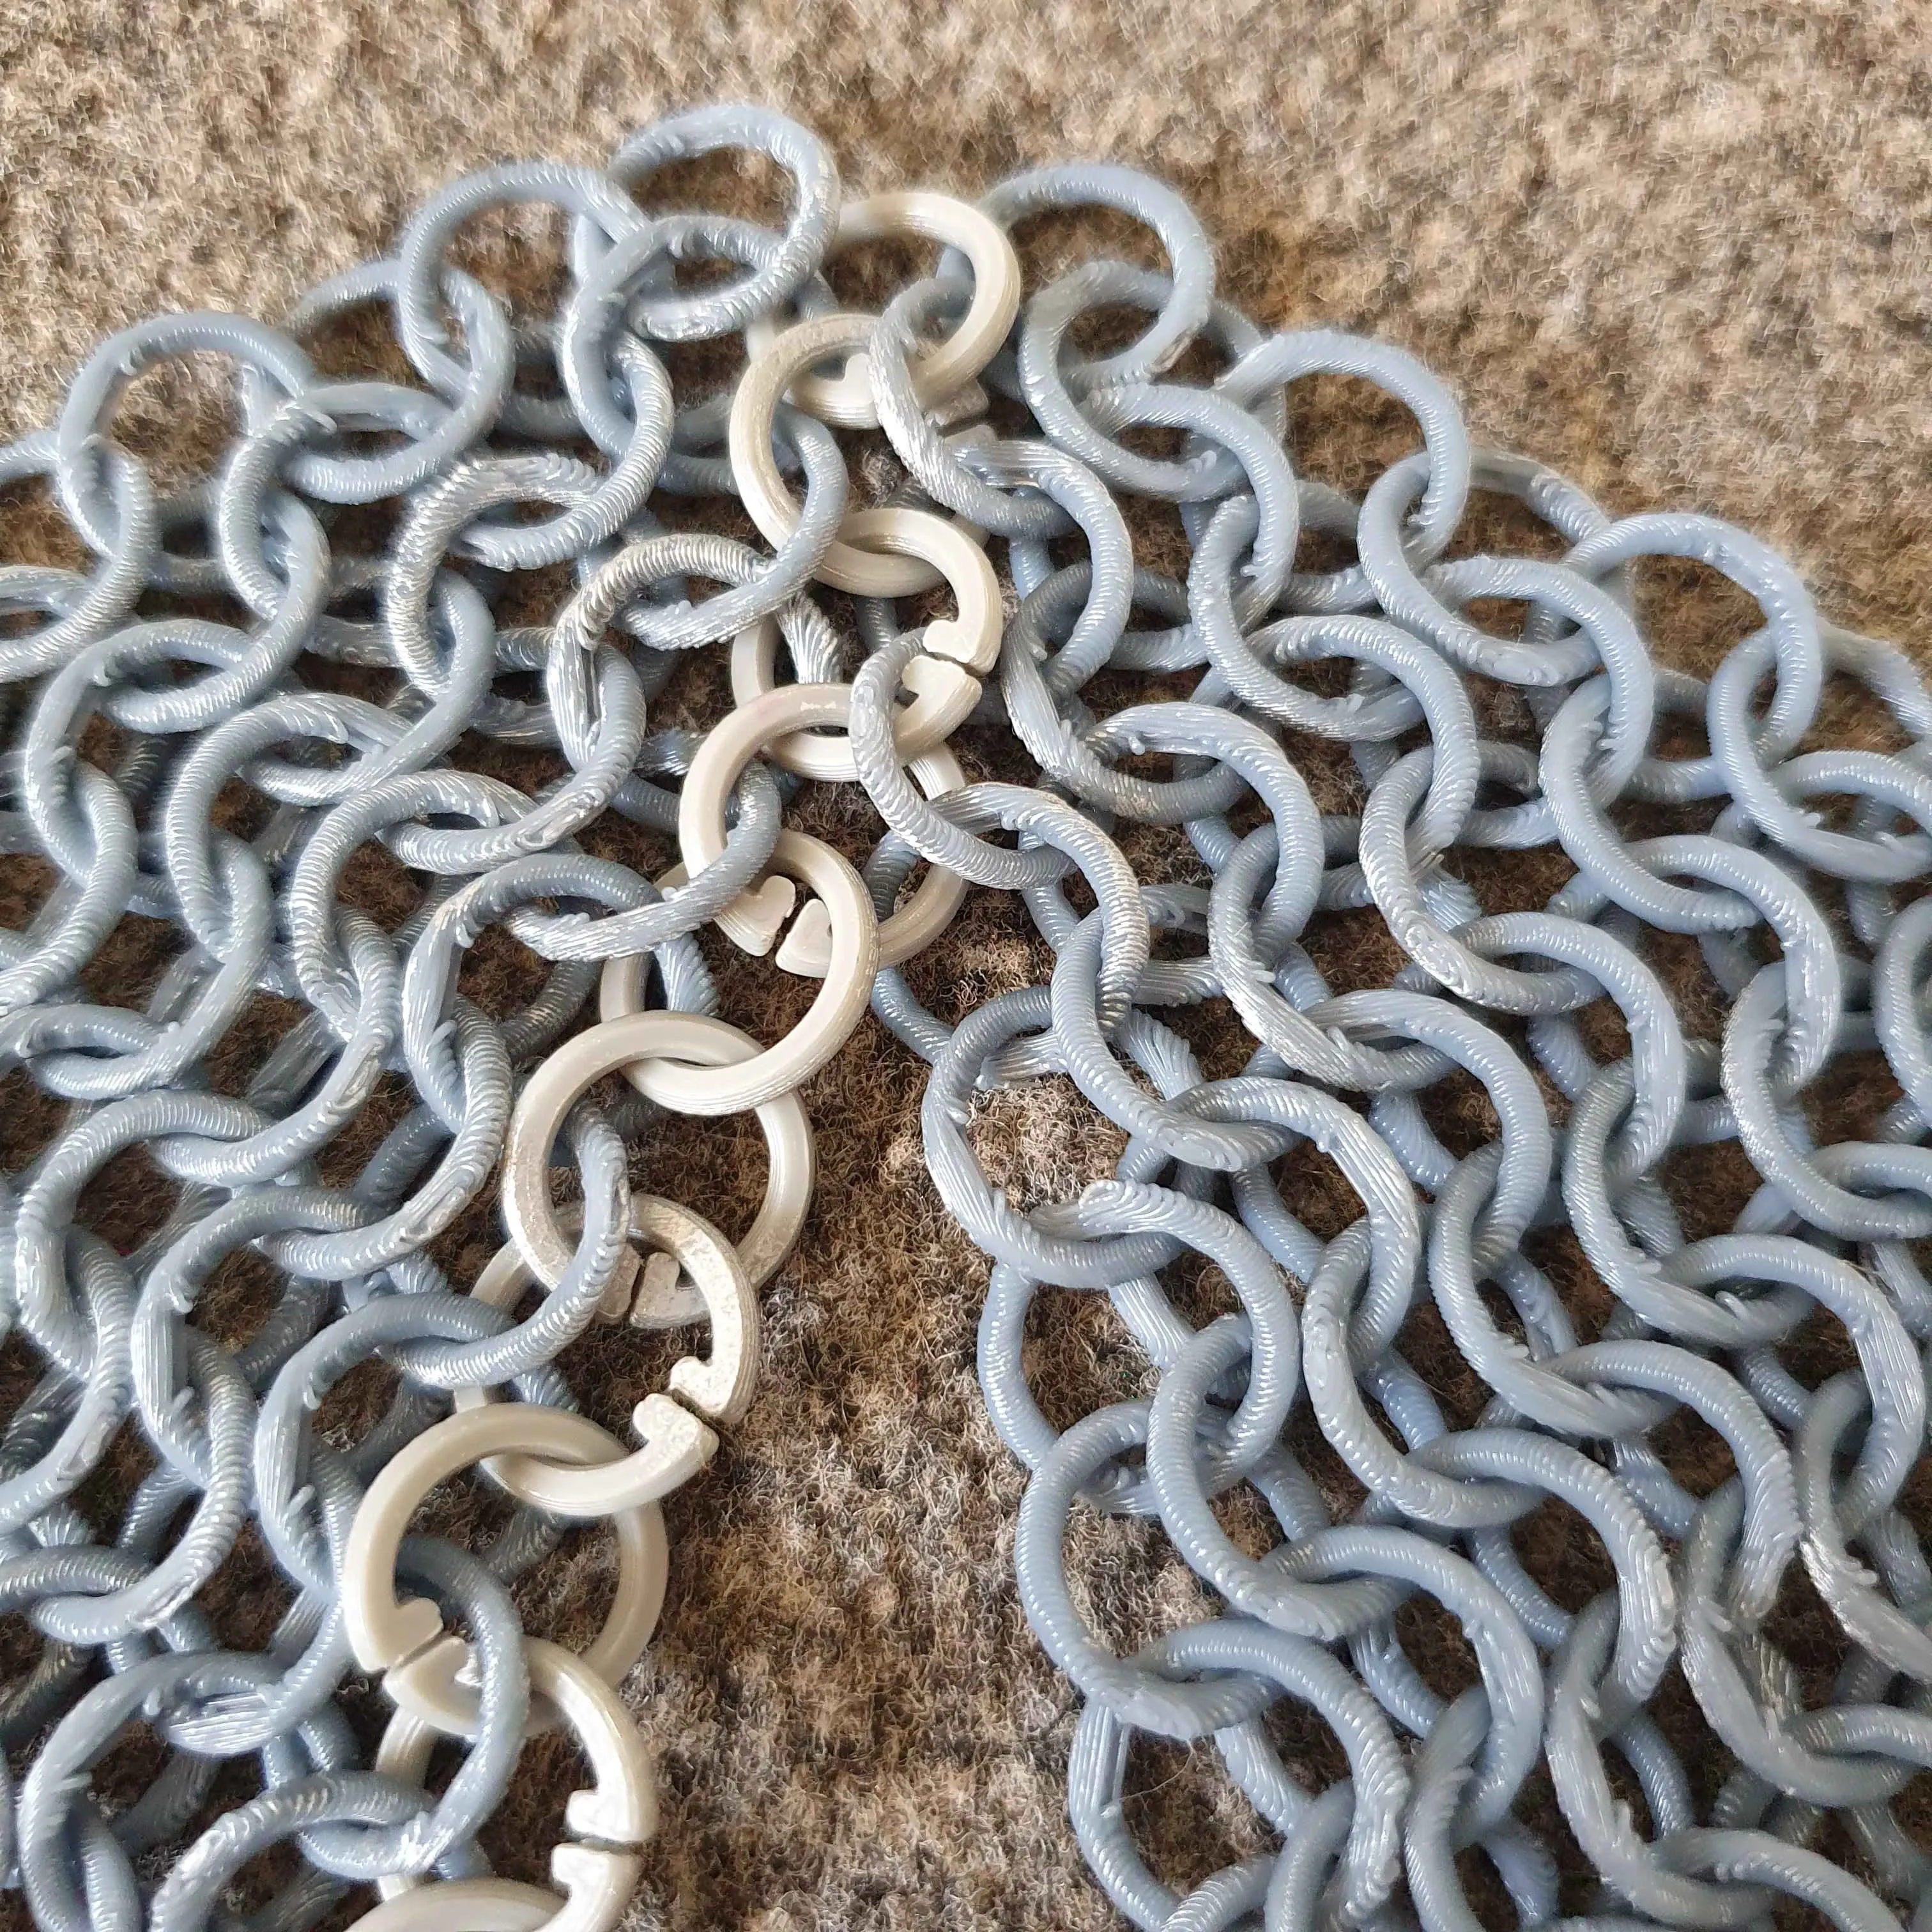
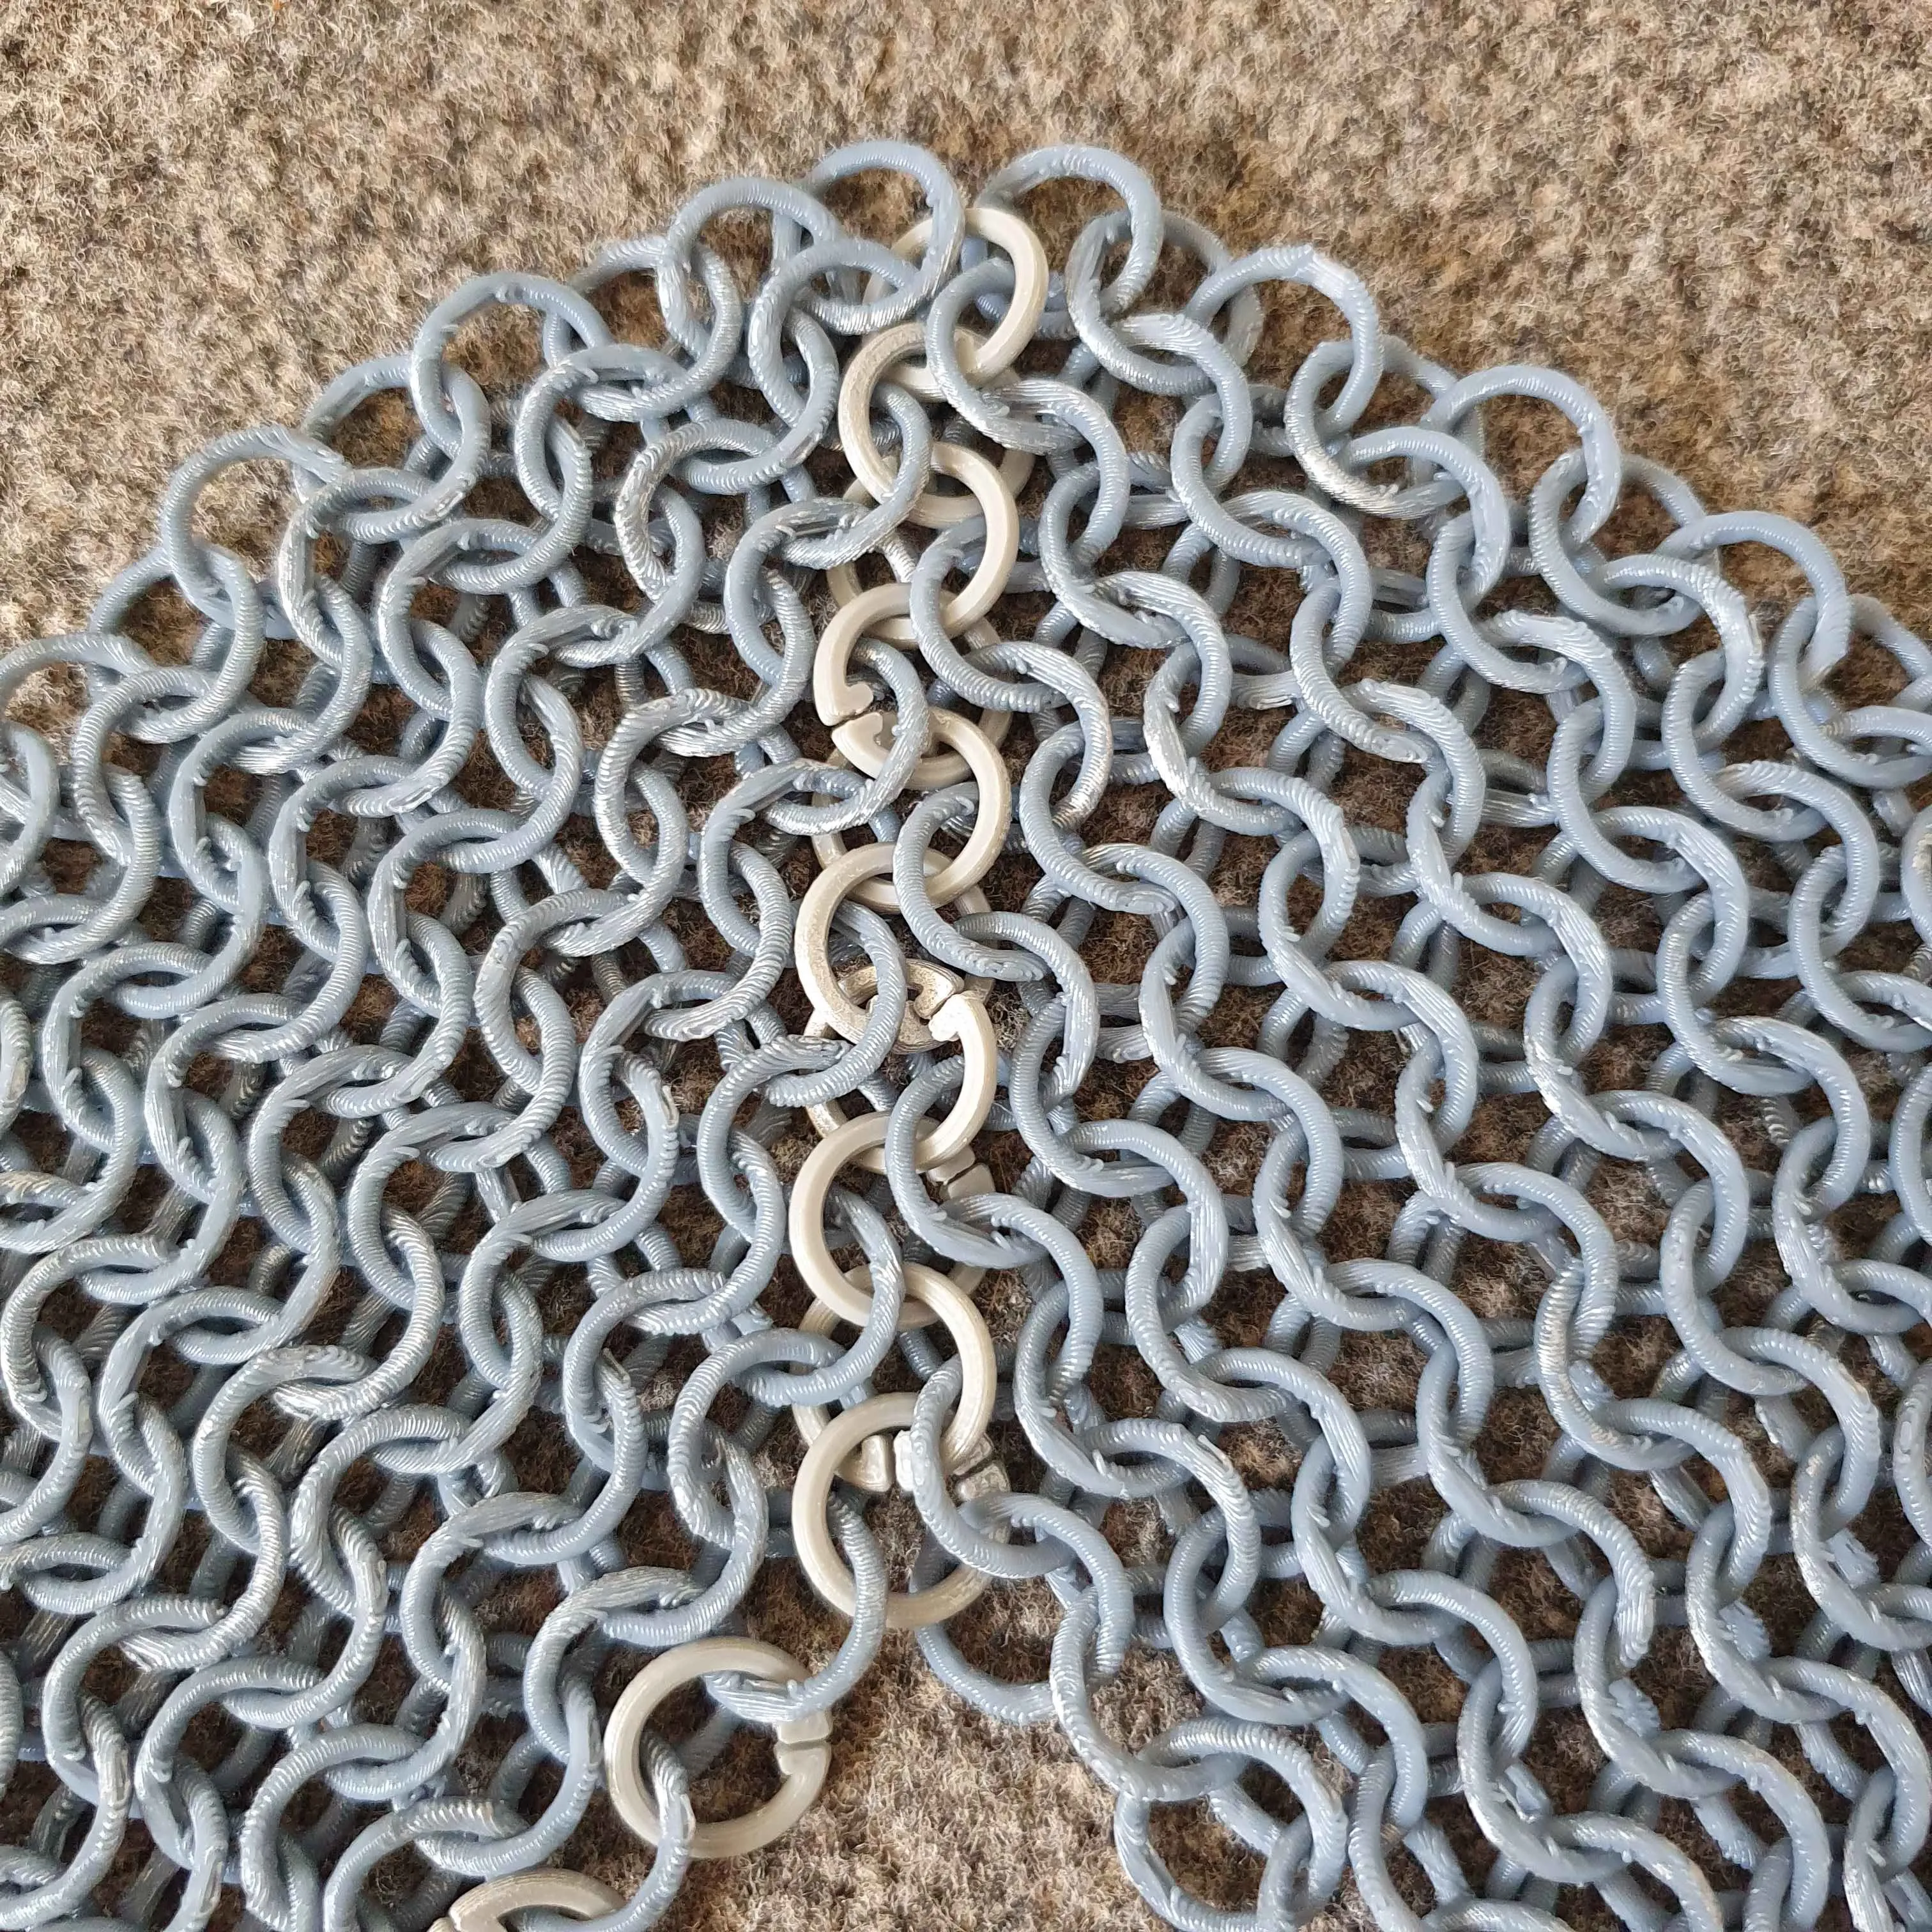
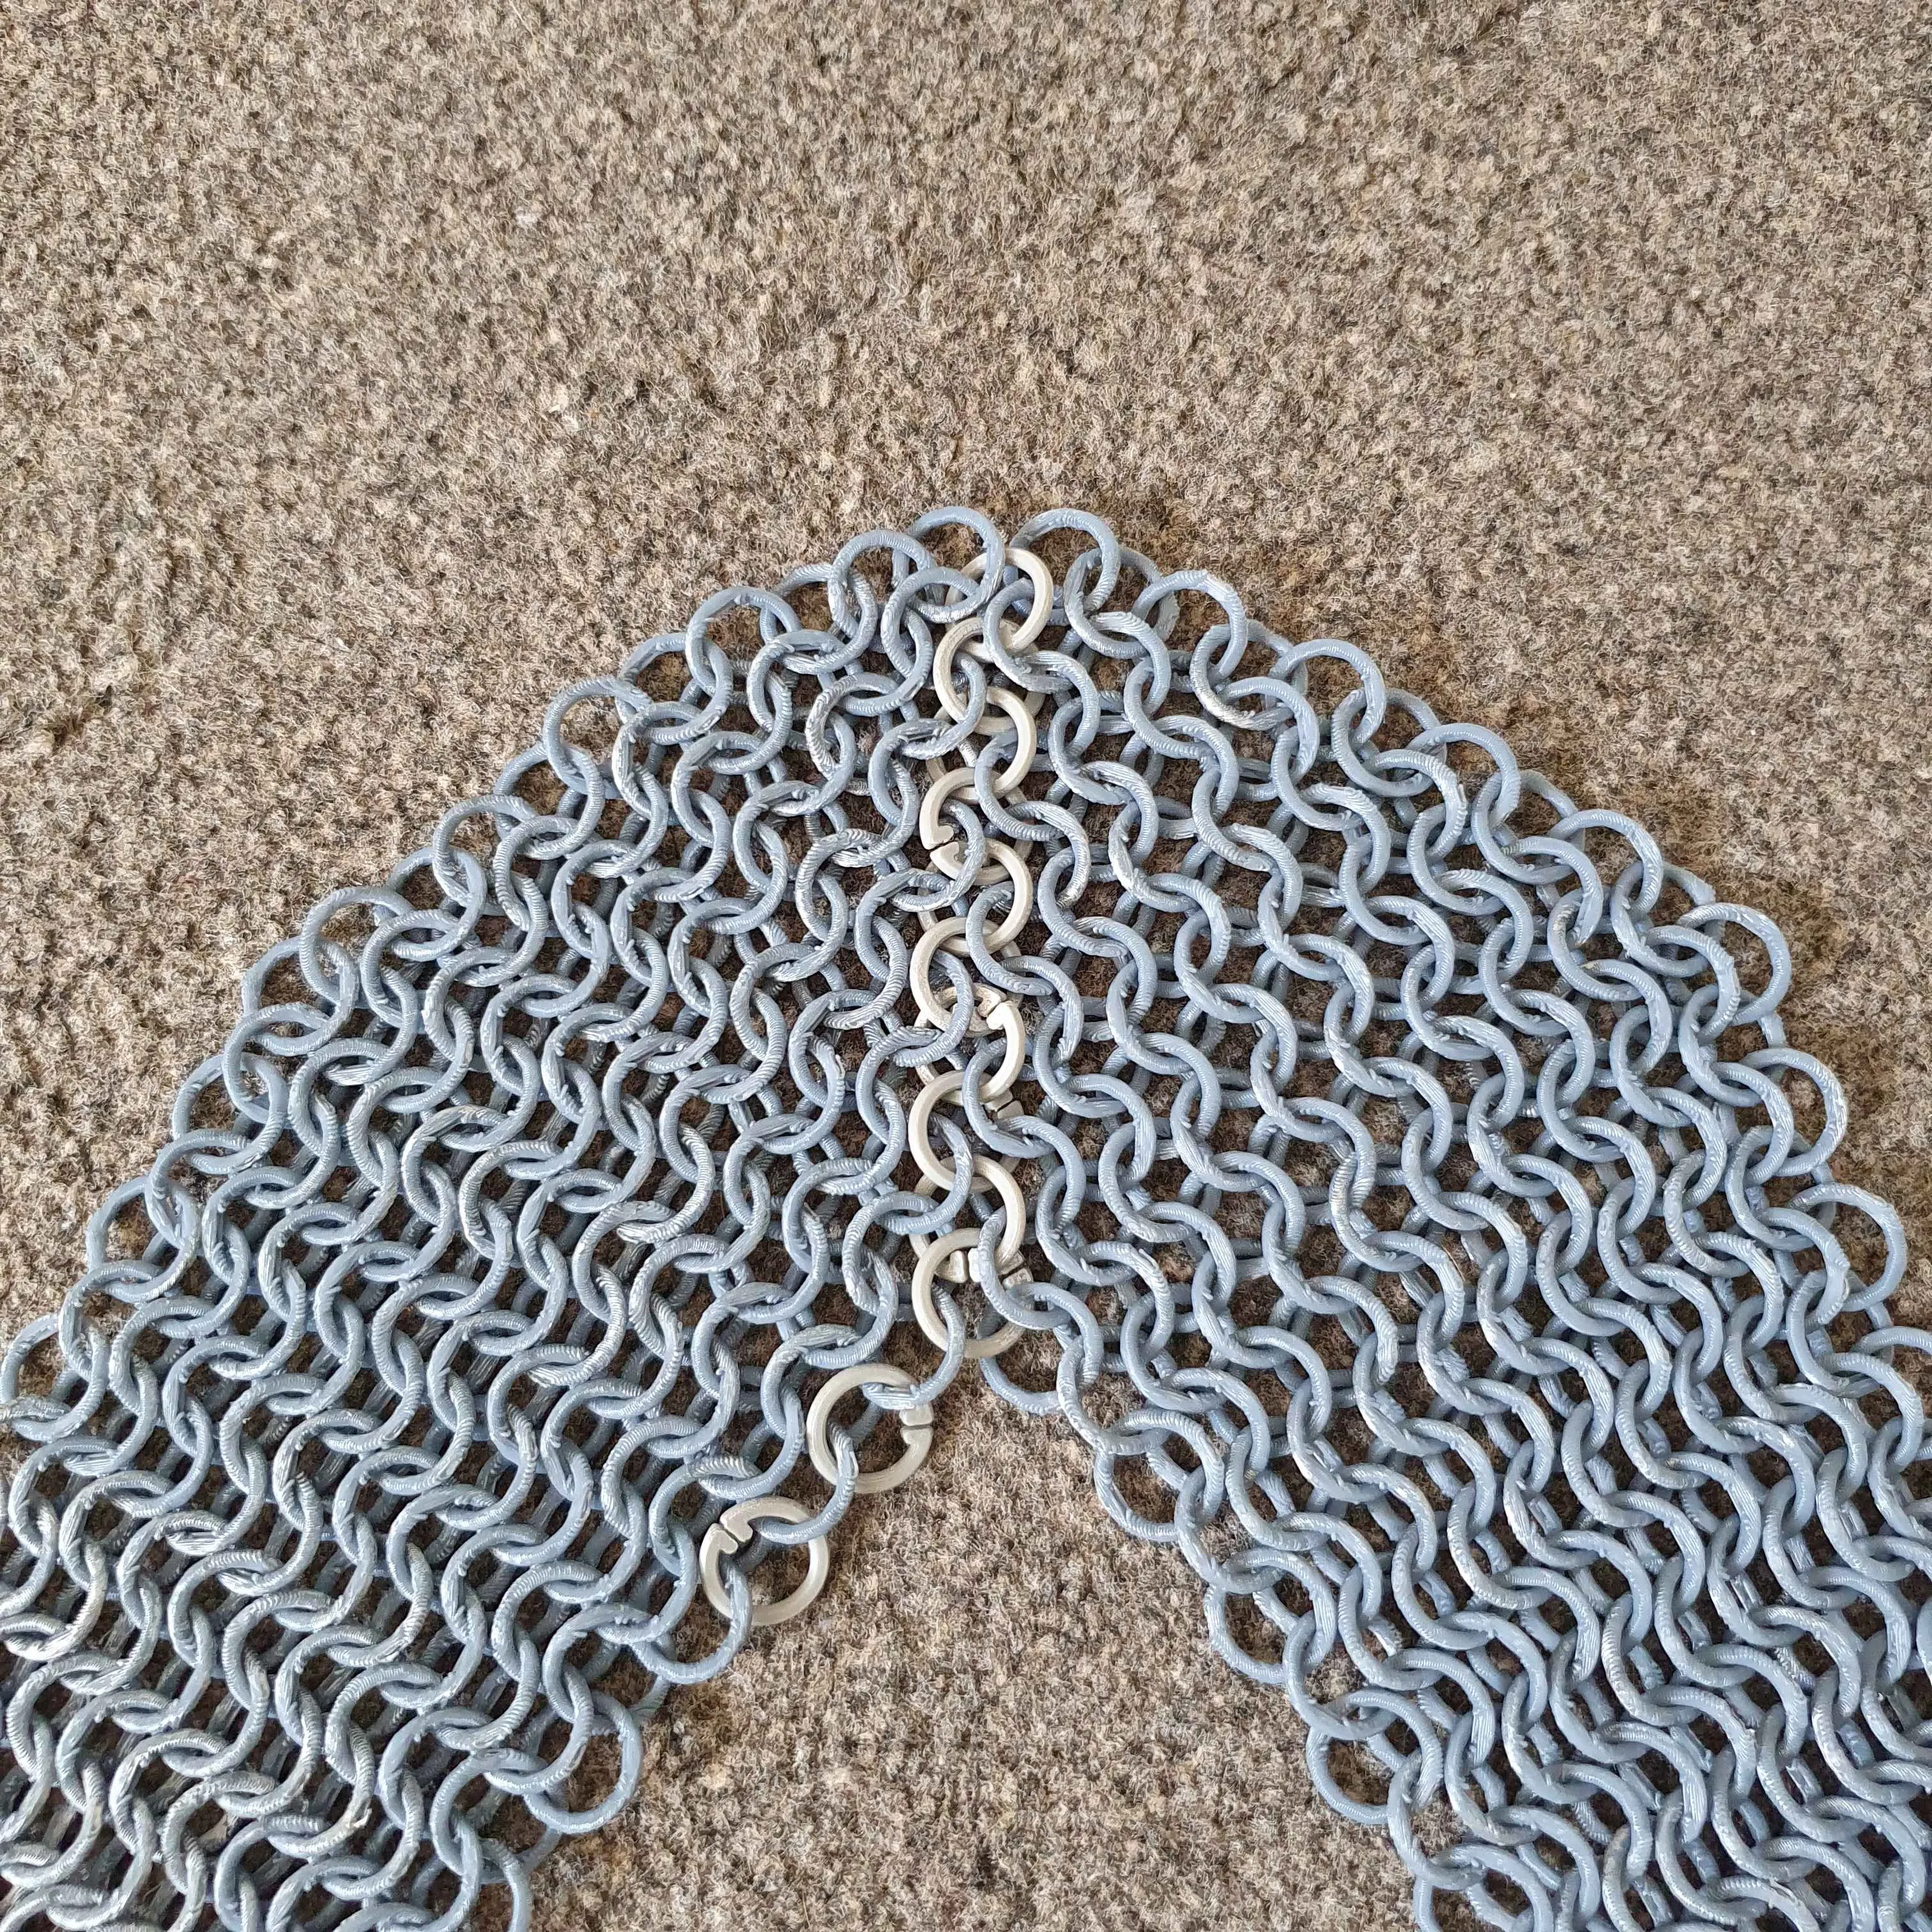
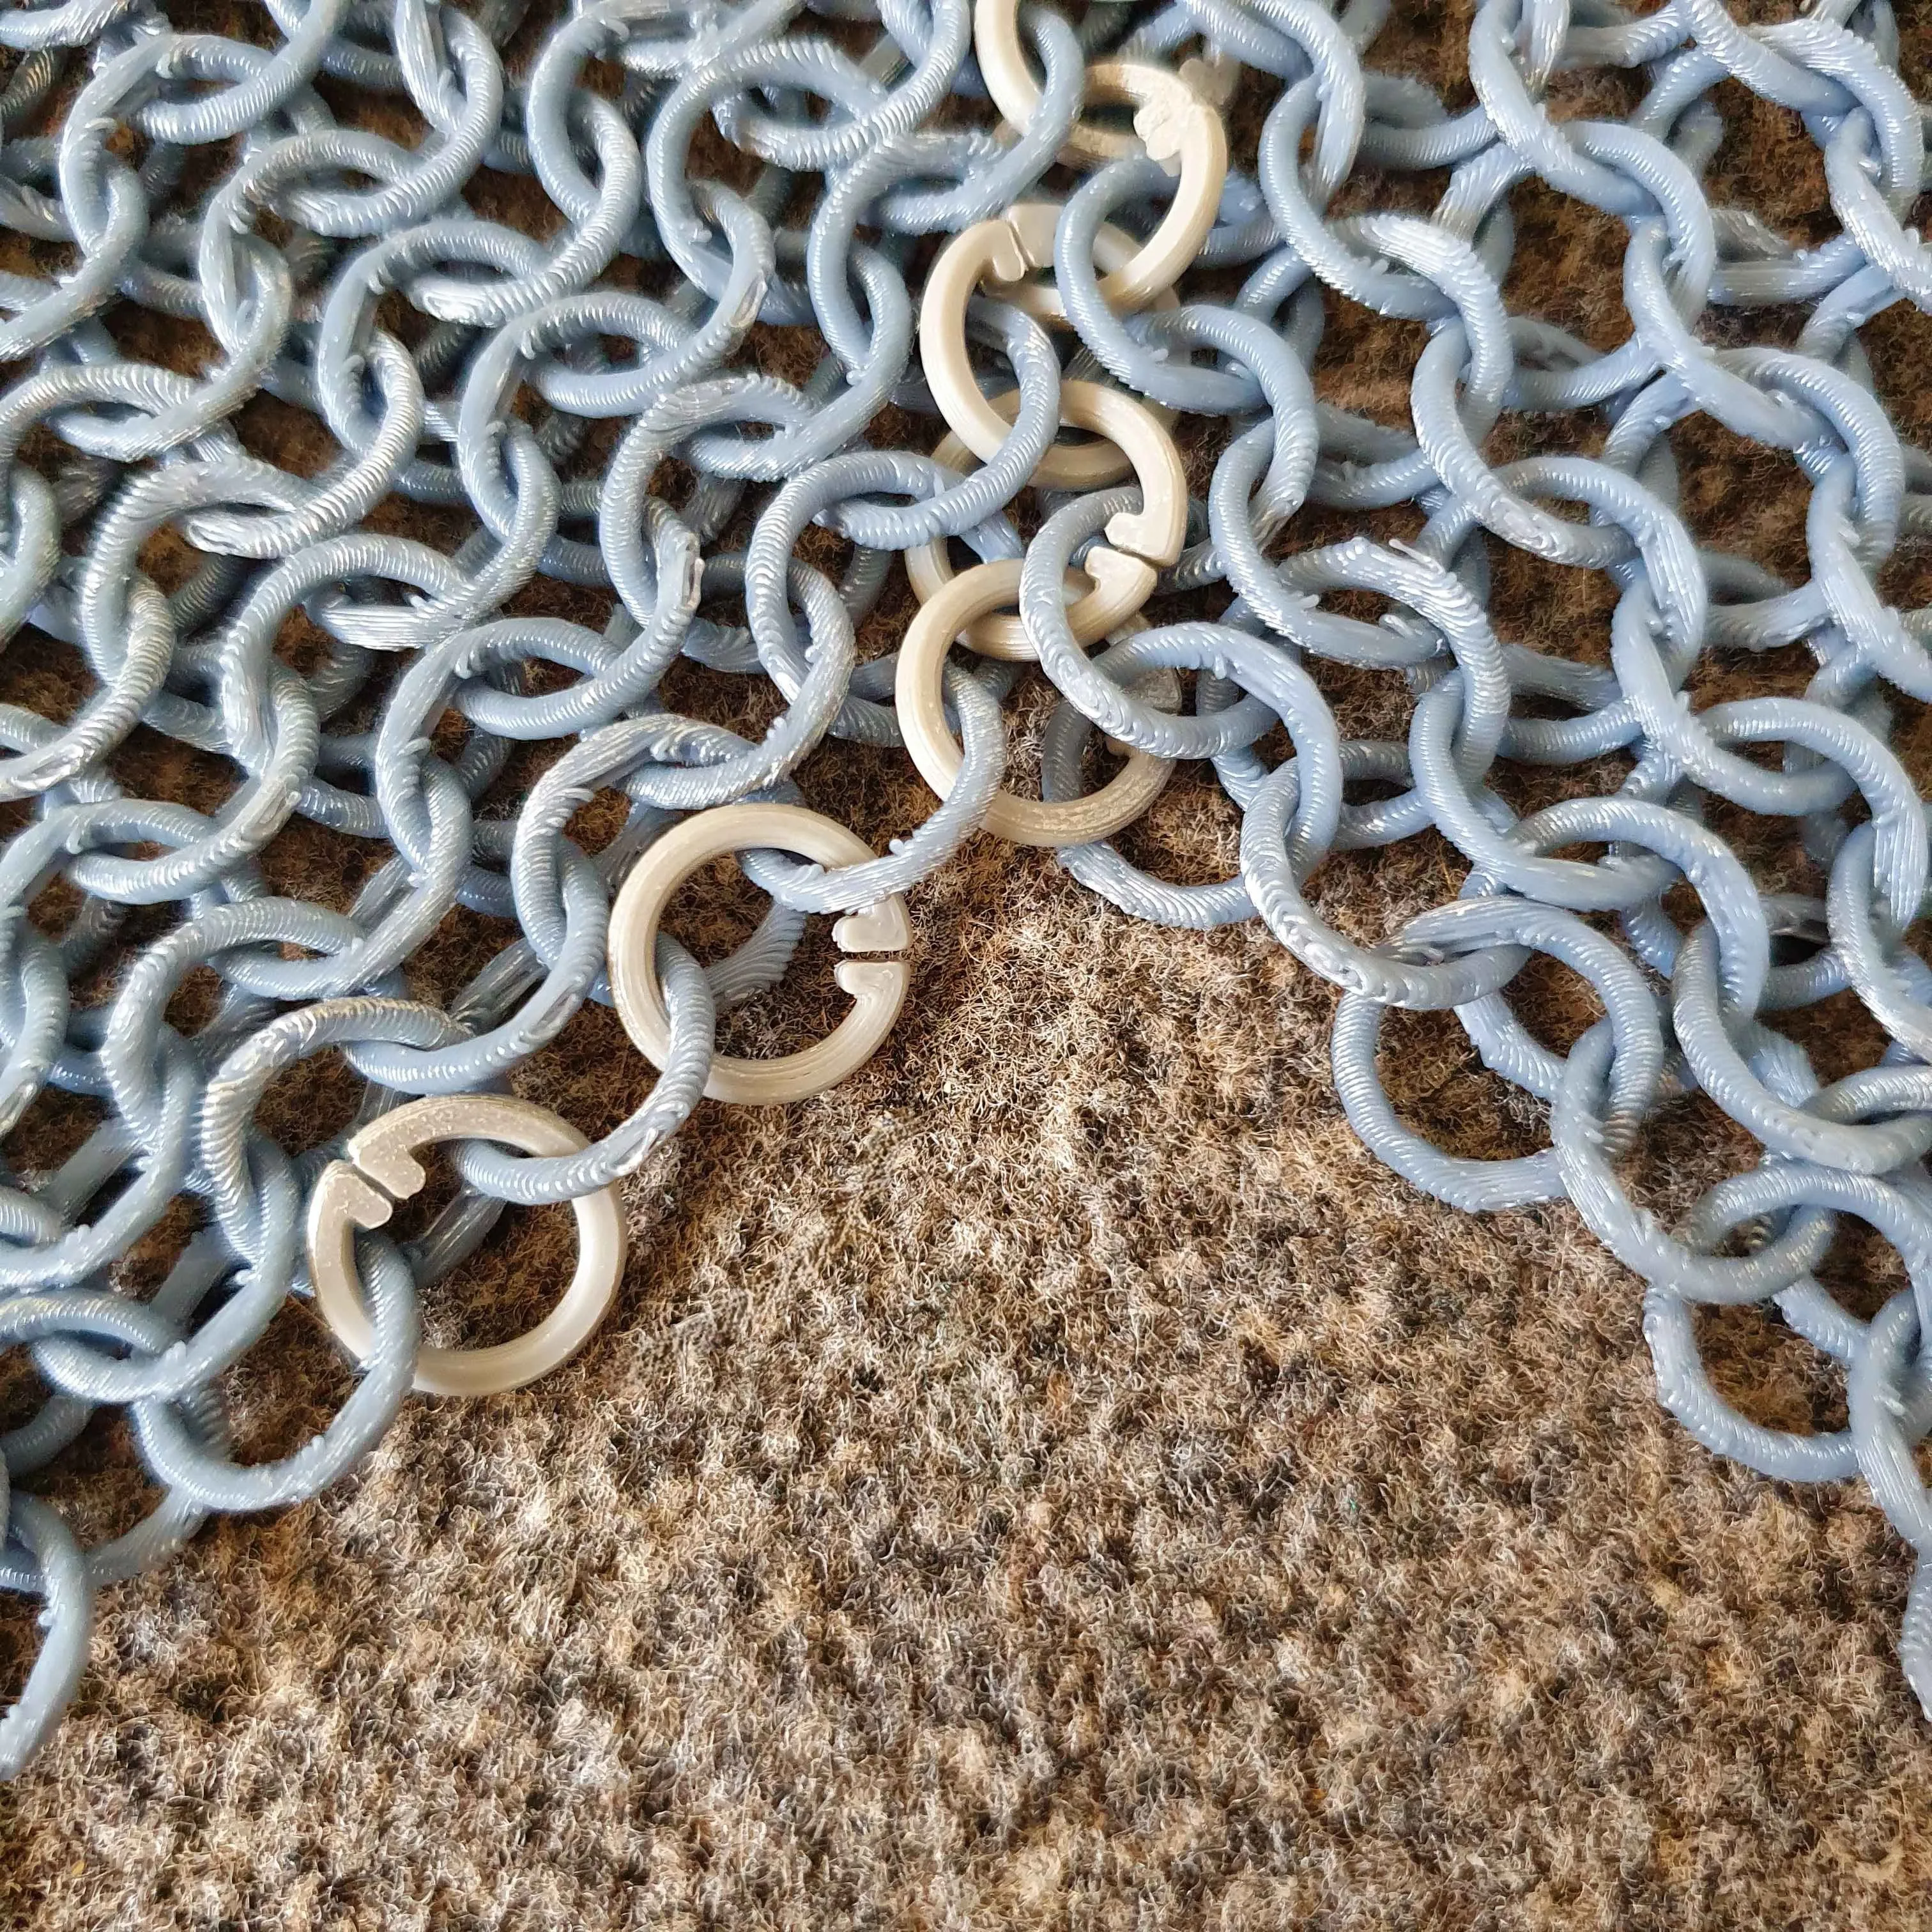
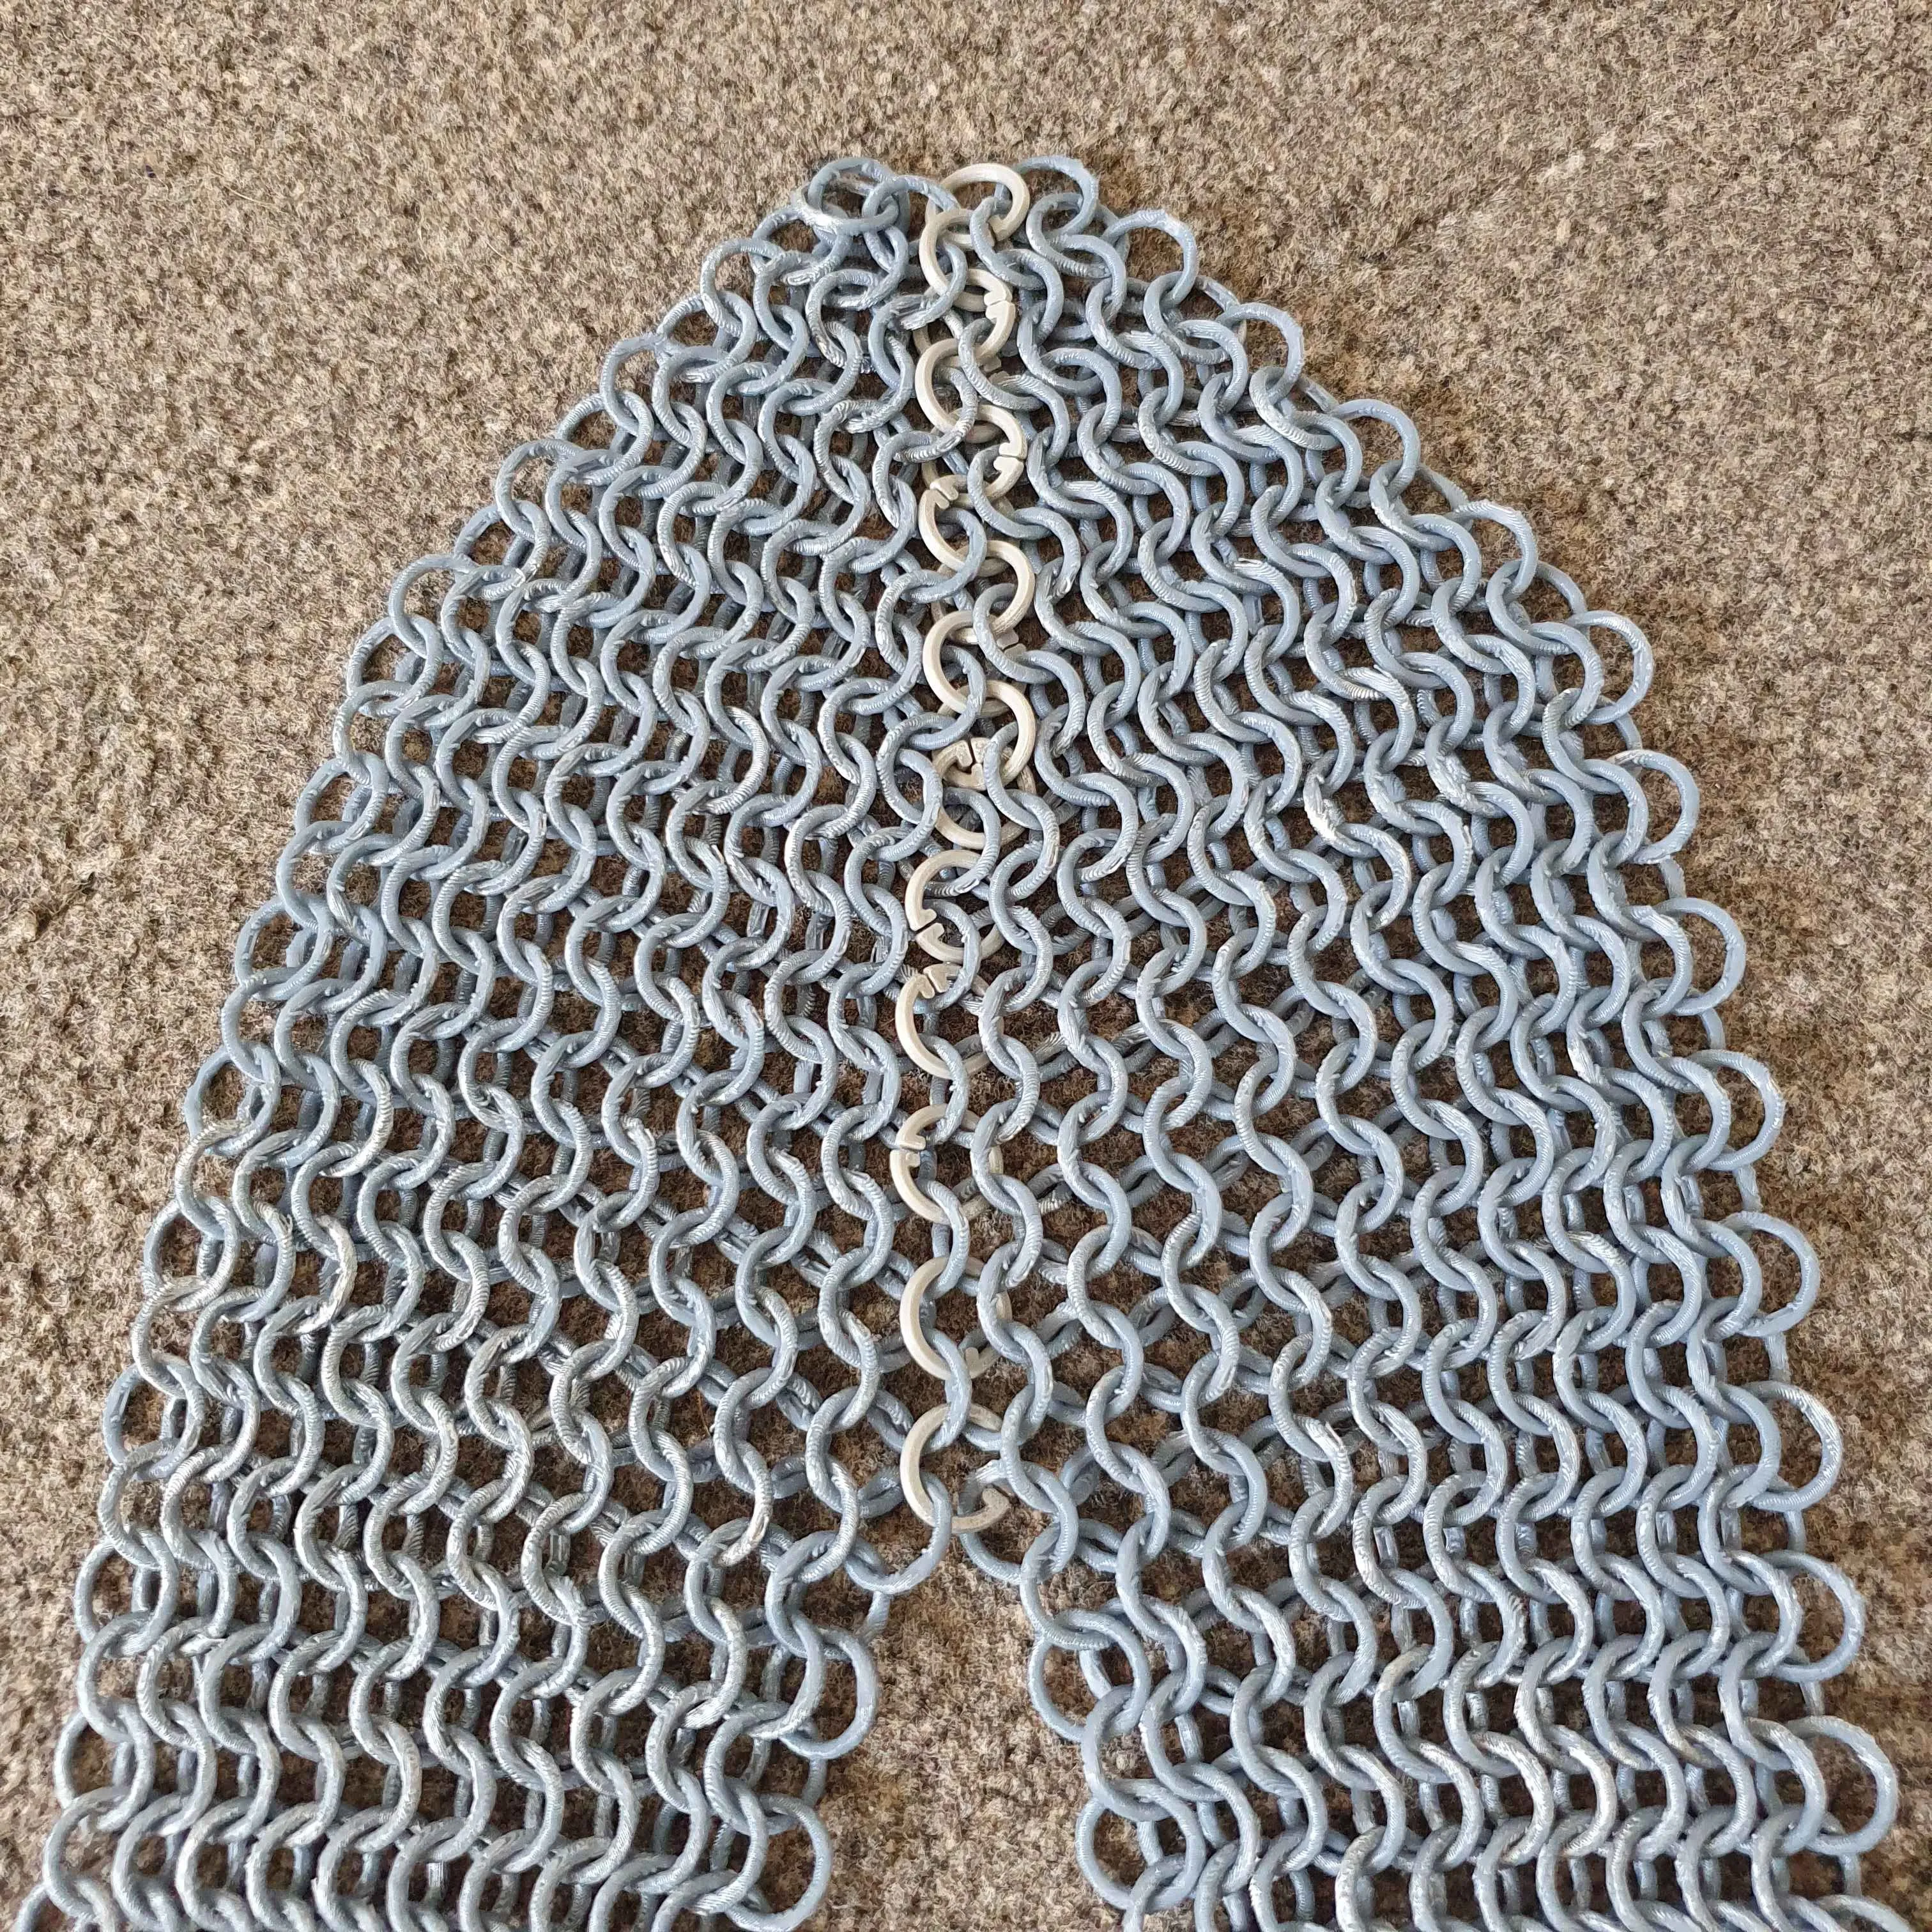
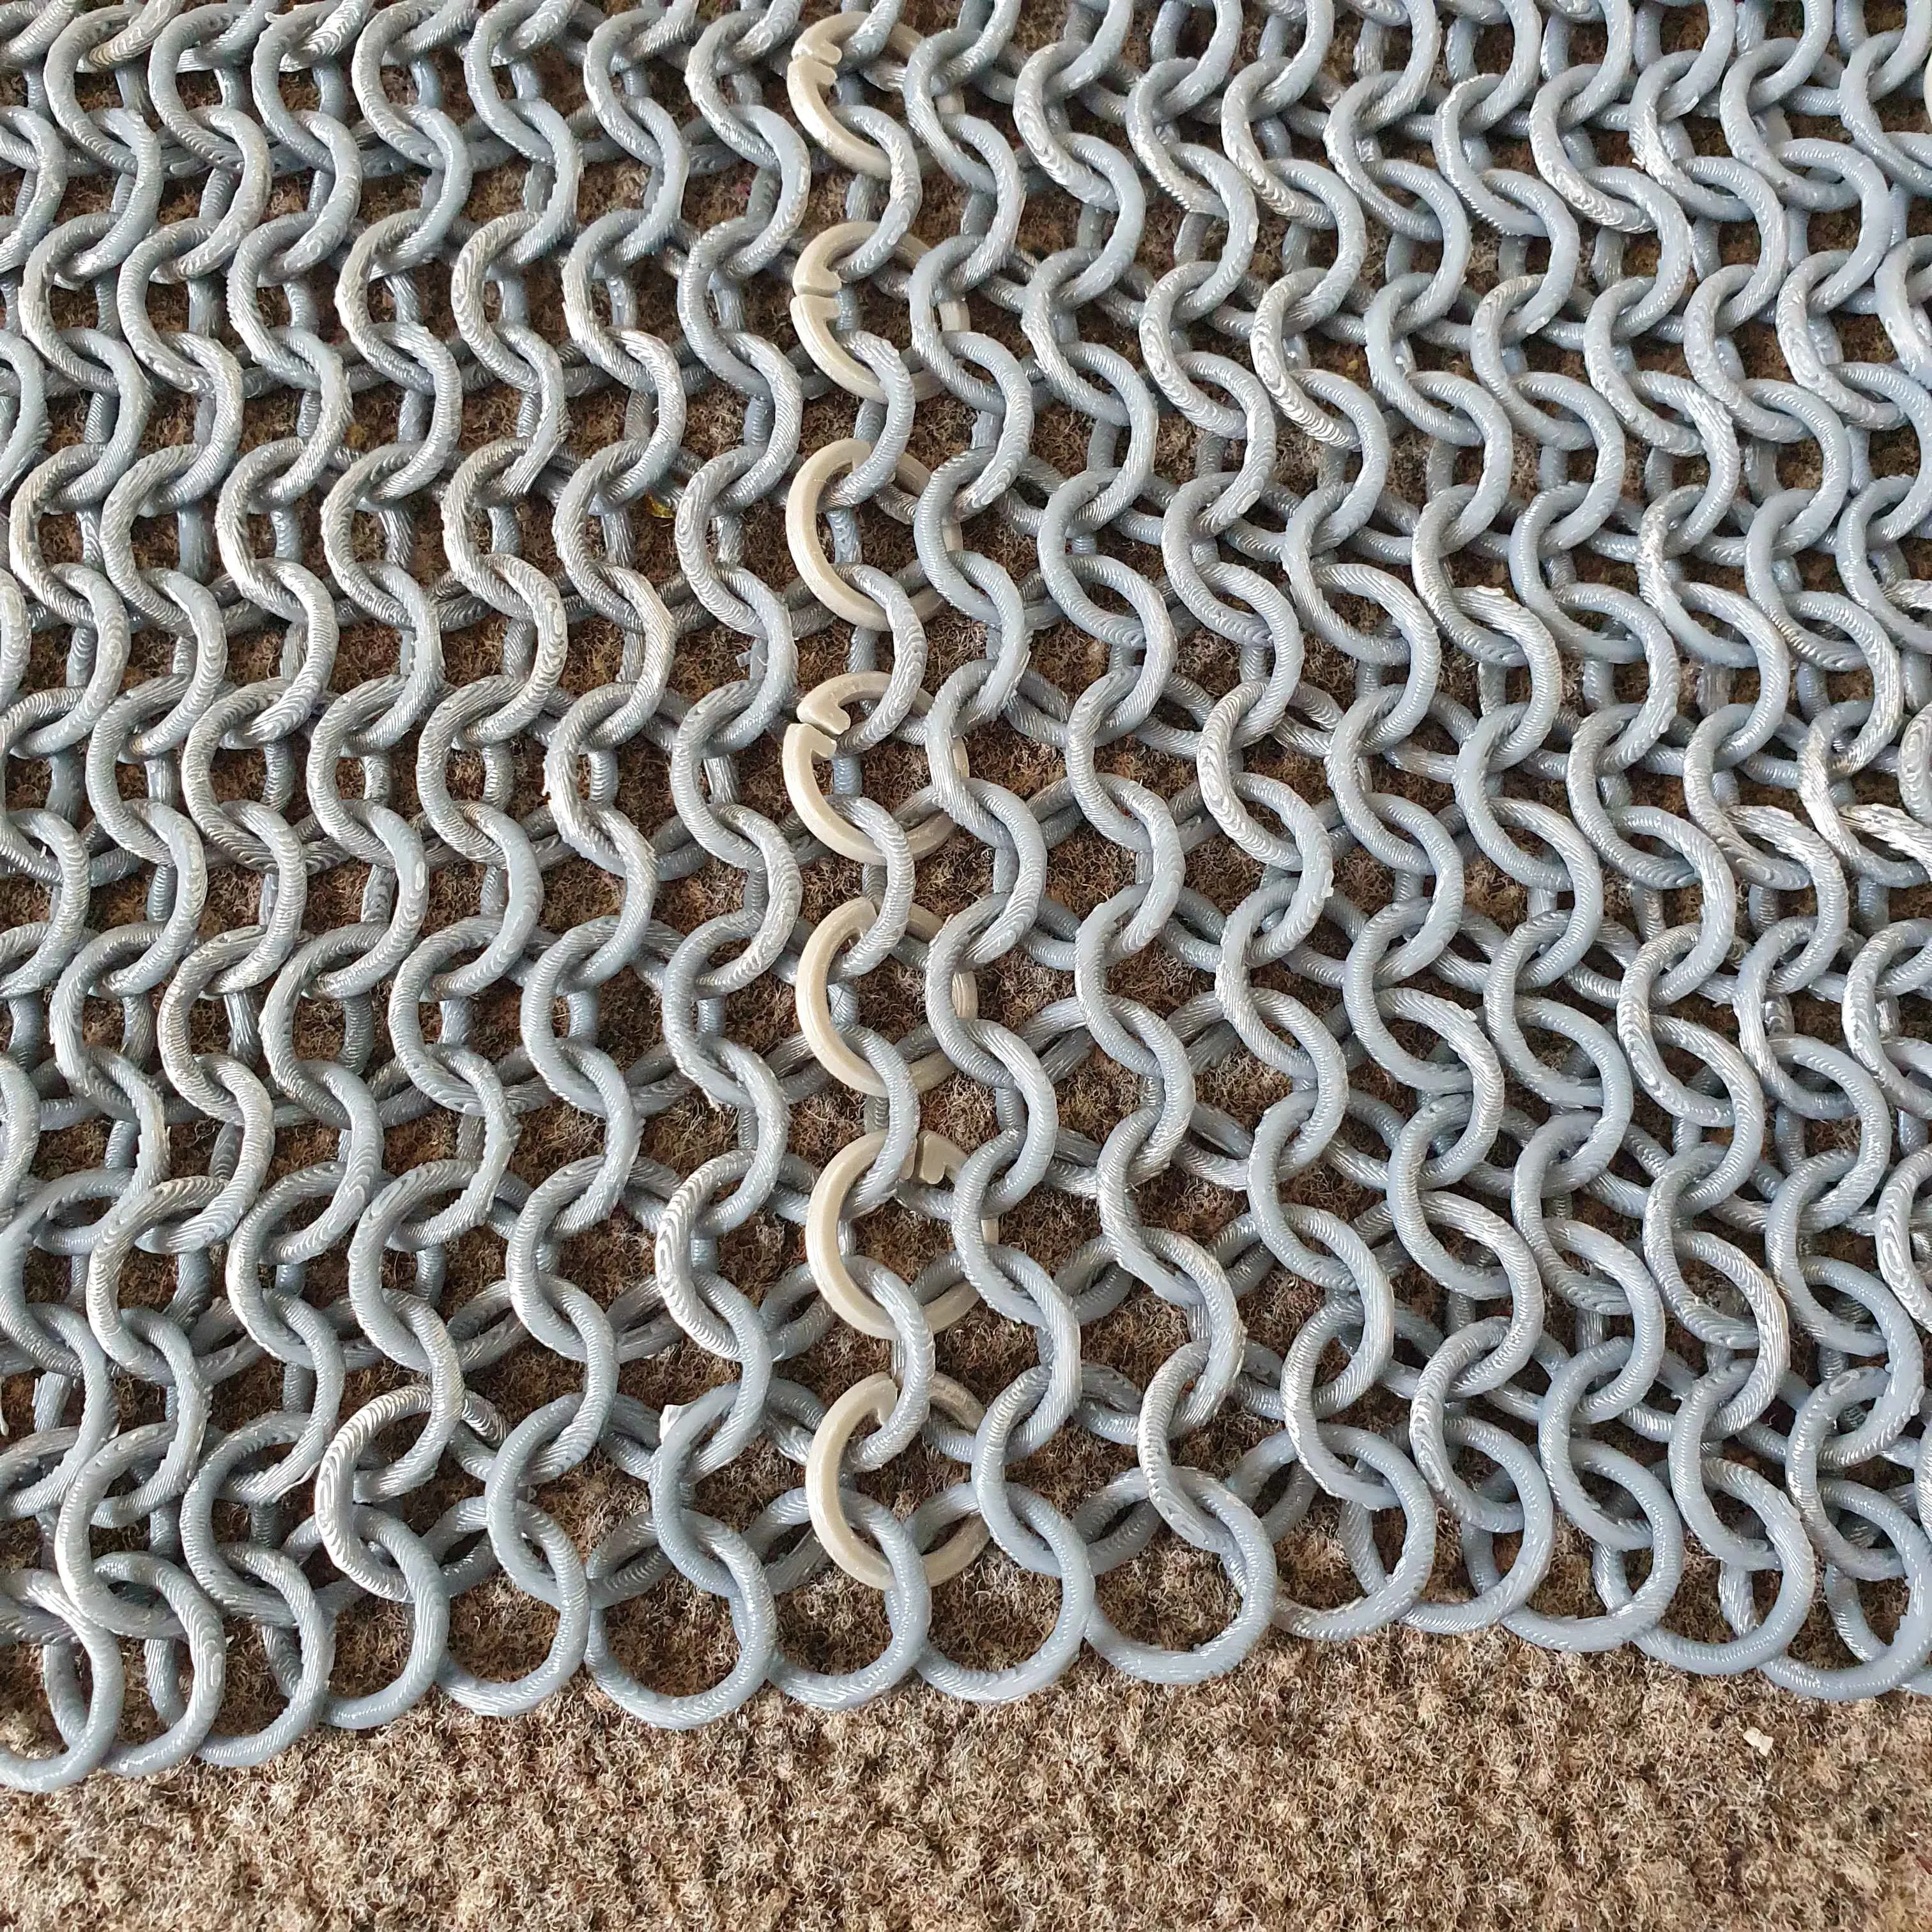
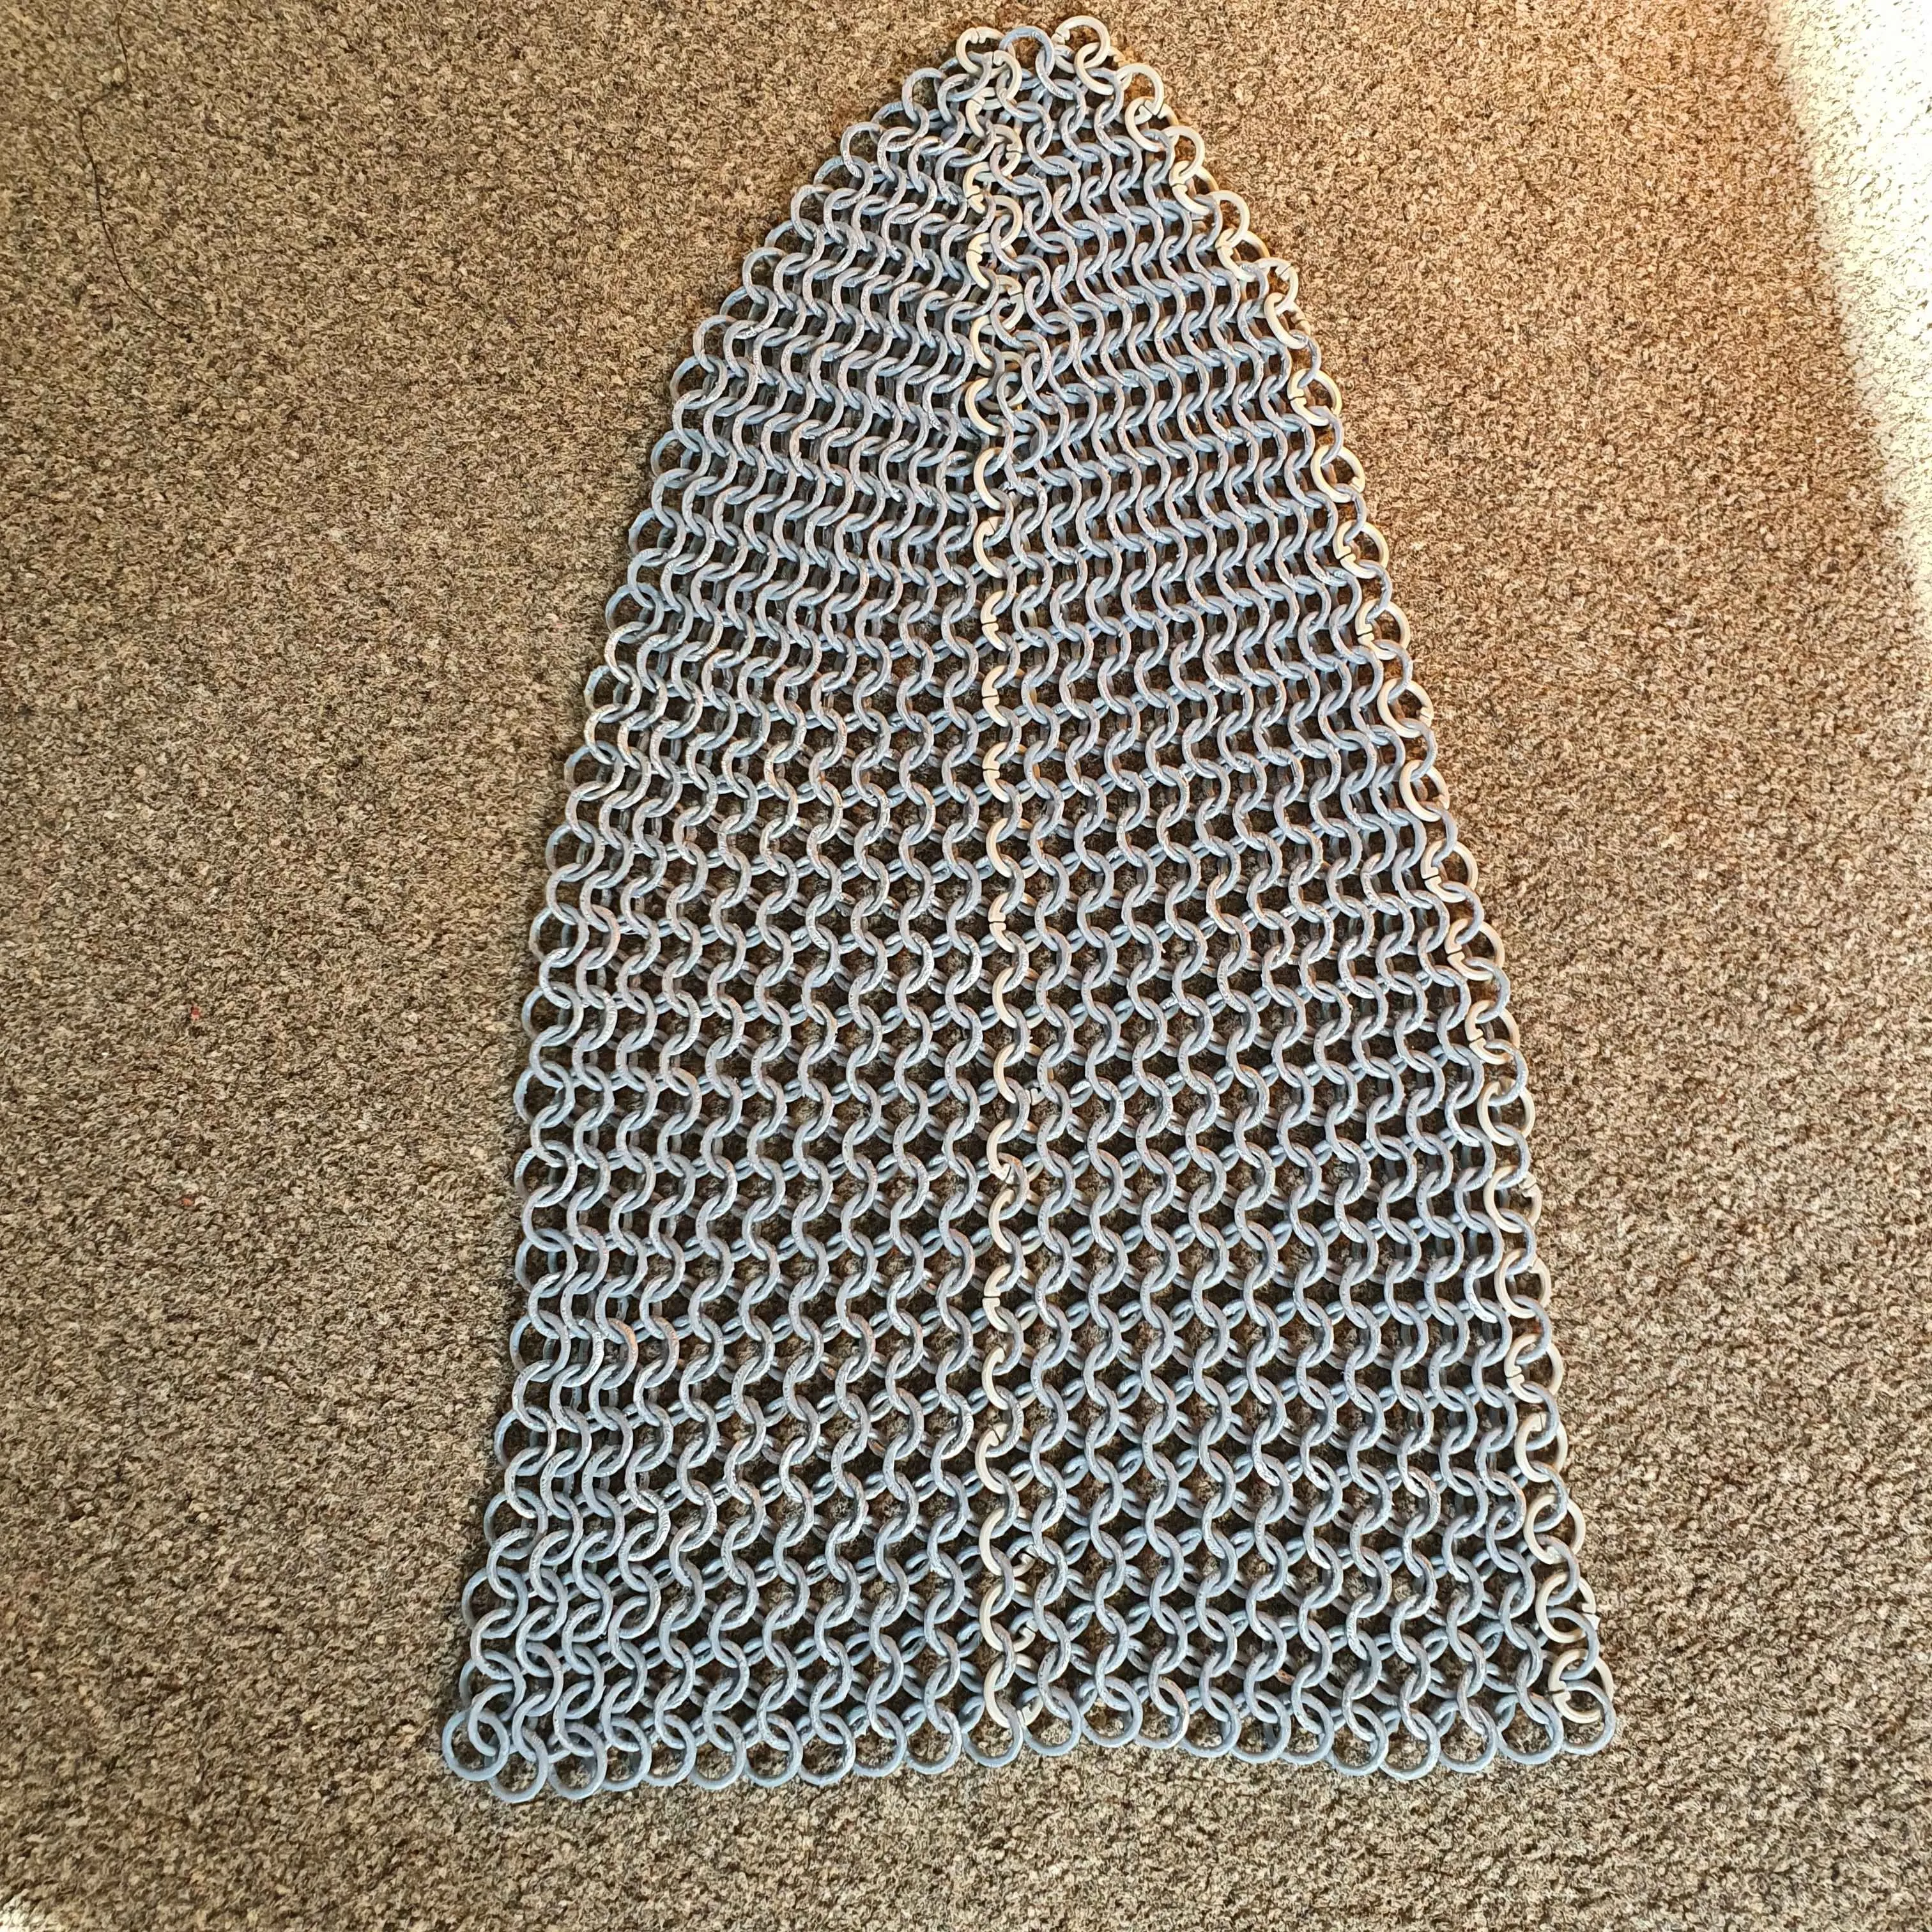
- The last one to join should be the front facing triangle, this will cover the forehead and indicate the direction the hole for your face will be
- Finally you should now have something that fits on your head, but it will flap a little around the neck as these edges are not connected. using the method in part 6 connect the “Front facing rect” part, so that it bridges the gap between the 2 long sheets, roughly underneath your chin.
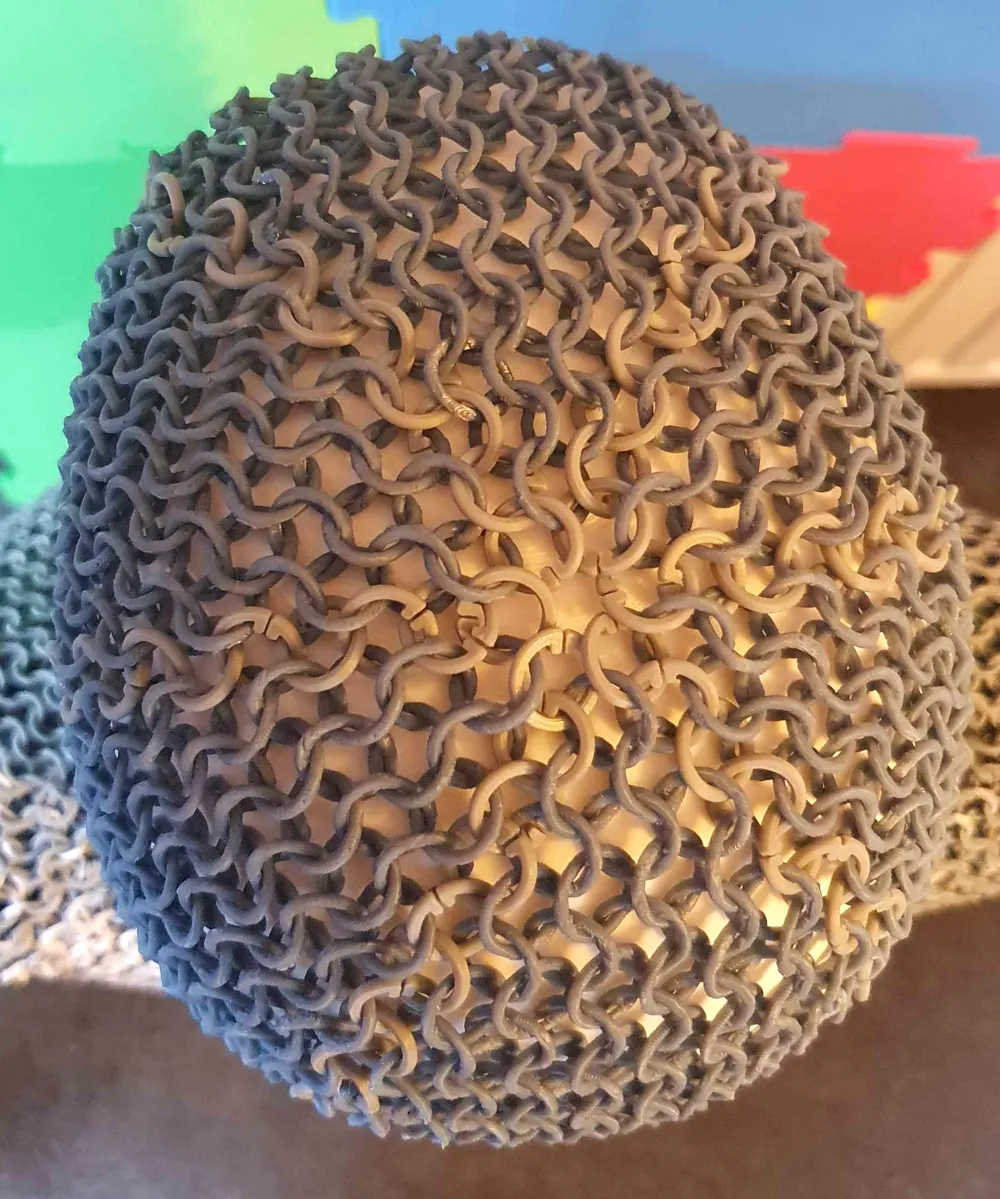
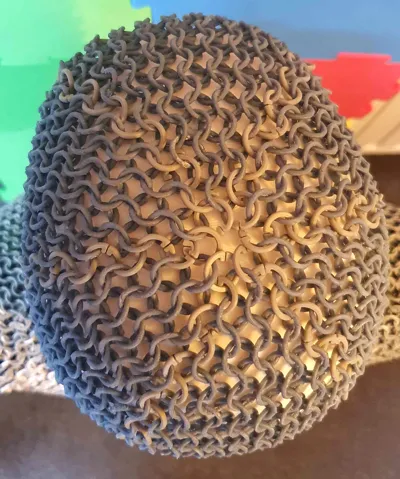
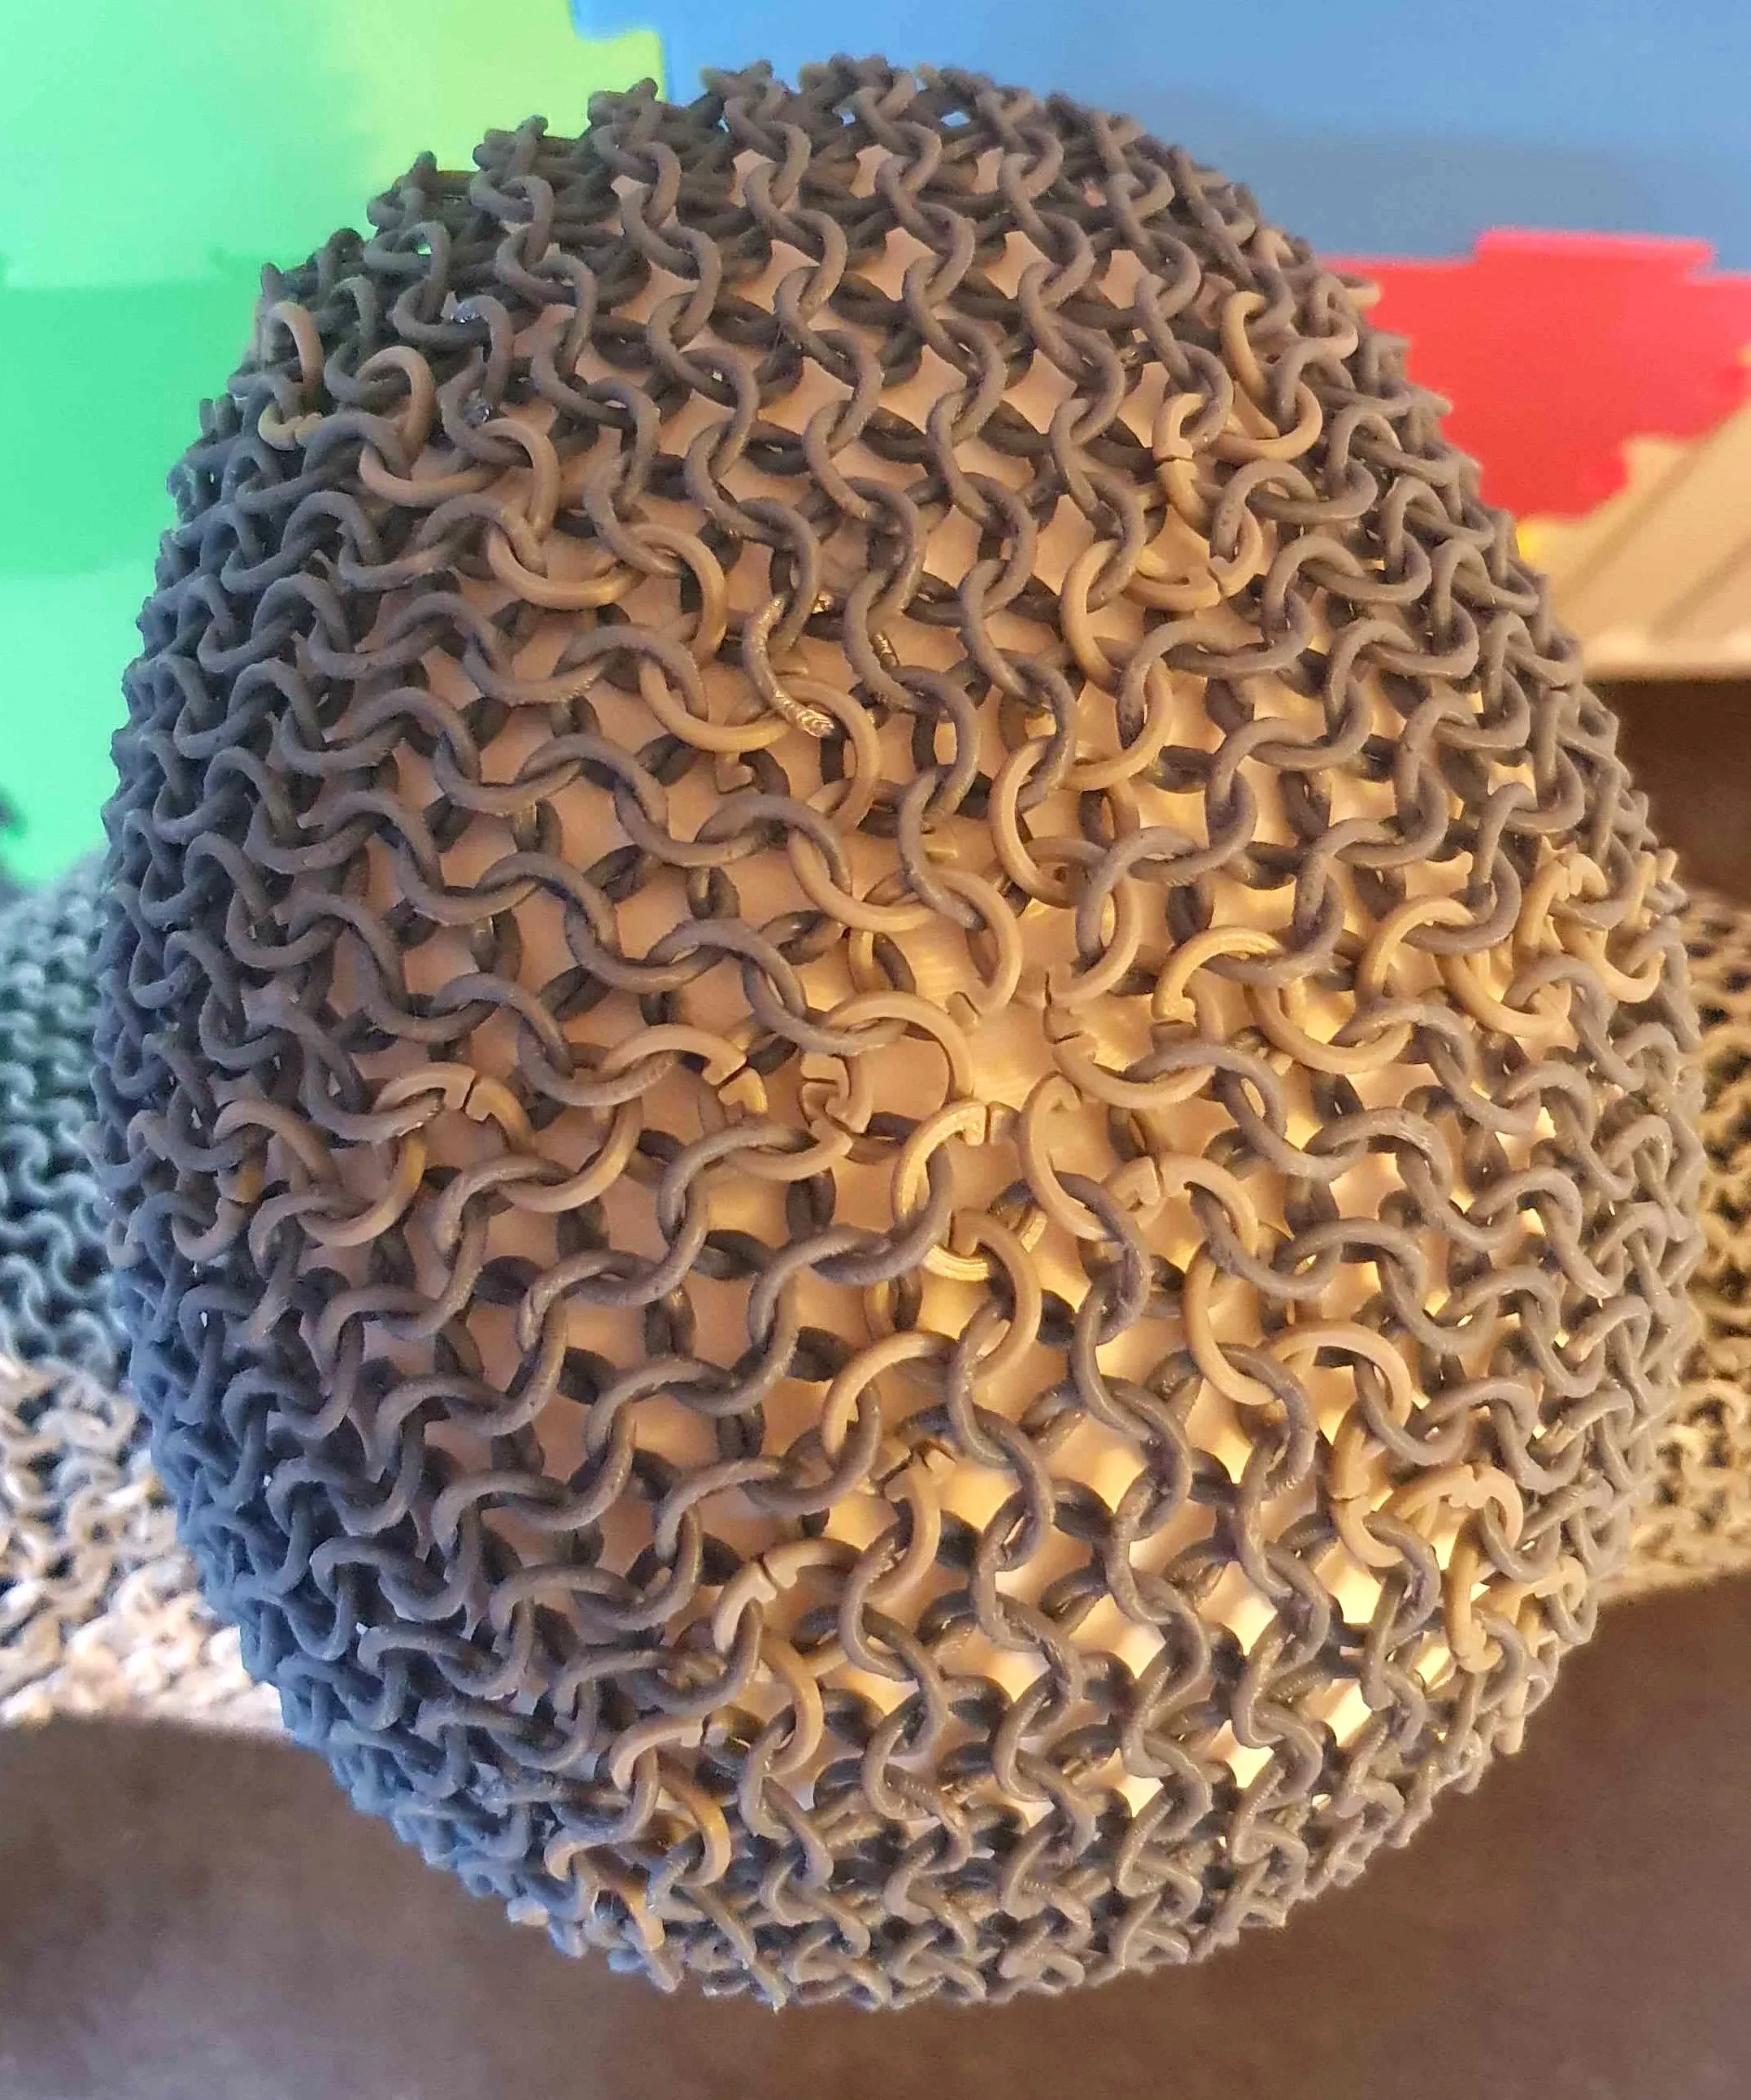
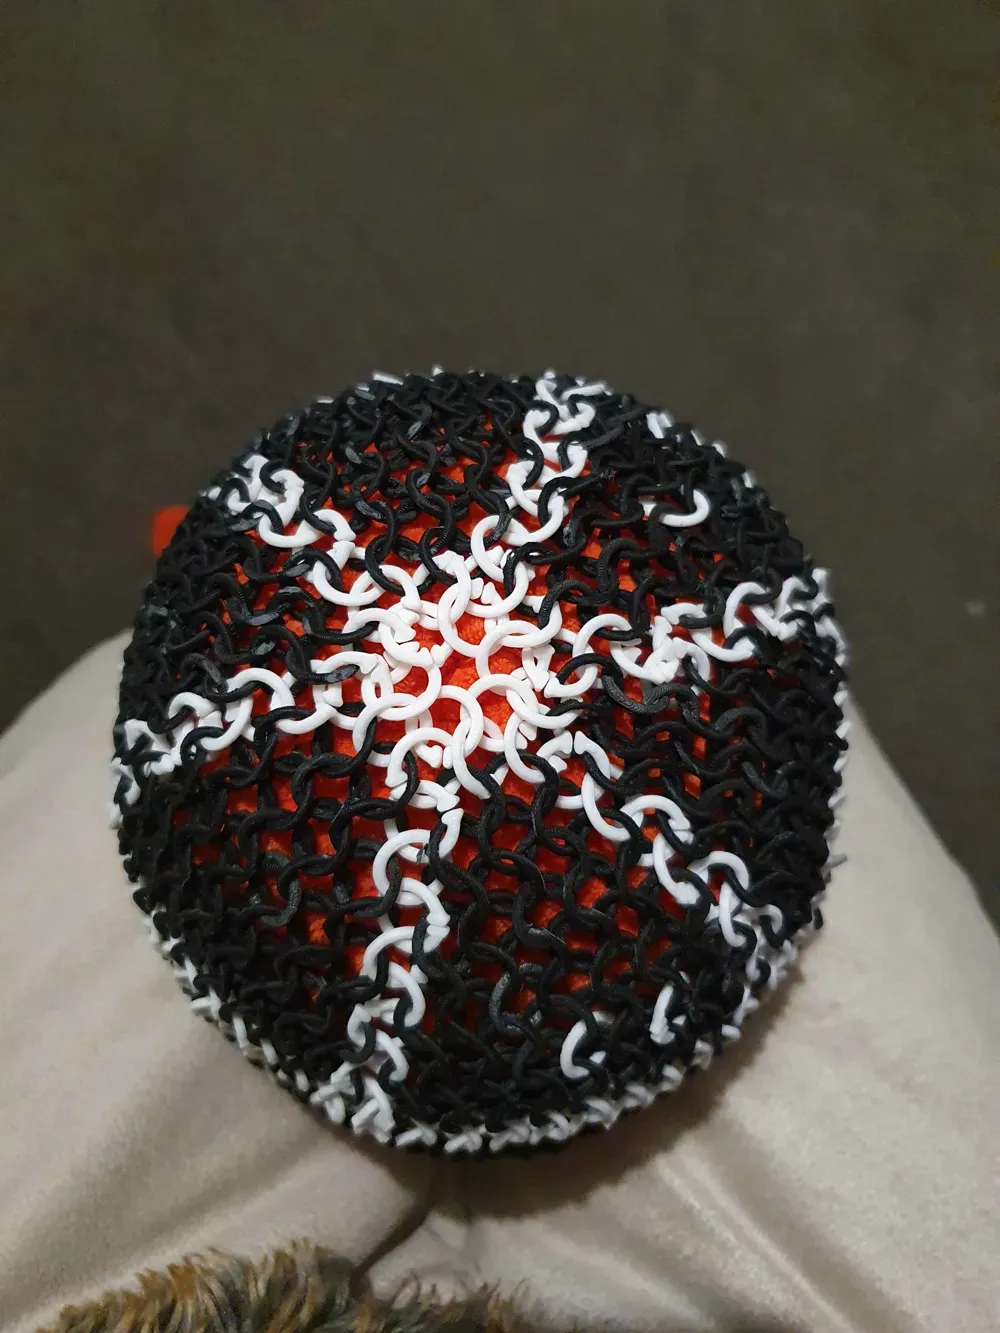
Notes: You will find a hole in the center of the piece where they all connected you can fill this in by adding 6 connectors each attaching to 3 rings see Figure 6. Also connectors are very useful for if a chainmail link breaks when taking it off printed supports/ during handling.
Further reading
These are some links that have been very useful to me during the assembly.
https://discover.hubpages.com/art/How-to-make-a-chainmail-coif
https://chainmailjoe.com/chainmail-joe-european-4-in-1-tutorial-1
For the shoulder part
Print all the shoulder buildplates (for those using stls, Shoulderisotriange 2x, ShoulderLargetriangle 3x, Shouldrsquareprint 4x)
Print approx 6x the connecting links buildplate
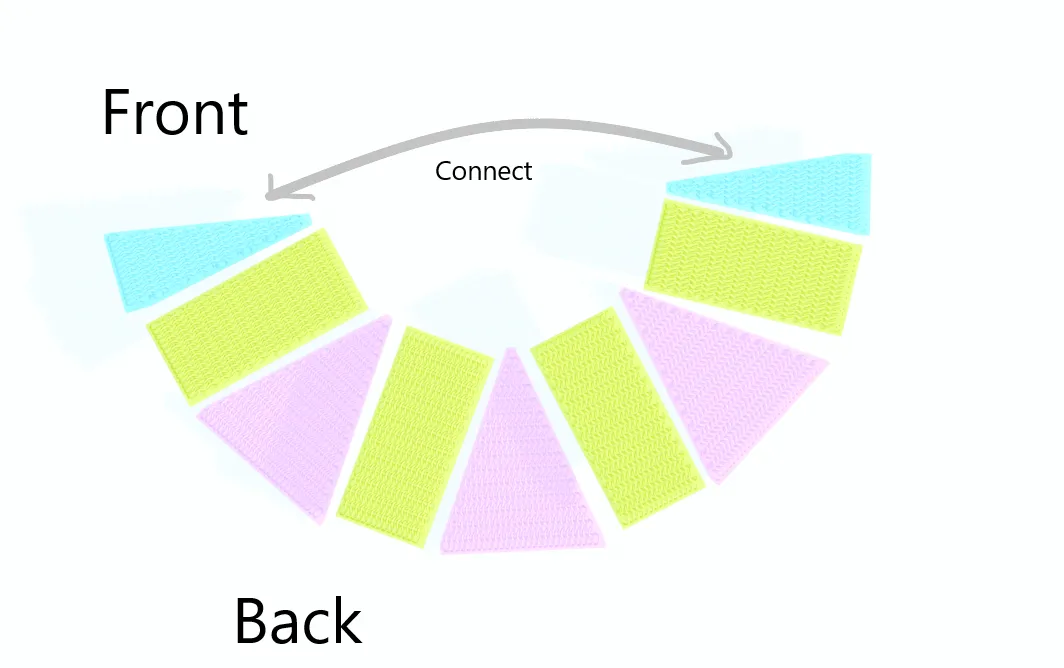
Will improve instructions in a bit for now you can look to :
These are some links that have been very useful to me during the assembly.
https://chainmailjoe.com/chainmail-joe-european-4-in-1-tutorial-1
Connecting Both parts
Find the center of the front shoulder part and the center of the forward facing hole in the head part of the coif, use a connecting link to join the 2 parts in the standard euro 4-1 way (add more detail in a bit) , now evenly follow the connections around the connecting edges in both directions such that they meet at the back,
you should now be able to wear the full coif!, any issues add a message in the comments and I will see if I can help. If you have ended up breaking any links just use a connecting link to fix the chainmail where the old link was.
License

You may create derivative works based on this object, provided that all such derivative works are published exclusively on the MakerWorld platform and include proper attribution to the original creator. You may not share, upload, host, distribute, or publish this object—or any derivative work of this object—on any other digital platform, marketplace, or distribution channel. Commercial use of this object and any derivative works is strictly prohibited. This includes, but is not limited to, selling, renting, sublicensing, or using the object in any context in which you receive monetary compensation or other financial benefits.


Comment & Rating (127)