Search models, users, collections, and posts

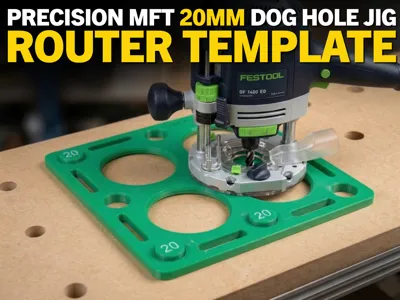
MFT 20mm Bench Dog Hole Router Jig

Print Profile(2)

All
P1S
H2S
H2D
X1
H2D Pro
P2S
A1
X1 Carbon
H2C
X2D
A2L

P1S Optimized
P1S Optimized
Designer
4.1 h
1 plate
4.8(4)

0.2mm layer, 4 walls, 20% infill
Designer
4.6 h
1 plate
5.0(1)

Open in Bambu Studio
Boost
150
678
18
5
205
107
Released 

Description

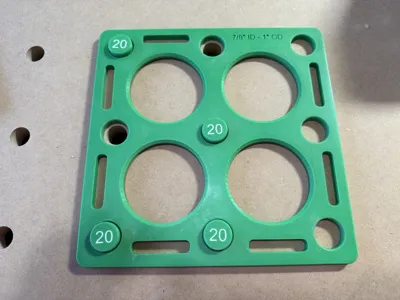
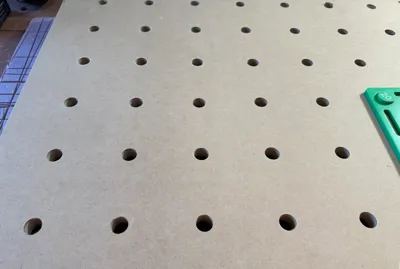
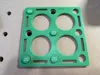
If you’re building or upgrading an MFT-style workbench, this jig makes it easy to route clean, accurate 20mm bench dog holes on a 96mm grid using a plunge router. It’s designed around the standard Festool-style layout, but works with any 20mm / 96mm hole pattern.


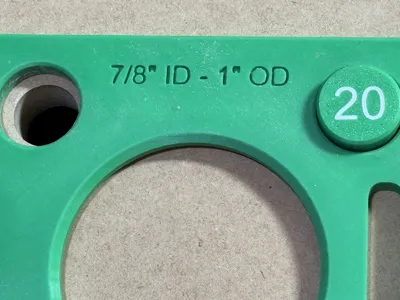
The template uses 1" guide holes paired with a 1" guide bushing and a 20mm router bit. Because the bit matches the final hole size, each hole can be cut with a single plunge. No spiraling out the cut. No extra cleanup passes. Just fast, clean, repeatable holes.

Recommended Bit

I’ve had good results with this 20mm bit:

https://www.amazon.com/dp/B07QV9VPR3?ref_=ppx_hzsearch_conn_dt_b_fed_asin_title_1&th=1
 

Recommended Guide Bushings

These 7/8" OD bushings work well:
https://www.amazon.com/dp/B07H935NT6?ref_=ppx_hzsearch_conn_dt_b_fed_asin_title_1
 

Instructions

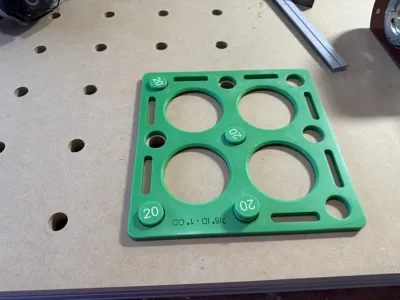
  1. Use double sided tape or clamps to position the jig.
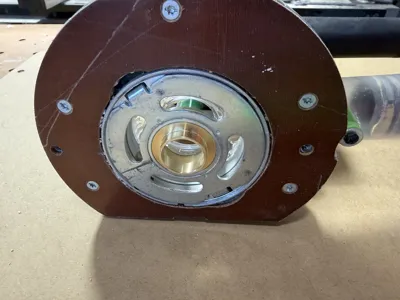
  2. The 1" guide bushing should fit snuggly into one of the 9 holes in the jig.
  3. Cut as many of the 9 holes as possible depending on clamp placement
  4. Use my 20mm bench dogs (my MFT 20mm Bench Dog Set – 96mm System) to index the jig. They’re designed for a snug fit in freshly routed holes, making it easy to reposition the template accurately as you move to the next section.
  5. Cut the next set of holes.
  6. Continue repositioning and routing until your full grid is complete.

P1S Print Profile

If you're printing on a P1S, be sure to use the print profile specifically made for that printer. The original profile is slightly too large and encroaches into the physical exclusion zone.

Comment & Rating (18)

(0/1000)

Print Profile
P1S Optimized
This printed great on my P1S. Very happy with this print. I actually own a UJK Parf guide but I find it very tedious to use, very excited to try this out:)
The profile uploader has replied
profile
3
Reply
Thanks for the review! Let me know how it works out.
0
Reply
Replying to @pwg4274 :
will do, thanks again for ur help
0
Reply
it would be good to see the accuracy compared to a UJK Parf system. if you can comment on the accuracy after your are done that would be great! thanks
0
Reply
do you have a file for the pegs you’re using in the photo? nice guide!!
The designer has replied
designer
2
Reply
Thank you! Yes, the original bench dogs were these ones on makerworld - https://makerworld.com/en/models/406124-bench-dog-20-mm-anlagebolzen-20-mm?from=search#profileId-308027. However there was a little bit of play between those dogs and the holes in my router guide - so I ended up just designing my own set that fit very snuggly in the holes. Those are here - https://makerworld.com/en/models/2427743-mft-20mm-bench-dog-set-96mm-system#profileId-2662949
(Edited)
1
Reply
awesome! Thanks
0
Reply
when I try to load this into my bambu studio for P1S it tells me that it is too close to the edge and will have a collision. I tried to shift it around as well as tried centering in each direction and I keep getting this warning. I noticed afterwards that P1S isn't listed compatible with this model. I was wondering if this is why? I always assumed that the A1 would be smaller but I am not sure. anyways I would love to print this if possible it looks great!
The designer has replied
designer
1
Reply
Got it, I can see the issue now. When loading the model with the P1S selected as the printer, it's just large enough to clip into the exclusion zone at the front left. Ive just uploaded a new print profile specifically for the P1S.
0
Reply
Replying to @pwg4274 :
oh wow, thank u very much for doing that so fast! really appreciate that. let me know if I should boost or share, whatever would help support best.
0
Reply
Replying to @user_3711422673 :
No problem! Let me know if you need anything else. A boost is always welcome.
0
Reply
Print Profile
P1S Optimized
Génial !
The profile uploader has replied
profile
1
Reply
Merci!
0
Reply
Print Profile
0.2mm layer, 4 walls, 20% infill
worked perfect for me!!
The profile uploader has replied
profile
1
Reply
Thanks so much for the rating!
0
Reply
Print Profile
P1S Optimized
Très bien
profile
1
Reply
Print Profile
P1S Optimized
profile
1
Reply
No more