
51mm Portafilter Dosing Funnel for De’Longhi
Print Profile(2)

Description
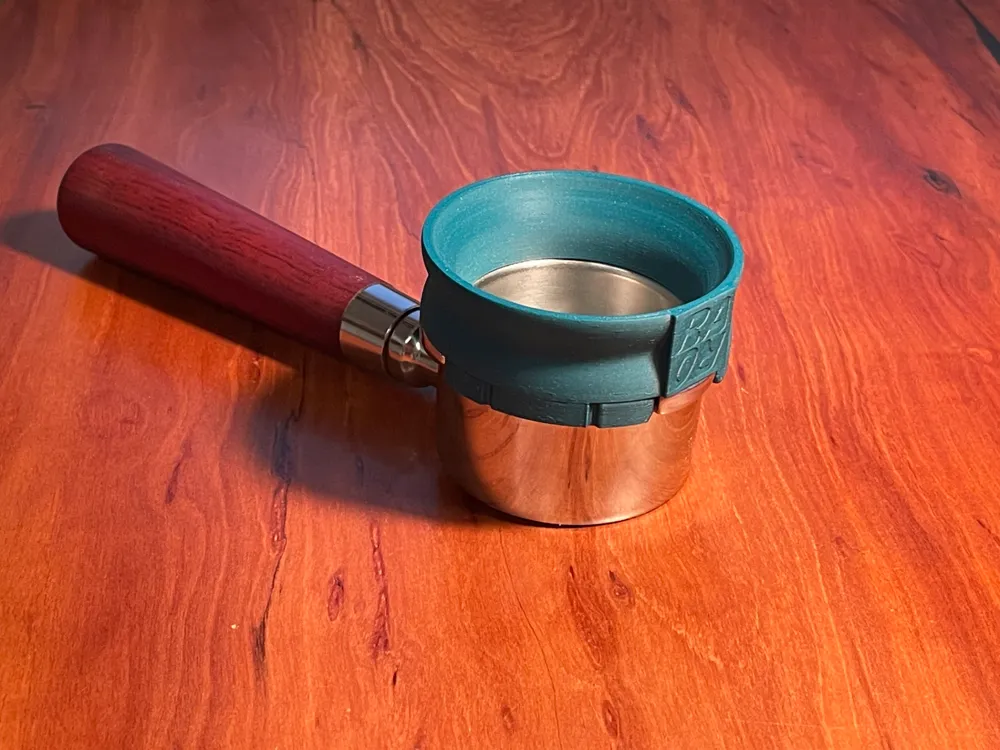

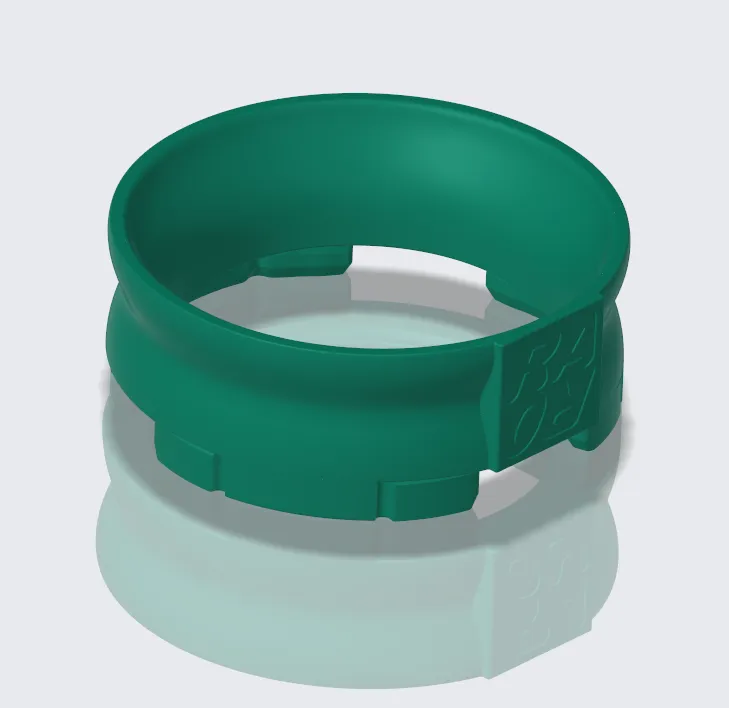
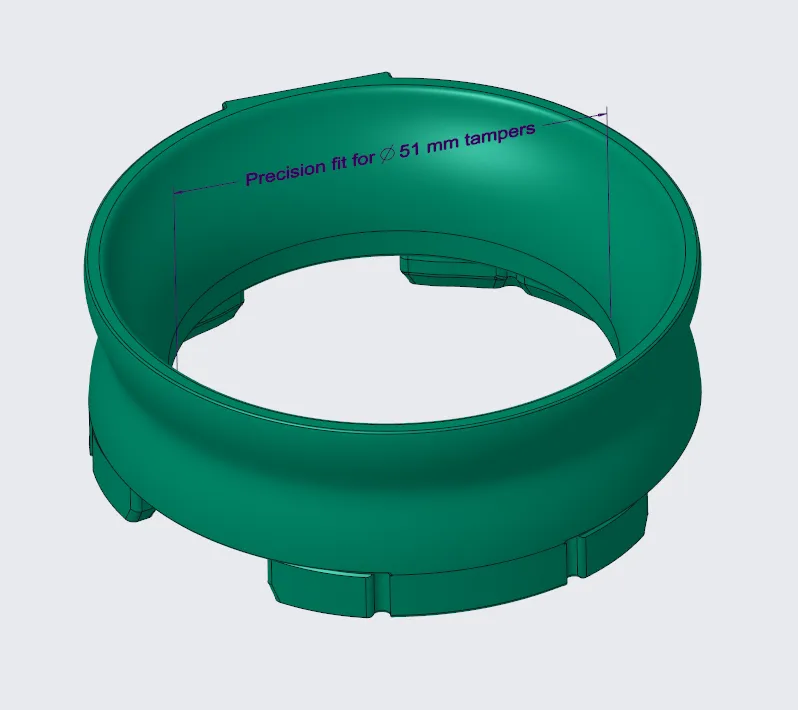
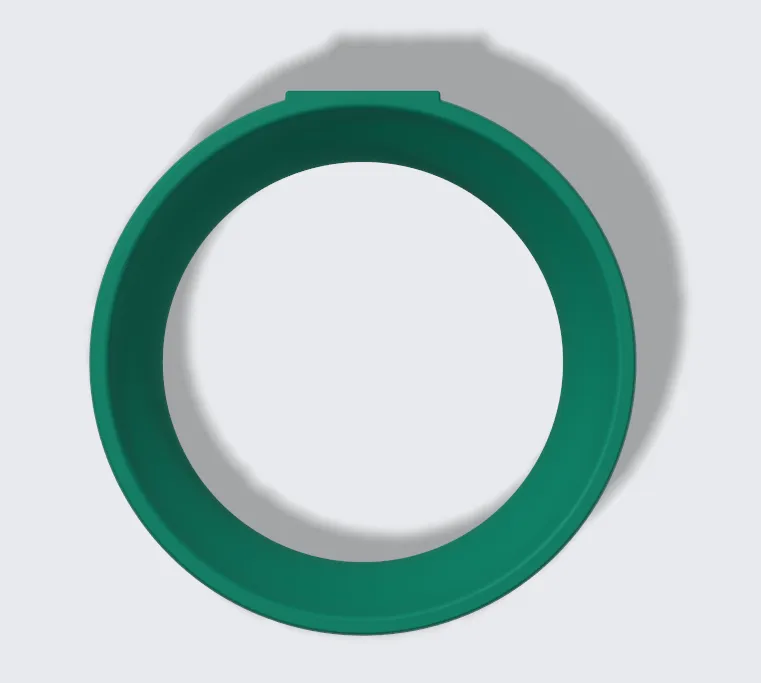
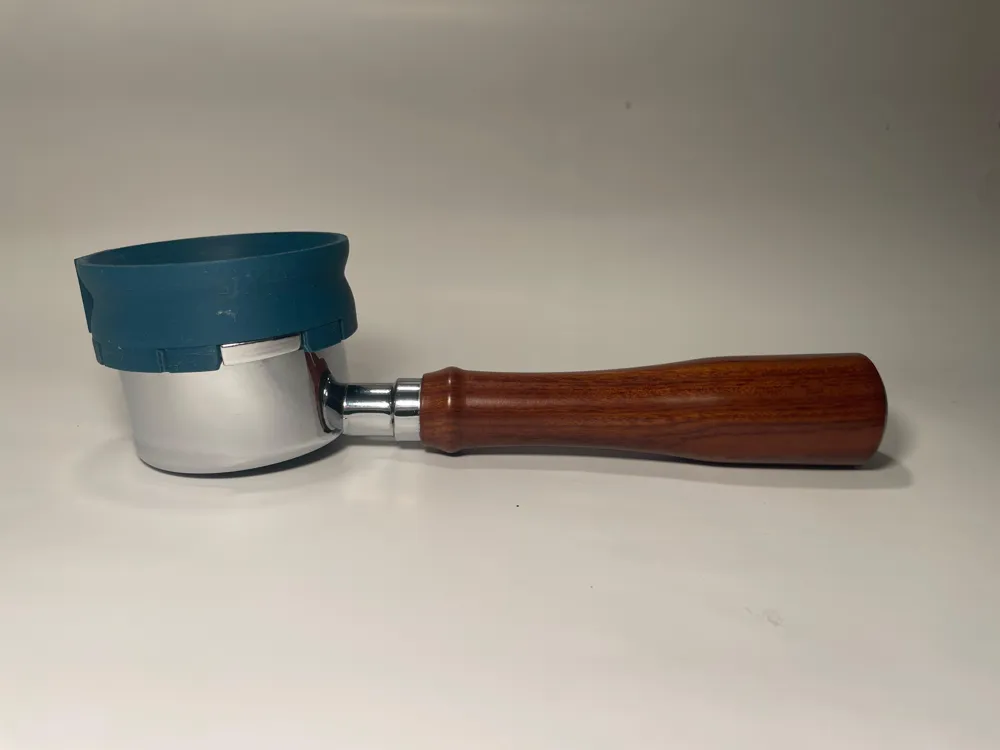
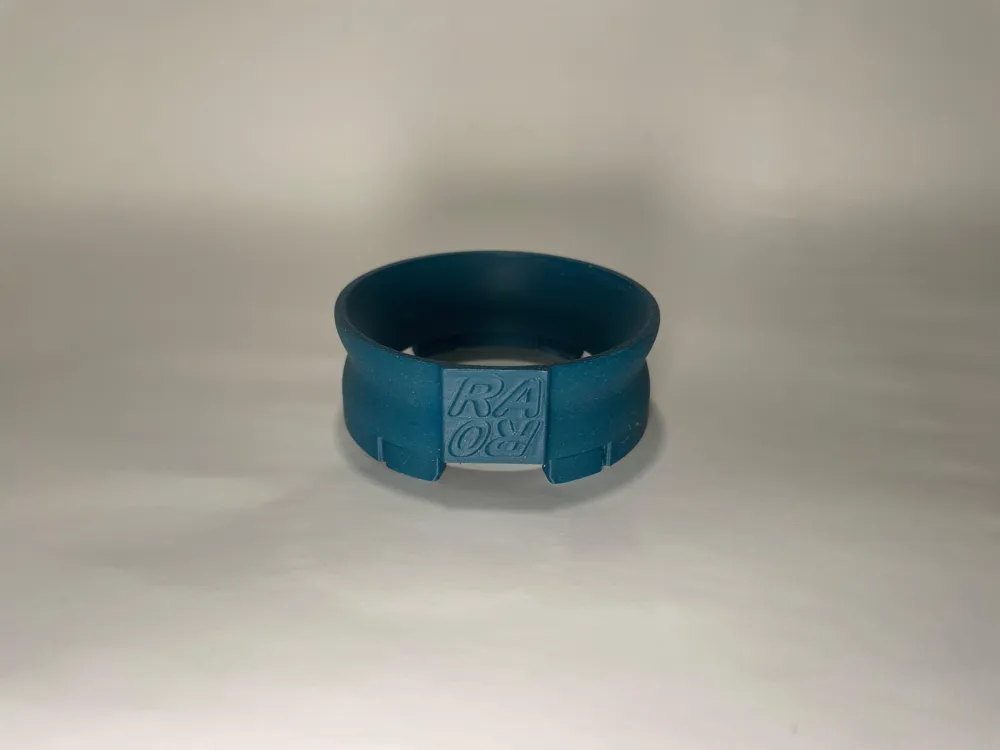
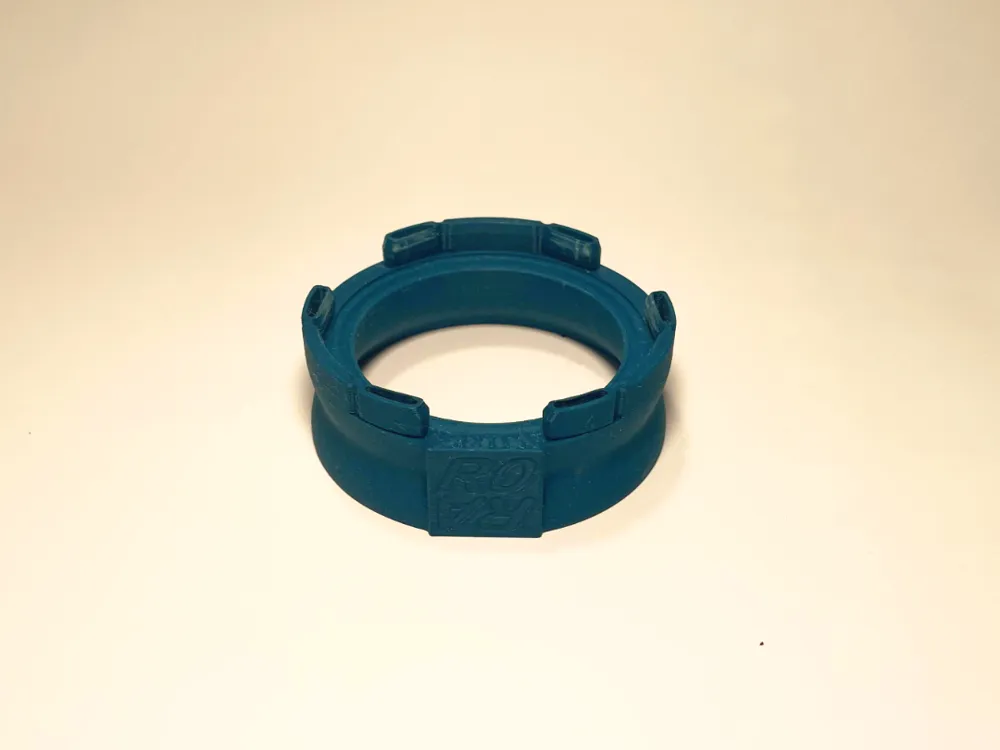
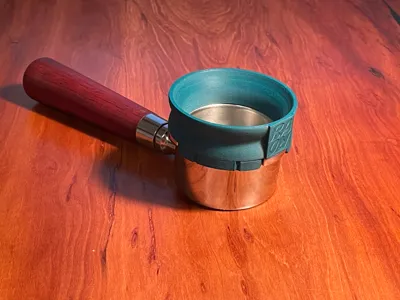
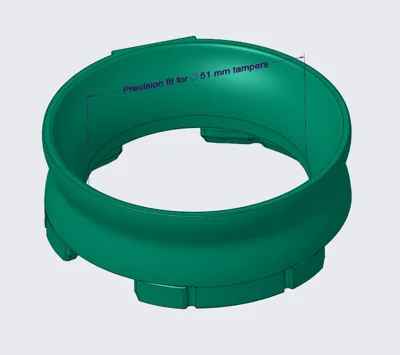
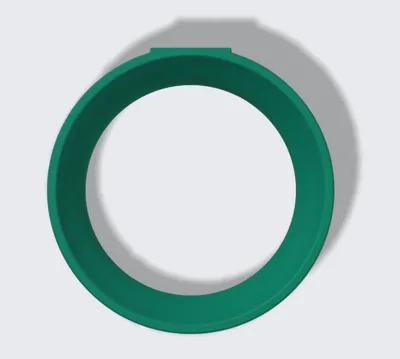
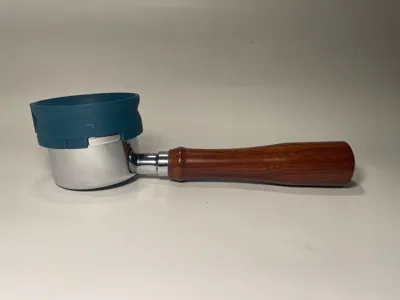
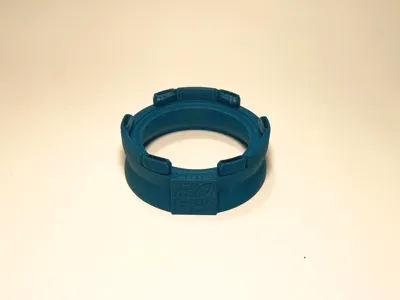
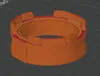
This 3D-printed dosing funnel is designed for De'Longhi portafilter espresso machines and fits perfectly into a clean, efficient espresso workflow.
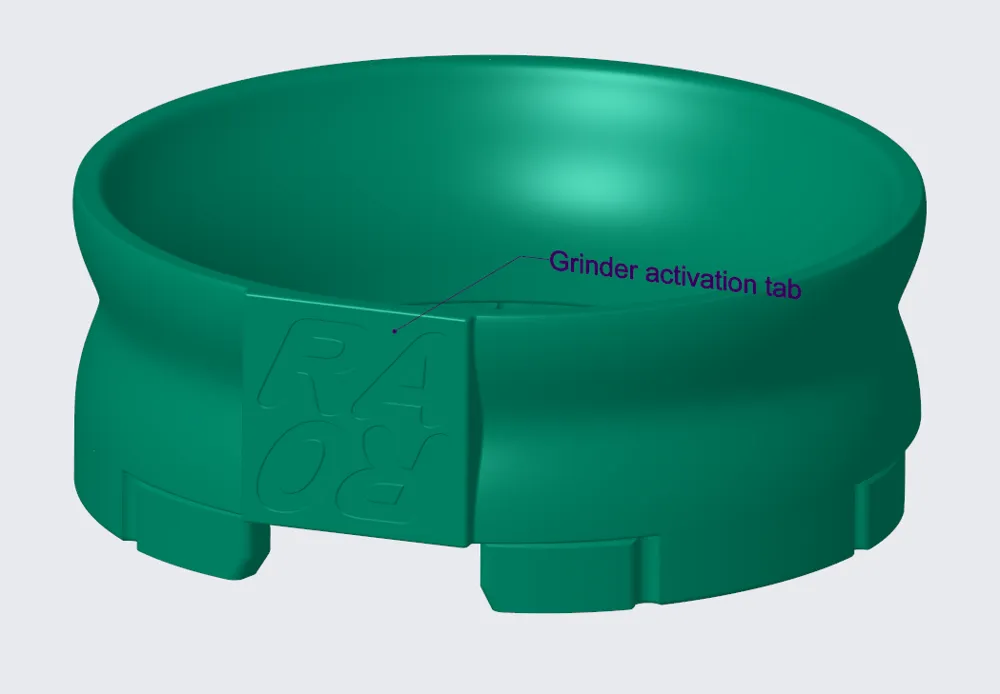
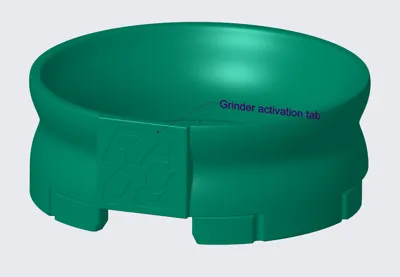
It’s ideal for bottomless portafilters, helping you dose straight from the grinder without mess. The funnel activates the grinder and catches the grounds directly as they fall, keeping your coffee station tidy and your workflow smooth.
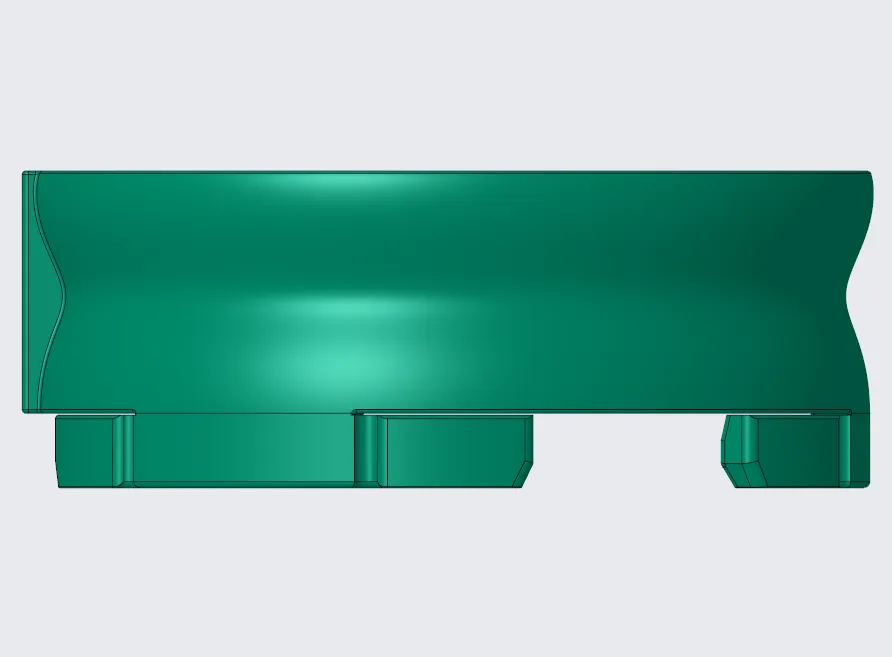
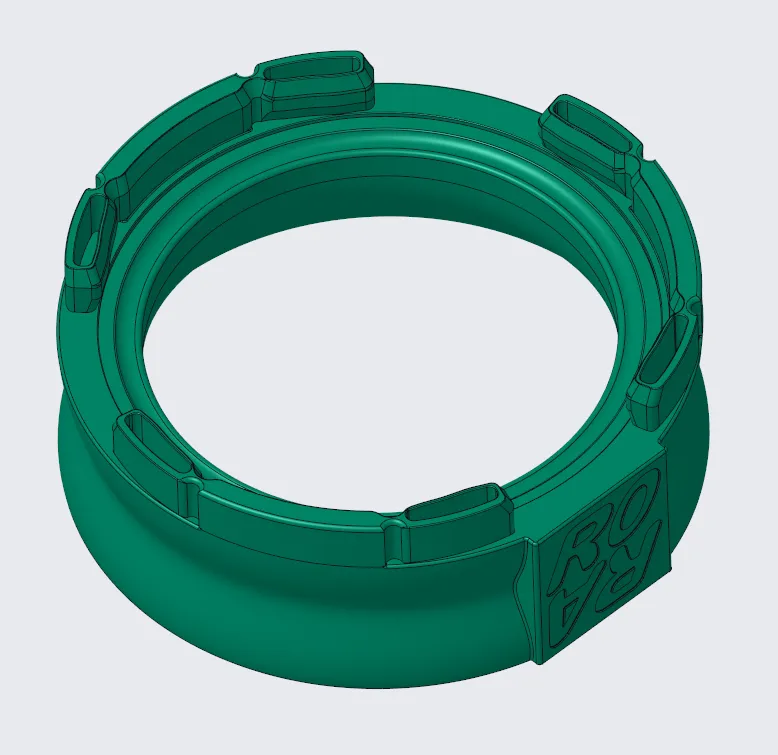
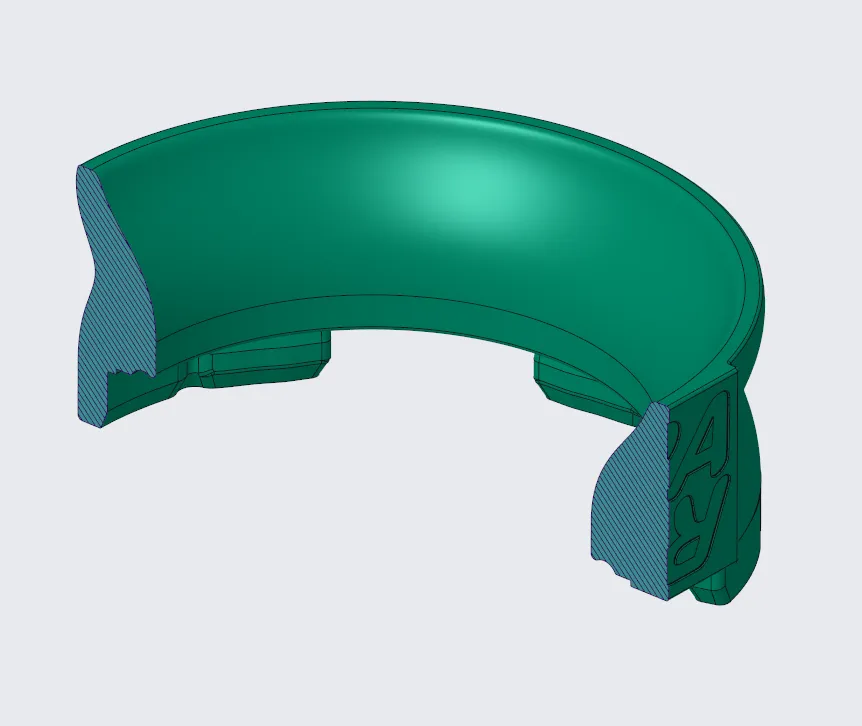
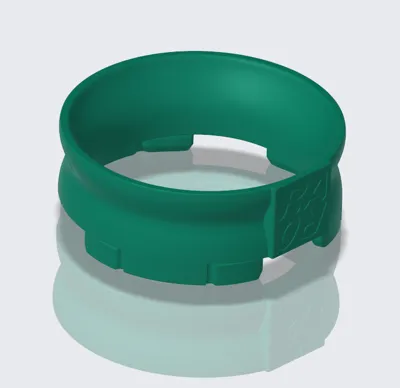
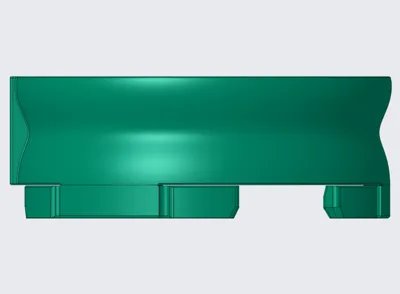
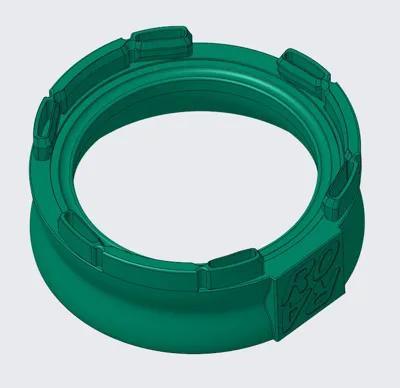
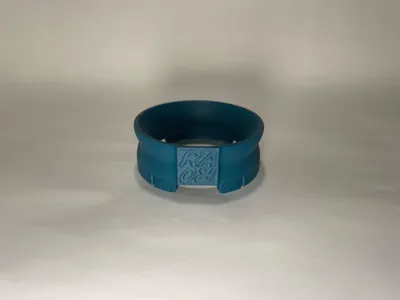
Thanks to its flexible fit, the funnel adapts easily to aftermarket and accessory portafilters that aren’t perfectly standardized. It works with outer diameters from 61 to 62 mm, ensuring a secure and reliable fit even on slightly inconsistent portafilters.
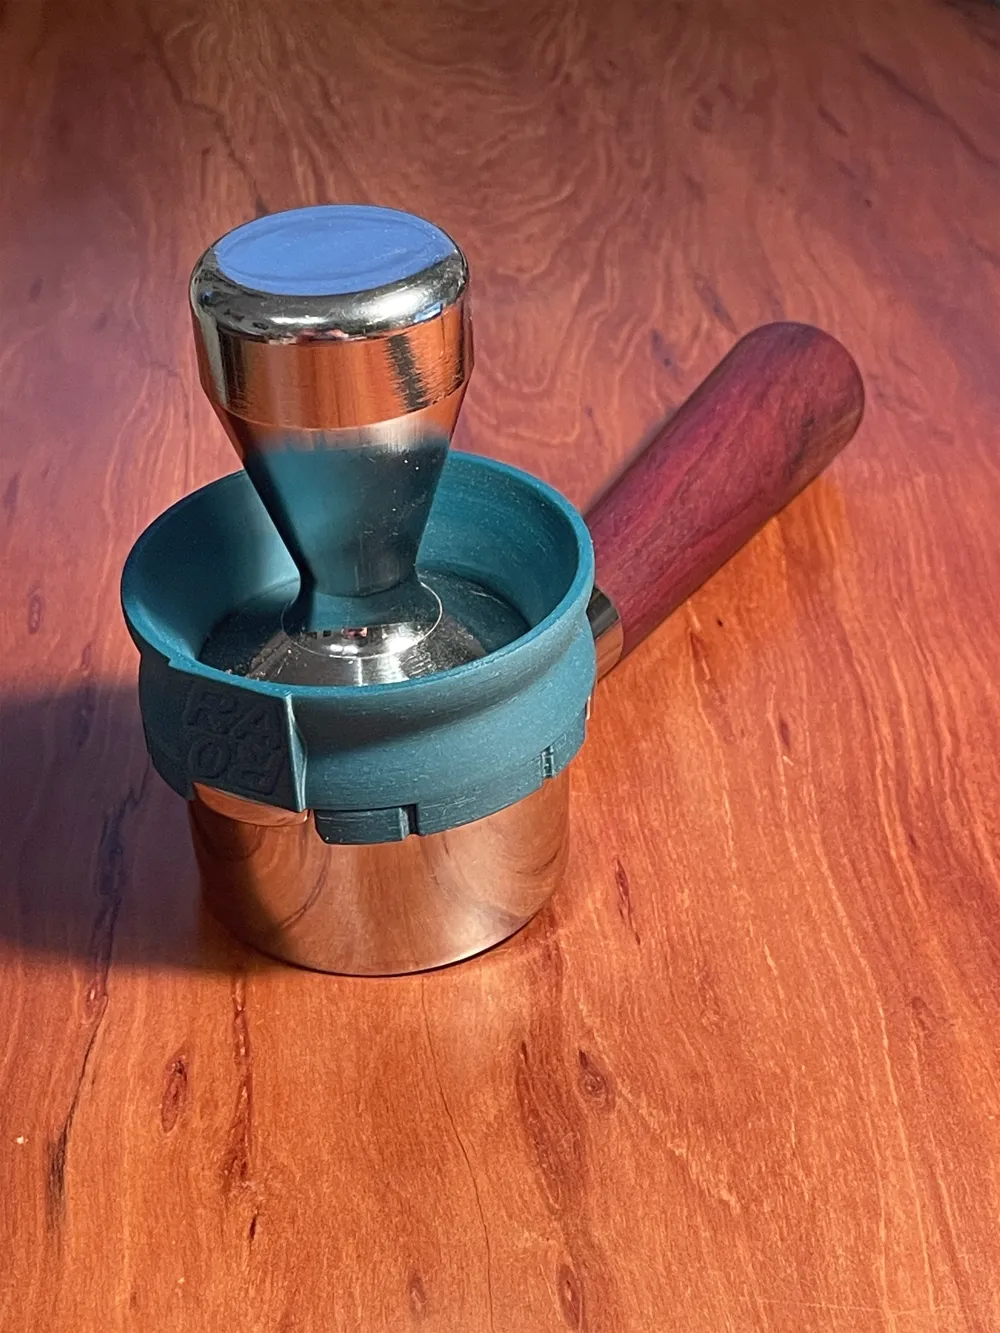
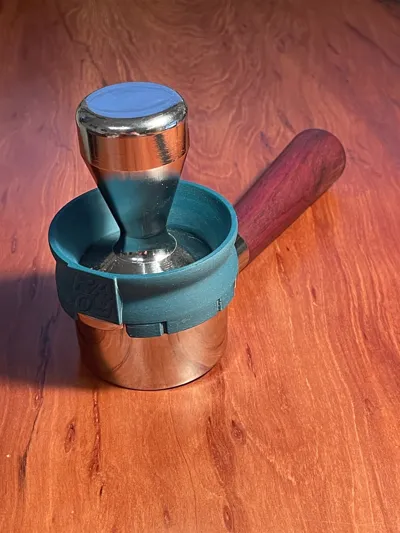
Designed with usability in mind, the funnel is perfectly compatible with 51 mm tampers. You can tamp directly with the funnel in place, making puck prep faster, cleaner, and more consistent.
Simple, practical, and made for everyday espresso enjoyment.
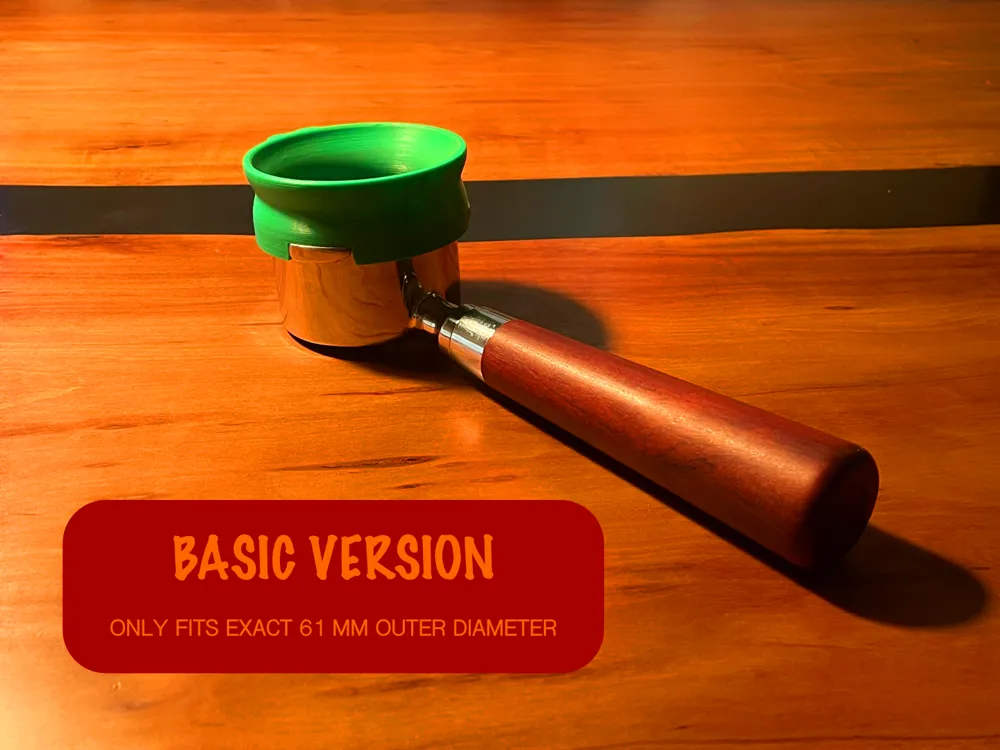
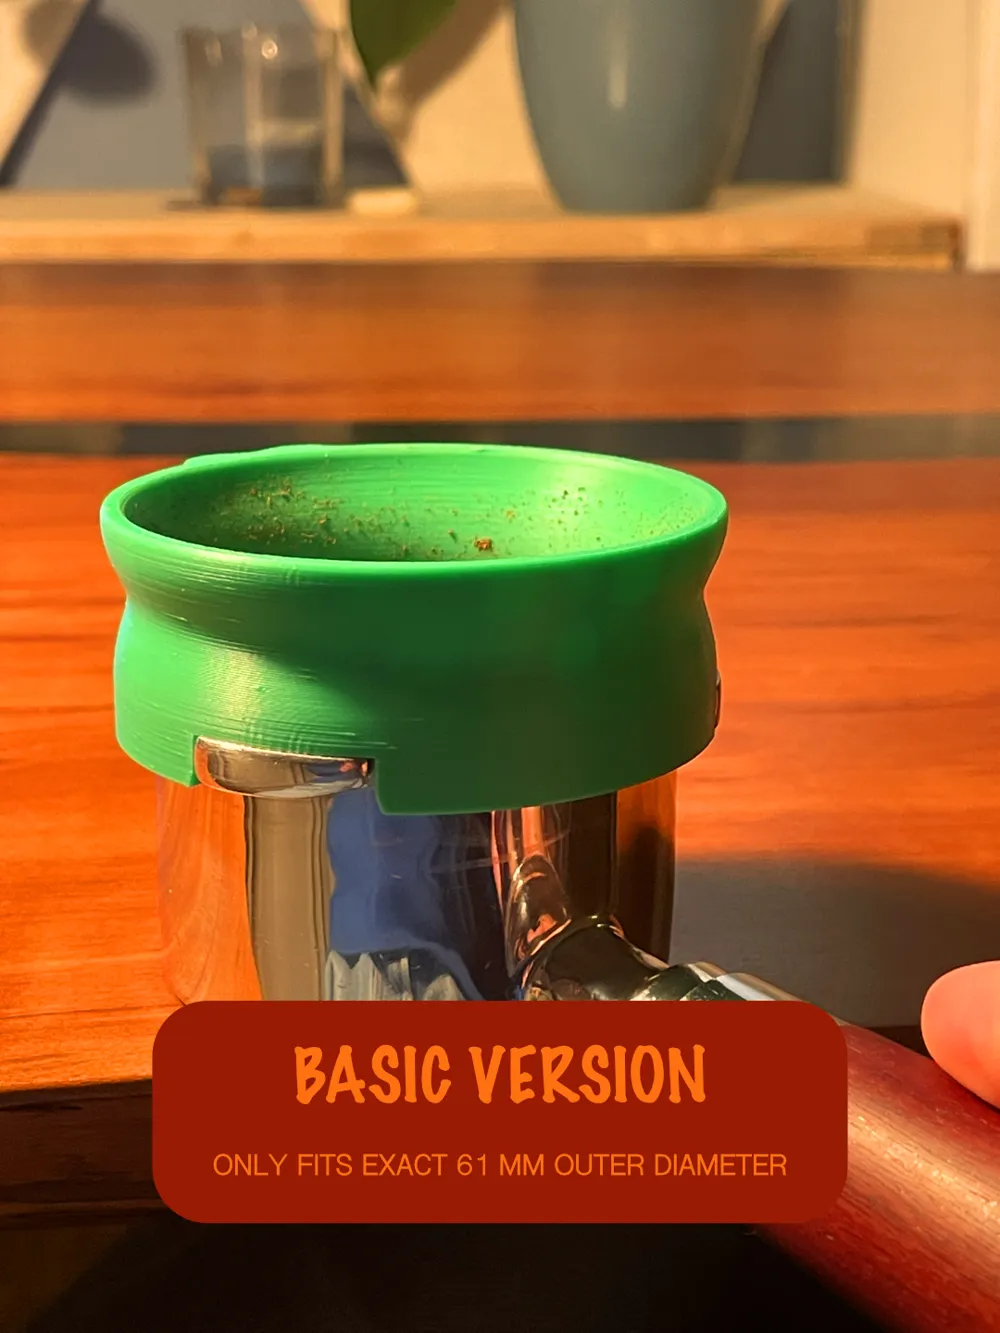
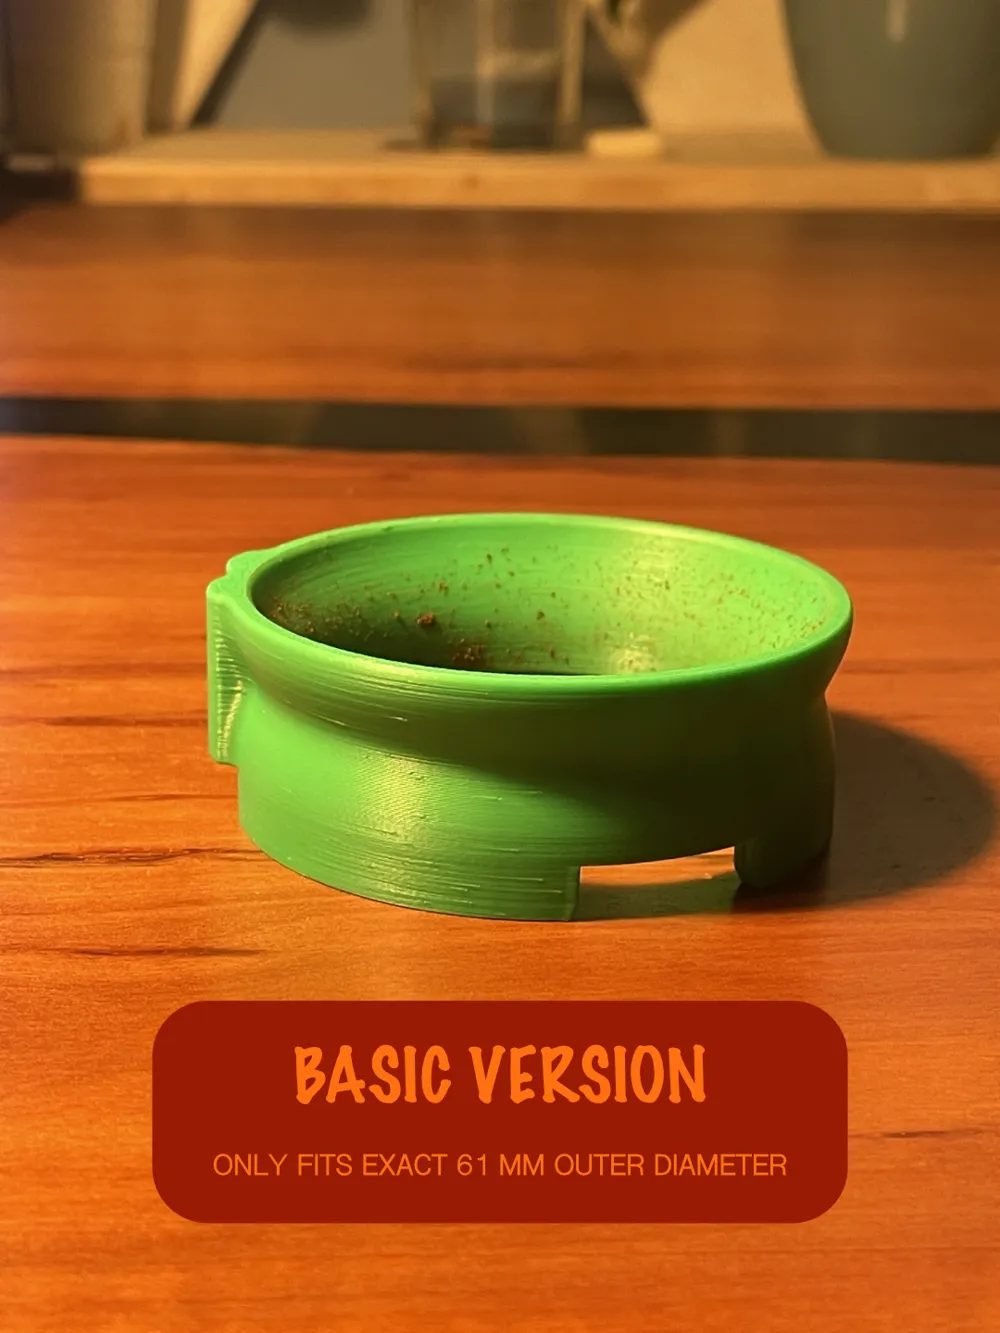
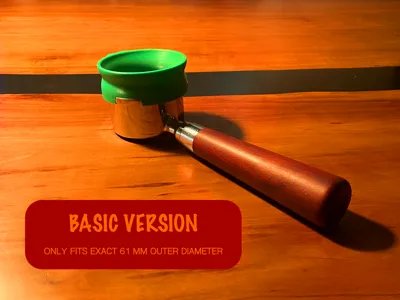
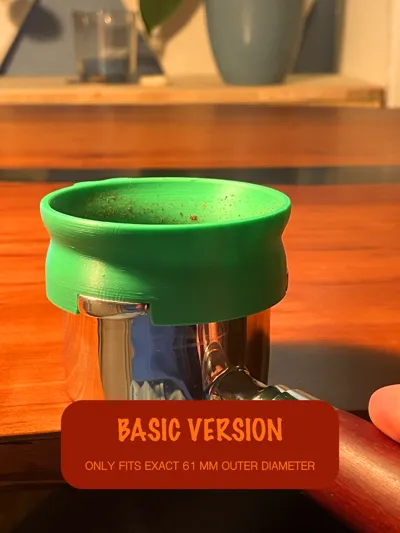
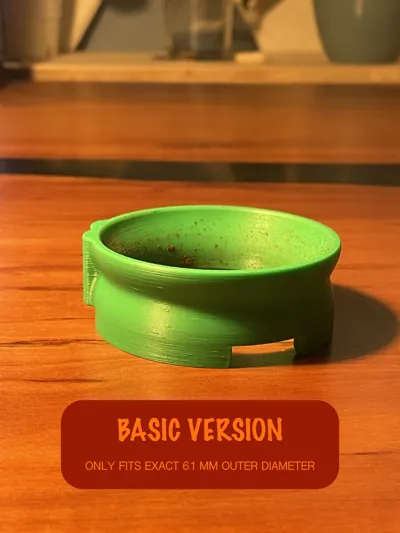
A Basic Version without the flexible mechanism is available in a separate folder. This version is not adjustable and fits only portafilters with an exact outer diameter of 61 mm !!!
Please note:
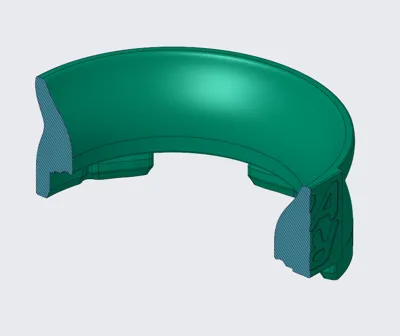
For proper functionality, this funnel must be 3D printed with a maximum layer height of 0.15 mm. Printing with thicker layers may cause the flexible mechanism to fuse together, preventing it from working as intended.
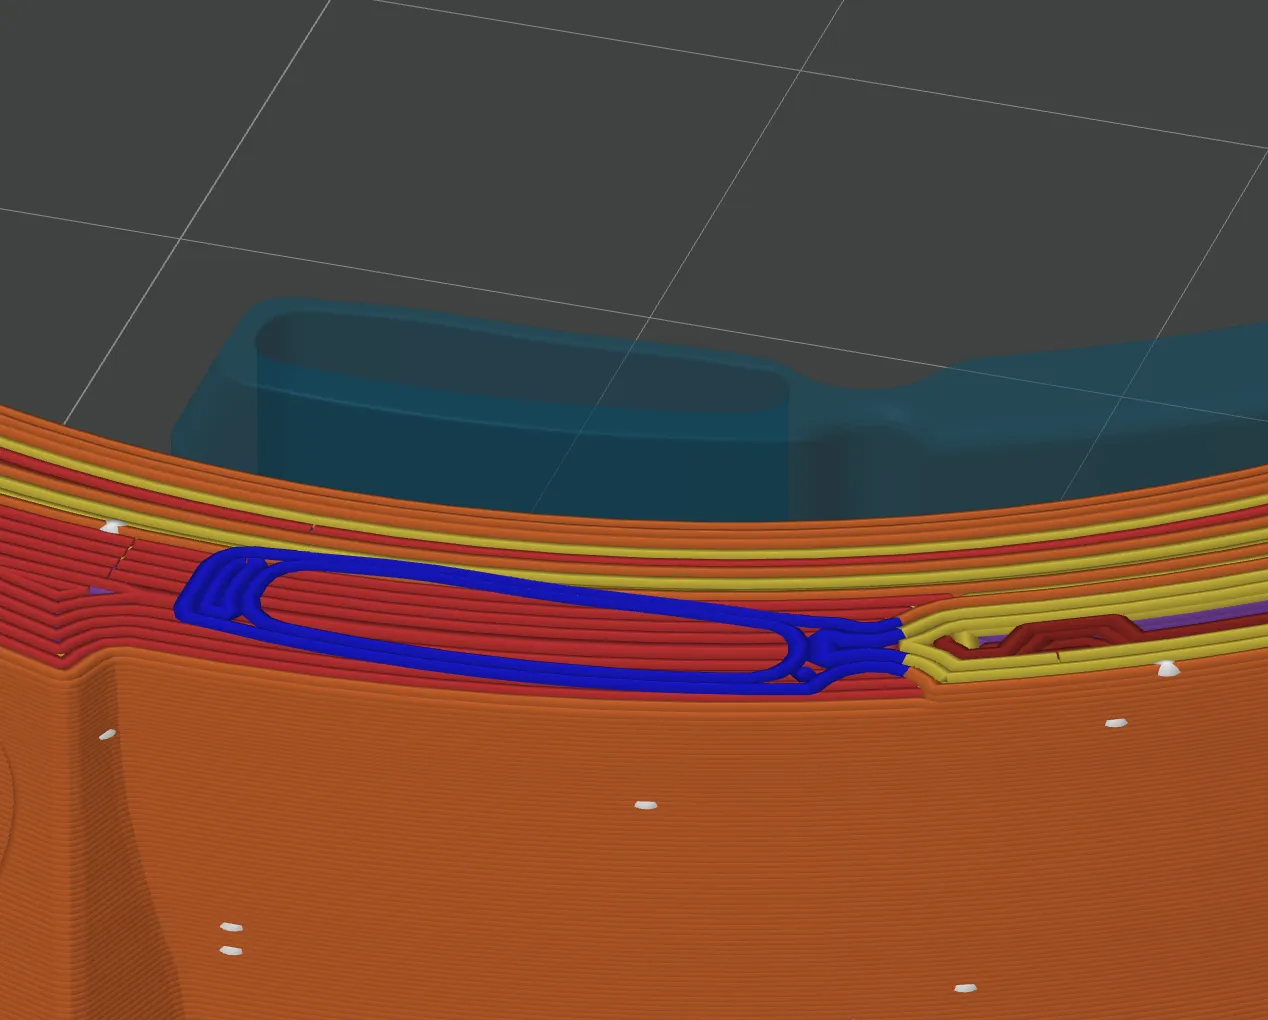
The first layer of the flexible mechanism should be printed very slowly, as this section includes curves and rounded geometries rather than straight lines, which require more time to form accurately and avoid unintended bonding.
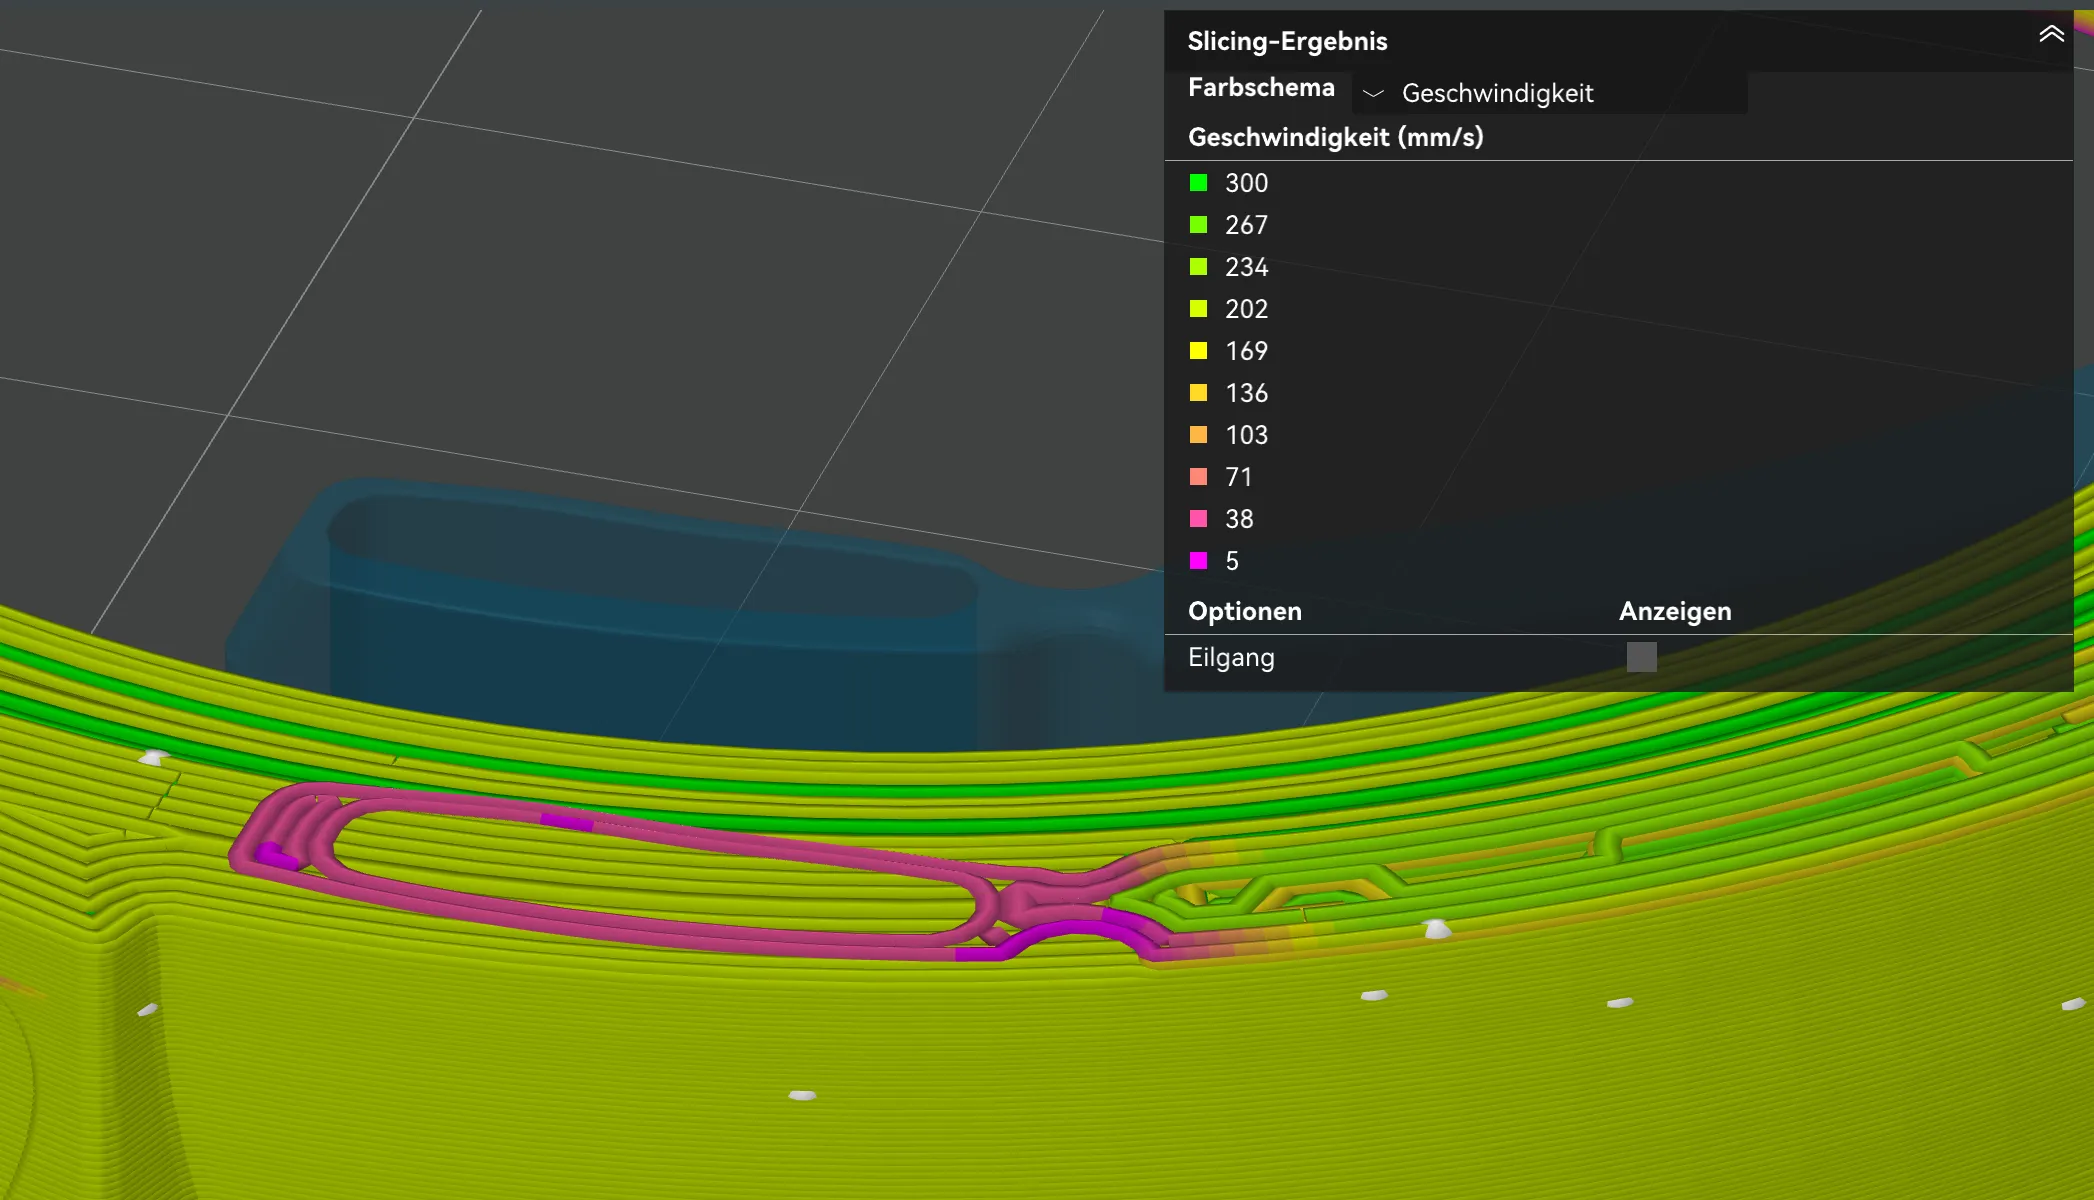
I also enable Smooth speed discontinuity area and use a Smooth coefficient of 80 for more consistent motion through curved paths.
If you’re unsure whether your printer or settings can handle this, I recommend to cut the model and print only the critical flexible section first as a test.
I also recommend using a bridge_flow of 1.2 to ensure clean bridging and reliable movement.
For slicing, the Arachne engine / wall generator is recommended, as its variable wall thickness adapts better to the flexible sections of the design.
Additionally, printing with seam_slope (10%, 0 mm, 5 mm) helps achieve a cleaner surface finish and improves overall print quality.
License

You may create derivative works based on this object, provided that all such derivative works are published exclusively on the MakerWorld platform and include proper attribution to the original creator. You may not share, upload, host, distribute, or publish this object—or any derivative work of this object—on any other digital platform, marketplace, or distribution channel. Commercial use of this object and any derivative works is strictly prohibited. This includes, but is not limited to, selling, renting, sublicensing, or using the object in any context in which you receive monetary compensation or other financial benefits.


Comment & Rating (1)