
Gen 2 - DCL Ship Magnet (Editable Family Name)
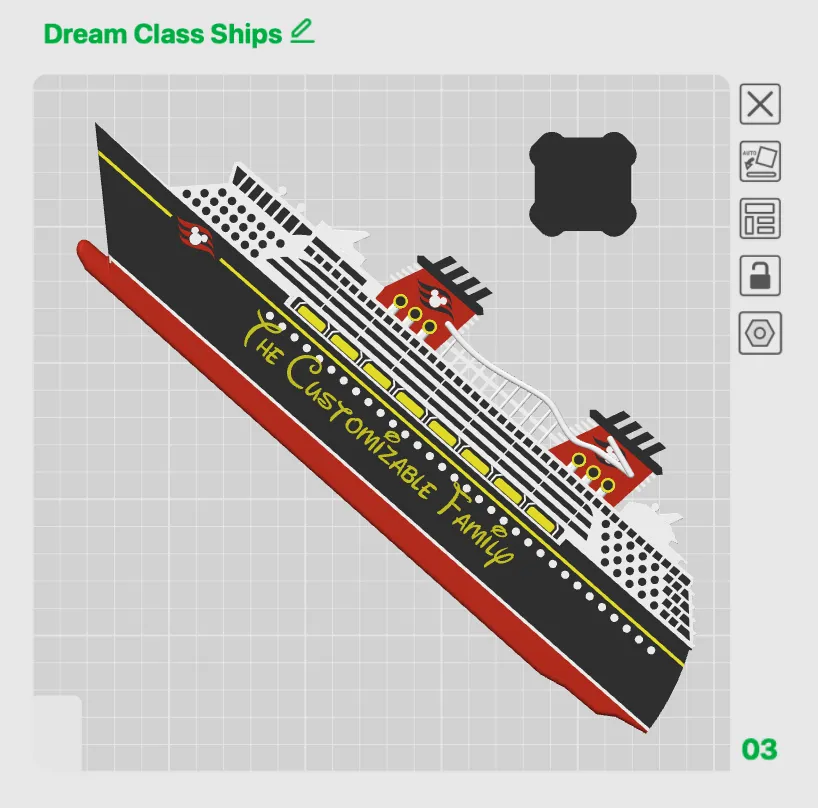
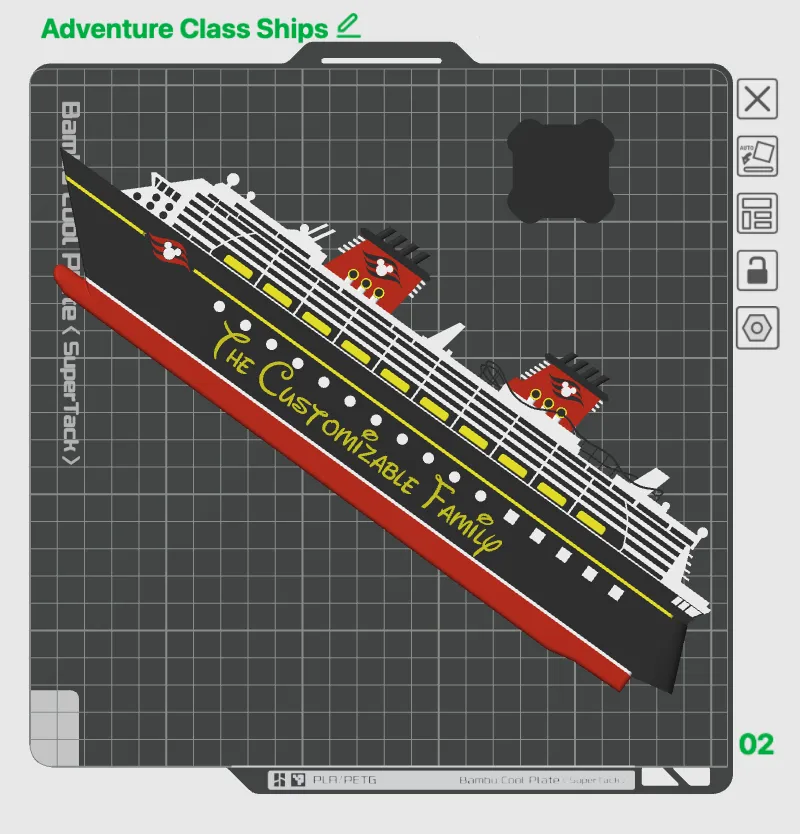
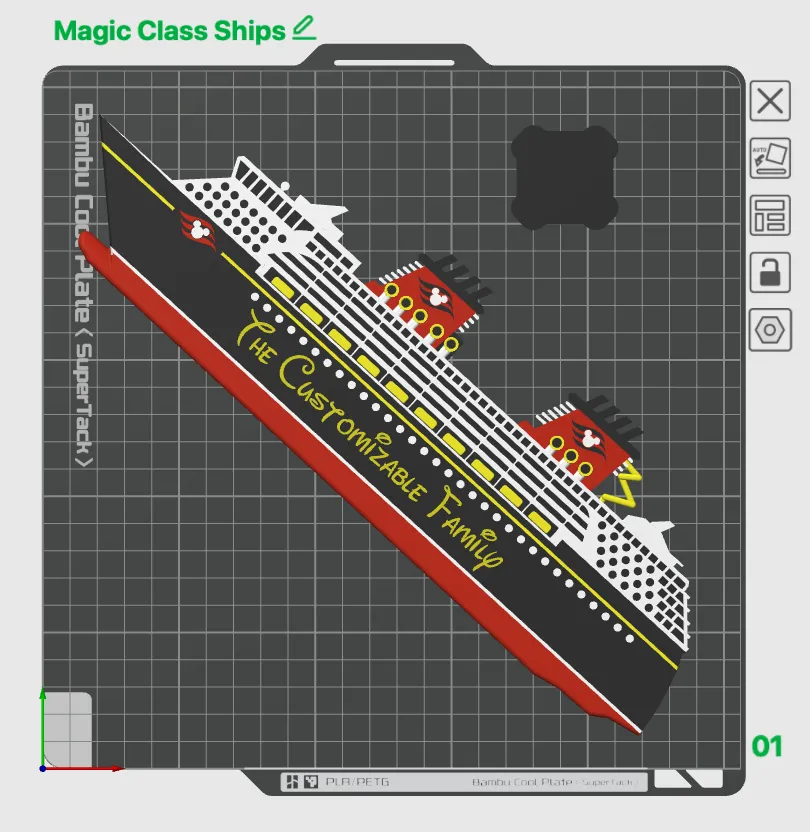
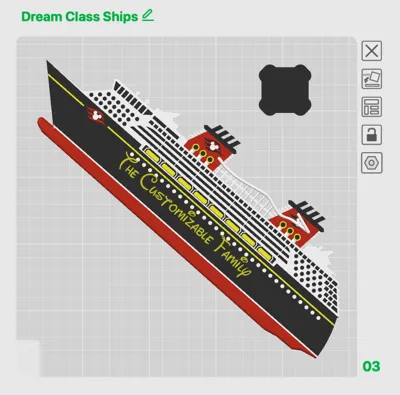
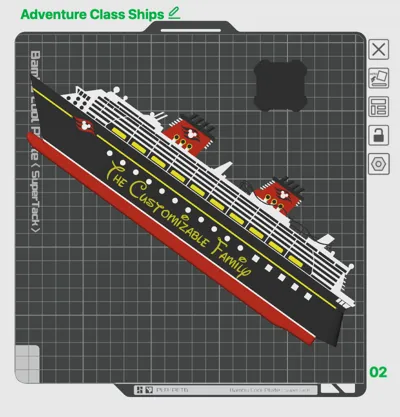
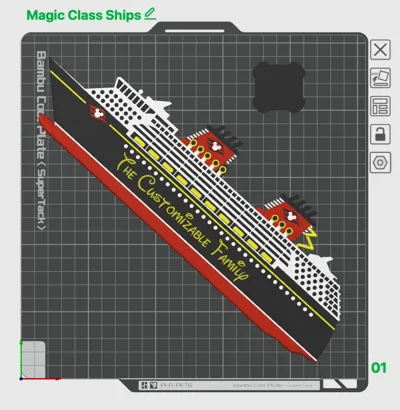
Print Profile(3)
Description
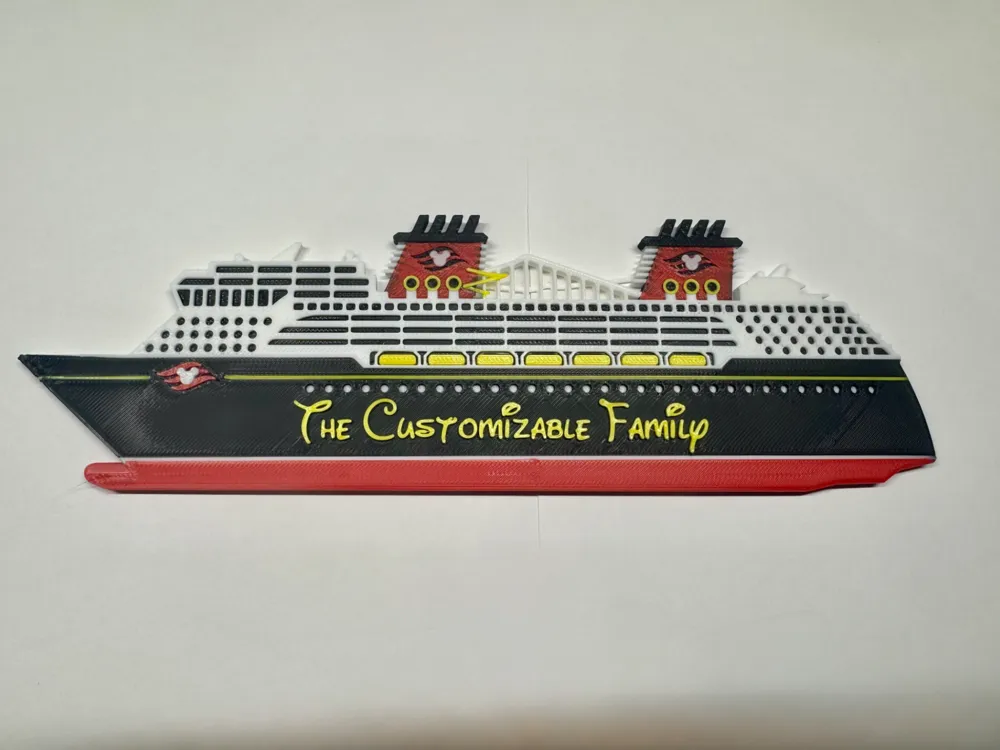
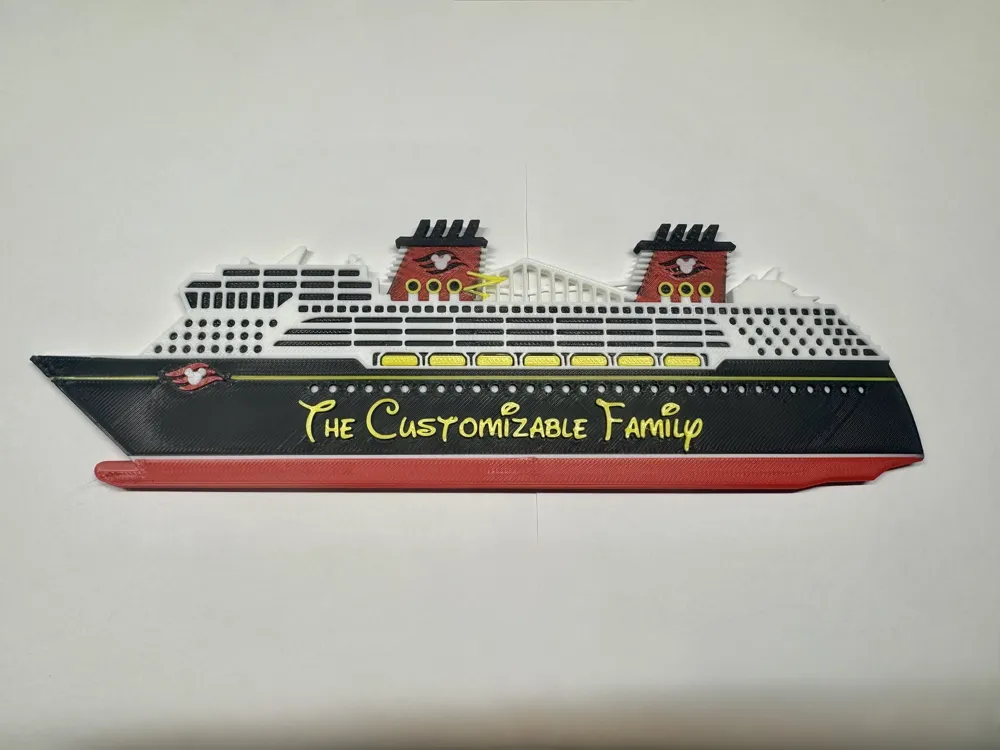
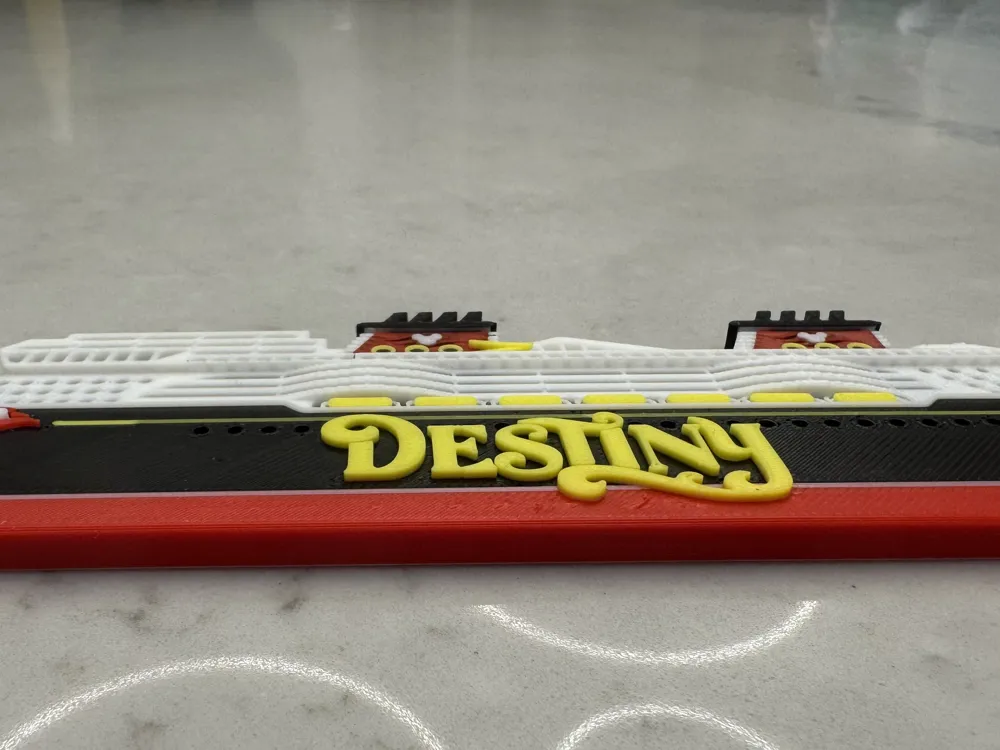
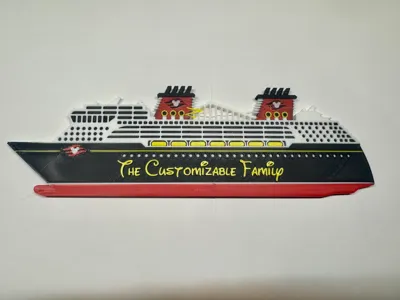
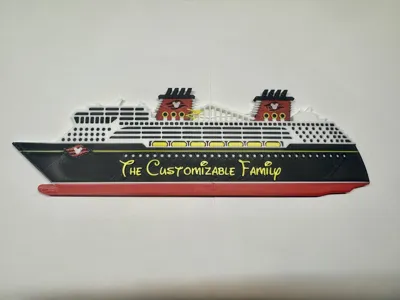
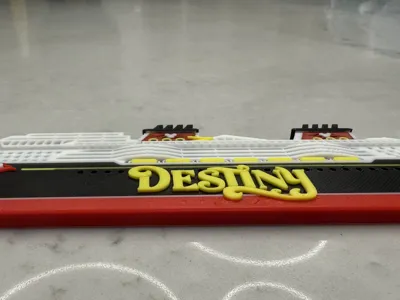
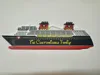
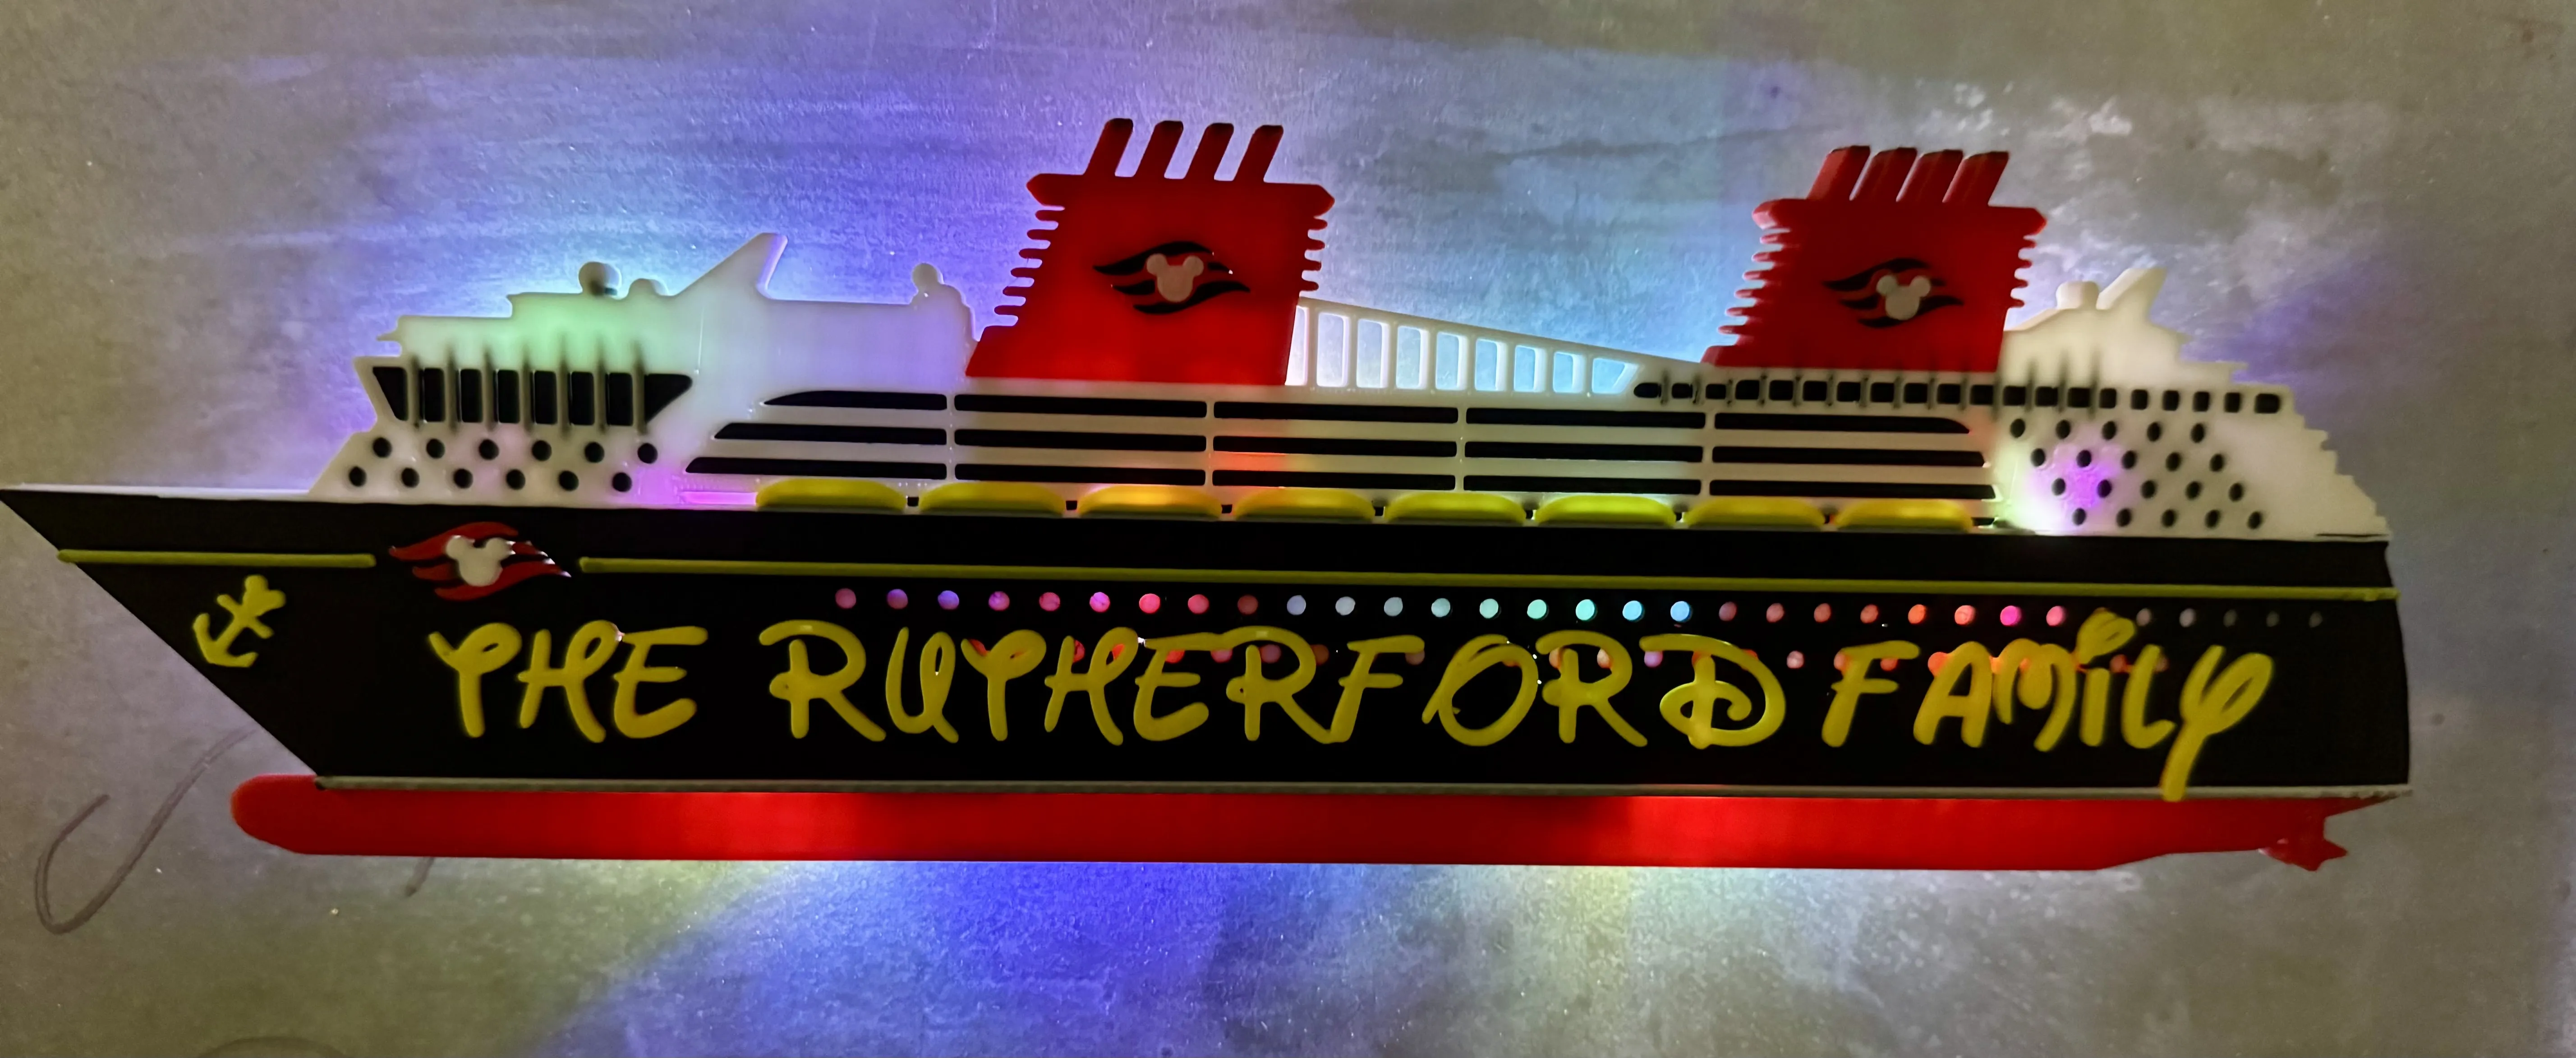
Gen 2 - Disney Cruise Ship Magnets (With Editable Family Name)
I was feeling motivated and decided to update my cruise ship models utilizing some skills I have picked up since creating my original versions back in 2024. These new models use the same light spacers, magnets etc. as my Gen 1 models, but I now have a customizable family name design for each class of ship and I have improved the overall design. Hope you have fun printing these and Happy Cruising!
Upgrades over Gen 1 Designs:
- The smaller size models printing on A1 mini no longer need 0.2mm nozzles to print the details. 0.4mm nozzle can be used for all model sizes. I have tested these on an A1 Mini, P1S and an H2C and all printed very well.
- Adjusted the design and features for easier painting.
- Add more detail on the pool deck for features like slides, coasters and ship horns.
- Updated the geometry to reflect each ship design rather than a generic common version for them.
- Improved the design of the lifeboats.
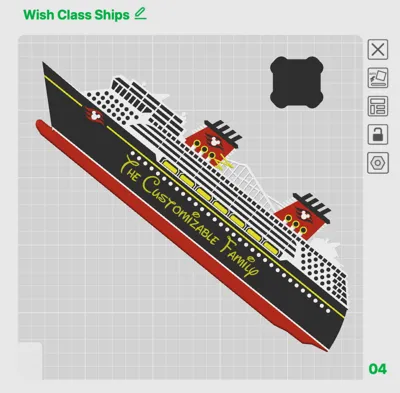
- ***NEW - added side bulges for the Wish Class Ship***
- ***NEW - Updated yellow and white lines to be a bit thicker, I received feedback some were having issues with the lines becoming effectively translucent. New update has multiple layers for both to solve the issue***
Notes:
- I have 2 profiles loaded:
- 9" ship profile maxes out an A1 Mini and takes 4 - 10mm x 2mm magnets
- 12" ship profile takes advantage of the larger bed of the A1, P1S, etc… and takes 5 - 10mm x 2mm magnets
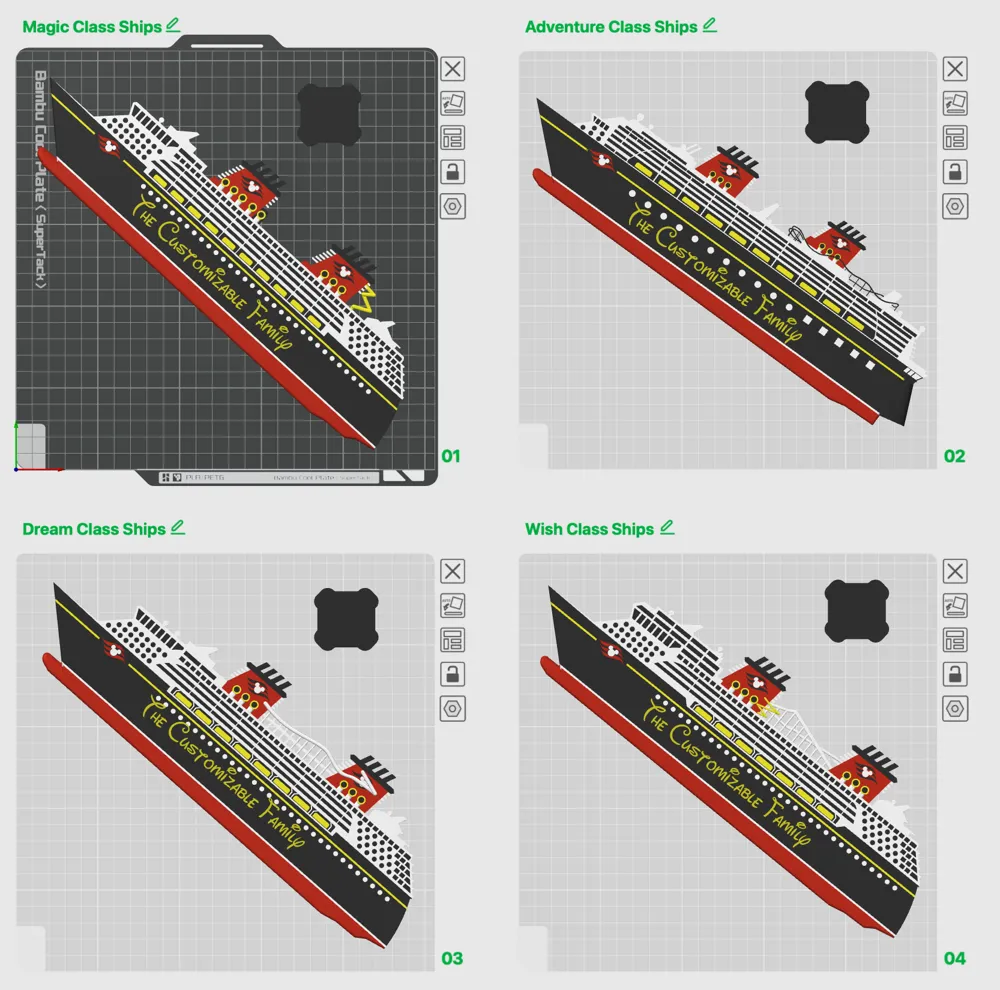
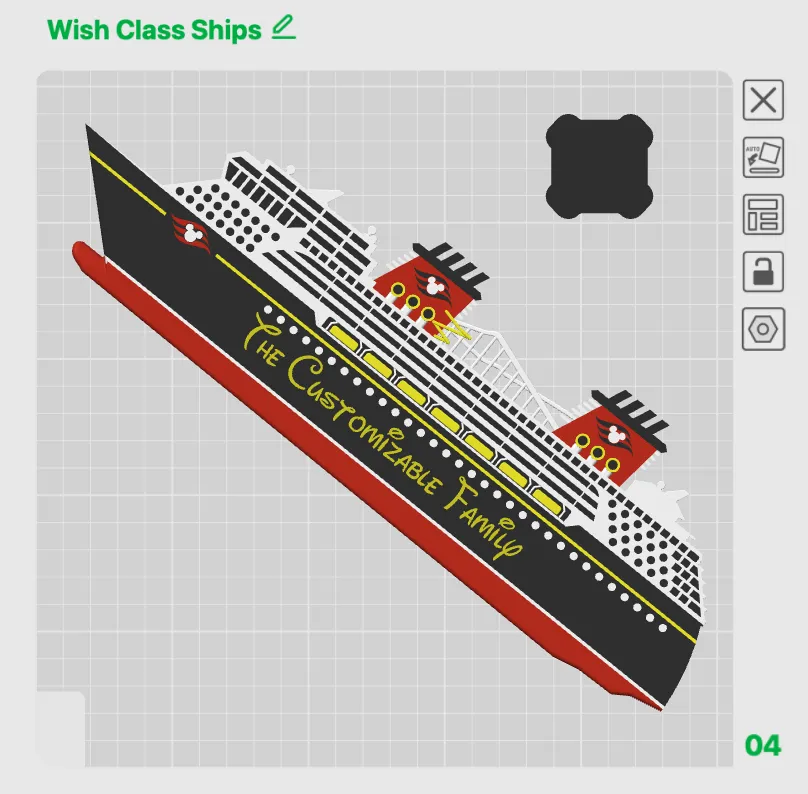
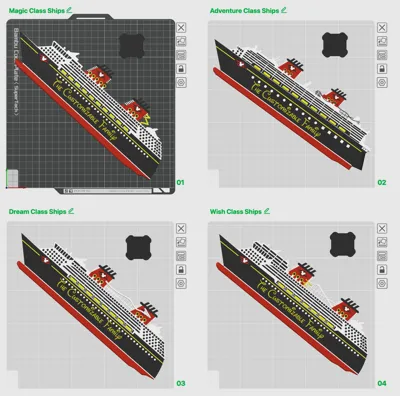
- There is a build plate for each class of ship on each print profile.
- Each magnet uses 10mm x 2 thick magnets, I used negative part cylinders in Bambu Studio so these can be scaled/modified as needed if you would like to to use other sizes.
- Edit Family name in Bambu Studio by right clicking and editing in the object tree. You might need to download the font for it to display the same, I used the free font “New Waltograph” that you can download from many free sites.
OPTIONAL UPGRADE:
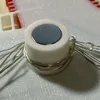
I added a profile with backlighting spacers. Very simple design that is created where the spacers fit into the existing magnet holes with a new magnet hole on the base of the spacer. Follow these steps for backlighting:
- Print a spacer for each magnet hole
- Glue spacers in place and insert the magnet, keeping track that the magnet polarity is consistent
- Add a battery operated LED strip or fairy lights, I used these fairy lights I had on hand from Amazon. I have used these on previous cruises and they generally last all day
Filaments:
- Bambu Basic PLA - Black
- Bambu Basic PLA - Jade White
- Bambu Basic PLA - Red (Bambu Maroon Red I think is better, I just need to order more)
- Bambu Basic PLA - Yellow (Bambu Sunflower Yellow I think is better, I just need to order more)
- OPTIONAL: Bambu Basic PLA - Cobalt Blue for the logo swoops on the funnel if you can print more than 4 colours
Boost Me (for free)
If you like my model, please consider boosting. Thank you!
License

You shall not share, sub-license, sell, rent, host, transfer, or distribute in any way the digital or 3D printed versions of this object, nor any other derivative work of this object in its digital or physical format (including - but not limited to - remixes of this object, and hosting on other digital platforms). The objects may not be used without permission in any way whatsoever in which you charge money, or collect fees.


Comment & Rating (133)