
Snapmaker U1 Feeder Relocation – Rear Position
Print Profile(1)
Description
Could someone please post the exact height of a prefeeder (housing only, without the PTFE retaining ring) in the comments when they get a chance?
I'd like to add a requested upside-down version, but I'd rather not pull my printer out of the cabinet just to take the measurement.
BTW, I can't reply to some comments because those users have their settings configured to only allow messages from Level 7 and above. As far as I can tell, that seems to be the default setting on MakerWorld.
***
UPDATE 10.04.2026
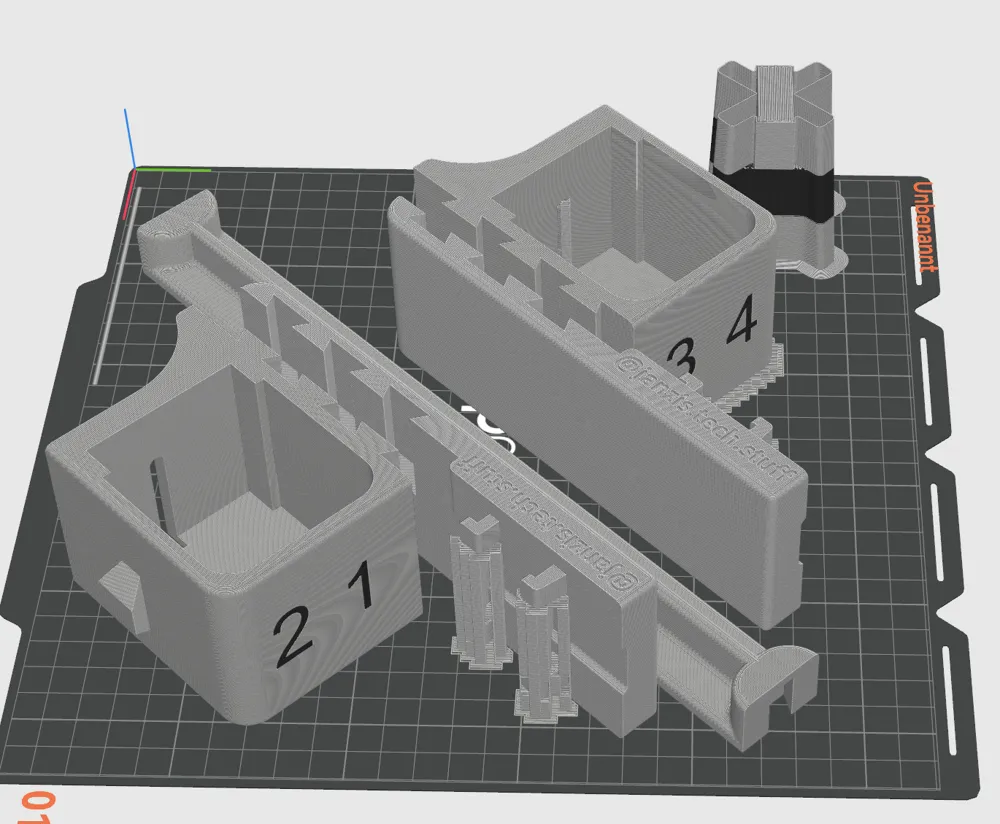
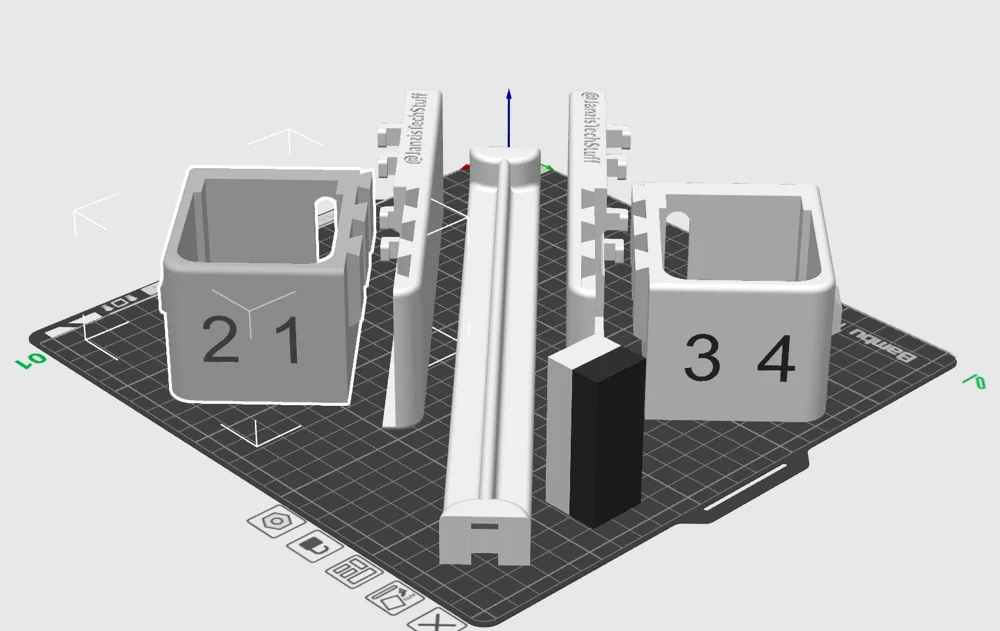
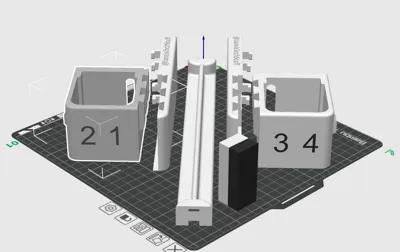
I have replaced the profiles with ones containing four build plates. The following versions are included:
V1.0 - classic version with feeder holders that fit snugly to the housing curves, PC4-M6
V1.1 - classic version with feeder holders that fit snugly to the housing curves, PC4-M10
V2.0 - version with flat contact surface and larger channels for extensions, PC4-M6
V2.1 - version with lflat contact surface and larger channels for extensions, PC4-M10
Since some users have reported that the filament cannot be fed all the way to the prefeeder and tends to jam when using PC4-M6 fittings, I recommend printing one of the PC4-M10 versions. With these connectors, the tubes can be guided through the fitting all the way to the prefeeder.
Let me know if, against expectations, anything does not fit properly.
Overall, I would really appreciate feedback on V2.1. And of course also on the other versions.
Since there also seem to be differences in the prefeder mounting between the crowdfunding and post-crowdfunding versions, I would be grateful if someone could measure the retaining tabs and draw a small sketch and provide it to me. The dimensions of the mounting points to the rear wall are also of interest, as there may have been changes there as well.
***
***
UPDATE 30.03.2026
I have added a V2, which should be both easier to print and easier to assemble. Since my printer is already set up and I don’t have the time to test the new mounts, I would appreciate it if someone who tries them could share their experience and provide pictures.
The mounting points of the dovetail guides are identical to the first version. The feeder holders are compatible with the feeder holder adapters from V1.
***
***
UPDATE:
There are now flat cable extensions available on AliExpress (you will need the one with 15 pins):
https://www.aliexpress.com/item/1005010637306932.html restocked!
https://www.aliexpress.com/item/1005011802248041.html restocked!
This will save you most of the work. However, I haven't personally tested it yet, and I'm not sure if there is enough room for the connectors in the current model or if you can push them into the printer. If you try it, let me know if the adapters need to be adjusted.
***
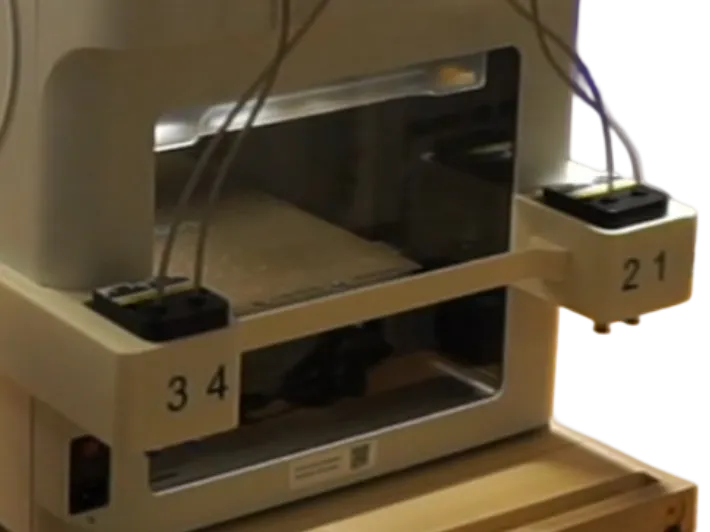
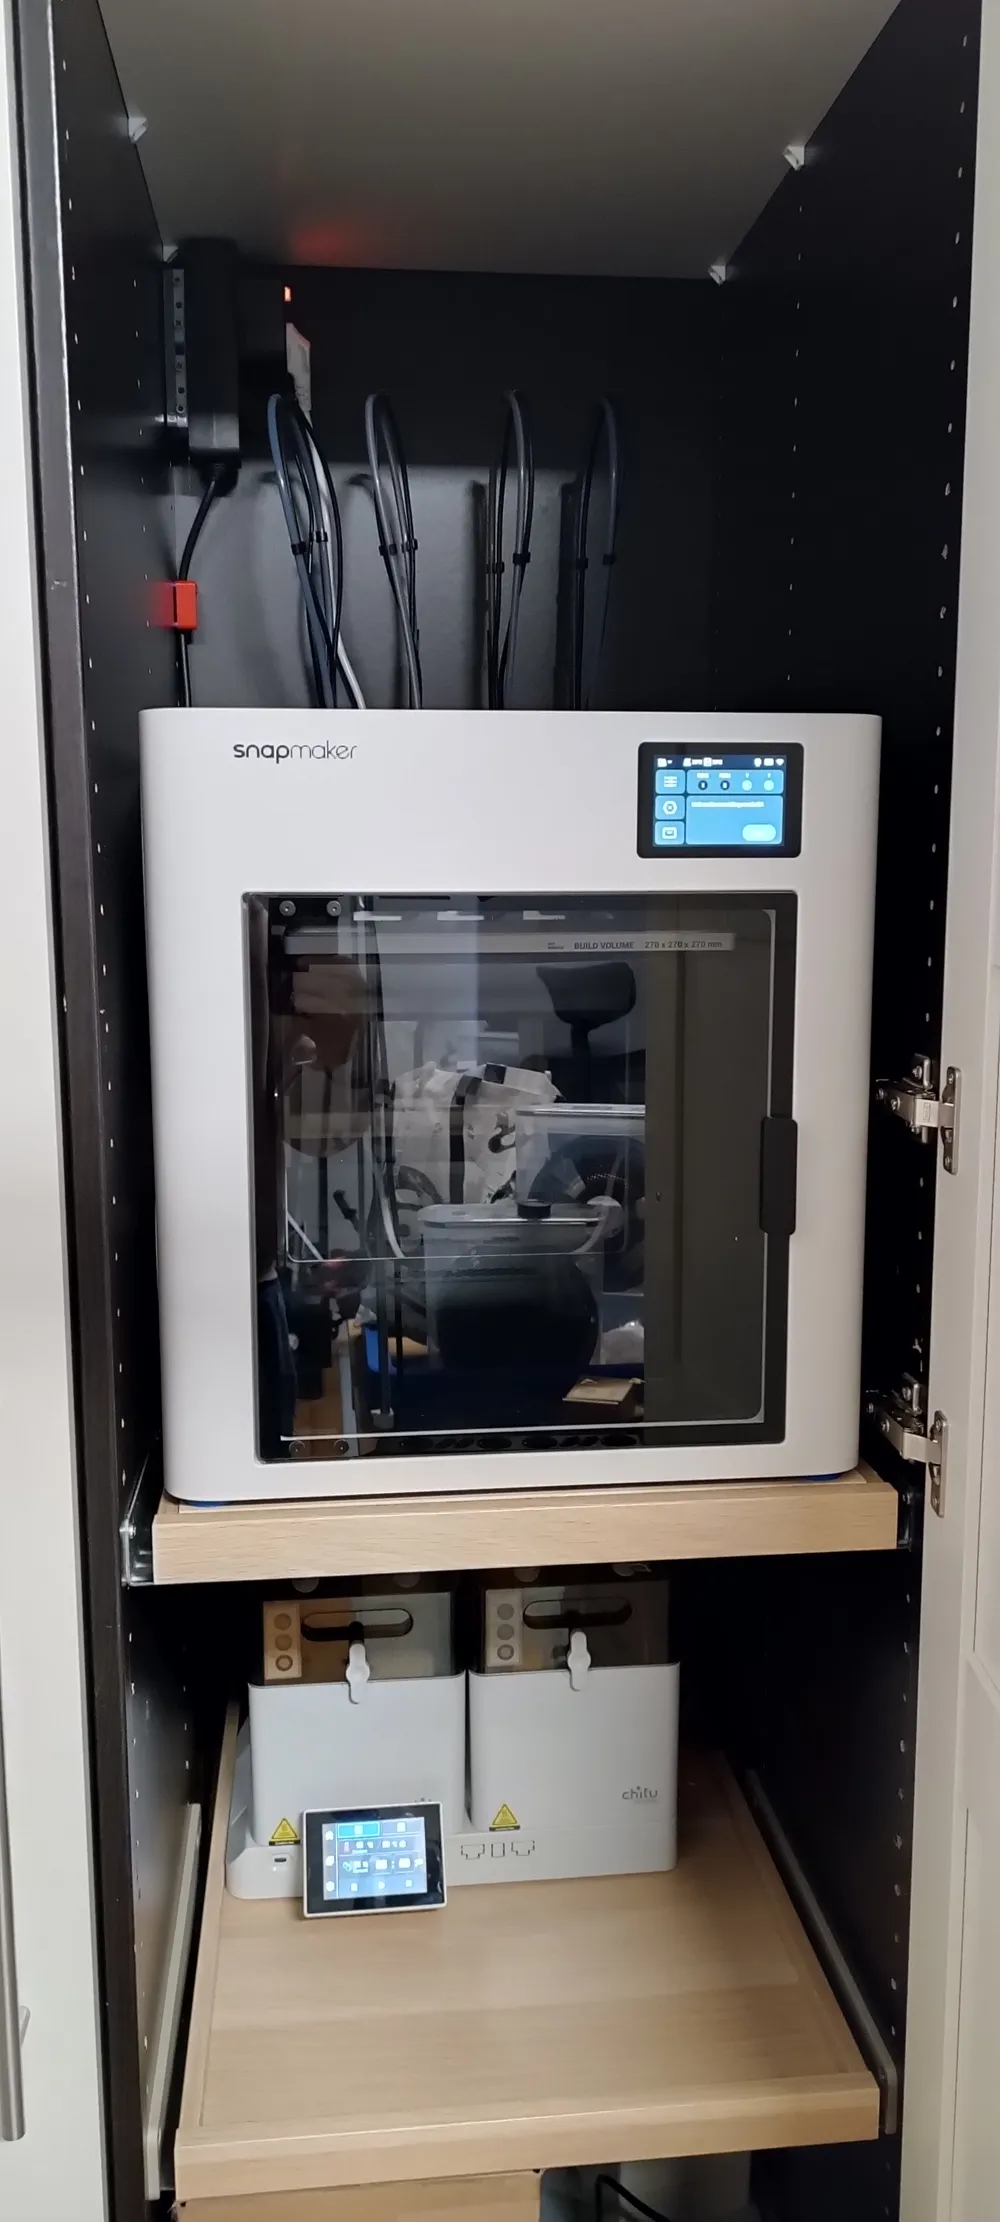
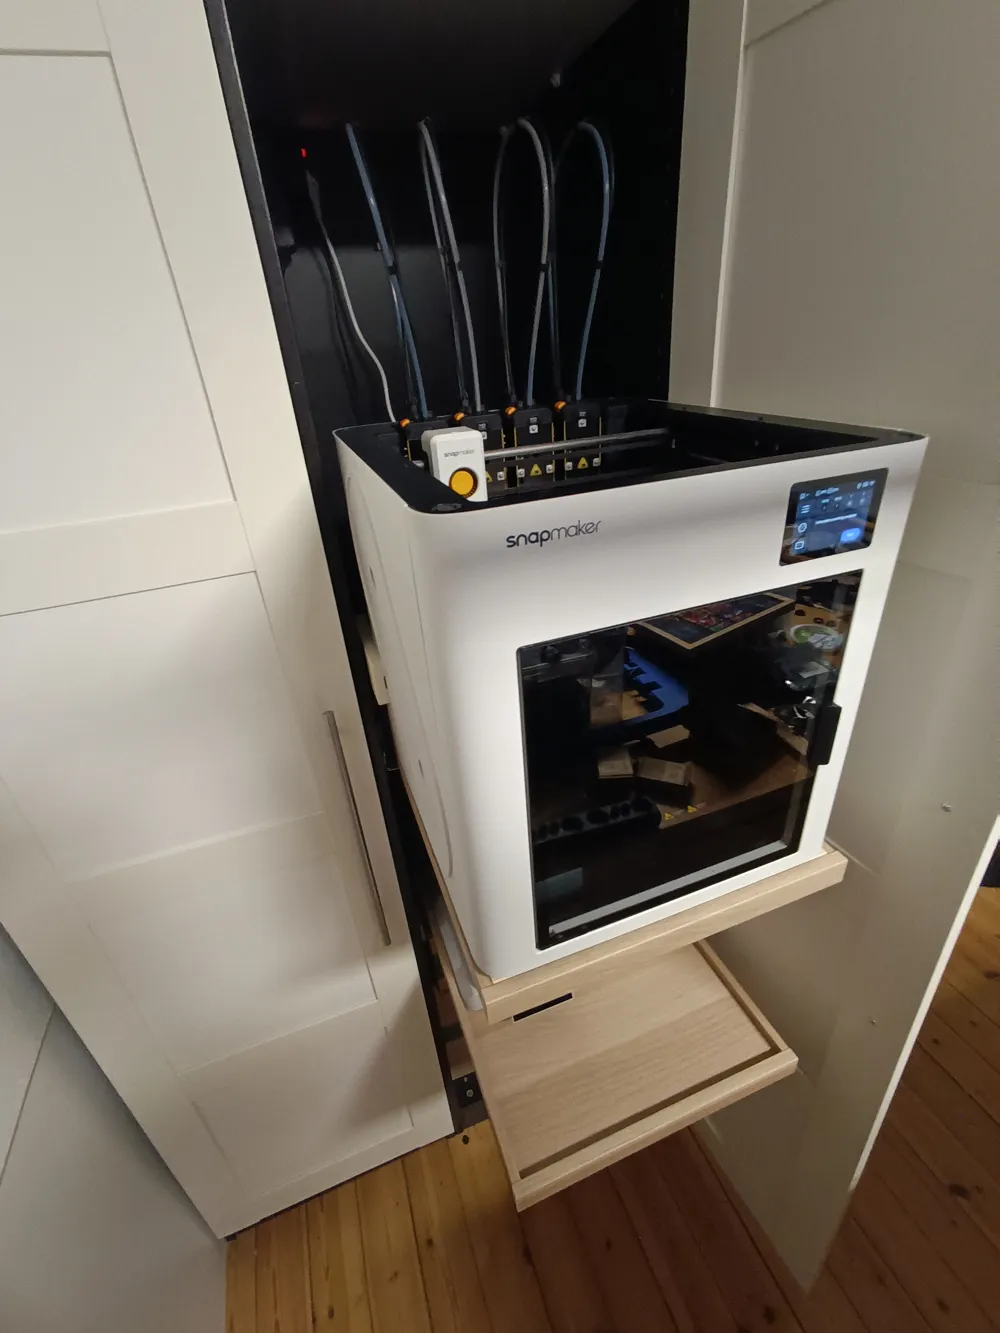
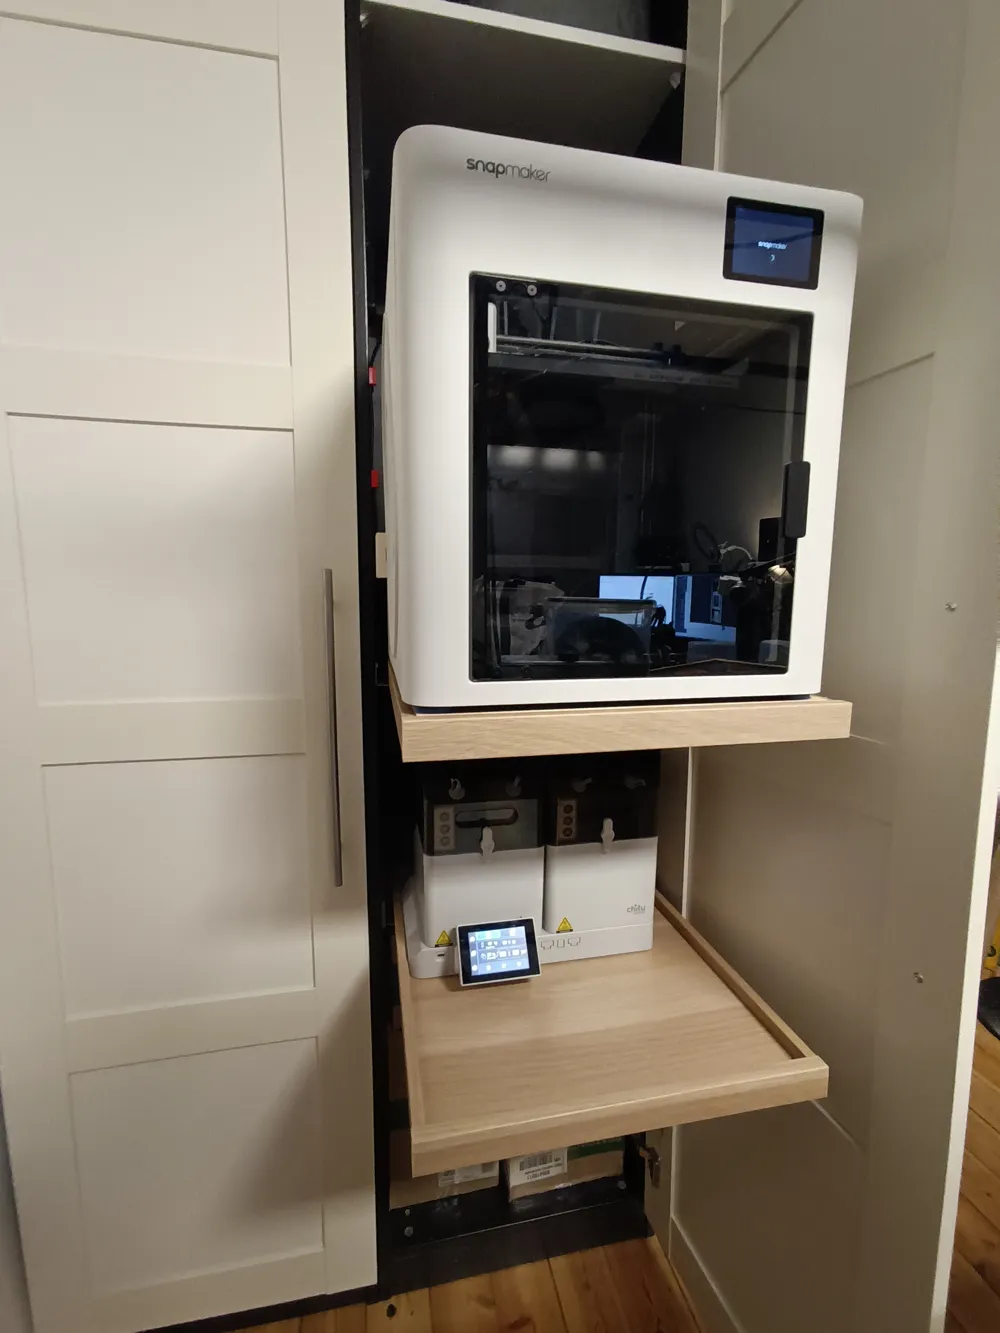
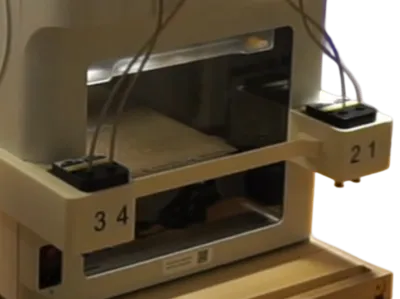
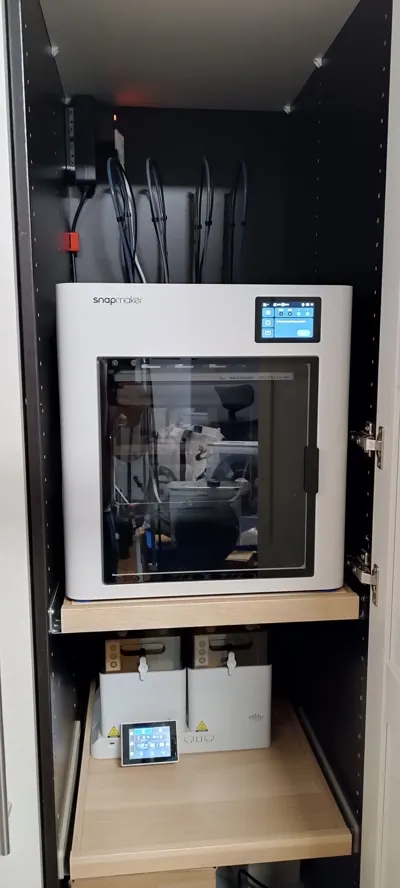
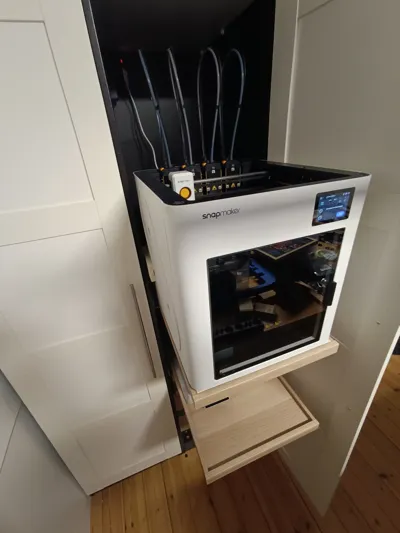
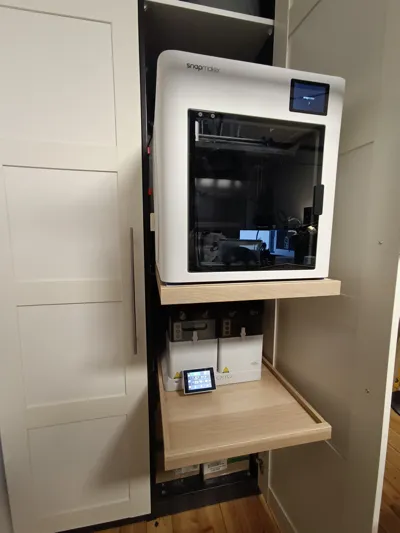
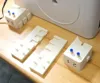
I designed an adapter kit that allows the U1’s feeders to be relocated to the back of the printer. No drilling is required, as the original mounting points of the feeders are used for attachment.
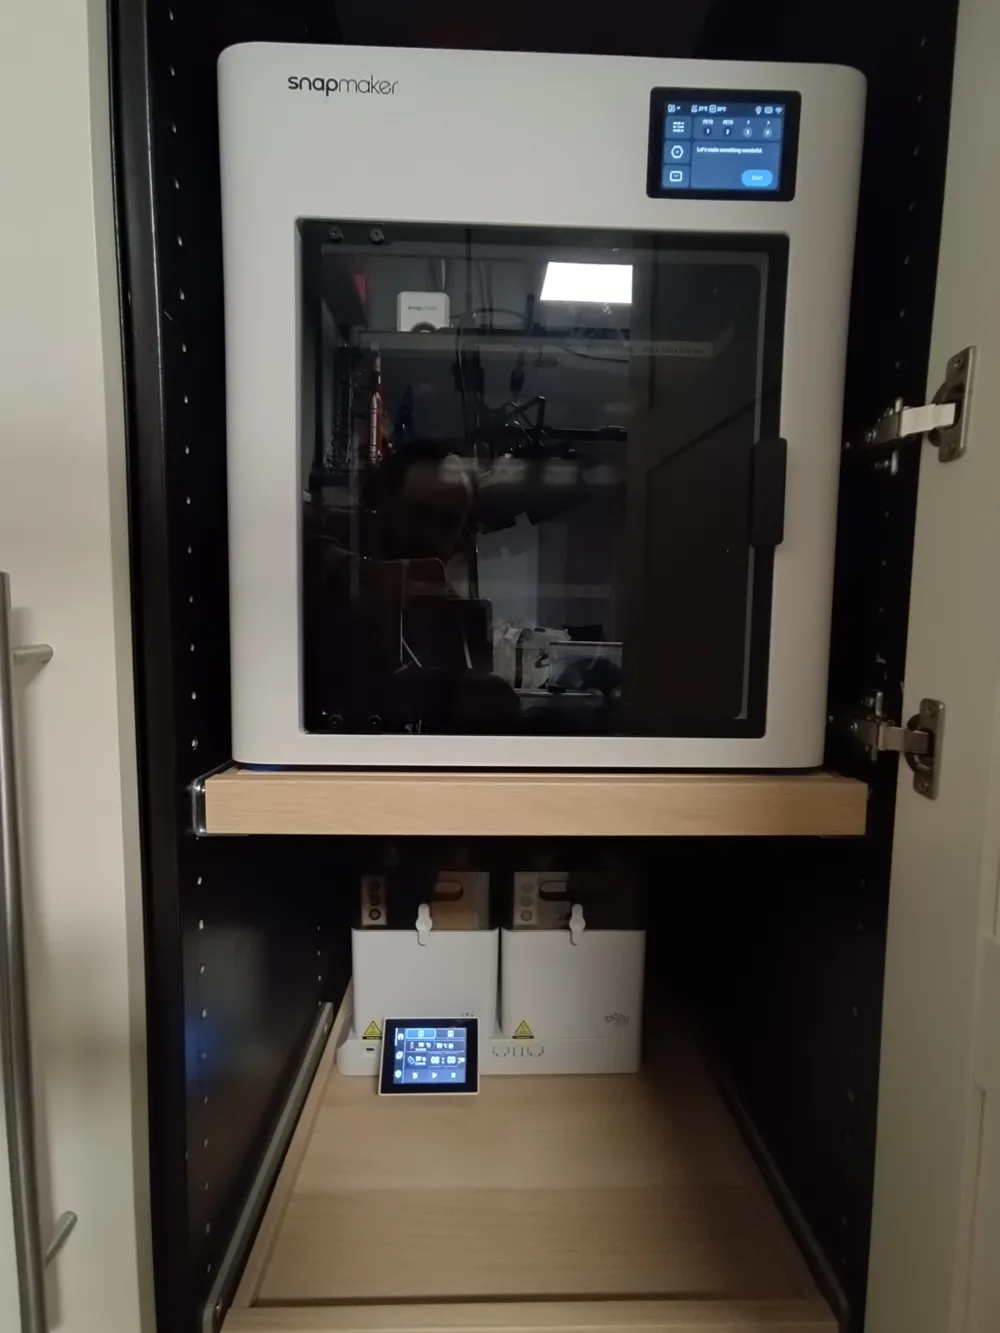
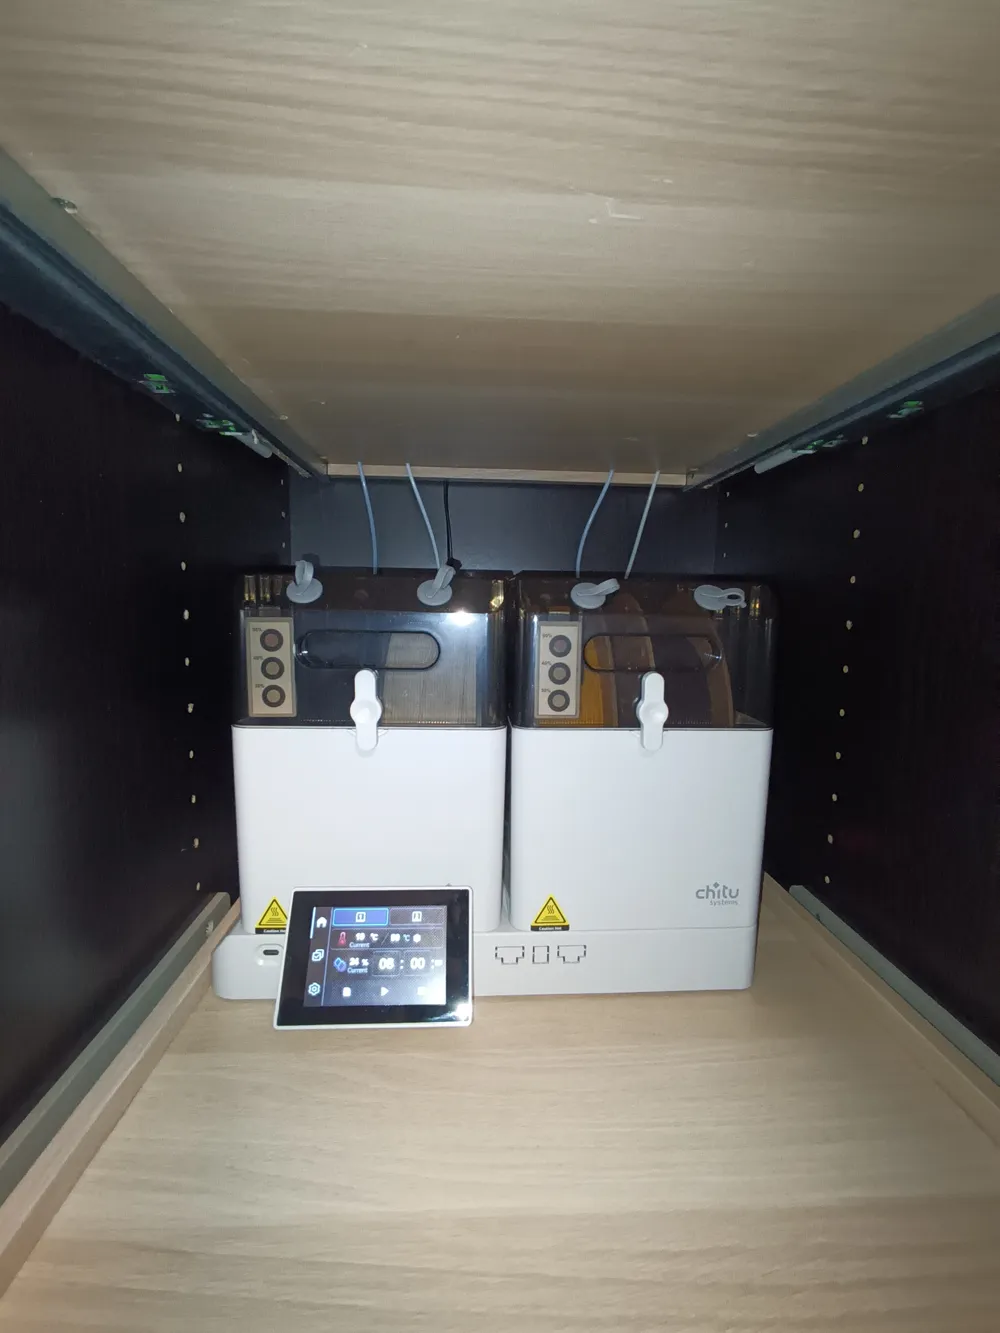
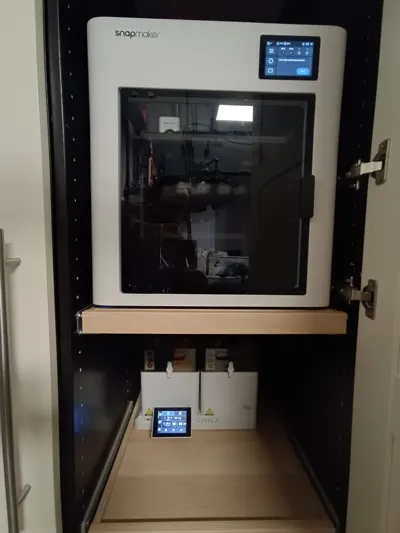
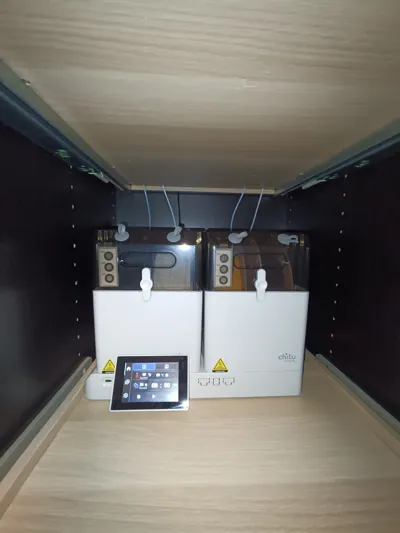
This makes it possible to install the printer in a 50 cm PAX cabinet from IKEA or other cabinets of similar dimensions. I use a pull-out shelf for the printer and another pull-out shelf underneath for a Chitu E1 filament dryer, which supplies the filament.
The ribbon cables for the feeders need to be rerouted so that their length is sufficient for the modification. For this, the side panels must be removed. Additionally, a configuration adjustment in Klipper is required to account for the shortened feed path (approximately 150 mm).
For these adjustments, I use the custom firmware from paxx12. Download the latest release file (U1_extended_...bin), copy it to a FAT32-formatted USB drive, and connect it to the printer. Then navigate on the touchscreen to Settings → About → Firmware → Local Update and select the file.
The update process takes a few minutes, and the printer will restart afterward. Check the IP address under Wi-Fi or LAN mode and use it to connect to Klipper (Fluidd) through your browser.
In the interface, switch to the Config menu. Then navigate to the subfolder extended/Klipper. At this location, create a new .cfg file. I named it feeders.cfg. Add the following lines to this document:
[filament_feed left]
preload_length: 800
[filament_feed right]
preload_length: 800
The original settings will now be overridden with these values. The original values are 950.
Now regarding the models:
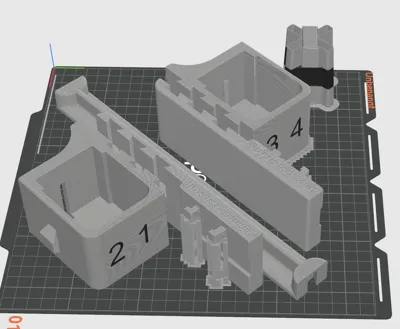
I highly recommend using the file OrcaSlicer_Snapmaker U1 Feeder Relocation – Rear Position.3mf. Open the dropdown menu in the download section and select Download STL/CAD. Contrary to what one might expect, the 3MF for OrcaSlicer is found there. For direct download, Makerworld only allows Bambu 3MF files.
I have also included the OBJ files. However, in that case, you will need to configure supports, wall thickness, and orientation yourself. The dovetail guides work best when printed in a vertical orientation.
The adapters for the side mounts should be printed with at least three wall lines, as the full weight will later hang from the four hooks. I printed all parts with PLA; PETG should work just as well, although I haven’t tested it.
Additionally, you will need four PTFE push-fit connectors with 4–5 mm long M6 threads to complete the assembly.
I uploaded a tutorial on YouTube, in German and English.
German: https://youtu.be/rKON5yg1FRU
English: https://youtu.be/FhLfrULrGfg
Models for Chitu Display Mod:
https://makerworld.com/de/models/2443973-chitu-e1-display-relocation#profileId-2682242
Chitu Tutorial (German):
https://youtu.be/4JsouTocAKw
For some reason, my reply below to the comment about the dryer isn’t visible outside my account.
This is my first upload. I would appreciate a like or boost if my contribution helps. I am also open to suggestions and comments.
Janzi



Comment & Rating (41)