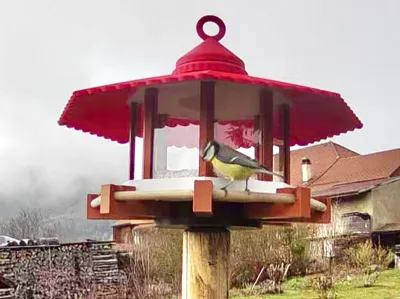
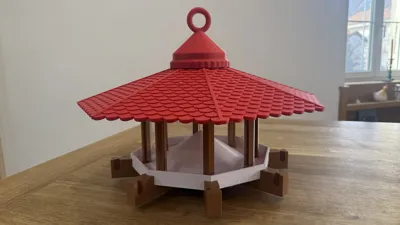
Octagonal Bird Feeder


Print Profile(1)

Description
I redesigned the feeder I had designed:
- correct print profiles
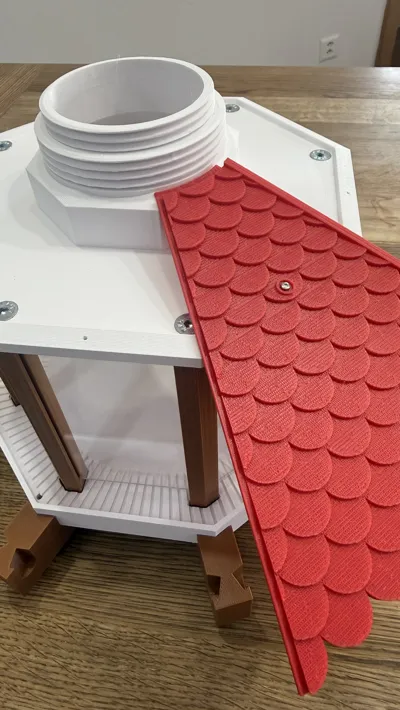
- longer roofs better protecting the food
- stronger screw-based roof assembly, secured by a screwable knob
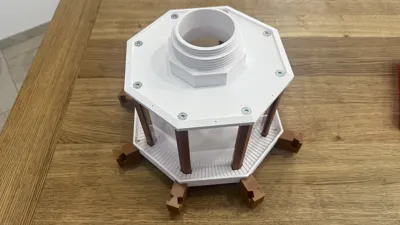
- funnel for filling
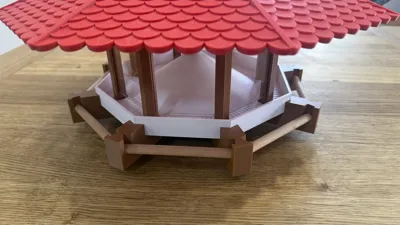
- water drainage holes in the tray, system to keep the grain above moisture
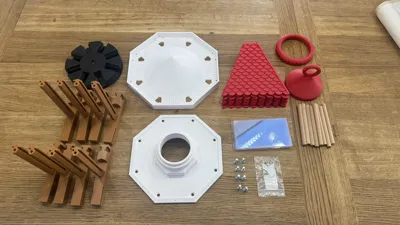
in addition to the printed parts, you will need:
1 stainless steel M10 nut, to be placed in the black base during printing, when the print pauses at layer 122. The part is deliberately placed very close to the front of the build plate to facilitate placing the nut in the central cavity

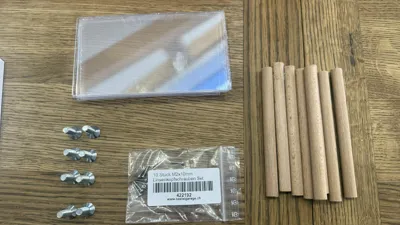
- 8 M6 x 20 mm screws to attach the white cover to the branches
- 8 M2 x 10 mm screws to attach each roof panel to the white cover
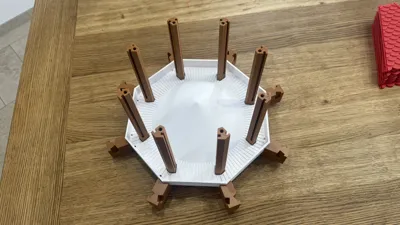
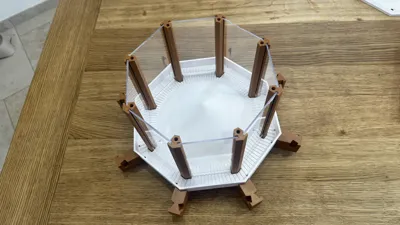
- 8 plexiglass sheets 75 x 135 mm
- 8 wooden dowels, 113 mm long, 10 mm diameter

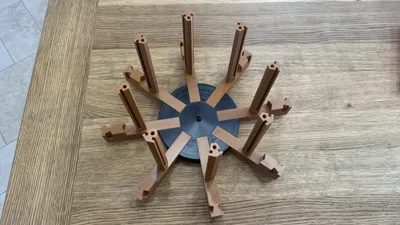
Assembly is extremely simple by following the posted photos
The feeder attaches to a wooden support using a M10 / 80mm double-ended screw

Screw the screw into a wooden support, then present the feeder by inserting the M10 thread into the central hole under the base and screw the feeder onto it
To fill the feeder, unscrew the top cap and position the funnel to facilitate pouring the seeds. Then replace the cap
do not overfill the feeder, change the food often
Attach the feeder at a sufficient height to avoid predators (cats)
Position the feeder in direct proximity to a tree / shrub / bush to allow birds to take refuge at any time
I printed the model in PETG-HF BambuLab
The provided profile manages the presence of supports (plates 4-5-7) and their deactivation on other plates (very important to be able to position the nut on plate 1!)
You need to print plate 7 (roofs) 4 times
License
You may create derivative works based on this object, provided that all such derivative works are published exclusively on the MakerWorld platform and include proper attribution to the original creator. You may not share, upload, host, distribute, or publish this object—or any derivative work of this object—on any other digital platform, marketplace, or distribution channel. Commercial use of this object and any derivative works is strictly prohibited. This includes, but is not limited to, selling, renting, sublicensing, or using the object in any context in which you receive monetary compensation or other financial benefits.
Comment & Rating (2)