
Ultimate Pop Switch Fidget (Print in Place)
Print Profile(5)



Bill of Materials

Description
Check out version 2:
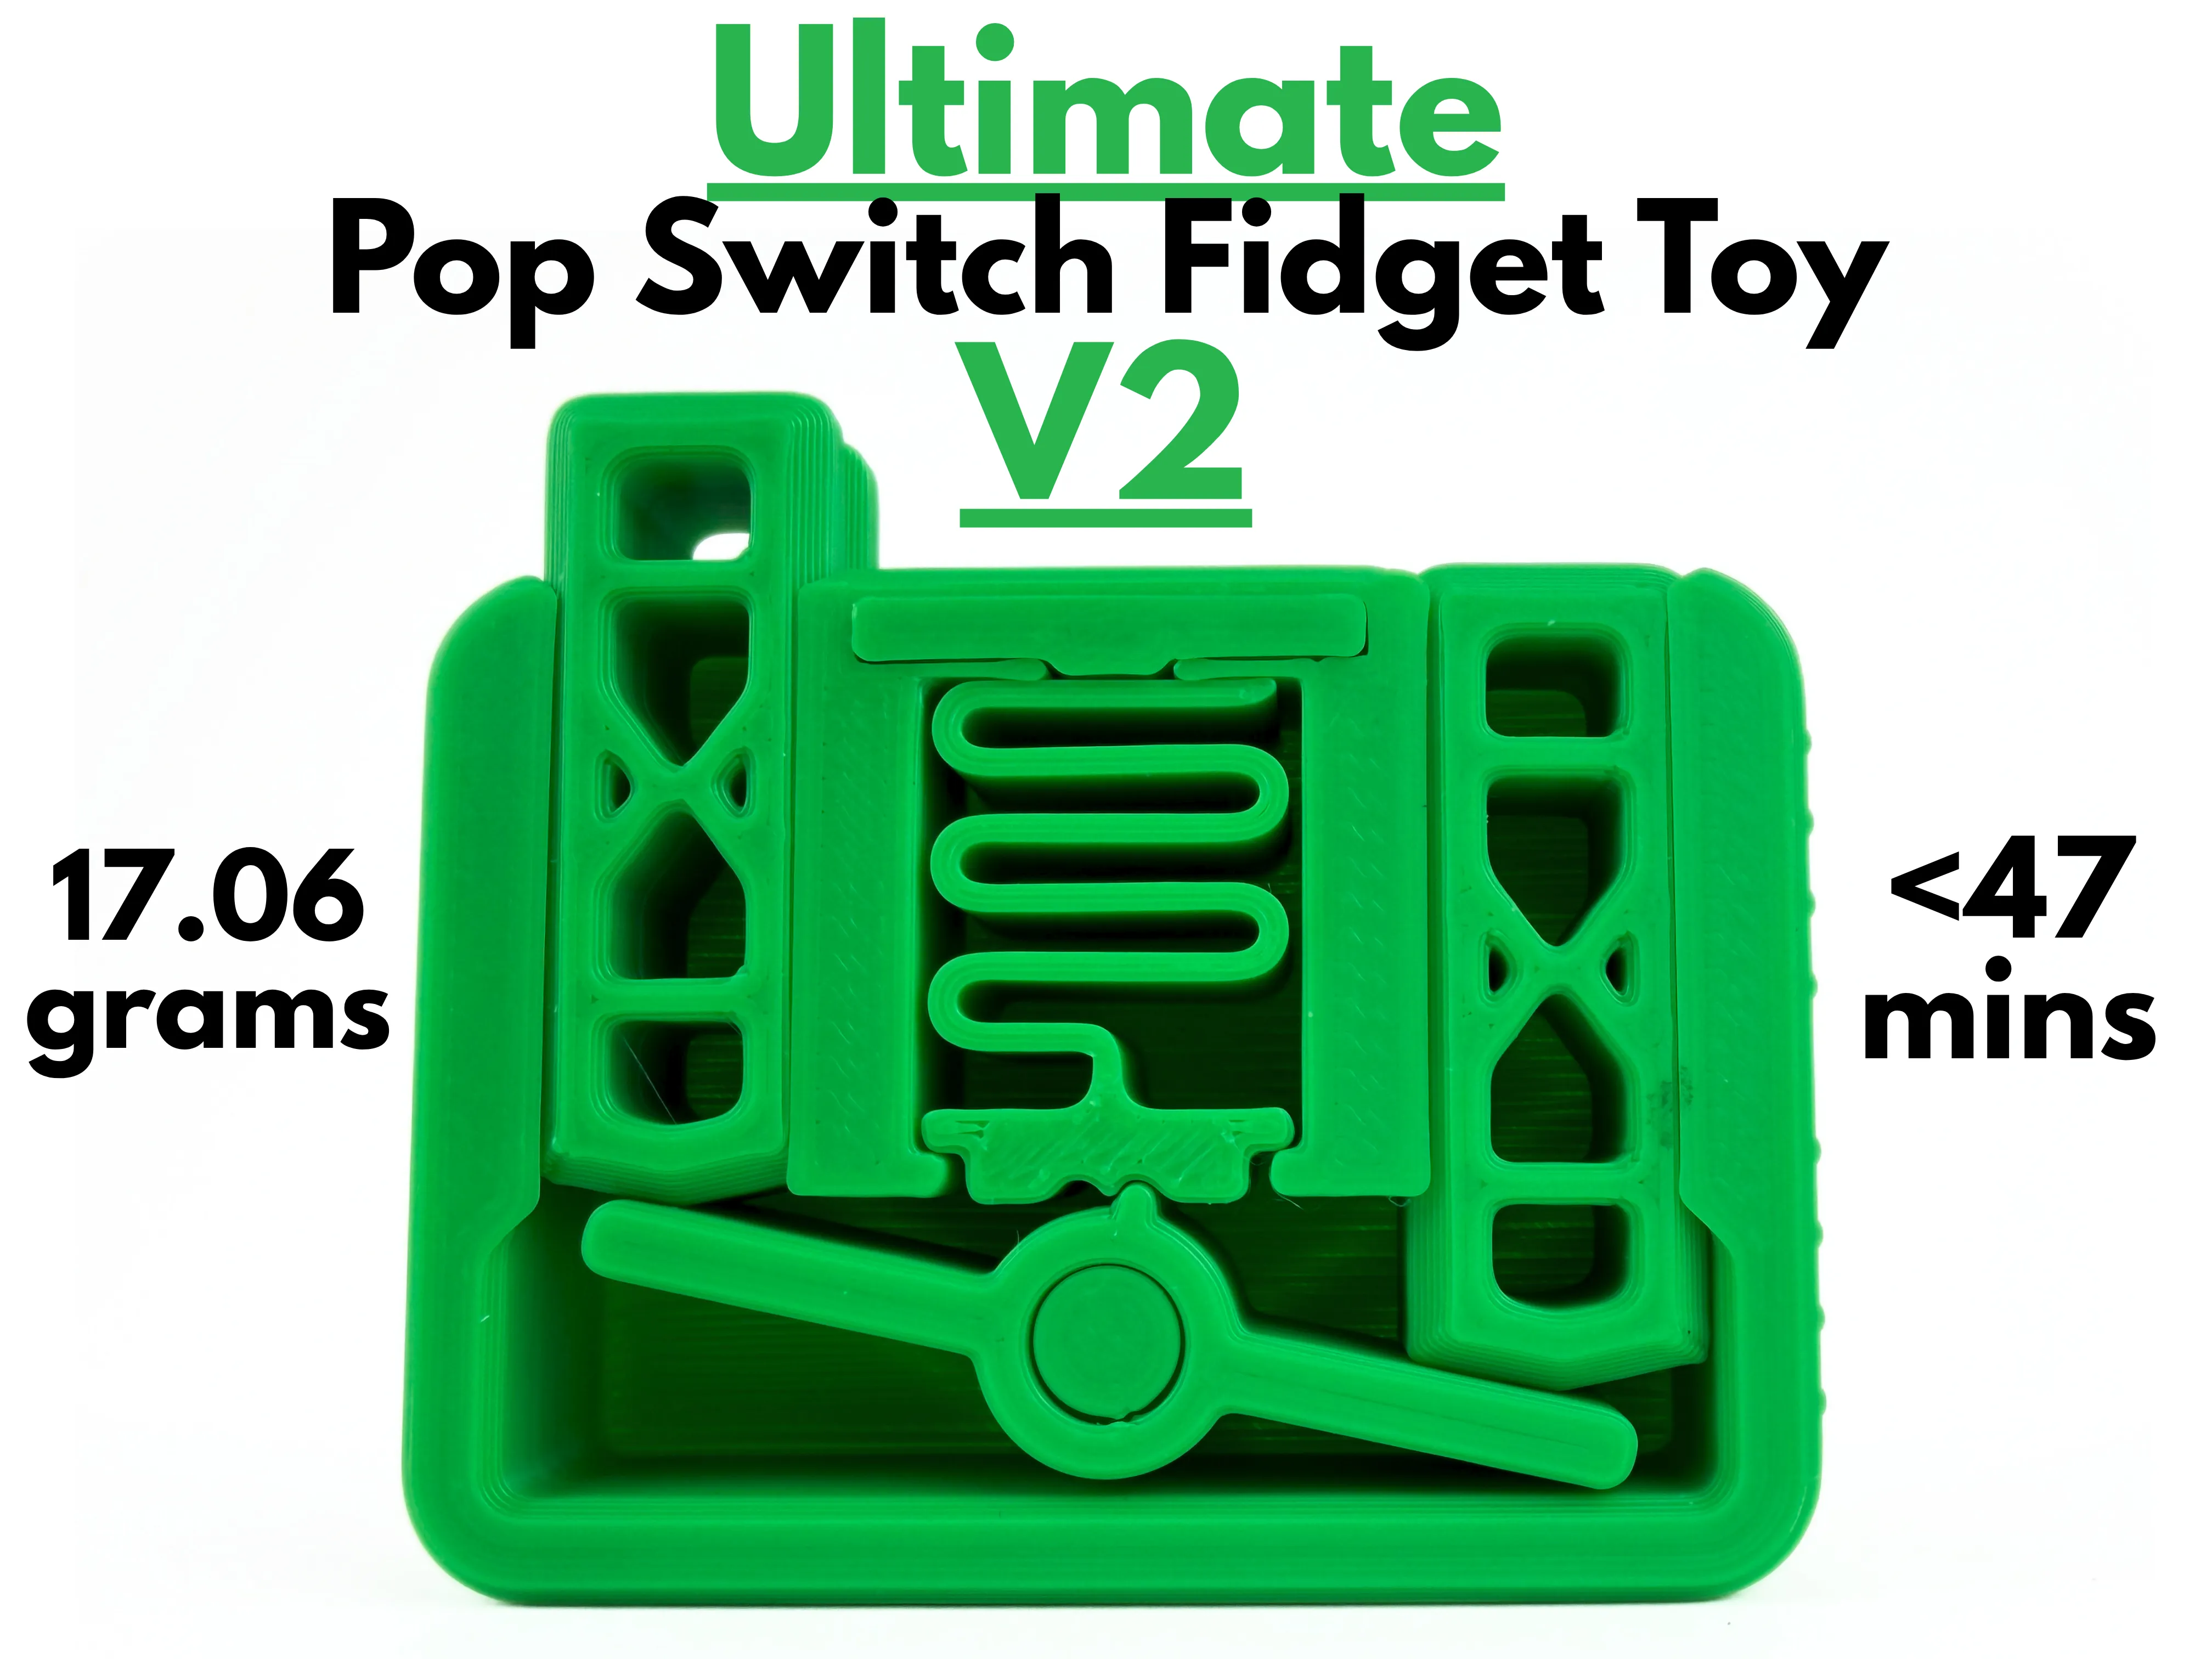
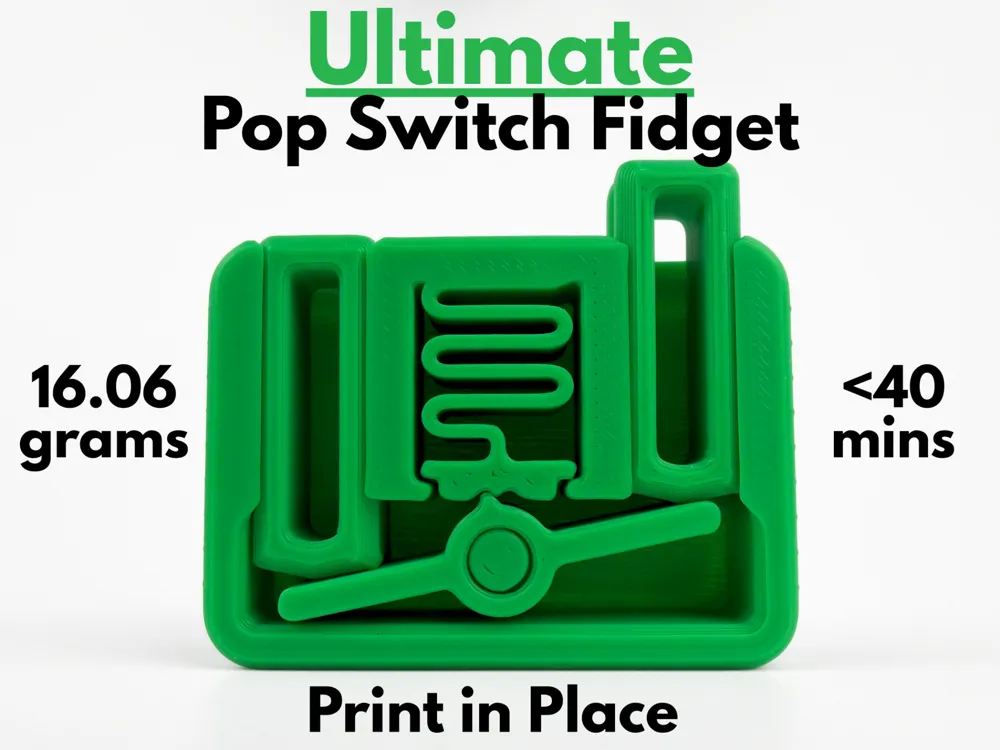
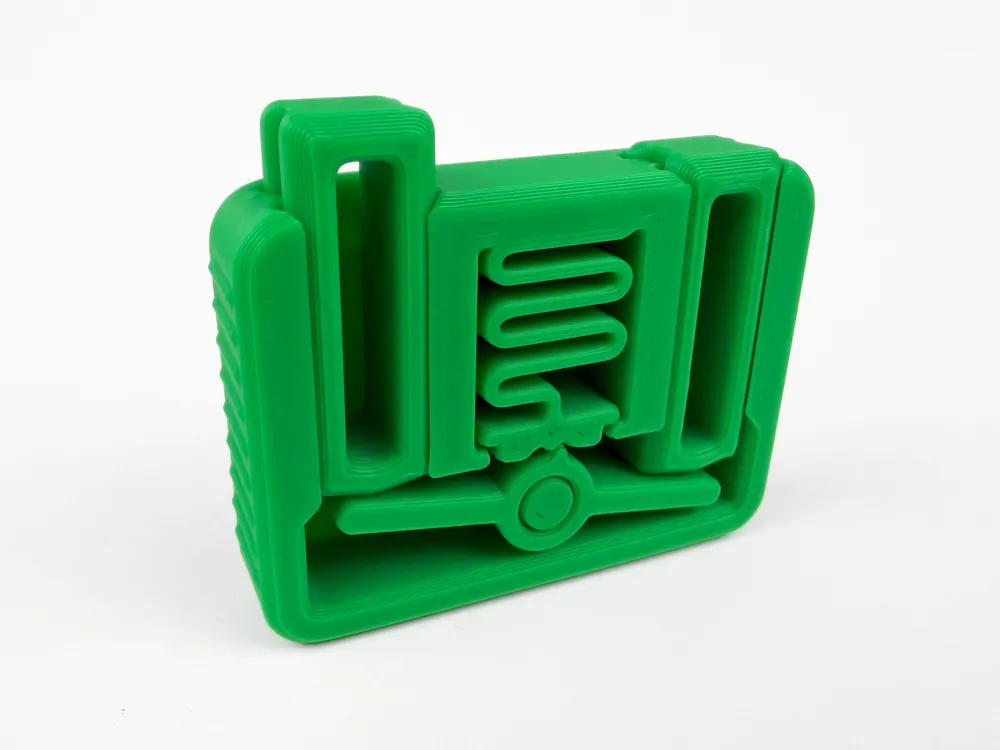
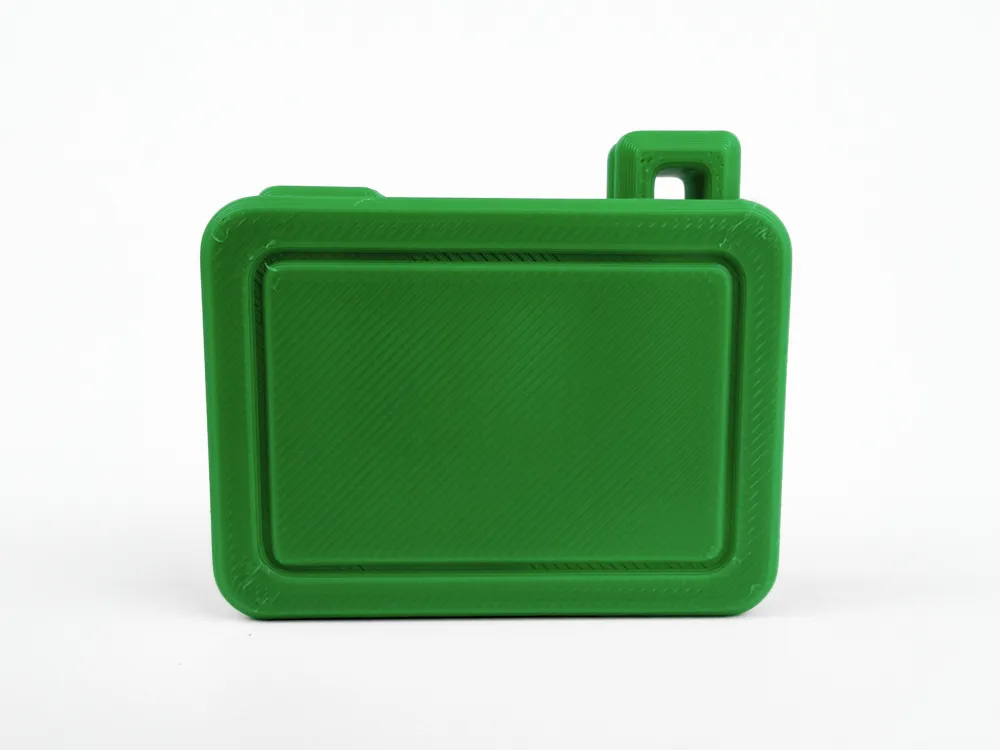
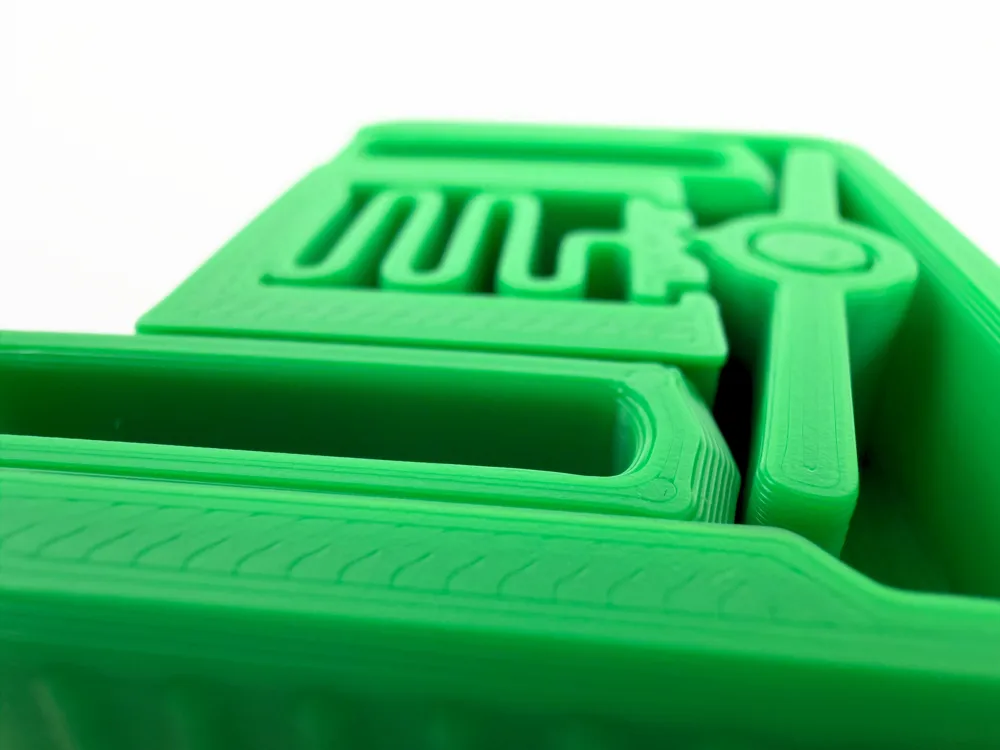
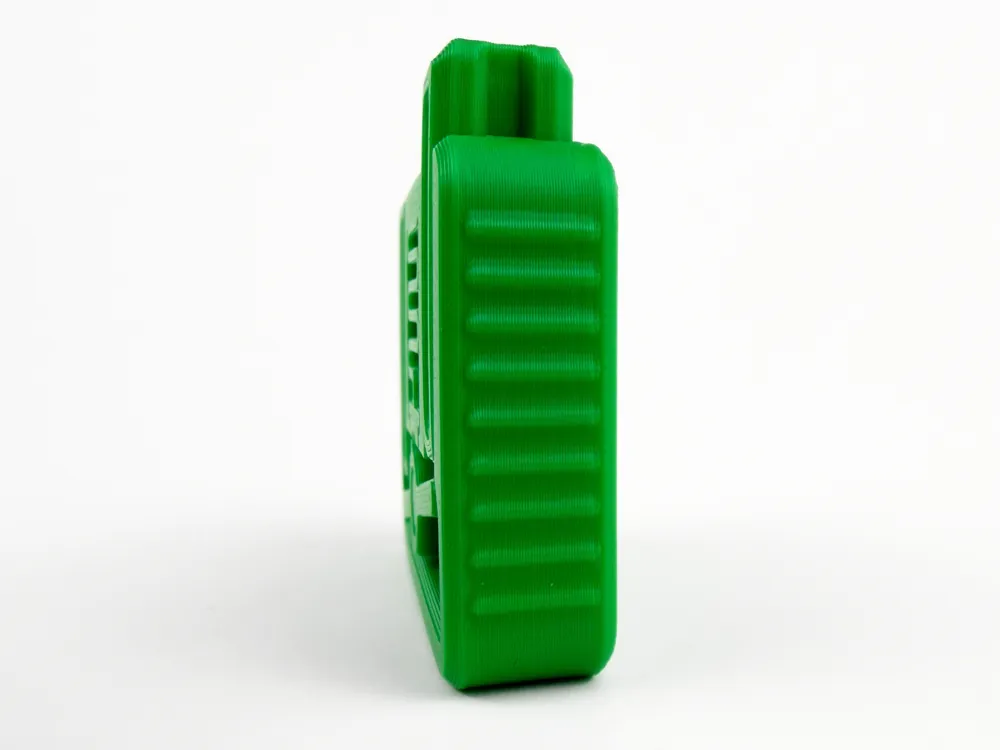
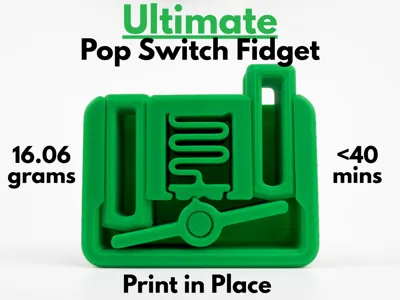
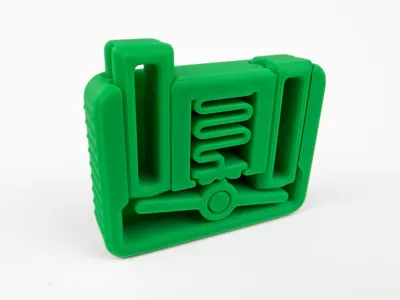
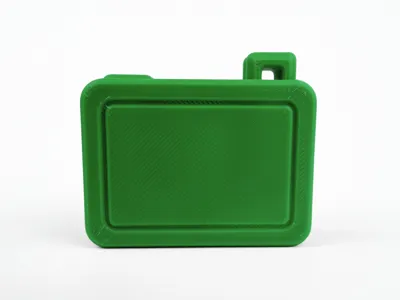
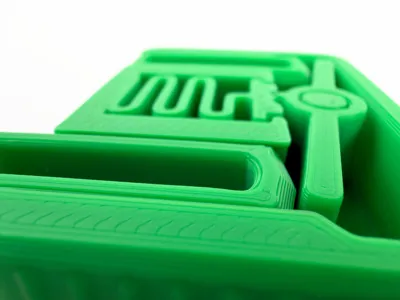
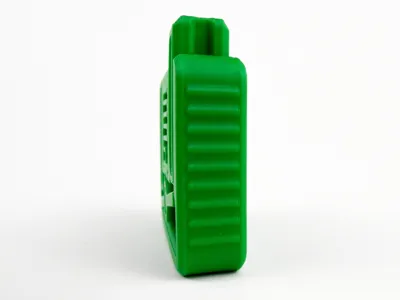
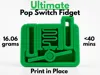
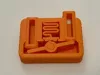
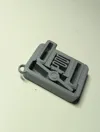
This fun pop switch fidget toy uses carefully designed and tested clearances to ensure a smooth and satisfying ‘pop’ every time. The mechanism works when you push one of the buttons, rotating a lever which compresses and releases a spring—making a clicking noise. The Ultimate Pop Switch Fidget has an aesthetically pleasing, yet minimal design, with textured bumps on the side for grip. I designed this fidget toy to be fully printed in place, meaning that there is no assembly required. You can just pop it off the build plate and start fidgeting! Taking less than 40 minutes and 16.06 grams to print, the Ultimate Pop Switch Fidget might just be the perfect print for anyone who enjoys a good fidget toy.
Boost Me (for free)
If you like this model, please consider boosting it! It helps out a ton :)
Membership
Want to sell my 3D printed fidget toys? Become part of my Commercial License Membership program!
Printing Instructions:
- Prepare the Print Bed
- Clean the print bed thoroughly with isopropyl alcohol to ensure proper adhesion.
- Additional adhesive for the print bed is highly recommended! I suggest using 3D-Lac spray or a glue stick.
- Download the Print Profile
- Send the pre-configured print profile to your Bambu Lab printer through the Bambu Handy app or Download and open the pre-configured print profile in Bambu Studio.
- Send the pre-configured print profile to your Bambu Lab printer through the Bambu Handy app or Download and open the pre-configured print profile in Bambu Studio.
- Select Your Printing Options
- Choose your filament type and color.
- Select your print bed type (e.g., textured or smooth).
- Confirm your printer settings, ideally for a Bambu Lab printer.
- Start Printing
- Begin the print job. No supports are necessary.
License

You shall not share, sub-license, sell, rent, host, transfer, or distribute in any way the digital or 3D printed versions of this object, nor any other derivative work of this object in its digital or physical format (including - but not limited to - remixes of this object, and hosting on other digital platforms). The objects may not be used without permission in any way whatsoever in which you charge money, or collect fees.


Comment & Rating (416)