
Pulsar X2 V2 Fingertip / Zeromouse-like Mod 24g
Print Profile(1)
Description
Hi guys.
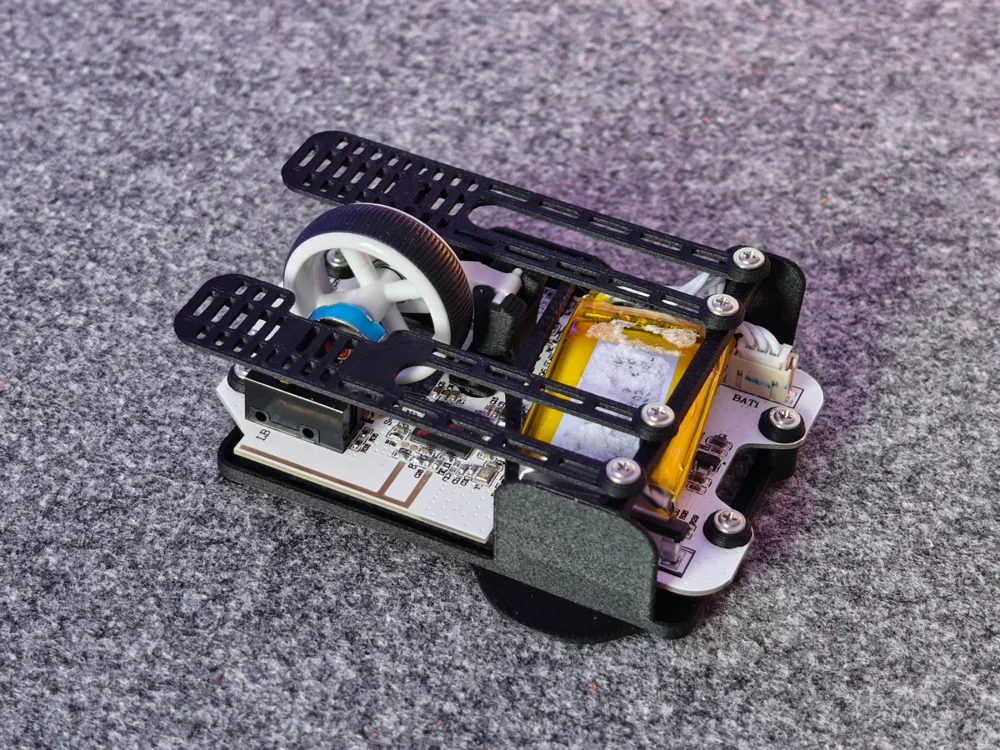
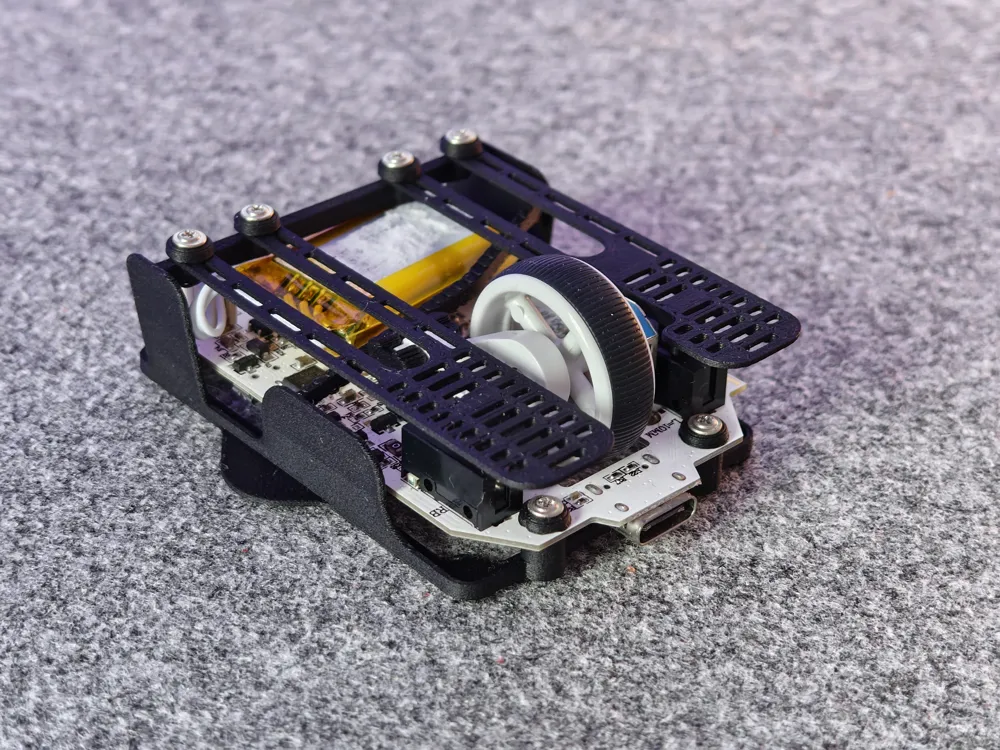
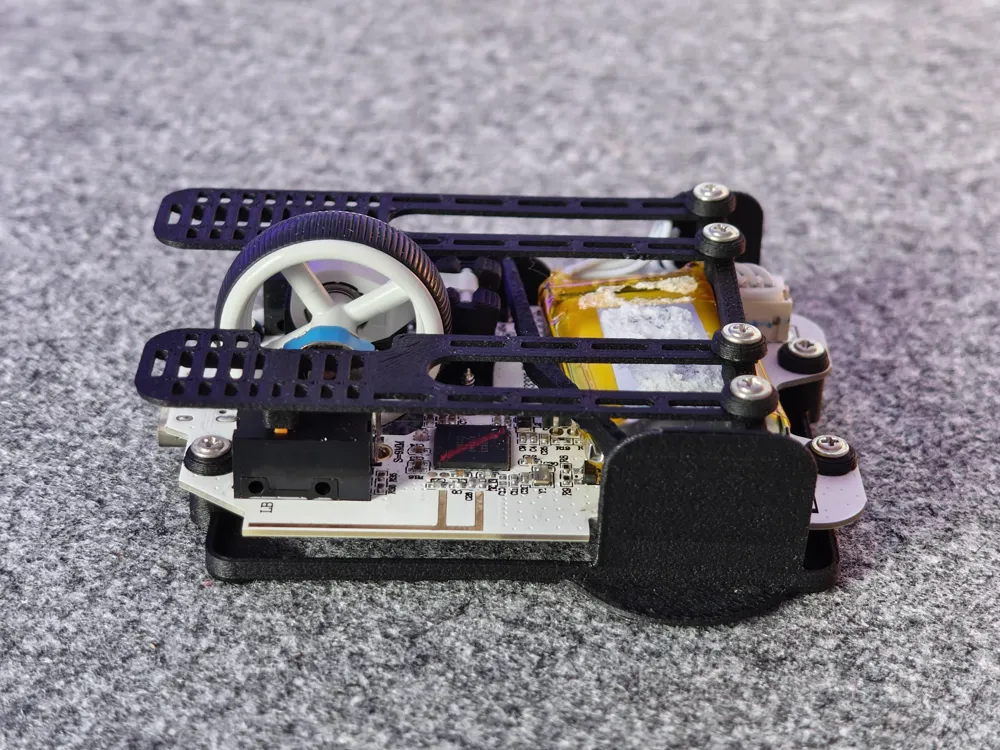
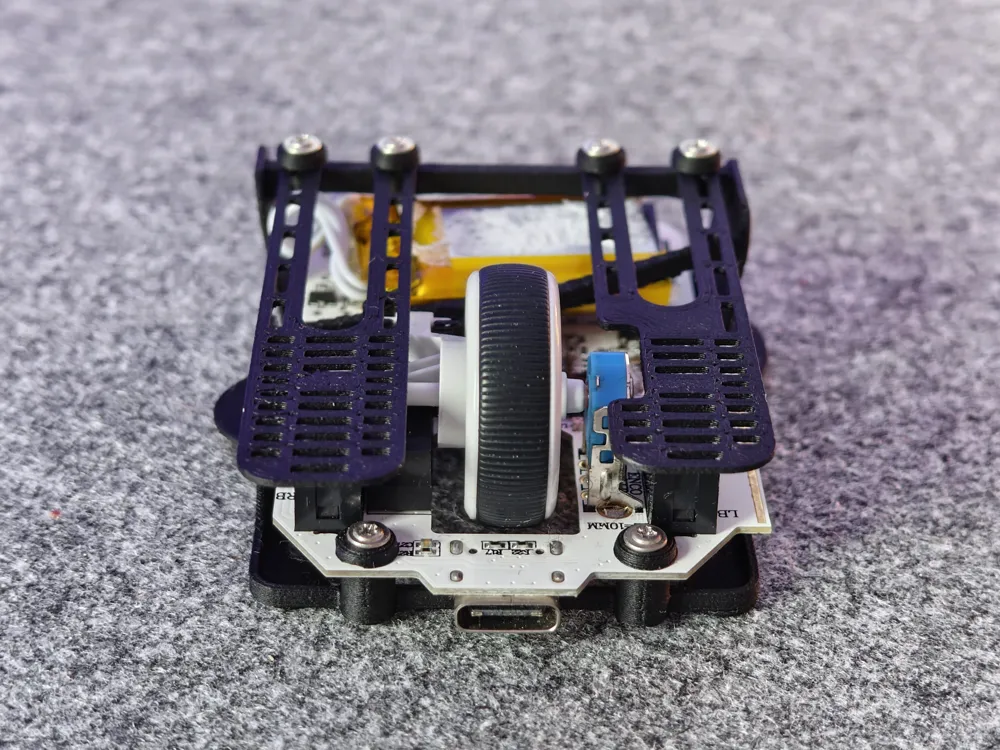
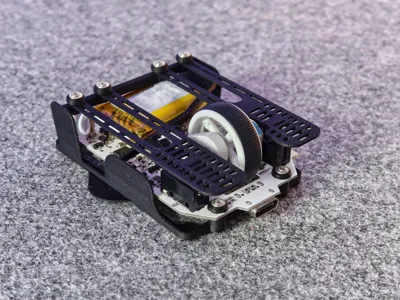
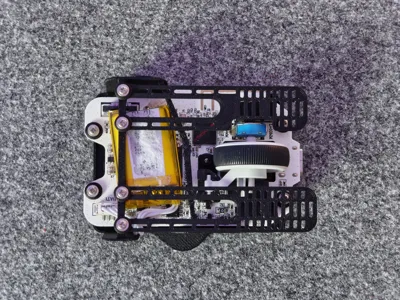
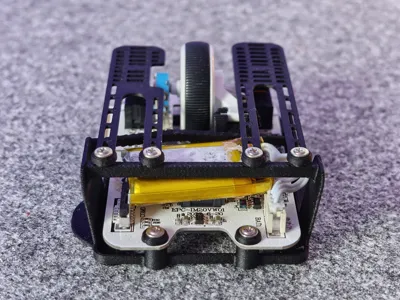
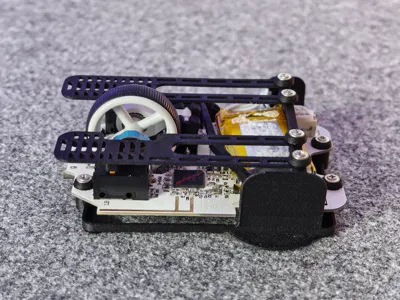
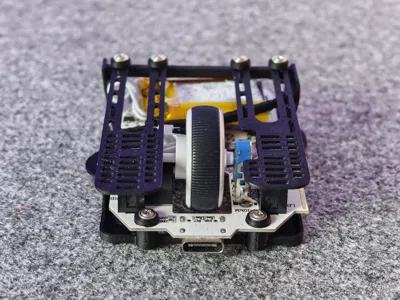
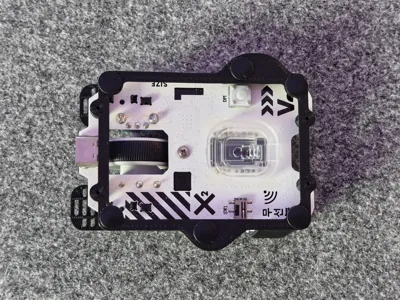
This is my first attempt at transforming my Pulsar X2 V2 into a lightweight fingertip mouse, inspired by Youtuber Optimums Zeromouse.
The weight measures approximately 24g. Around 20 grams comes from the mouse internals alone. The original mouse was around 53 grams.
I didn't include the side buttons because the pcb of those is pretty clunky and i don't want to clip it apart.
The print only includes original parts (8 of the internal screws, all of those except the two on the bottom of the original case are the same).
On thing I changed to other Zeromouse-like designs of was, to move the attachement of the mouseclicks to the back, so that they behave like normal mouseclicks. I figured, that this gives the clicks a far more consistent amount of pressure to activate the switches, no matter where I press the buttons. On other fingertip-mods i really had to watch out, where i put my fingertips on the clicks. My hands are pretty large and I catched myself a few times to often, just gripping the far front edge of the buttons, where clicking is impossible.
I have printed mine out of Bambulab-CF filament. This gives the frame the needed stiffness. I haven't tried other filaments, so your milage may vary. If you have, use the Coolplate Supertack or other smooth build plates to ensure a nice finish on the top of the mouse buttons.
Disassembly
You first need to disassemble your Pulsar X2V2 (mini). Its pretty straight forward and can be done in 5 minutes. Follow the steps the Youtube Video by Mel0nFPS attached below.
Parts
- PCB
- Battery
- Mouse wheel and lever-holder
- 8 internal screws
Assembly
- At first attach the mousewheel-holderto the top of the PCB and screw it in including a washer from the buttom side. The rectangle fits into the rectangular cutout. Then clip in the lever, that holds the mousewheel down.
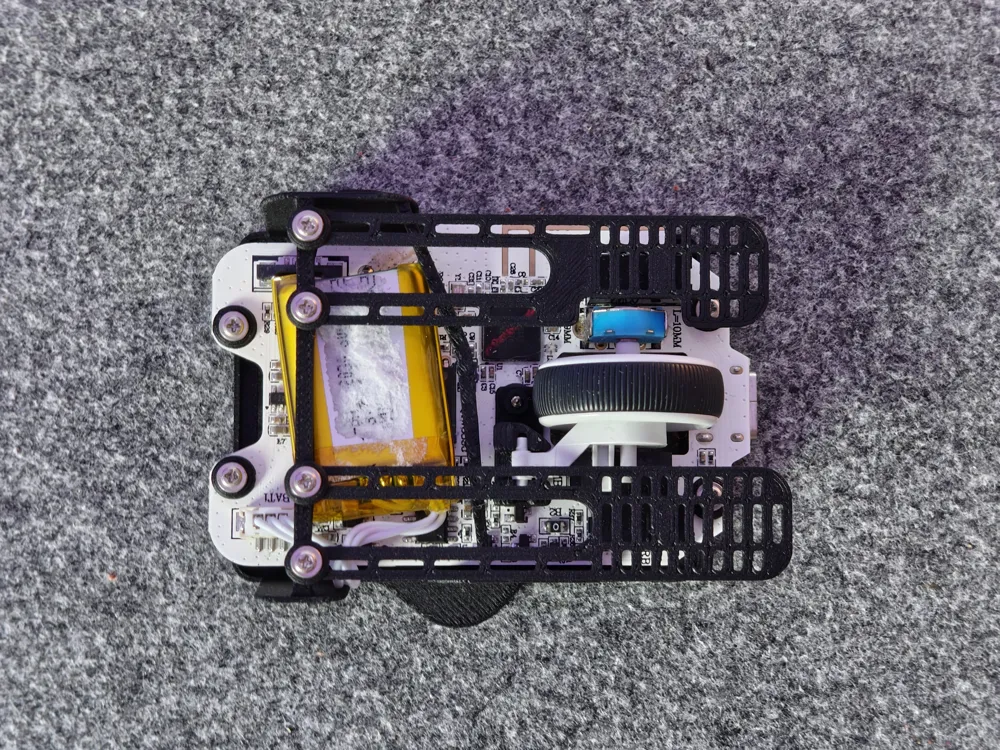
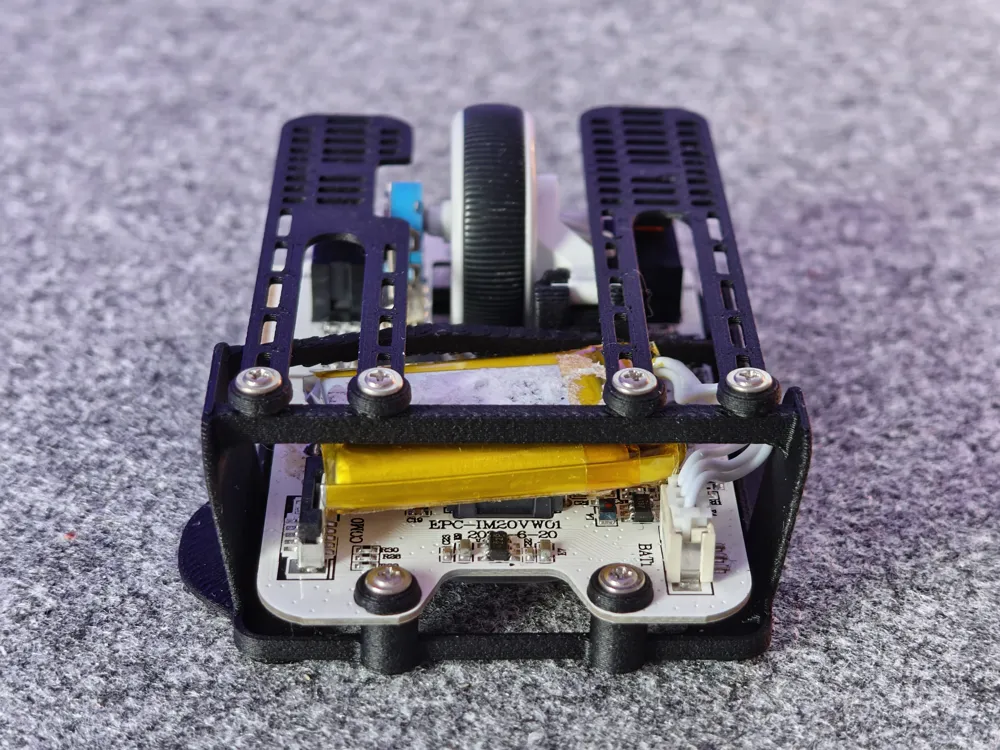
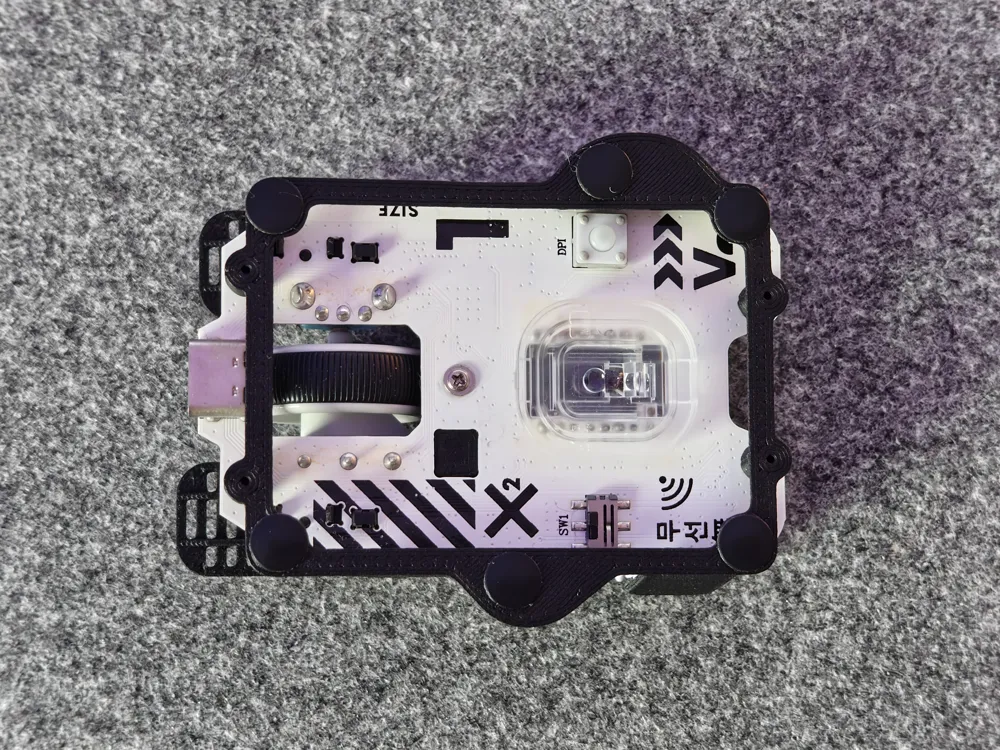
- Put the pcb into the frame from the front and place it on the 4 standoffs. Screw it in with 4 screws and 4 washers.
- Put in the battery. I figured to attach it sideways on the sensor and secure it with some double sided tape.
- Attach the fingertips. The smaller one with the cutout is for the left, the longer one for the right. Use 4 screws WITH 4 washers to avoid the screws from puncturing the battery below.
- Use Dot skates with a diameter of up to 7mm.
License

You shall not share, sub-license, sell, rent, host, transfer, or distribute in any way the digital or 3D printed versions of this object, nor any other derivative work of this object in its digital or physical format (including - but not limited to - remixes of this object, and hosting on other digital platforms). The objects may not be used without permission in any way whatsoever in which you charge money, or collect fees.


Comment & Rating (5)