
Exhaust System Window Filler V2
Print Profile(4)



Description
3/21/26🔧 New Update Available
Fully parametric version available, you can now customize the window filler to your specific window.
- Adjustable height
- Adjustable window channel width
- Adjustable channel height
- The full width of the part remains unchangeable since this need to stay at the set value.
- V1 and V2 versions are both available.
- Window Filler Parametric
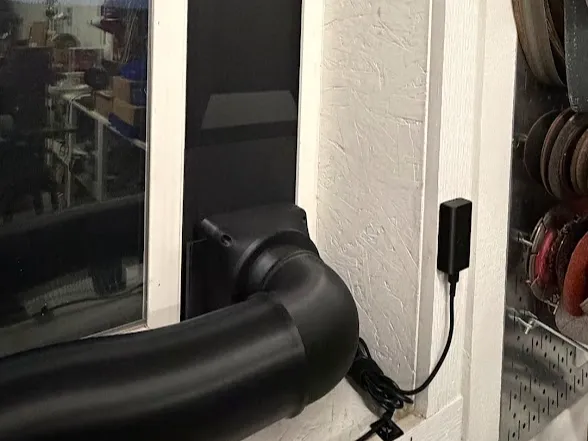
Window Filler – V2 (Revised Design)
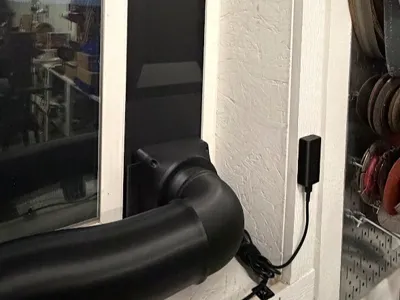
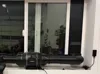
This is a revised version of my original window filler model, updated specifically to support higher airflow applications and laser use.
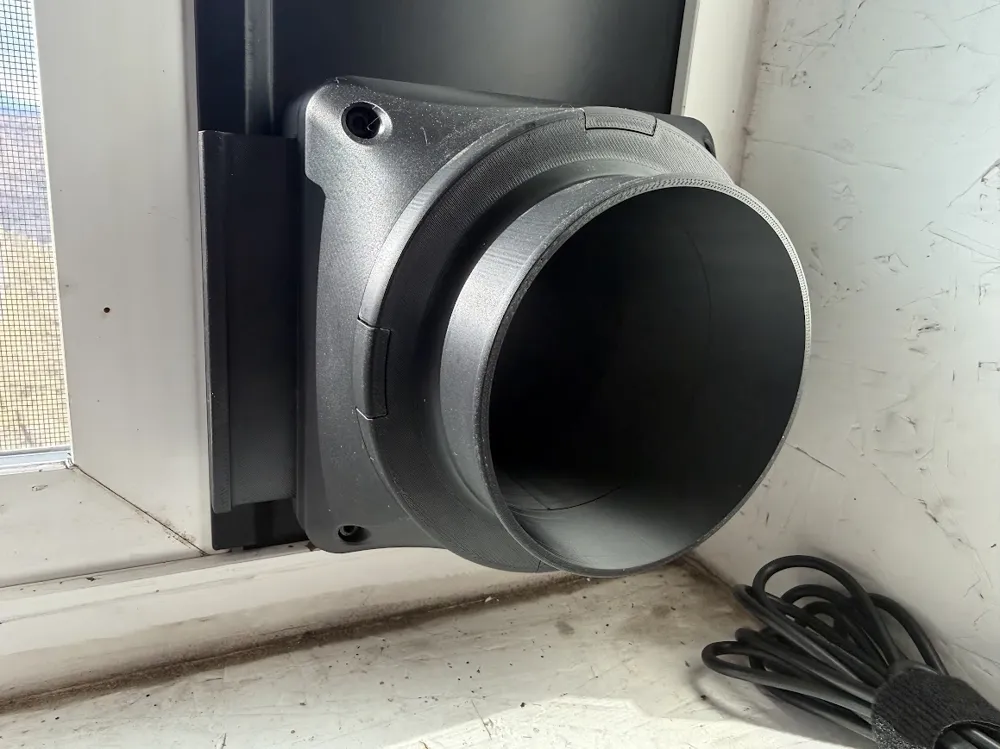
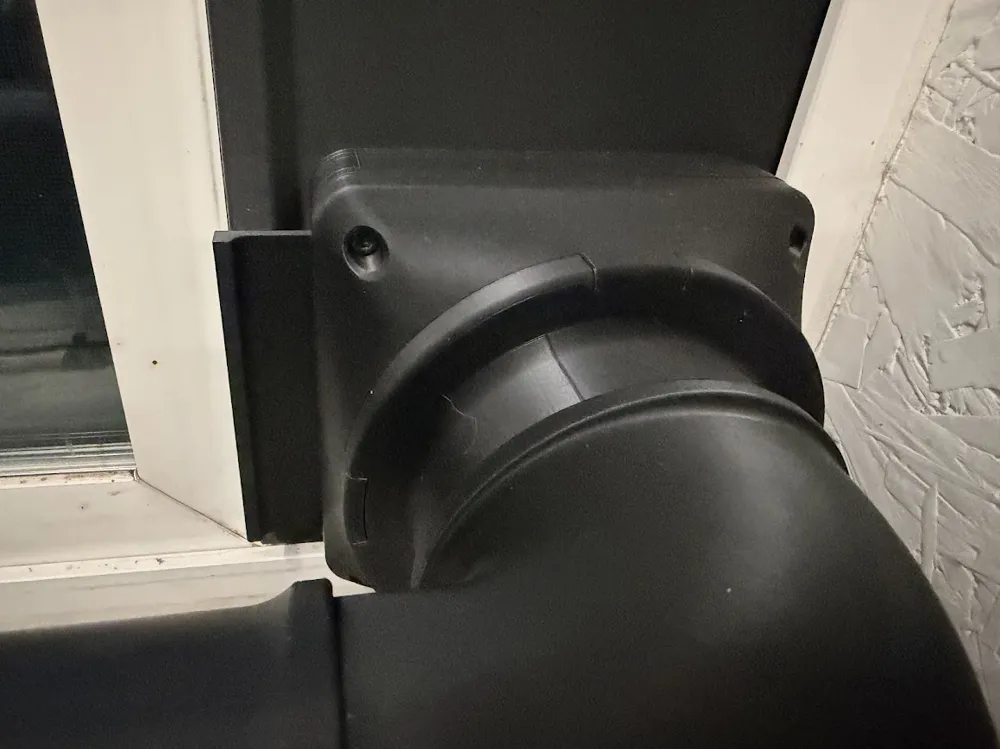
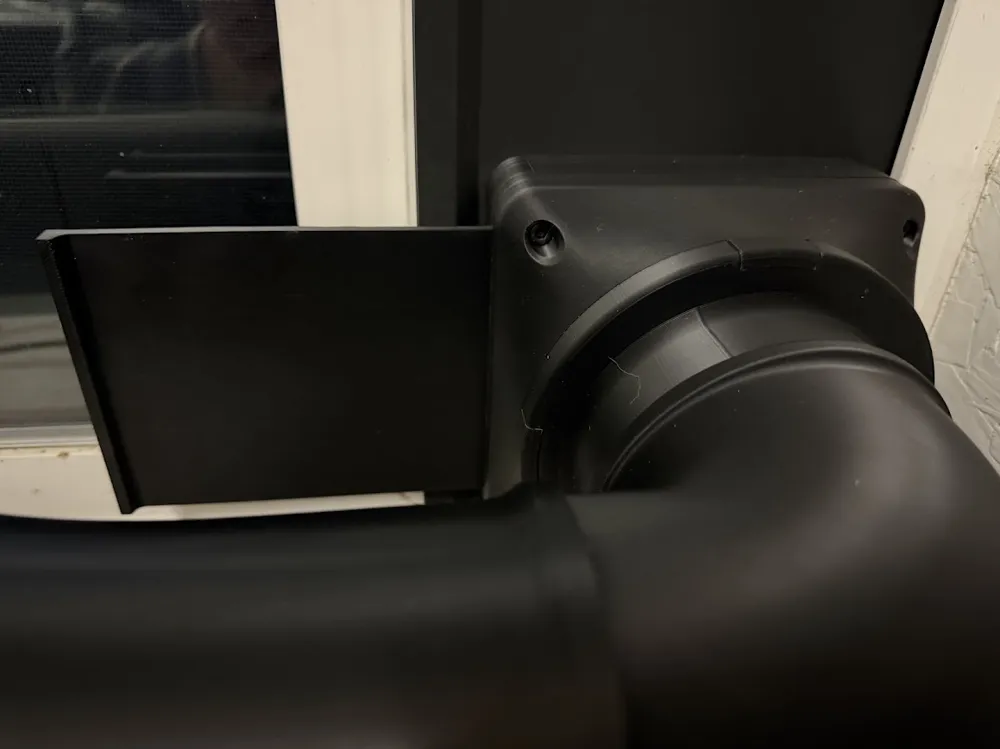
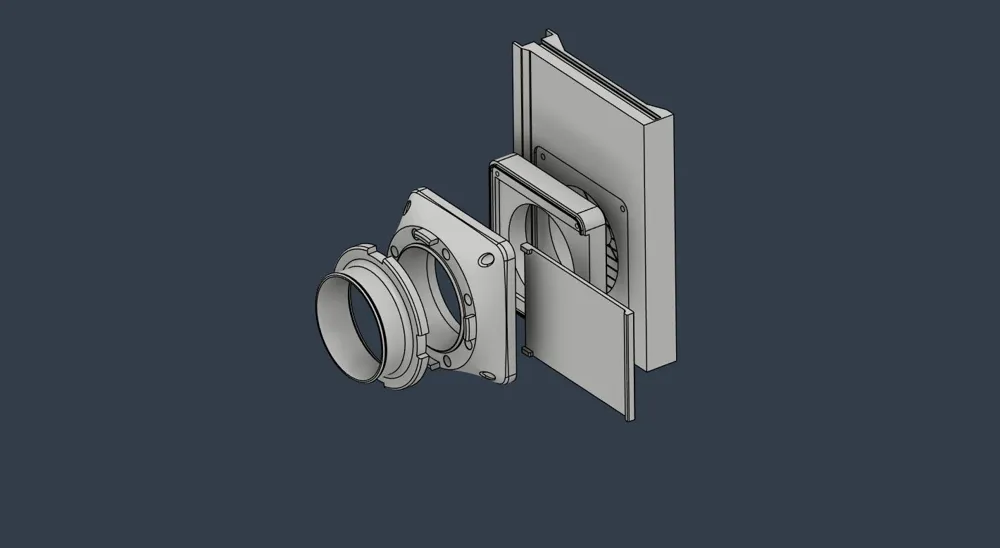
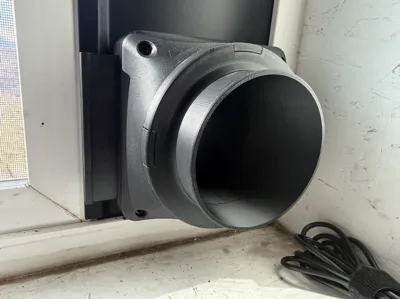
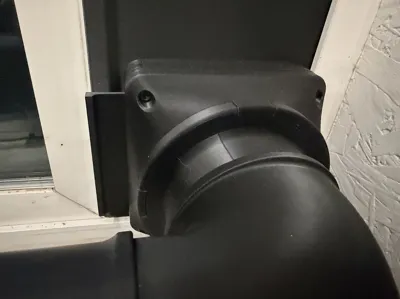
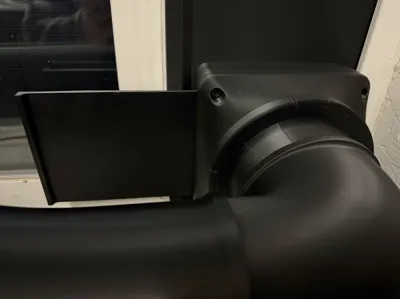
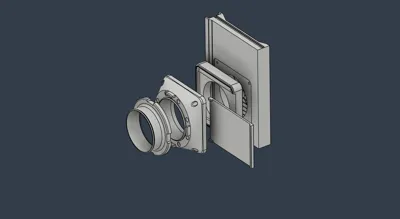
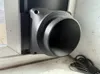
All V2 components remain the same as the previous model except for the bottom mount with the pass-through hole. If you’ve already printed the original model and want to upgrade, only the new bottom mount needs to be printed. Window fillers work with standard 33mm thick window frames. Measure before printing. Multiple hose attachment options are included in the print profiles below. If you need an elbow connection, it is available as a separate model and integrates directly with this system.
- UPDATE: Magnetic attachments and elbow attachment added to print profiles for easier access. Optional 1 piece blast gate top added to allow elbow to attach without having multiple magnetic connections. Parametric Tubing Generator added to collection.
- Parametric Window Filler
- Parametric Tubing Generator
- X-Tool S1 Collection All models I used in the project are linked in this collection
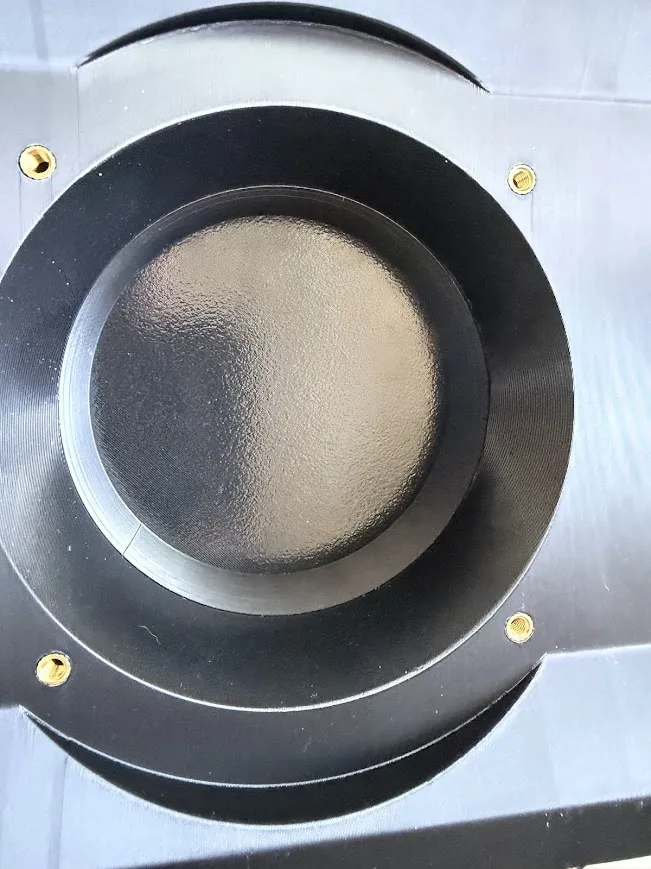
Magnet & Mounting System
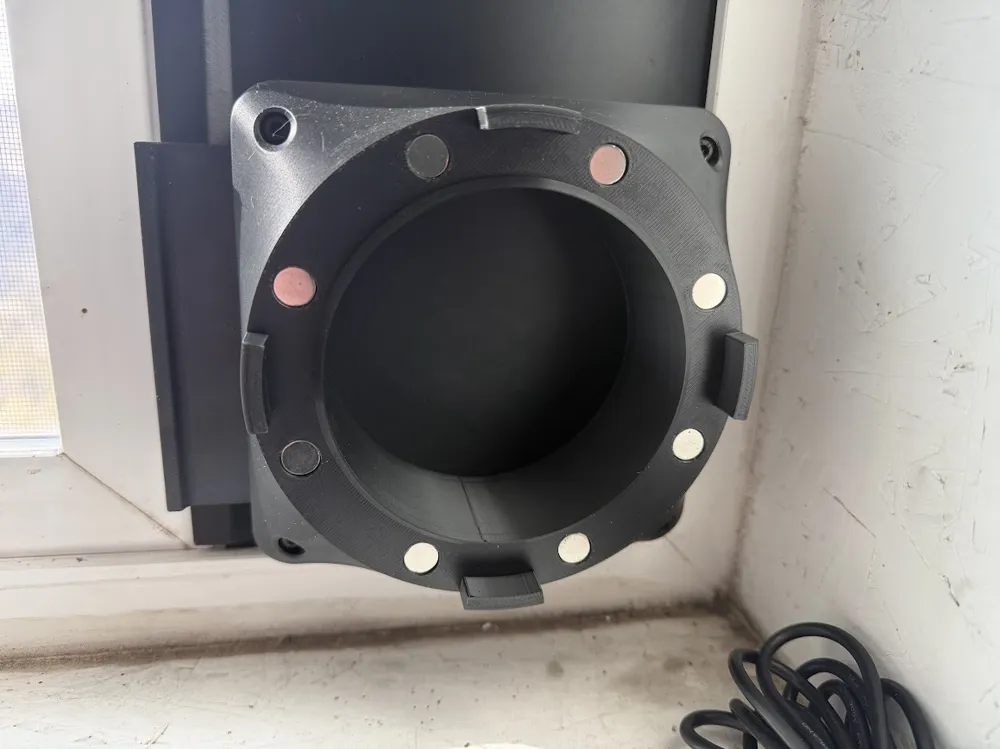
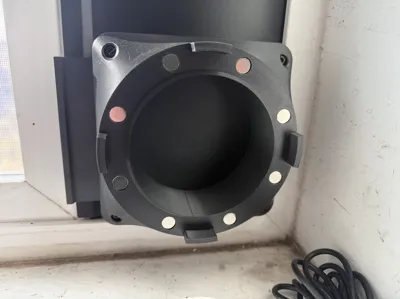
Several magnet size options are provided, along with a test print for fitting 10×6 mm magnets. Pockets are available in 10.00, 10.05, and 10.10 due to different tolerances between machines and magnet sizes.
If 10×6 mm magnets are unavailable, two 10×3 mm magnets can be stacked to achieve the same result.
10×6 mm magnets were chosen to provide sufficient holding force so the attachment does not separate unintentionally during use.
Airflow & Laser Compatibility Improvements
This updated design is optimized for 4-inch ducting systems and transfer fans such as AC Infinity 4" or 6" units.
Key upgrades include:
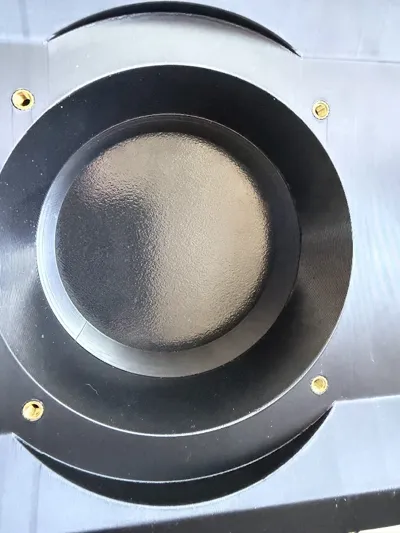
- Original fixed mount replaced with a blast gate, allowing the system to be fully closed when not in use
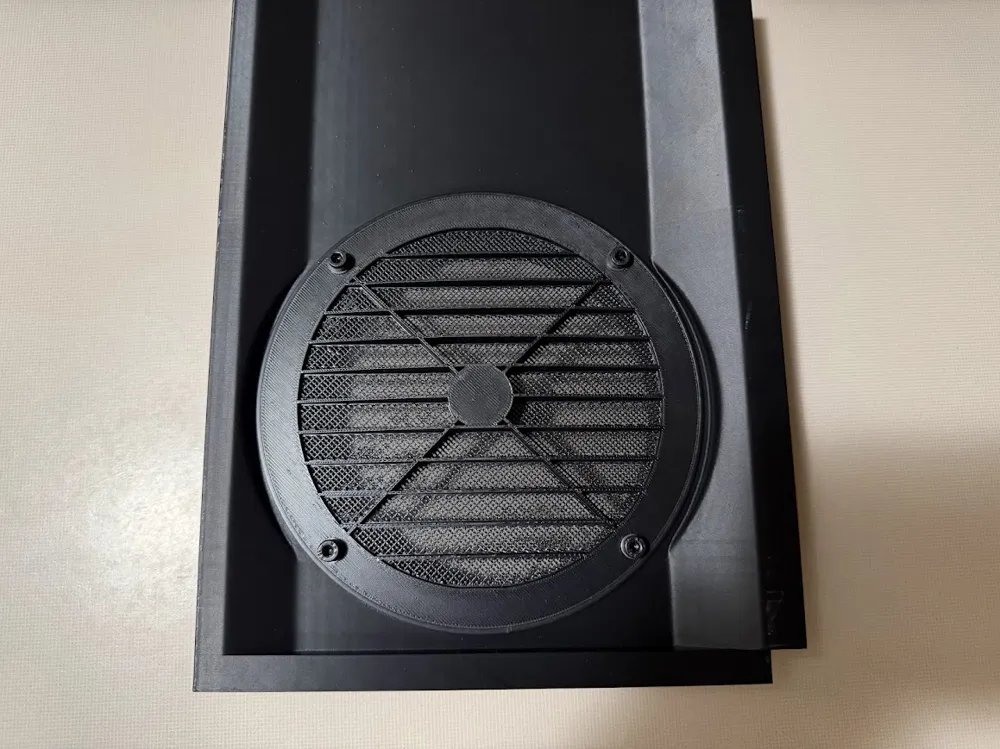
- Larger exit hole diameter with a gradual internal taper for improved airflow
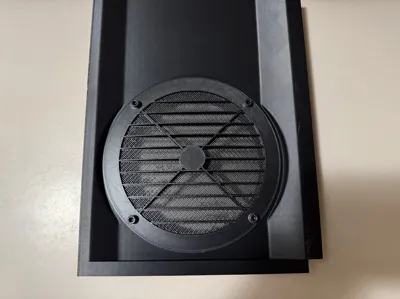
- Larger exterior screen compared to the original design
Only the bottom hole mount is printed with higher wall counts and infill to support the mounting system. All other components use reduced values to save material where additional strength is unnecessary.
With these changes, airflow is now adequate for:
- Bambu H-series printers equipped with laser modules
- X-Tool series laser machines
⚠️ Important:
The original model is not suitable for laser use and should only be used for venting during standard 3D printing. A link to the original version is provided if that better fits your needs. LINK
Installation Notes
- This system can be mounted vertically or horizontally, just like the original design.
The final filler section is a custom, parametric part sized to your specific window dimensions. Measure the required distance between the reference points shown below and enter that value into the parametric height filler model to generate your final piece.
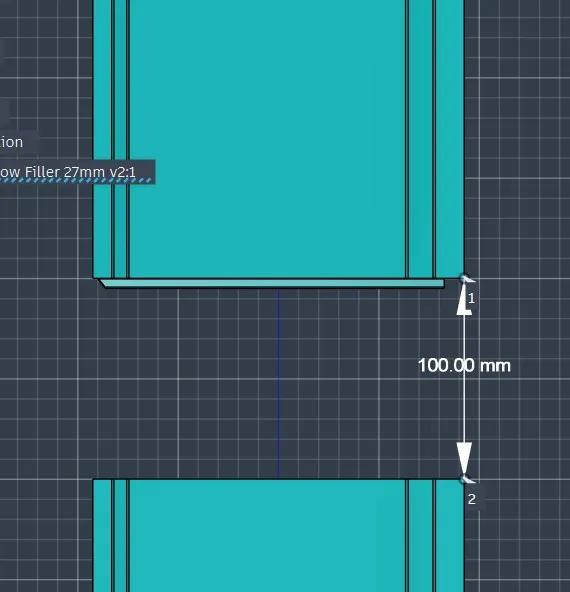
- It is recommended to print the top, bottom, and transition pieces first, then test-fit the assembly. Based on this fit, determine whether one or two filler sections are needed before printing them to avoid unnecessary material waste.
⚠️ Important – Tight Fit by Design
- The dovetail joints are intentionally tight to prevent smoke from leaking through seams. This is normal and expected.
- If assembly or removal is difficult, a light coat of lithium grease can be applied to the dovetails to ease installation without compromising the seal.
Parts Required
- M4×8 cap screws (4 required)
- M4×40 cap screws (4 required)
- M4 washers (4 required)
- M4×6 heat-set inserts (8 required)
- 10x6 magnets (16 required) Optionally 10x3 magnets (32 required)
- Weather-strip tape, 3/16" × 1-1/4" × 30' (optional, for sealing around window fillers) LINK
- Backer rod (optional, used to fill the gap where sliding window panes overlap) LINK
Weather-strip tape and backer rod were sourced from a local hardware store (Home Depot)
Boost Me (for free)
I design practical, well-tested models and share them to help the community. Boosts help support continued development, testing, and future improvements.
License

You shall not share, sub-license, sell, rent, host, transfer, or distribute in any way the digital or 3D printed versions of this object, nor any other derivative work of this object in its digital or physical format (including - but not limited to - remixes of this object, and hosting on other digital platforms). The objects may not be used without permission in any way whatsoever in which you charge money, or collect fees.


Comment & Rating (47)