
1967 Mustang Custom Honey Comb Grill
Print Profile(1)
Description
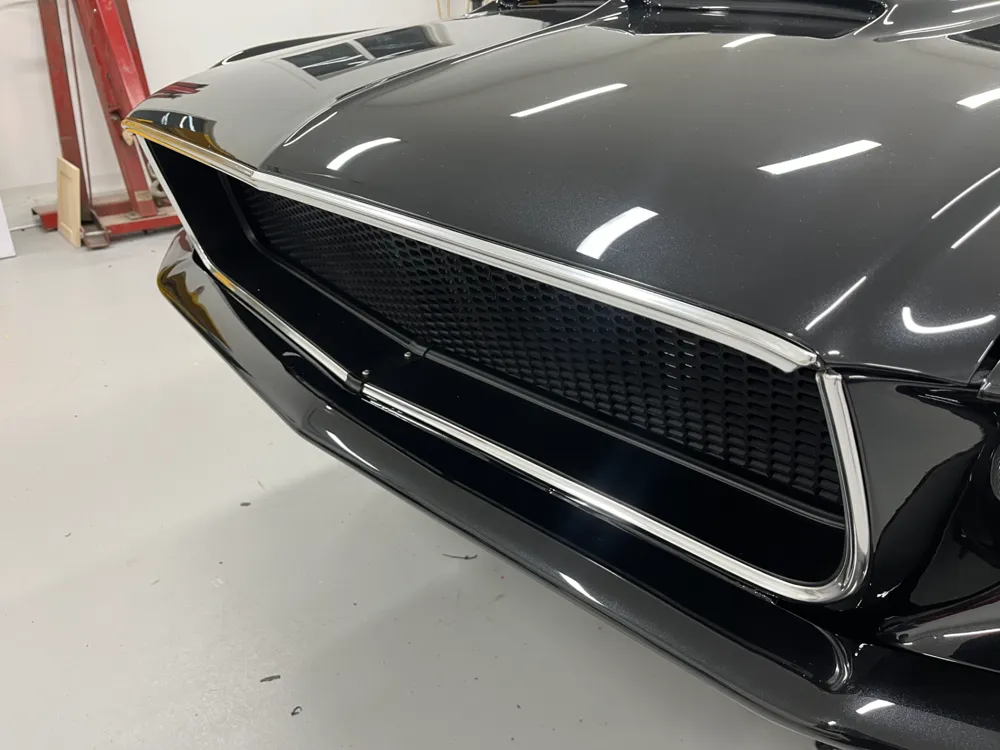
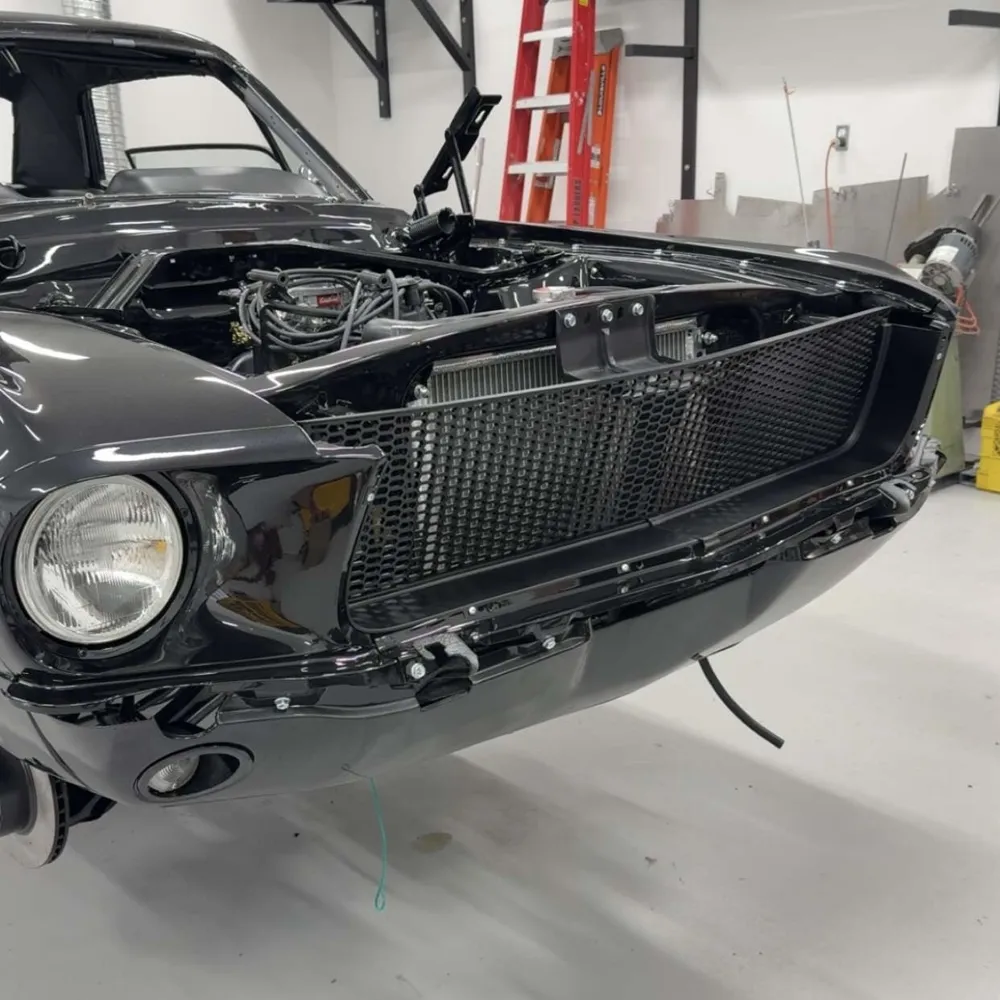
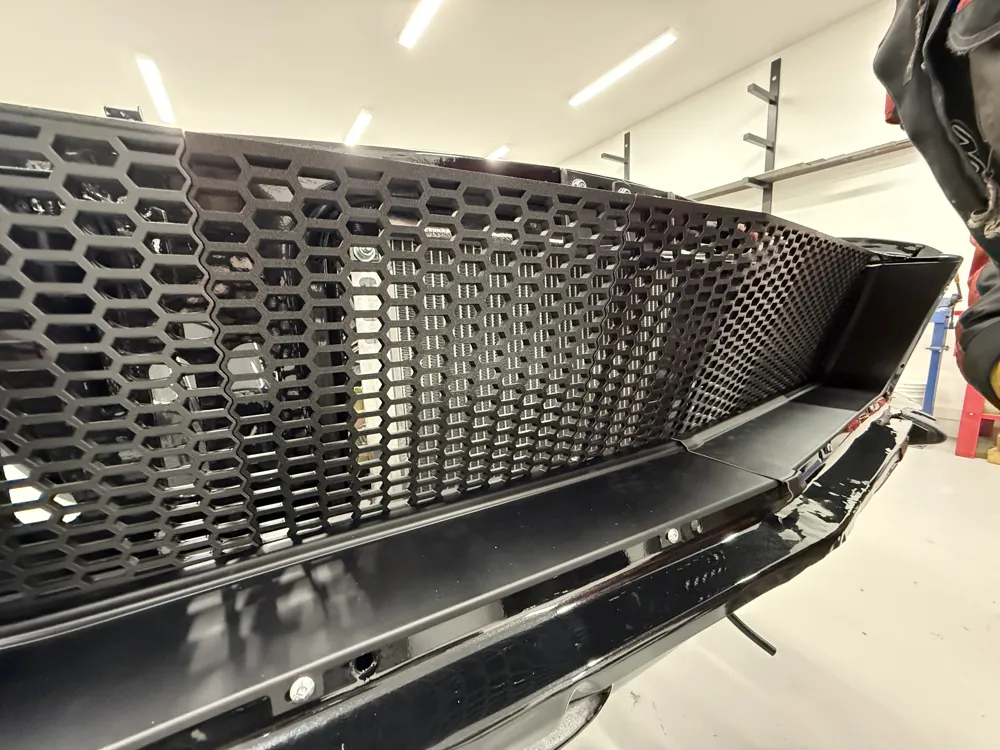
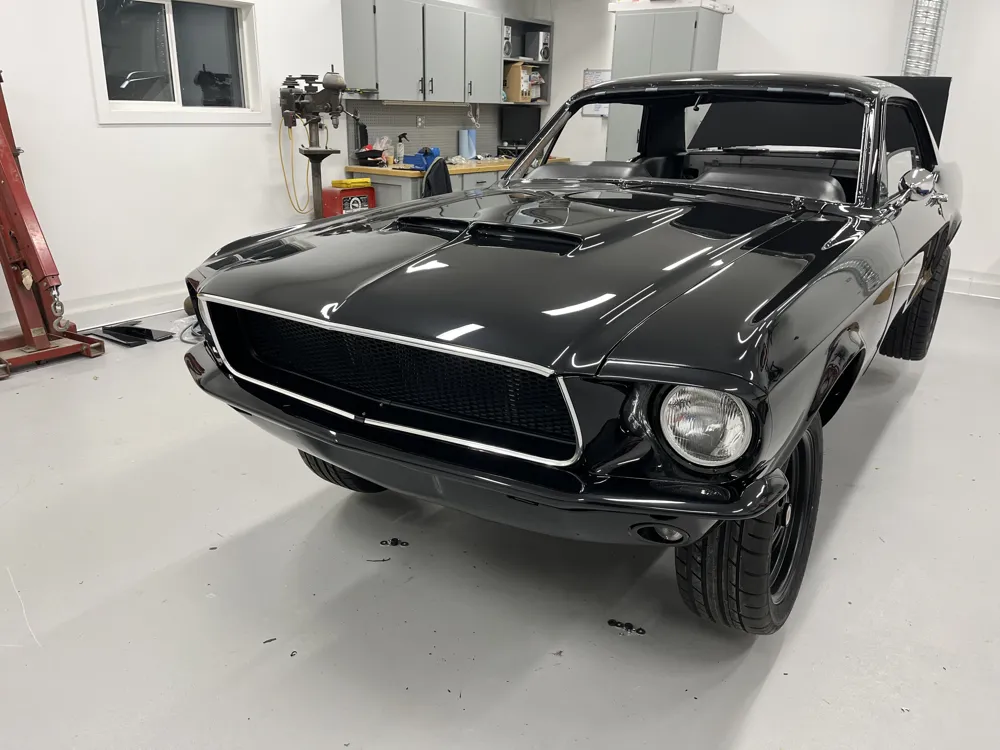
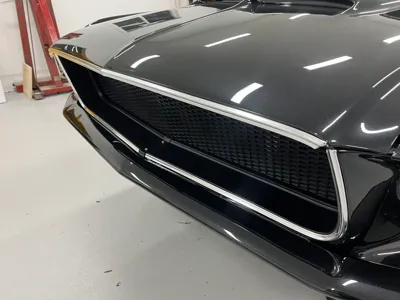
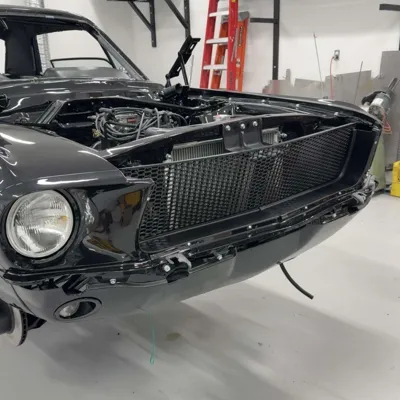
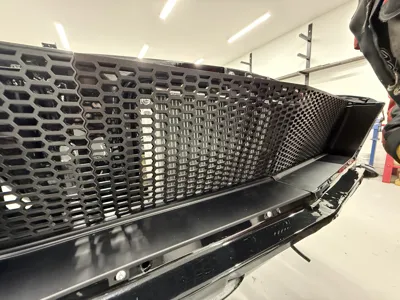
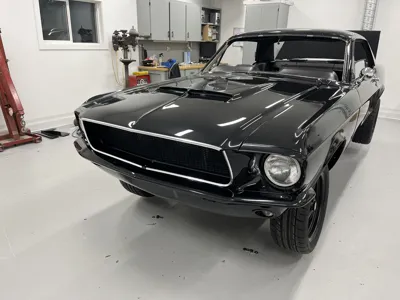
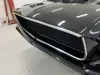
This is a custom honey comb grill I designed for a 1967 Mustang. A few notes and instructions below (PLEASE READ BEFORE PRINTING):
Printing:
This grill is split into 6 sections. All parts are printed face down to have an even surface across all parts. Due to the size of grill this must be printed on an H series printer. I recommend PETG or ASA filament that widthstand heat and rock chips. The sections are designed to have overlap with the adjacent section to increase strength. With this I recommend printing the support sections with a support interface layer to have the smoothest possibe surface on the underside. The sections will need to be glued and plastic welded together. For the center section, this is the part that has a bend it in, Ive printed a form that is in the .3mf file that follows the exact same angle as the grill to hold the two sections together to glue and plastic weld the two peices together at the correct angle. On the overlap parts i recommend using a clear gel super glue to allow flexibility for installation. Plastic weld or staple all joints on the back side together.
Assembly:
If printing the raw .stl files, there is only one middle section and end section. Dupplicate these and mirror along the x-axis for the passenger/driver side. Assemble the center section usiing the provided form, glue the ends first then use the alignment plate on the top underside and glue that in place as well. Once glue is cured, plastic weld and plastic staple along the seam on the back side only. for the middle and end sections use gel super glue on the overlap section and plastic weld the seam on the back side. I recommend fitting all parts on a table first and marking them before gluing.
Vehicle Installation:
Once the grill is fully cured, bend inward and place the grill to fit (not too much that the grill snaps). Mark all mounting holes and drill through the plastic. I didnt add the holes on purpoes as it was easier to drill afterwards.
Multiple test prints were done fit acheive the perfect fit, as seen in the pictures it fit the car perfectly.
License

You shall not share, sub-license, sell, rent, host, transfer, or distribute in any way the digital or 3D printed versions of this object, nor any other derivative work of this object in its digital or physical format (including - but not limited to - remixes of this object, and hosting on other digital platforms). The objects may not be used without permission in any way whatsoever in which you charge money, or collect fees.


Comment & Rating (2)