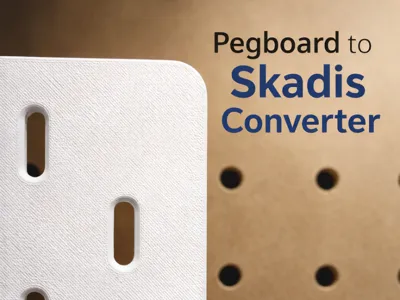
Pegboard to Skadis Converter


Print Profile(3)


Description
Boost Me (for free)
This took quite a bit of work and iteration to measure, design, and tolerance. If you find it useful, I would appreciate a boost to increase visibility. I haven't found anything else that accomplishes this deceptively difficult conversion out there.
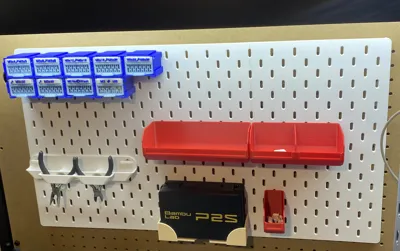
I purchased the Harbor Freight Yukon Workbench to serve as my printer table and work area. It comes stock with a pegboard for vertical tool storage, but I'm sure you've noticed that the 3D printing community loves the Ikea Skadis. Because I wanted to use existing models for the Skadis without having to recreate all of them for a pegboard, I decided to convert the pegboard to a Skadis. As far as I could find, there aren't any other models out there that allowed this (though I did find one that goes the other way https://www.thingiverse.com/thing:2847892). That meant that I would need/get to design it myself.
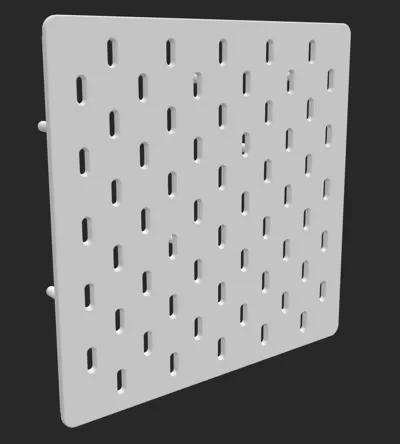
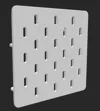
The result is a 400mm high x 720mm wide pegboard printed in 6 pieces. It could probably have been a little higher, and if there is interest, I may revisit it but I had to do so many iterations to get the spacing right, I was happy with where it ended up and didn't want to start over. It also doesn't cover the whole width of the Yukon Workbench; I didn't think I would get much use out of running it all the way behind the printer, but it does cover the width that my P2S doesn't.
Installation is a little bit finnicky. All connectors needed are in the print profile. I found that it worked best to put the panels together off of the pegboard and then slide the pegs from all 6 panels in together. They are a little tight, and you'll probably break a couple of the pegs off while pushing it in, but I designed the parts with more pegs than they need, so it'll still have plenty of support. Also included are back clamps that just slide onto the pegs after they're inserted through the pegboard. I personally don't use these, it stays in just fine without them, but if anyone is installing this in a place where you really don't want it to fall down, they can provide some extra insurance. The connectors also provide enough spacing for hooks to slide into between the pegboard and the Skadis, so there's no need to worry about leaving more space than the connectors.
I also sought to find a way to make this project infinitely expandable. 400mmx720mm is the right size for me, but it would have a much wider audience if it could be customizable. Unfortunately, due to the metric/imperial conversion that needs to happen, it doesn't seem to be possible. Any method of scaling invariably results in the Skadis slots either being unevenly spaced or randomly blocked by pegs. I have, however, created the largest possible converters that can be printed on a single buildplate (A1 mini also has its own version). If multiples are printed, they won't fit together tightly, but all Skadis slots will be available, and the panels provide plenty of area to work with. These smaller versions should fit easily into any standard 1-inch pegboard with ¼" holes.
License
You shall not share, sub-license, sell, rent, host, transfer, or distribute in any way the digital or 3D printed versions of this object, nor any other derivative work of this object in its digital or physical format (including - but not limited to - remixes of this object, and hosting on other digital platforms). The objects may not be used without permission in any way whatsoever in which you charge money, or collect fees.
Comment & Rating (16)