Skadis Boards EASY Install


Print Profile(6)
Description
UPDATE (Feb 19, 2026): I have created the next version here. The boards are now all the same size, with more variations for different size Skadis panels.
_____________
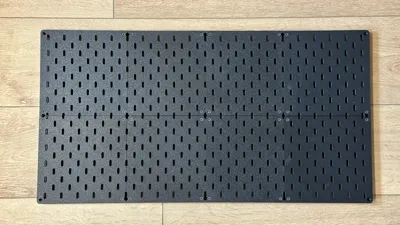
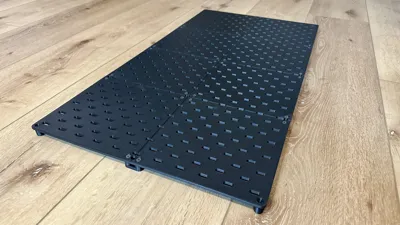
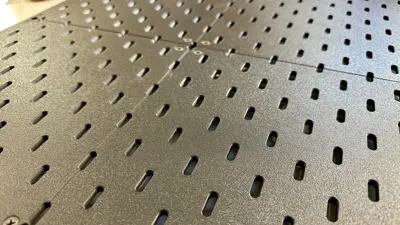
I believe I have created one of the best Skadis panel systems out there. You can assemble the panels (multiple Skadis boards) BEFORE hanging it on the wall, making install much easier. The panels also have continuous slots through out, and every one is usable (including at connection points).
There are 5 different Skadis boards in this set.
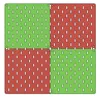
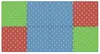
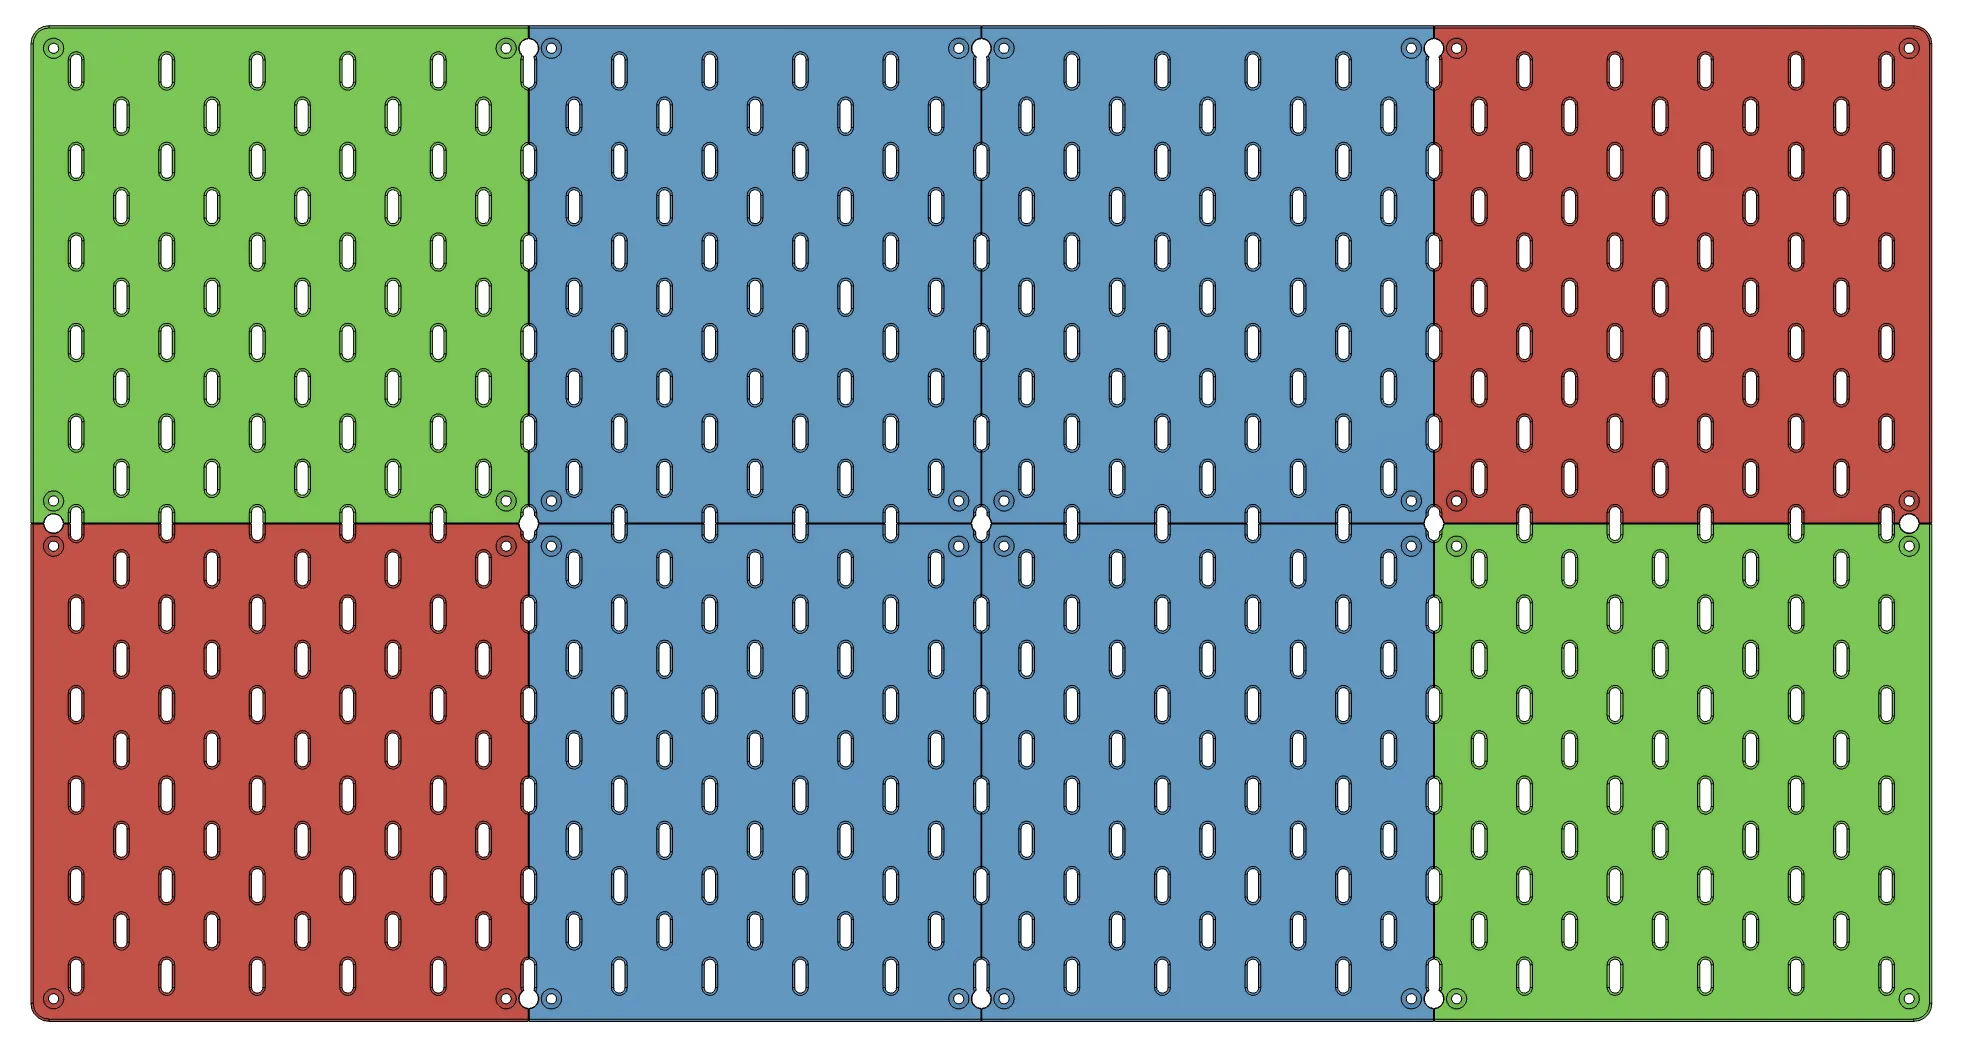
- Green (corner board, used on two opposing corners) - 220x220 (mm)
- Red (corner board, used on two opposing corners) - 220x220
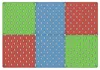
- Blue (used for an edge board on the top or bottom) - 220 tall x 200 wide
- Purple (used for an edge board on the sides) - 200 tall x 220 wide
- Yellow (middle board, no edges) - 200x200
Each of these boards can be combined in different ways to achieve different sizes and configurations of your Skadis Panels. The first pic shows the 5 different boards, and the following pics show some examples of how you can arrange them.


If you don't care about the finished edges, you can print the Yellow (200x200mm) board only, and arrange how ever you'd like.
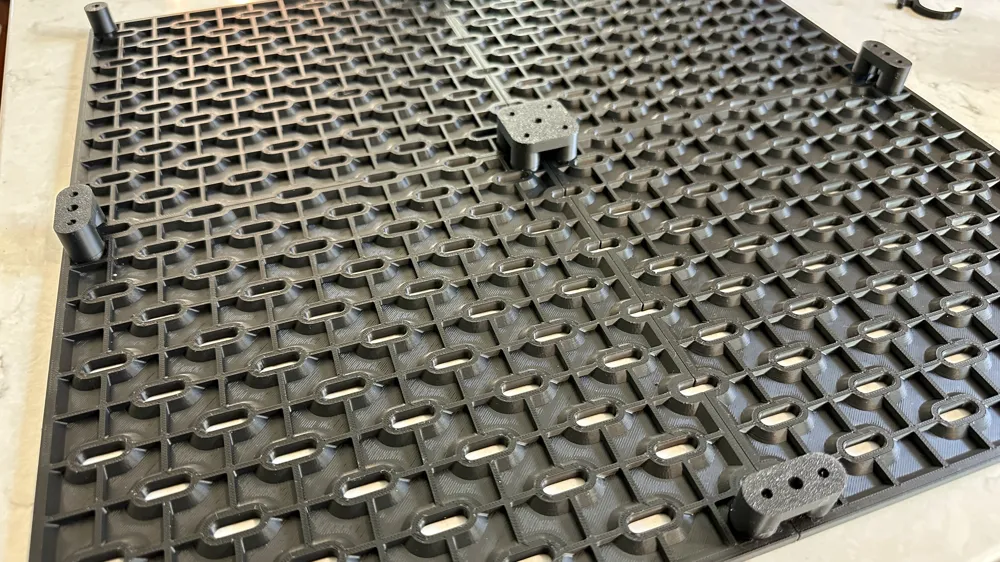
There are 3 types of connectors (all press fit onto the boards before screwing them together)
- Single Corner Connector (use one on each corner of the assembled panel)
- Two-Way Connector (use to connect 2 boards together along the edges)
- Four-Way Connector (use to connect 4 boards together in the middle)

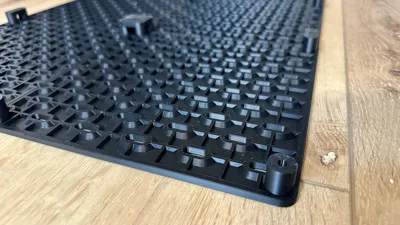
These connectors have a square recess that corresponds to a square knob on the boards. These press fit together, so you can flip the panel over before screwing them together. The square shape also helps prevent the boards from racking as you screw them together.
The boards and connectors can be screwed together using common COUNTERSINK ¾" drywall screws. I believe M4x19 screws will also work.


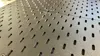
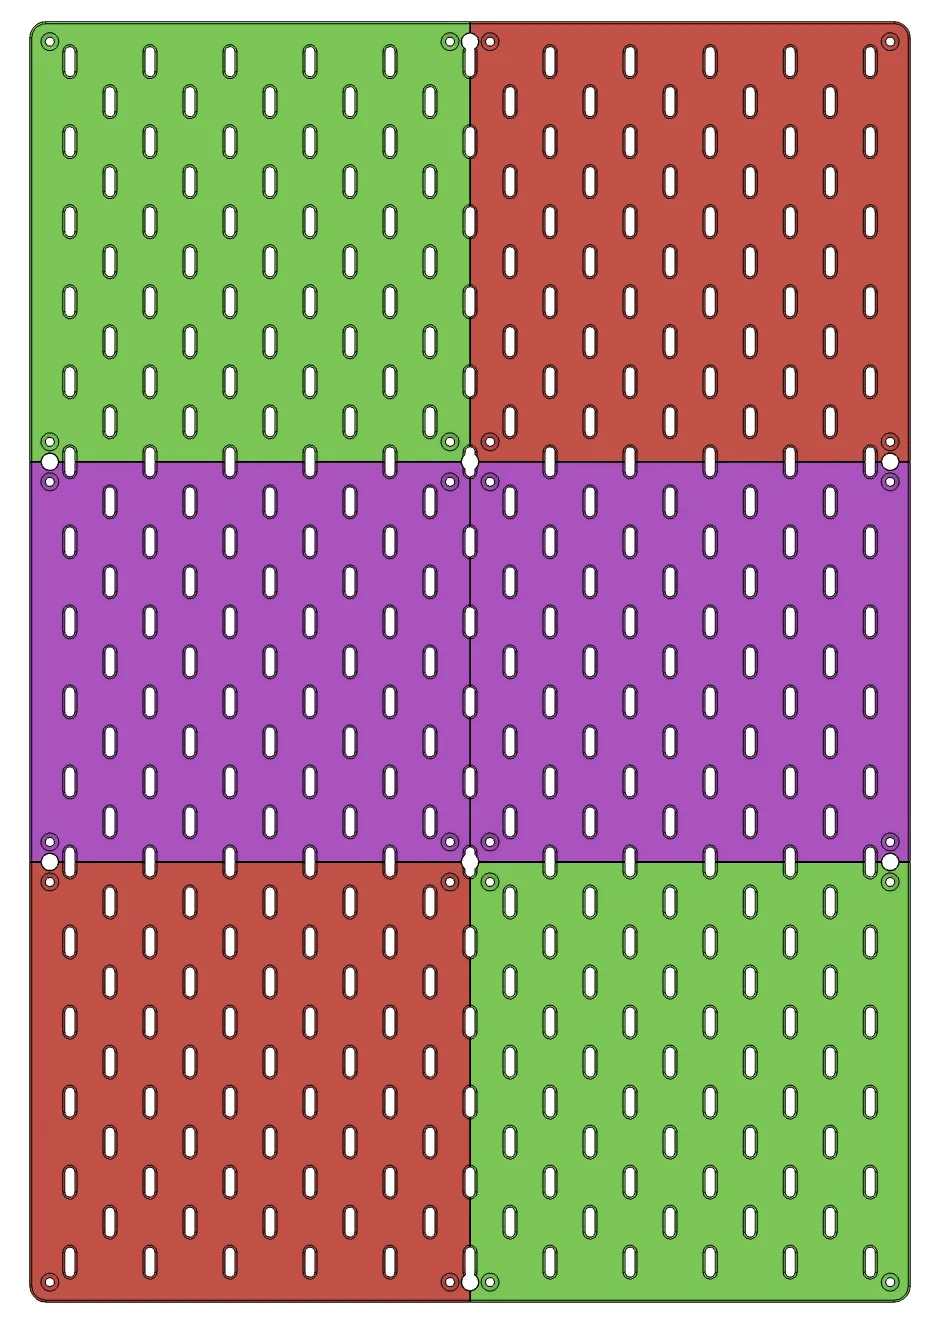
To assemble the panels, lay them face down in the orientation you want, and press fit the connectors into place. They are tight on purpose. Push them in until they seat onto the back of the Skadis boards. (The boards in the pic are the old boards with a grid pattern on the back. The updated boards are printed with no grid to save time on printing. Connectors are used in the same way.)
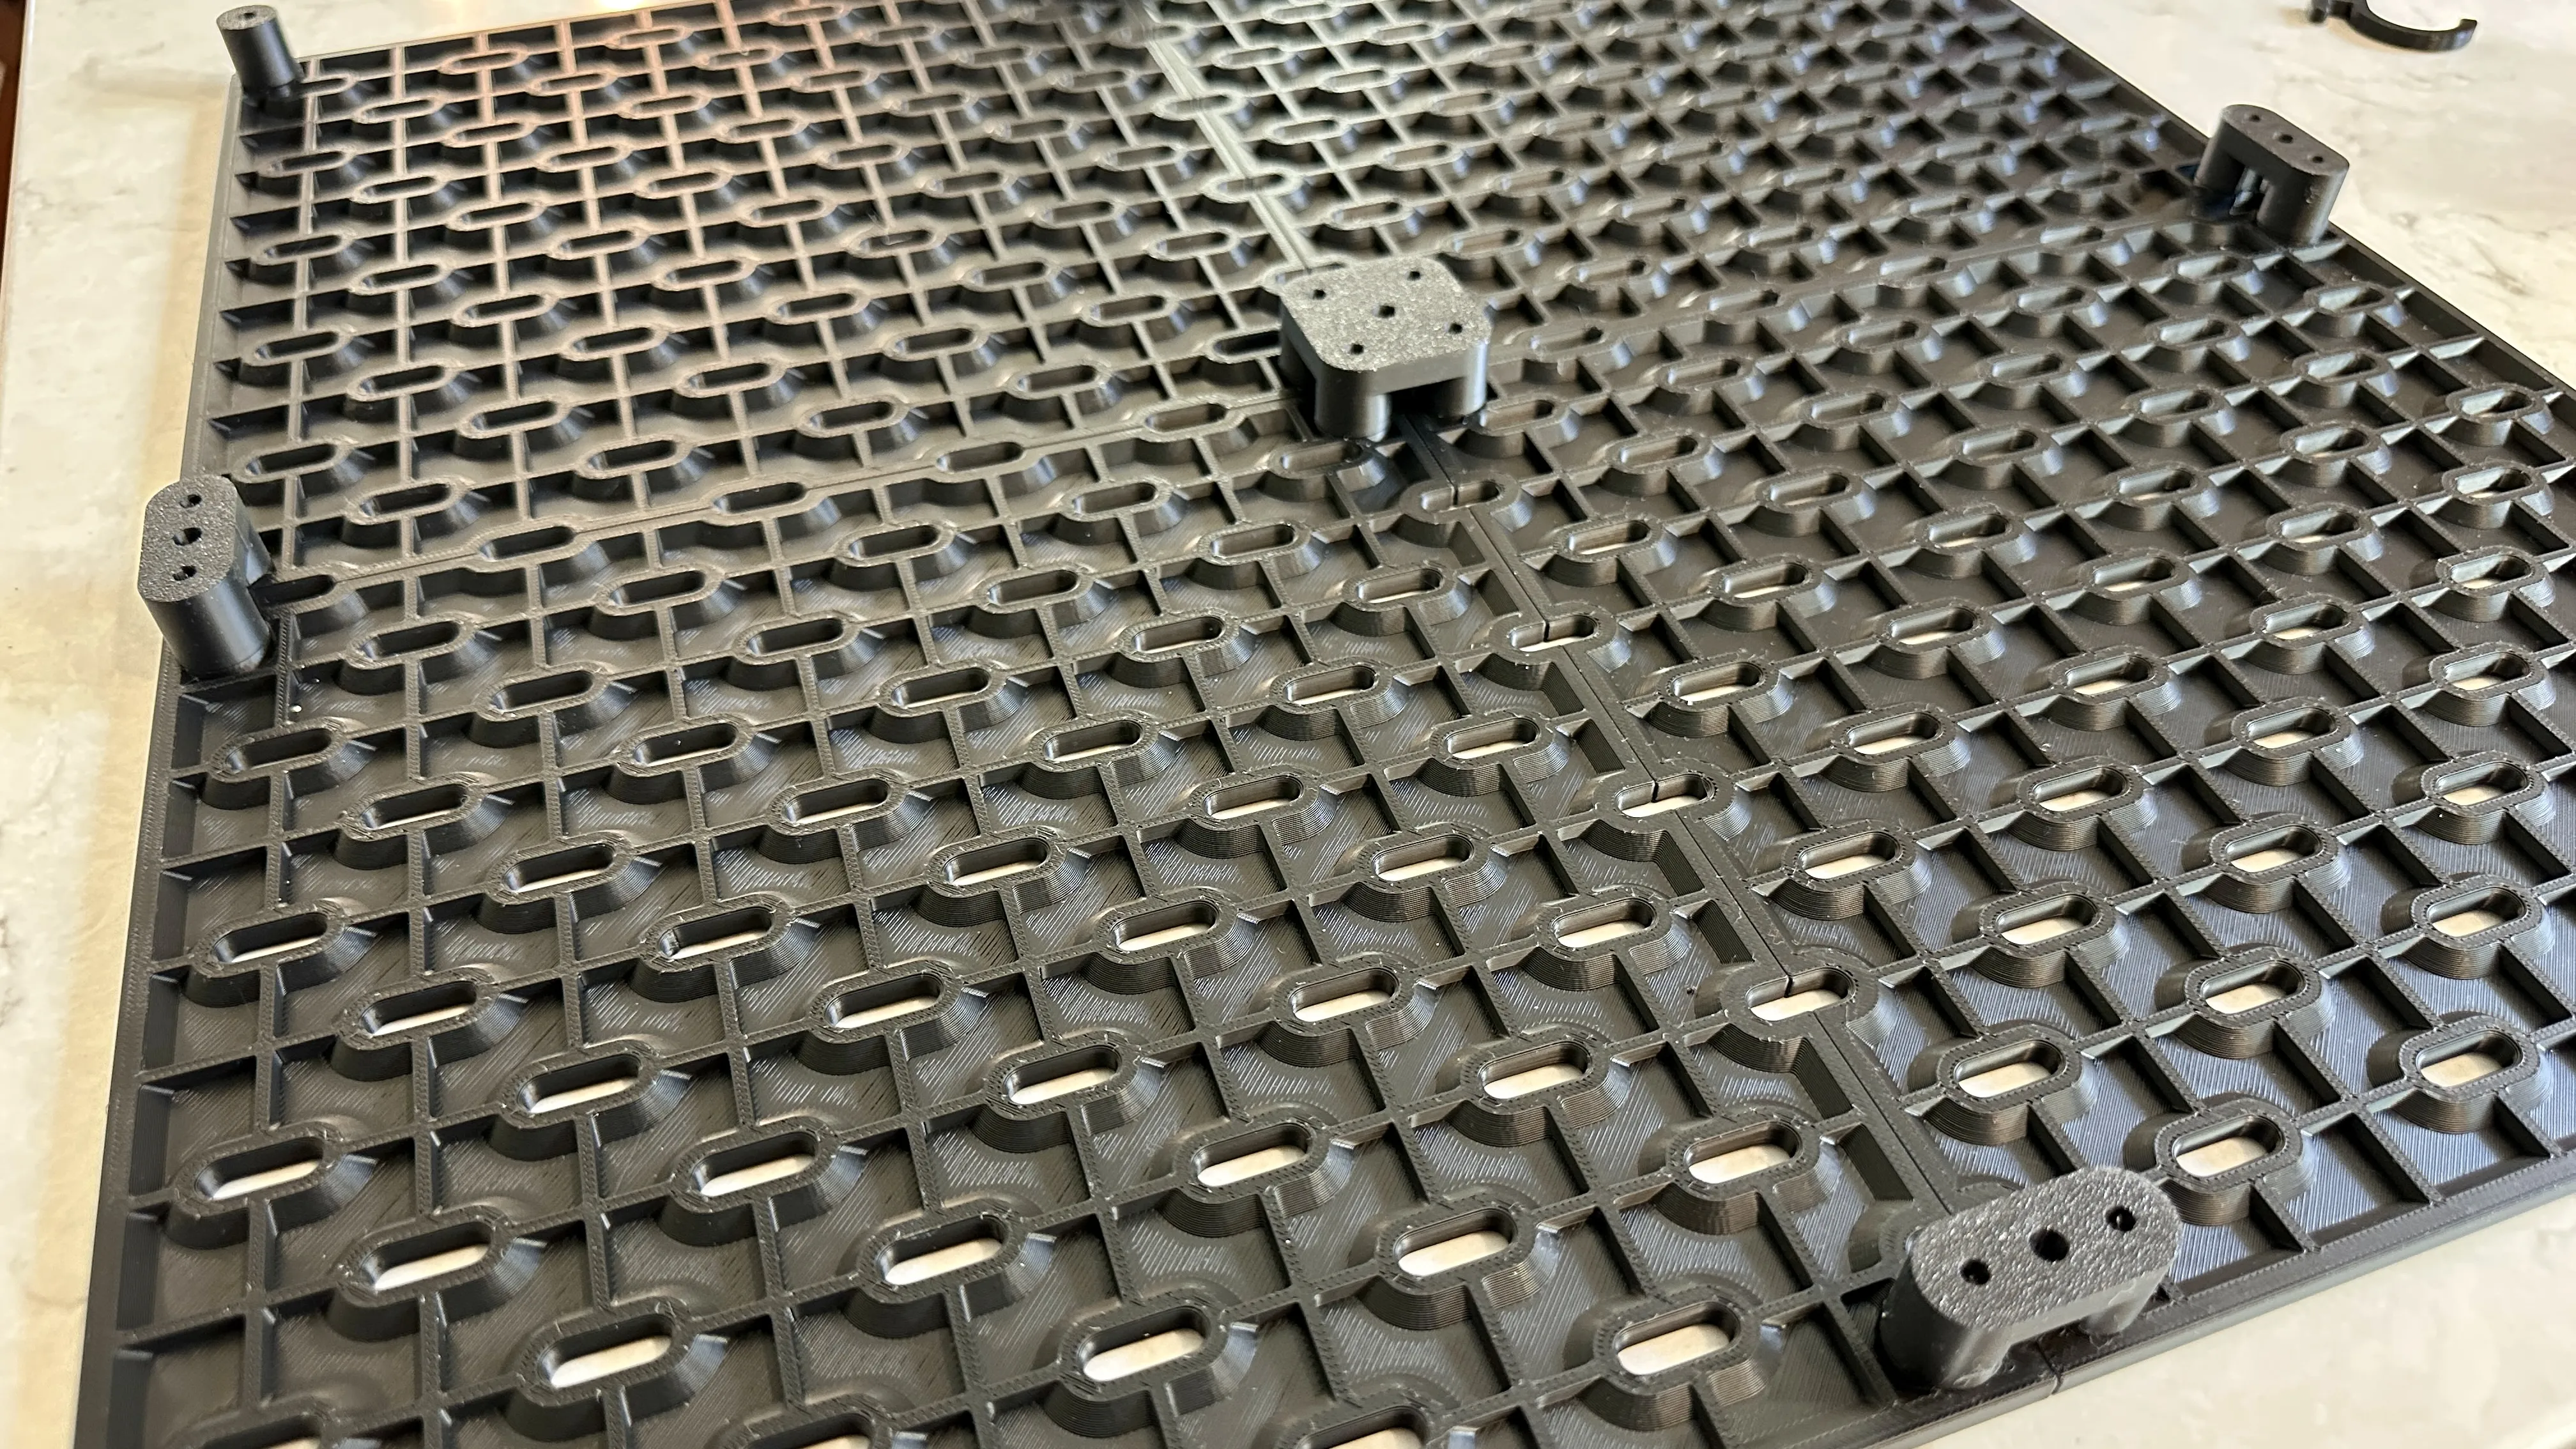
Once connected, gently flip the board over and screw them together. Do not over-tighten the screws. They just need to be snug.


Once assembled, the Skadis panel can be hung on your wall. You can use the same type of screw used to connect the boards into a panel. However, you may need a longer length depending on what type of wall you are hanging it on. If you need to use drywall anchors or pre-drill, you can mark the holes on the wall by pushing a screw through the mounting holes to make a mark on the wall.
I have created a few Print Profiles that are complete panels (marked by their size) with the correct number of connectors included.
License
You may create derivative works based on this object, provided that all such derivative works are published exclusively on the MakerWorld platform and include proper attribution to the original creator. You may not share, upload, host, distribute, or publish this object—or any derivative work of this object—on any other digital platform, marketplace, or distribution channel. Commercial use of this object and any derivative works is strictly prohibited. This includes, but is not limited to, selling, renting, sublicensing, or using the object in any context in which you receive monetary compensation or other financial benefits.
Comment & Rating (488)