Search models, users, collections, and posts
Elven Wishing Well Model
IP Report


Print Profile(1)

0.2mm layer, 2 walls, 10% infill
Designer
8 h
7 plates
Open in Bambu Studio
Boost
5
21
0
1
6
3
Released
Description
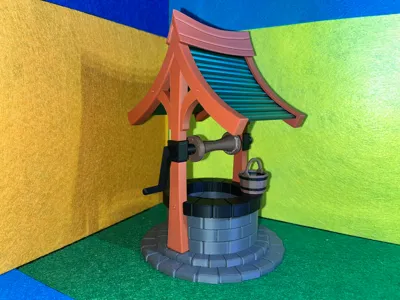
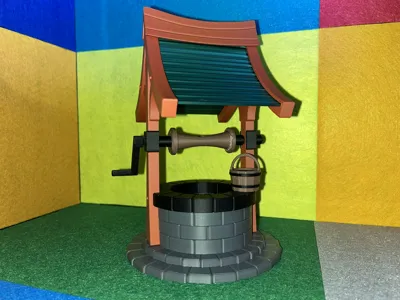
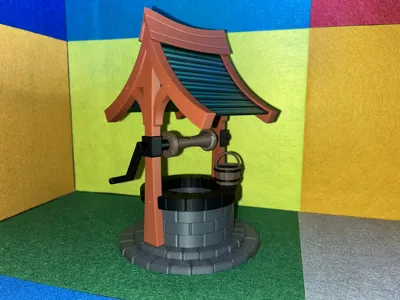
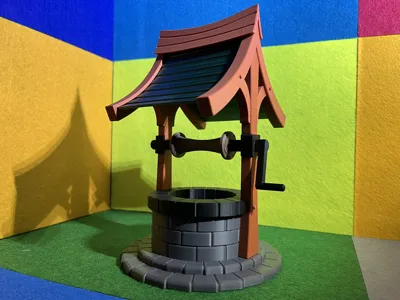
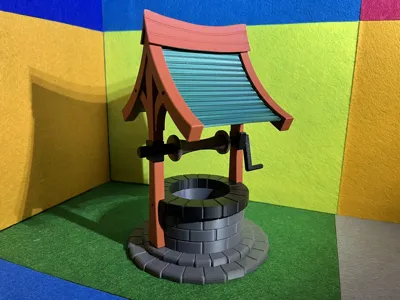
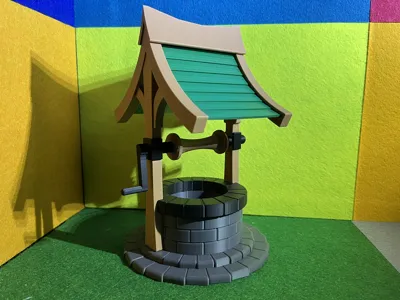
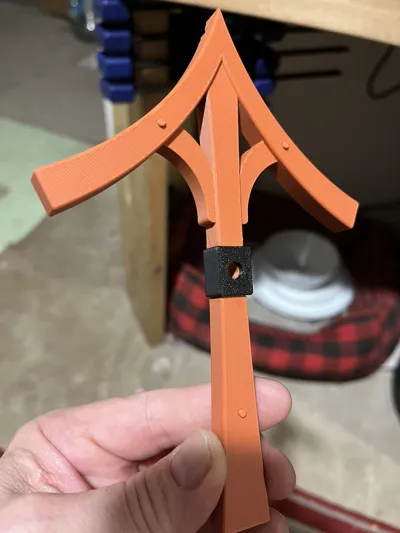
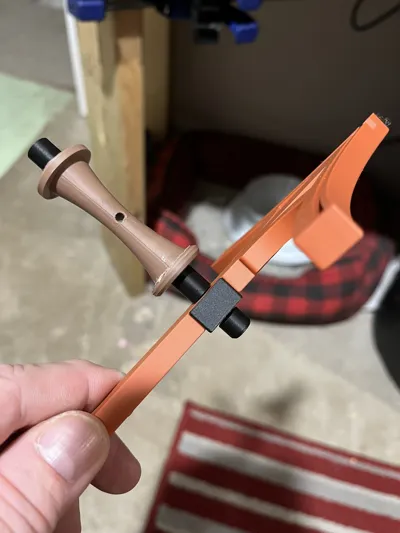
I'm calling this the Elven wishing well. Just something else I had a fancy to create. Assembly is straight forward with a few key points in addition to CA glue. See the last two photos to start the assembly.
- Install the iron plates on both of the uprights. Make sure the holes in the plate faces in the same direction as the three nubs on the posts.
- Install the stone rim onto the stone base.
- Put the main shaft of the roller mechanism through the right upright and glue the end cap in place.
- CA glue the uprights to the stone base.
- Install the crank through the hole in the left upright and then into the shaft of the roller mechanism. Take note of the notch in the crank and make sure it aligns with the hole in the roller shaft.
- Now the roof panels. Put a small bend in both the roof panels and insert fully into the grooves in the uprights.
- Glue the top cross member into place after the panels have been inserted.
- The well is complete. Put the bucket where you will.
Membership
If you would like to sell this or any of my other models, please click the JOIN button to subscribe.
Join
License
If you want to use this model commercially, please join my membership.
Join Now
This user content is licensed under a Standard Digital File License.
You shall not share, sub-license, sell, rent, host, transfer, or distribute in any way the digital or 3D printed versions of this object, nor any other derivative work of this object in its digital or physical format (including - but not limited to - remixes of this object, and hosting on other digital platforms). The objects may not be used without permission in any way whatsoever in which you charge money, or collect fees.
Comment & Rating (0)