
Worms game with hats (w/magnets) - no ams
Print Profile(2)
Bill of Materials

Description
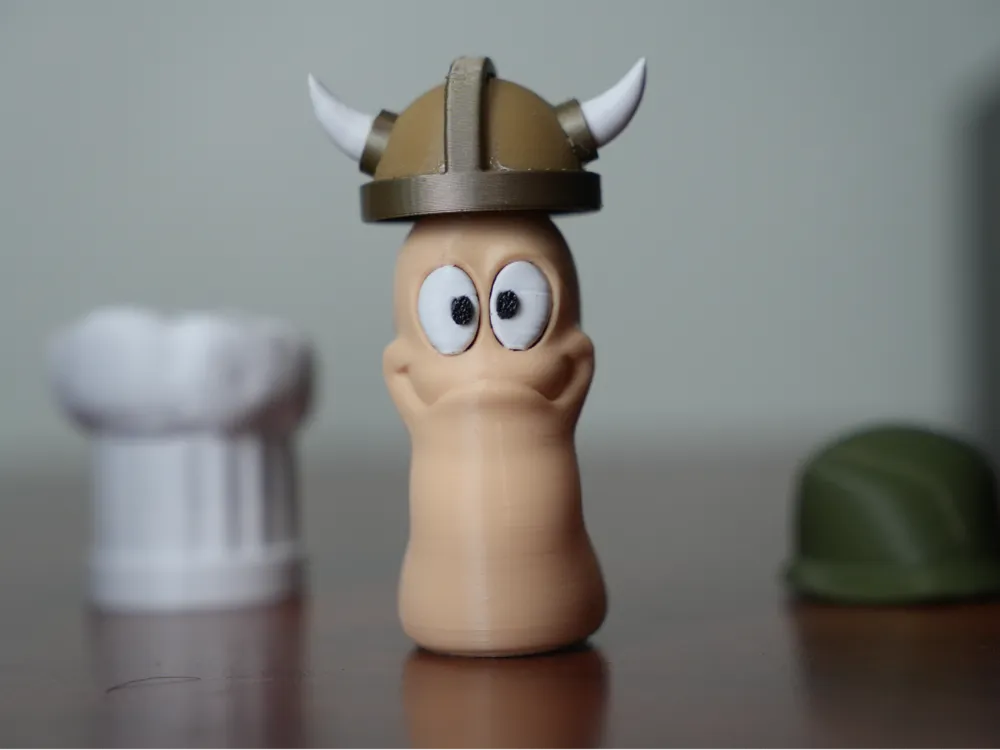
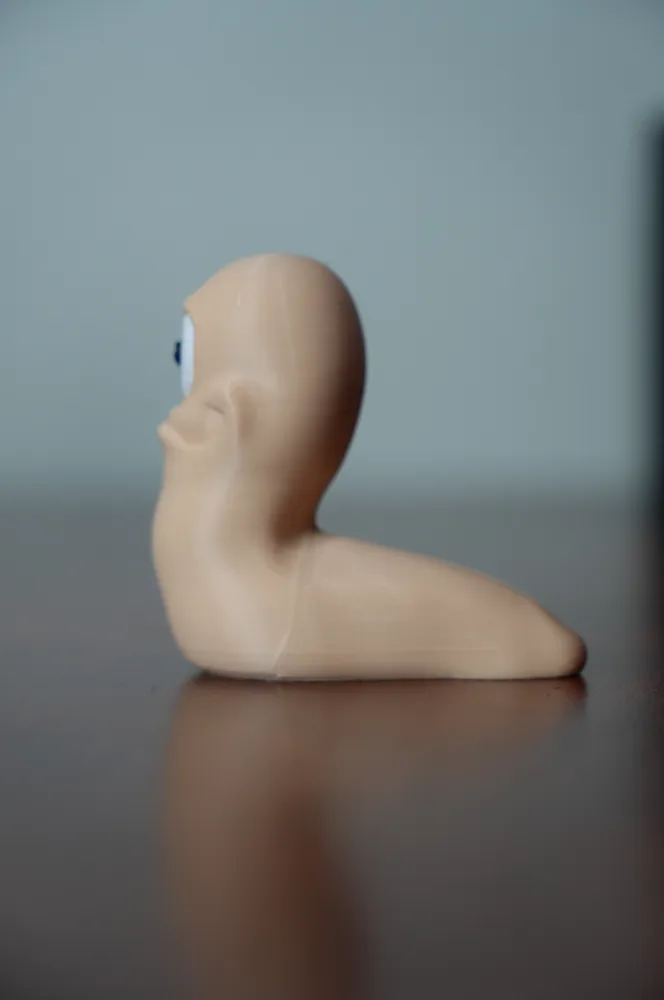
I’m very happy to share this print! This was one of my favorite games when I was a kid, and being able to turn it into a 3D print has been really exciting!
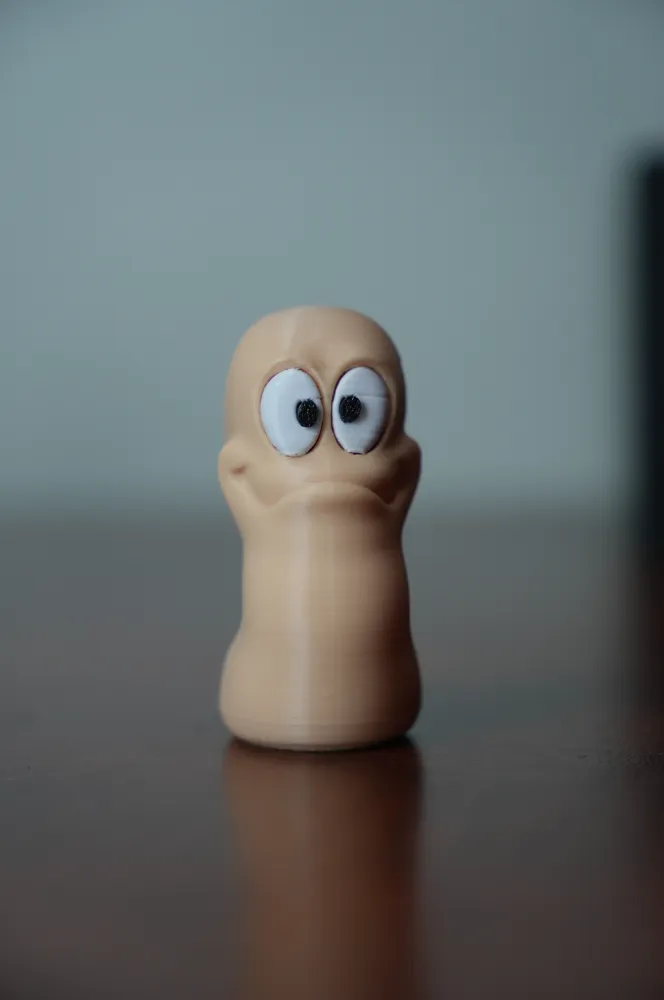
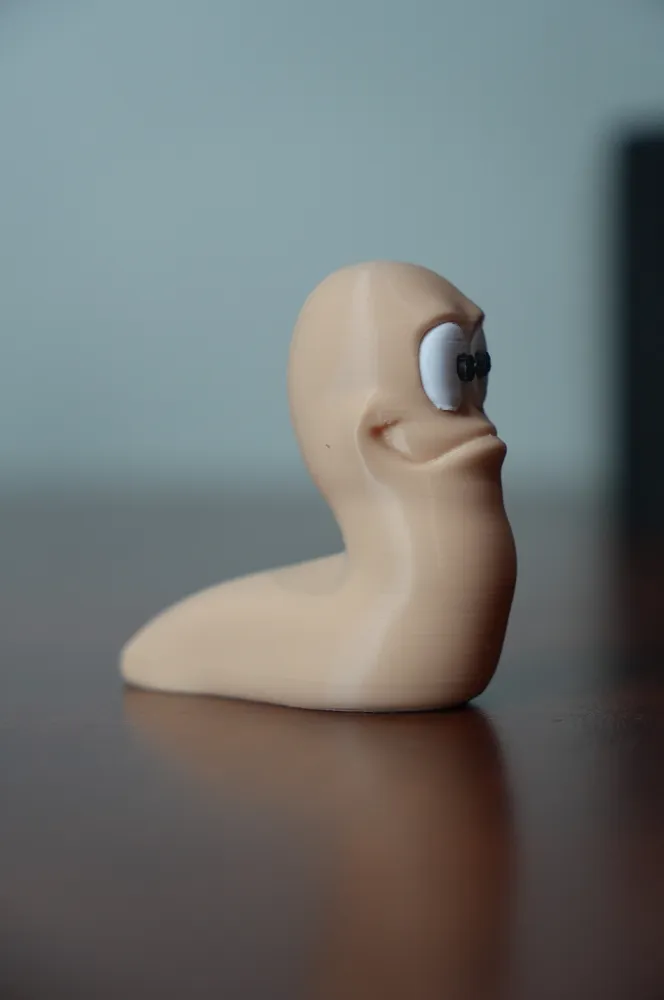
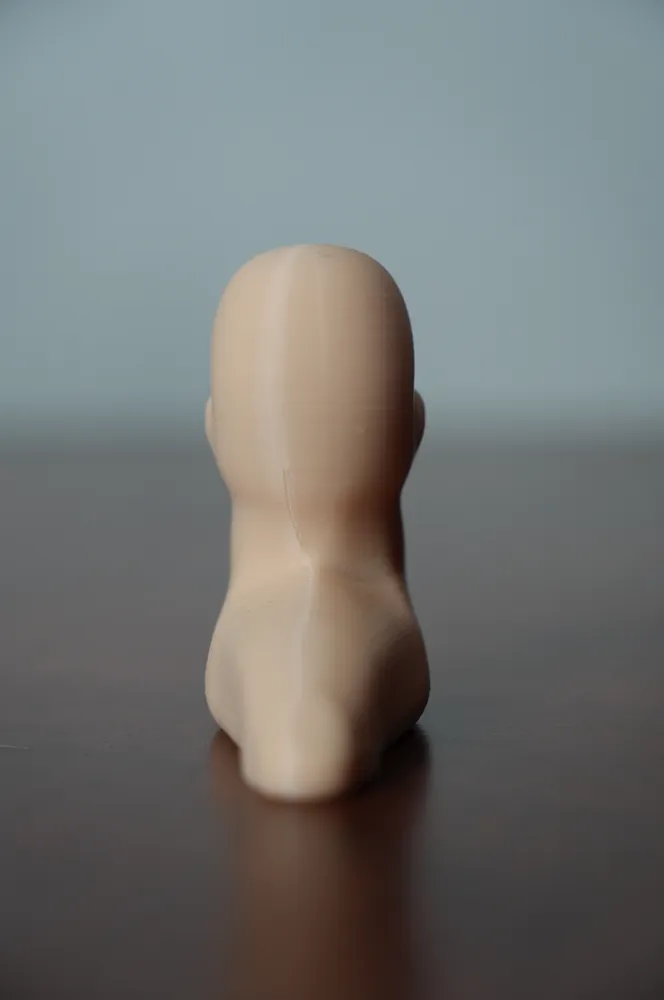
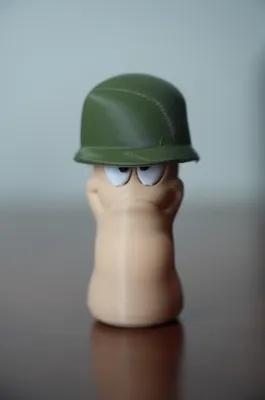
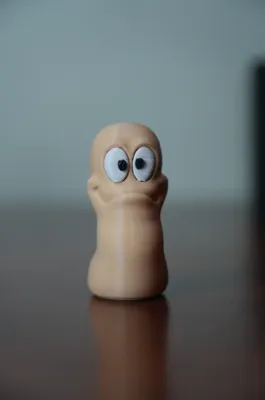
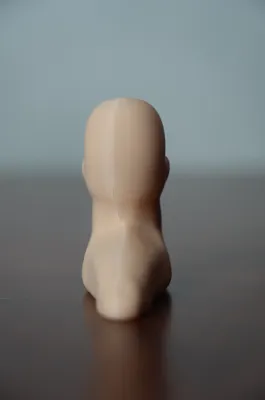
It’s a simple model (since I didn’t include any weapons, just the little worm), but it does include magnets. I had some spare magnets and decided to make the hat as a swappable cosmetic accessory.
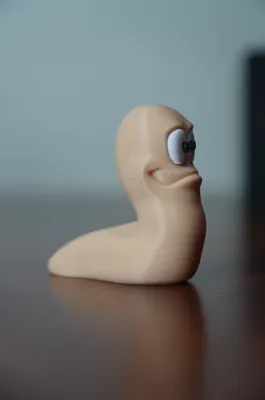
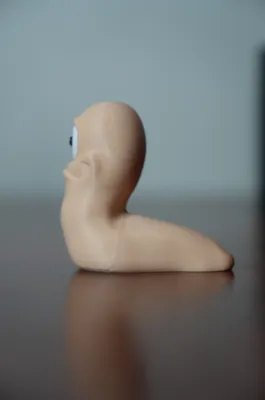
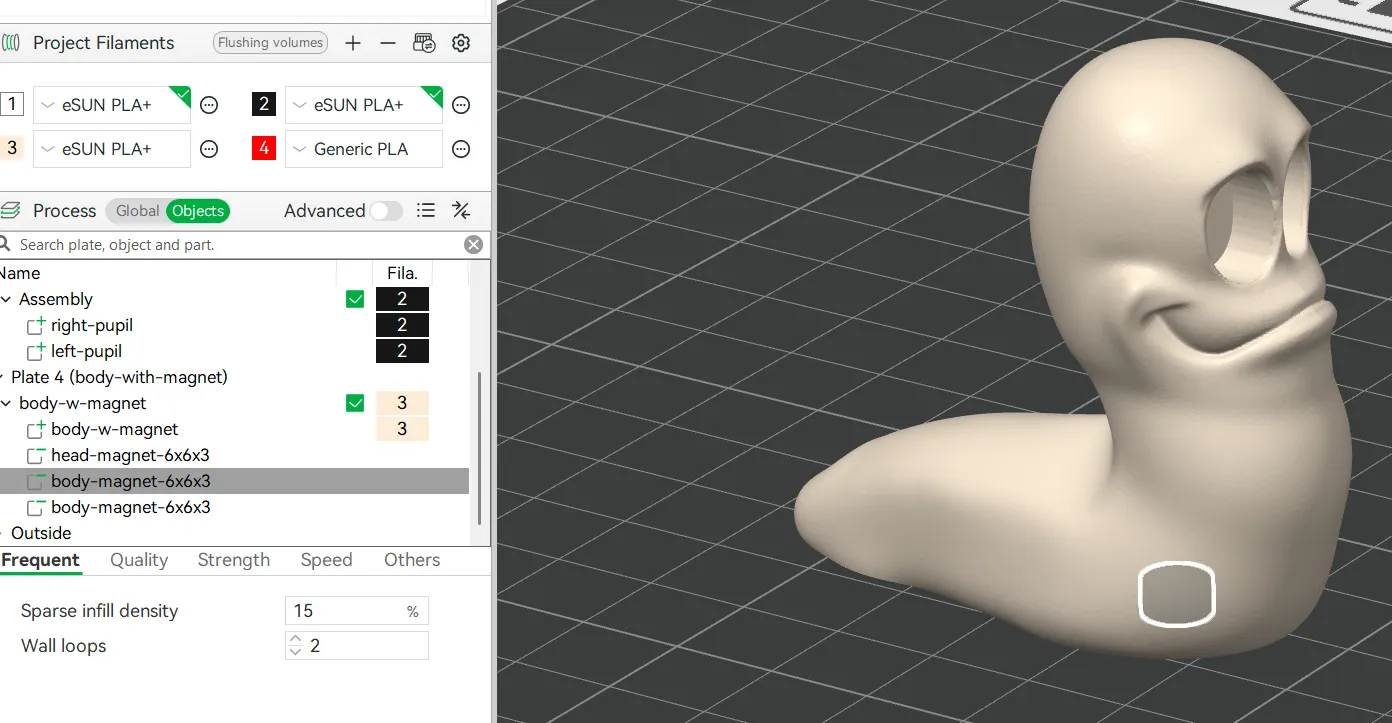
In the character profile, I included two body plates: one with magnets and one without. The magnetic body plate has three magnets in total, two in the body (near the ground) and one in the head. The model includes two pauses to press-fit the magnets during printing.
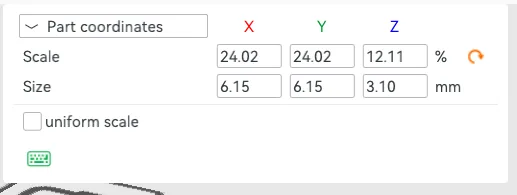
The magnets I used are 6×6×3 mm, but you can adjust the size by leaving a small tolerance (i added 0.15, 0.15, 0.10 ) and remembering to configure the pause. Each magnet sits 0.6 mm from the surface (either the ground or the head), which helps keep them hidden so they don’t show through.
Hats
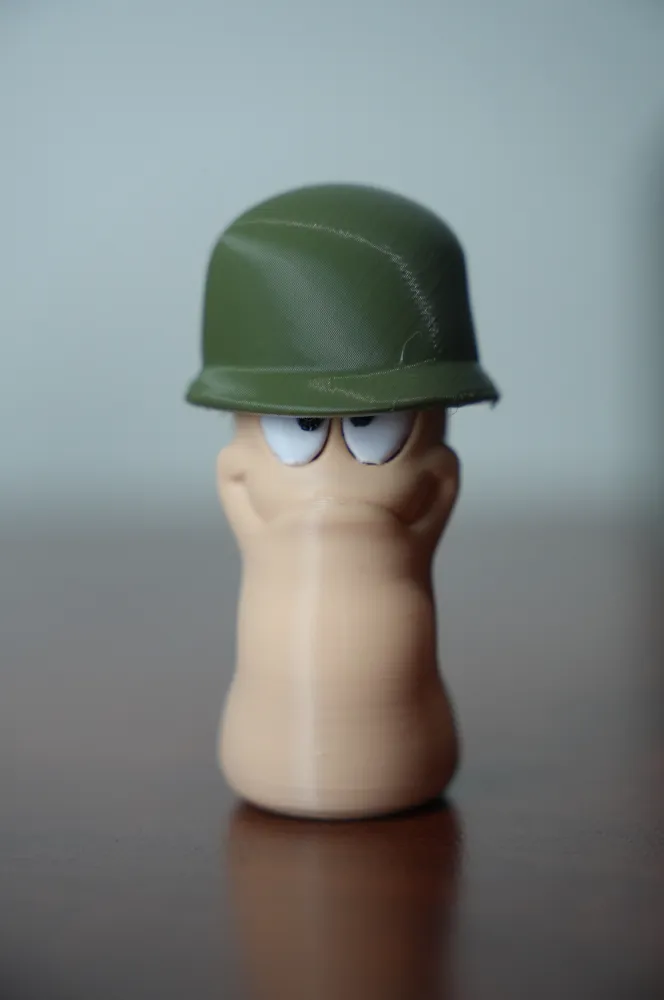
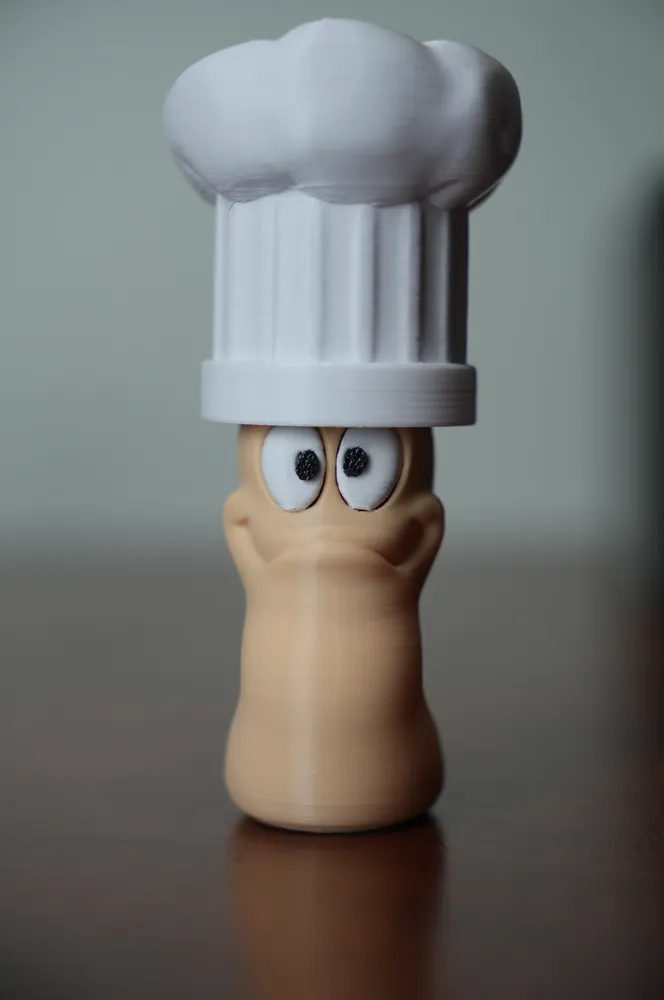
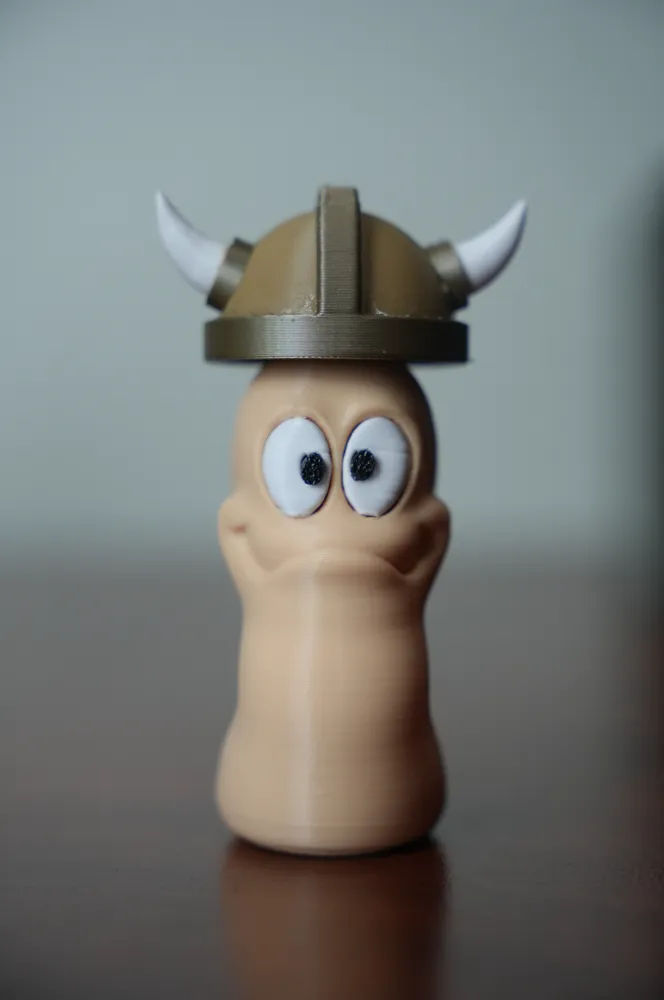
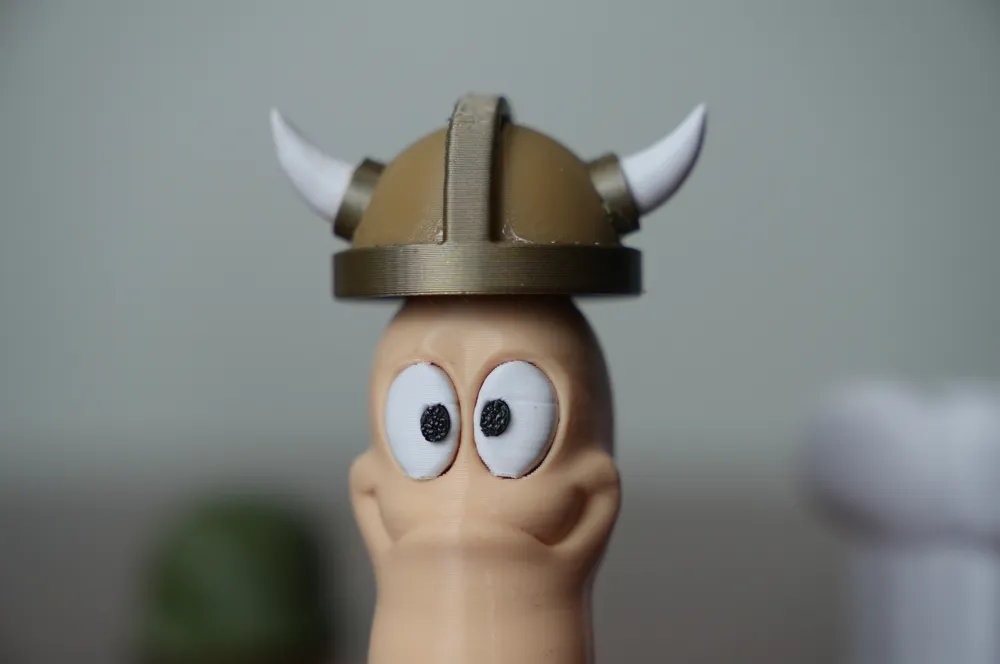
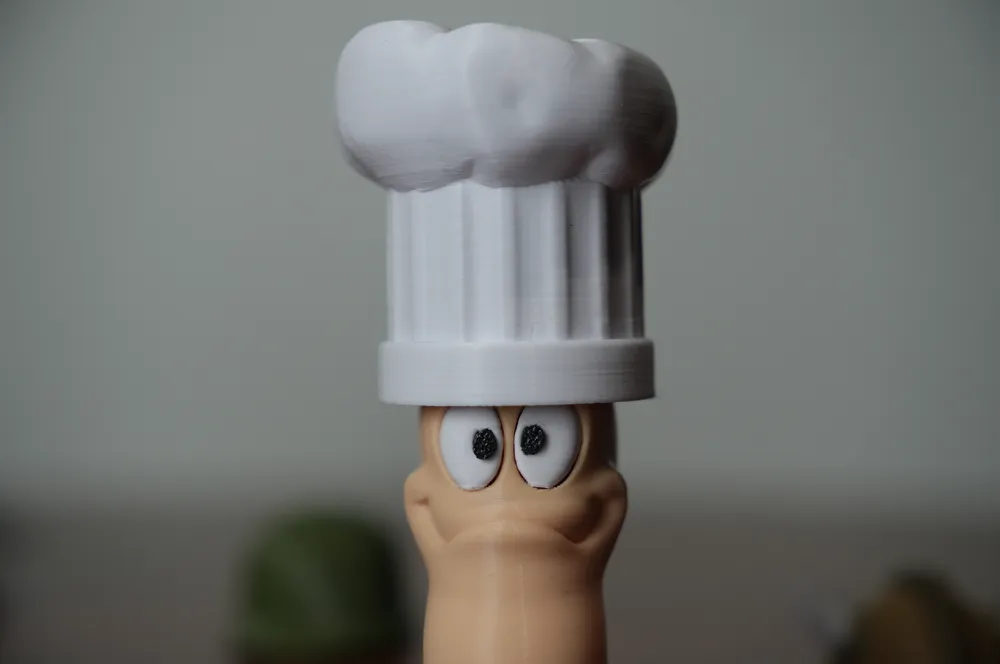
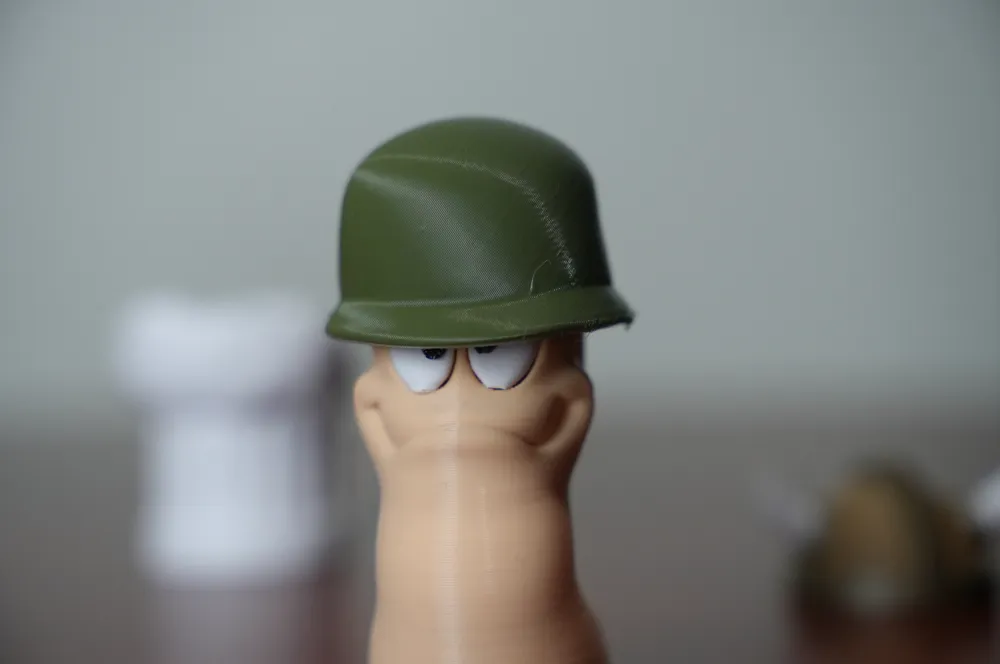
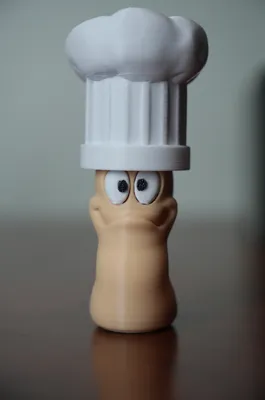
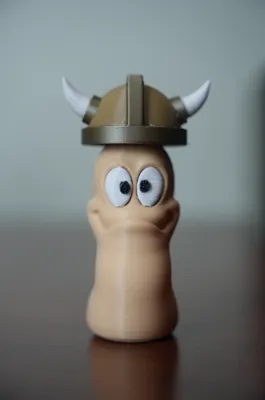
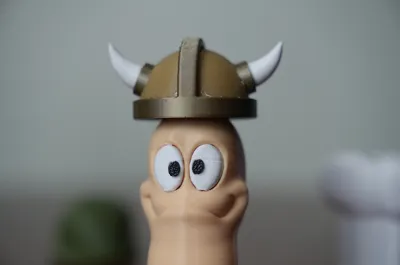
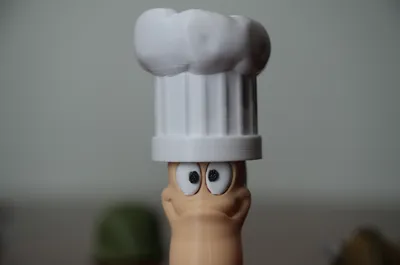
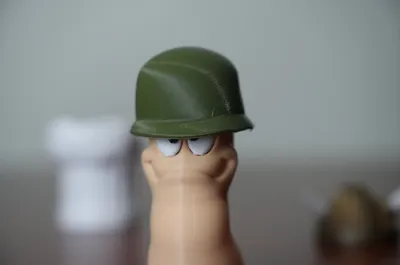
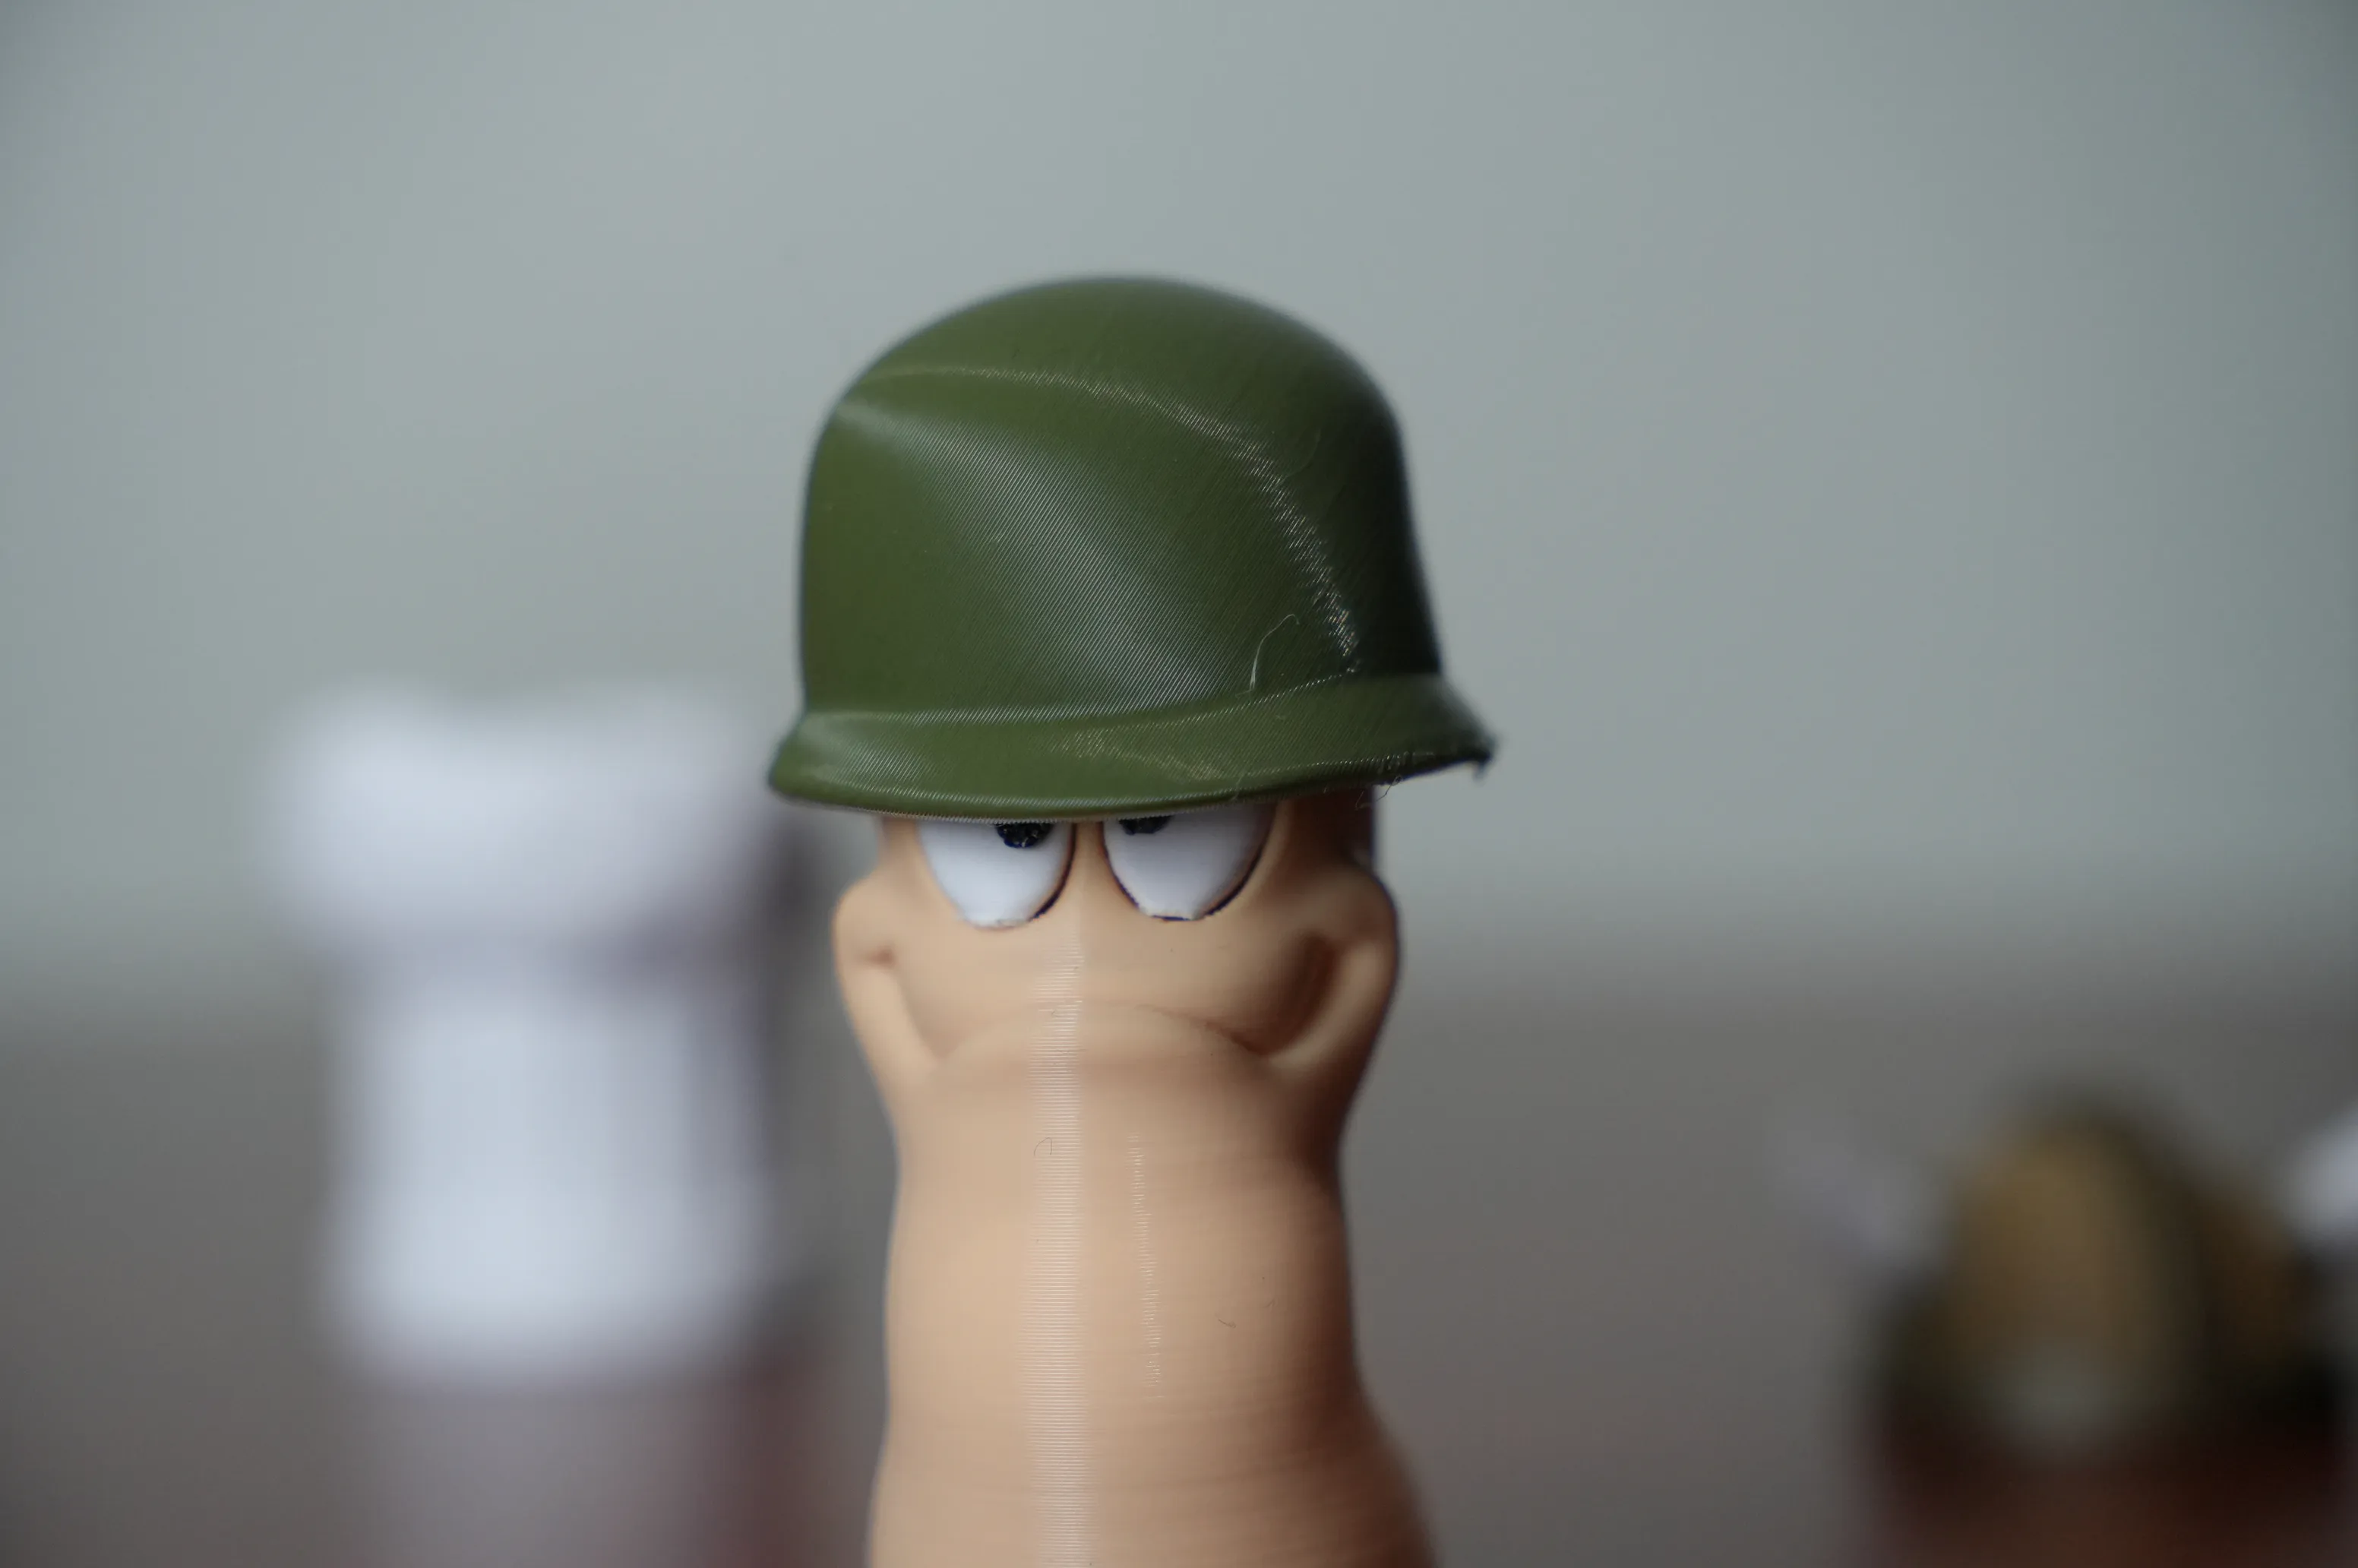
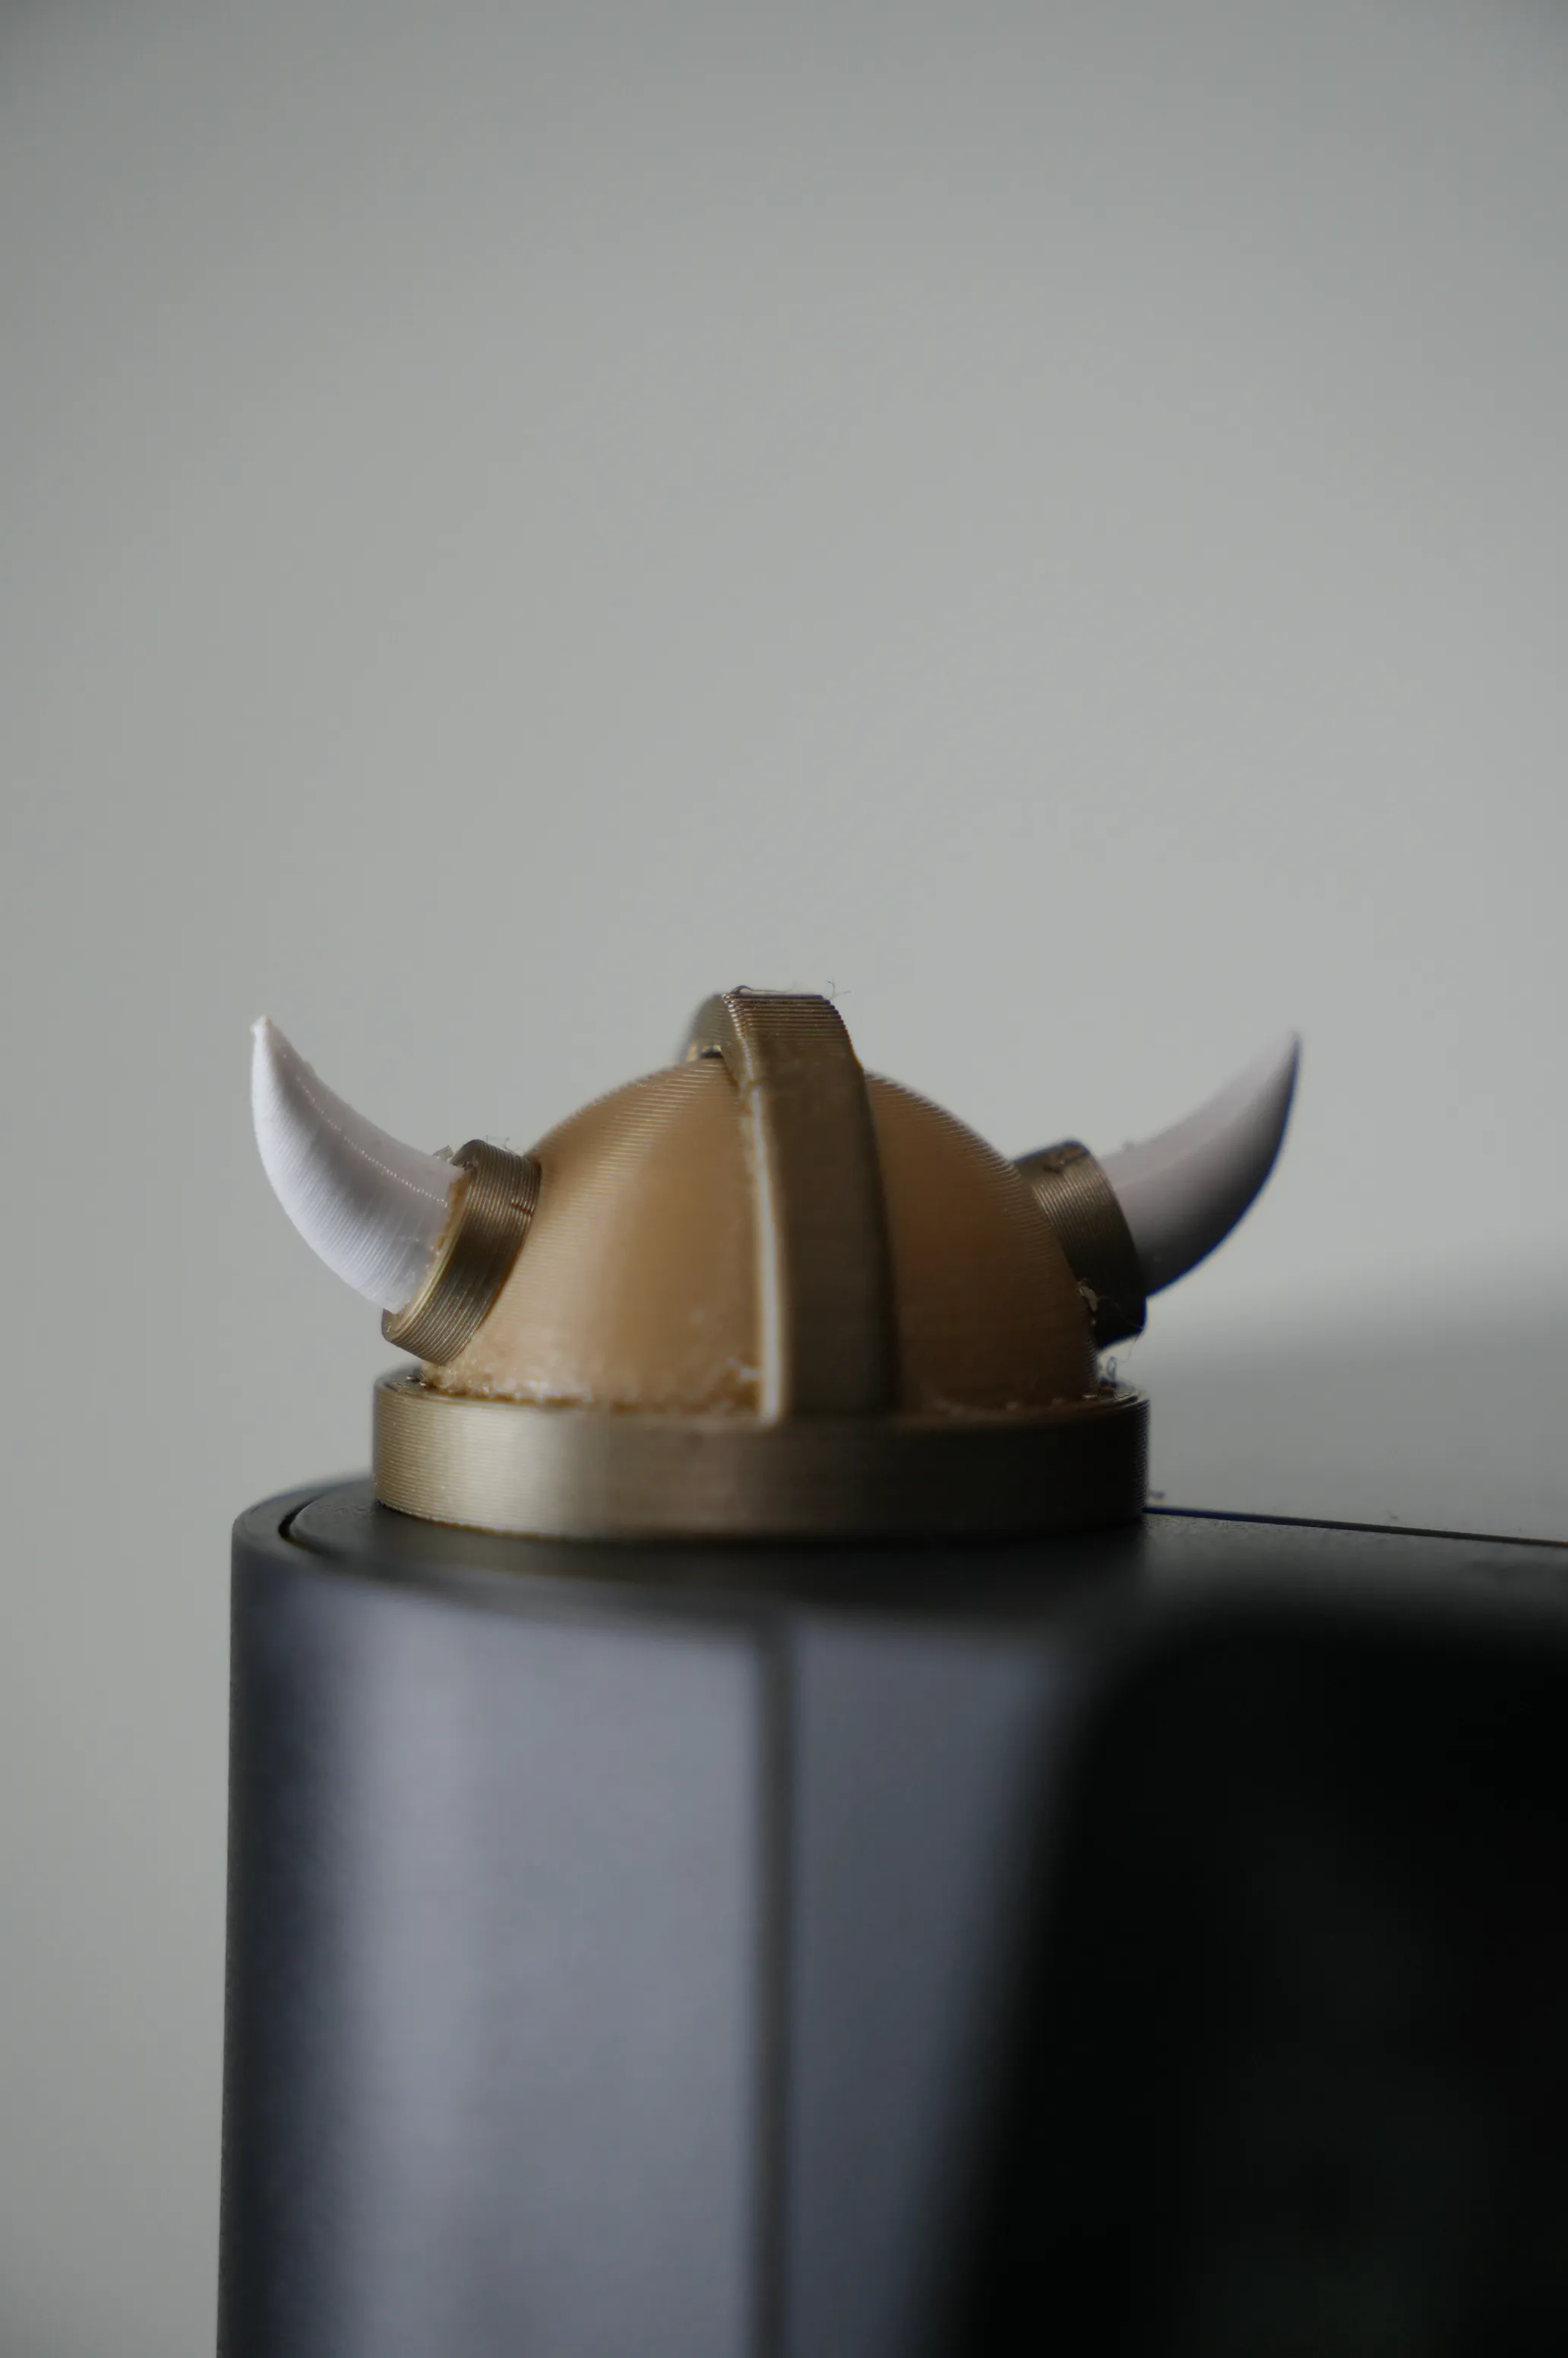
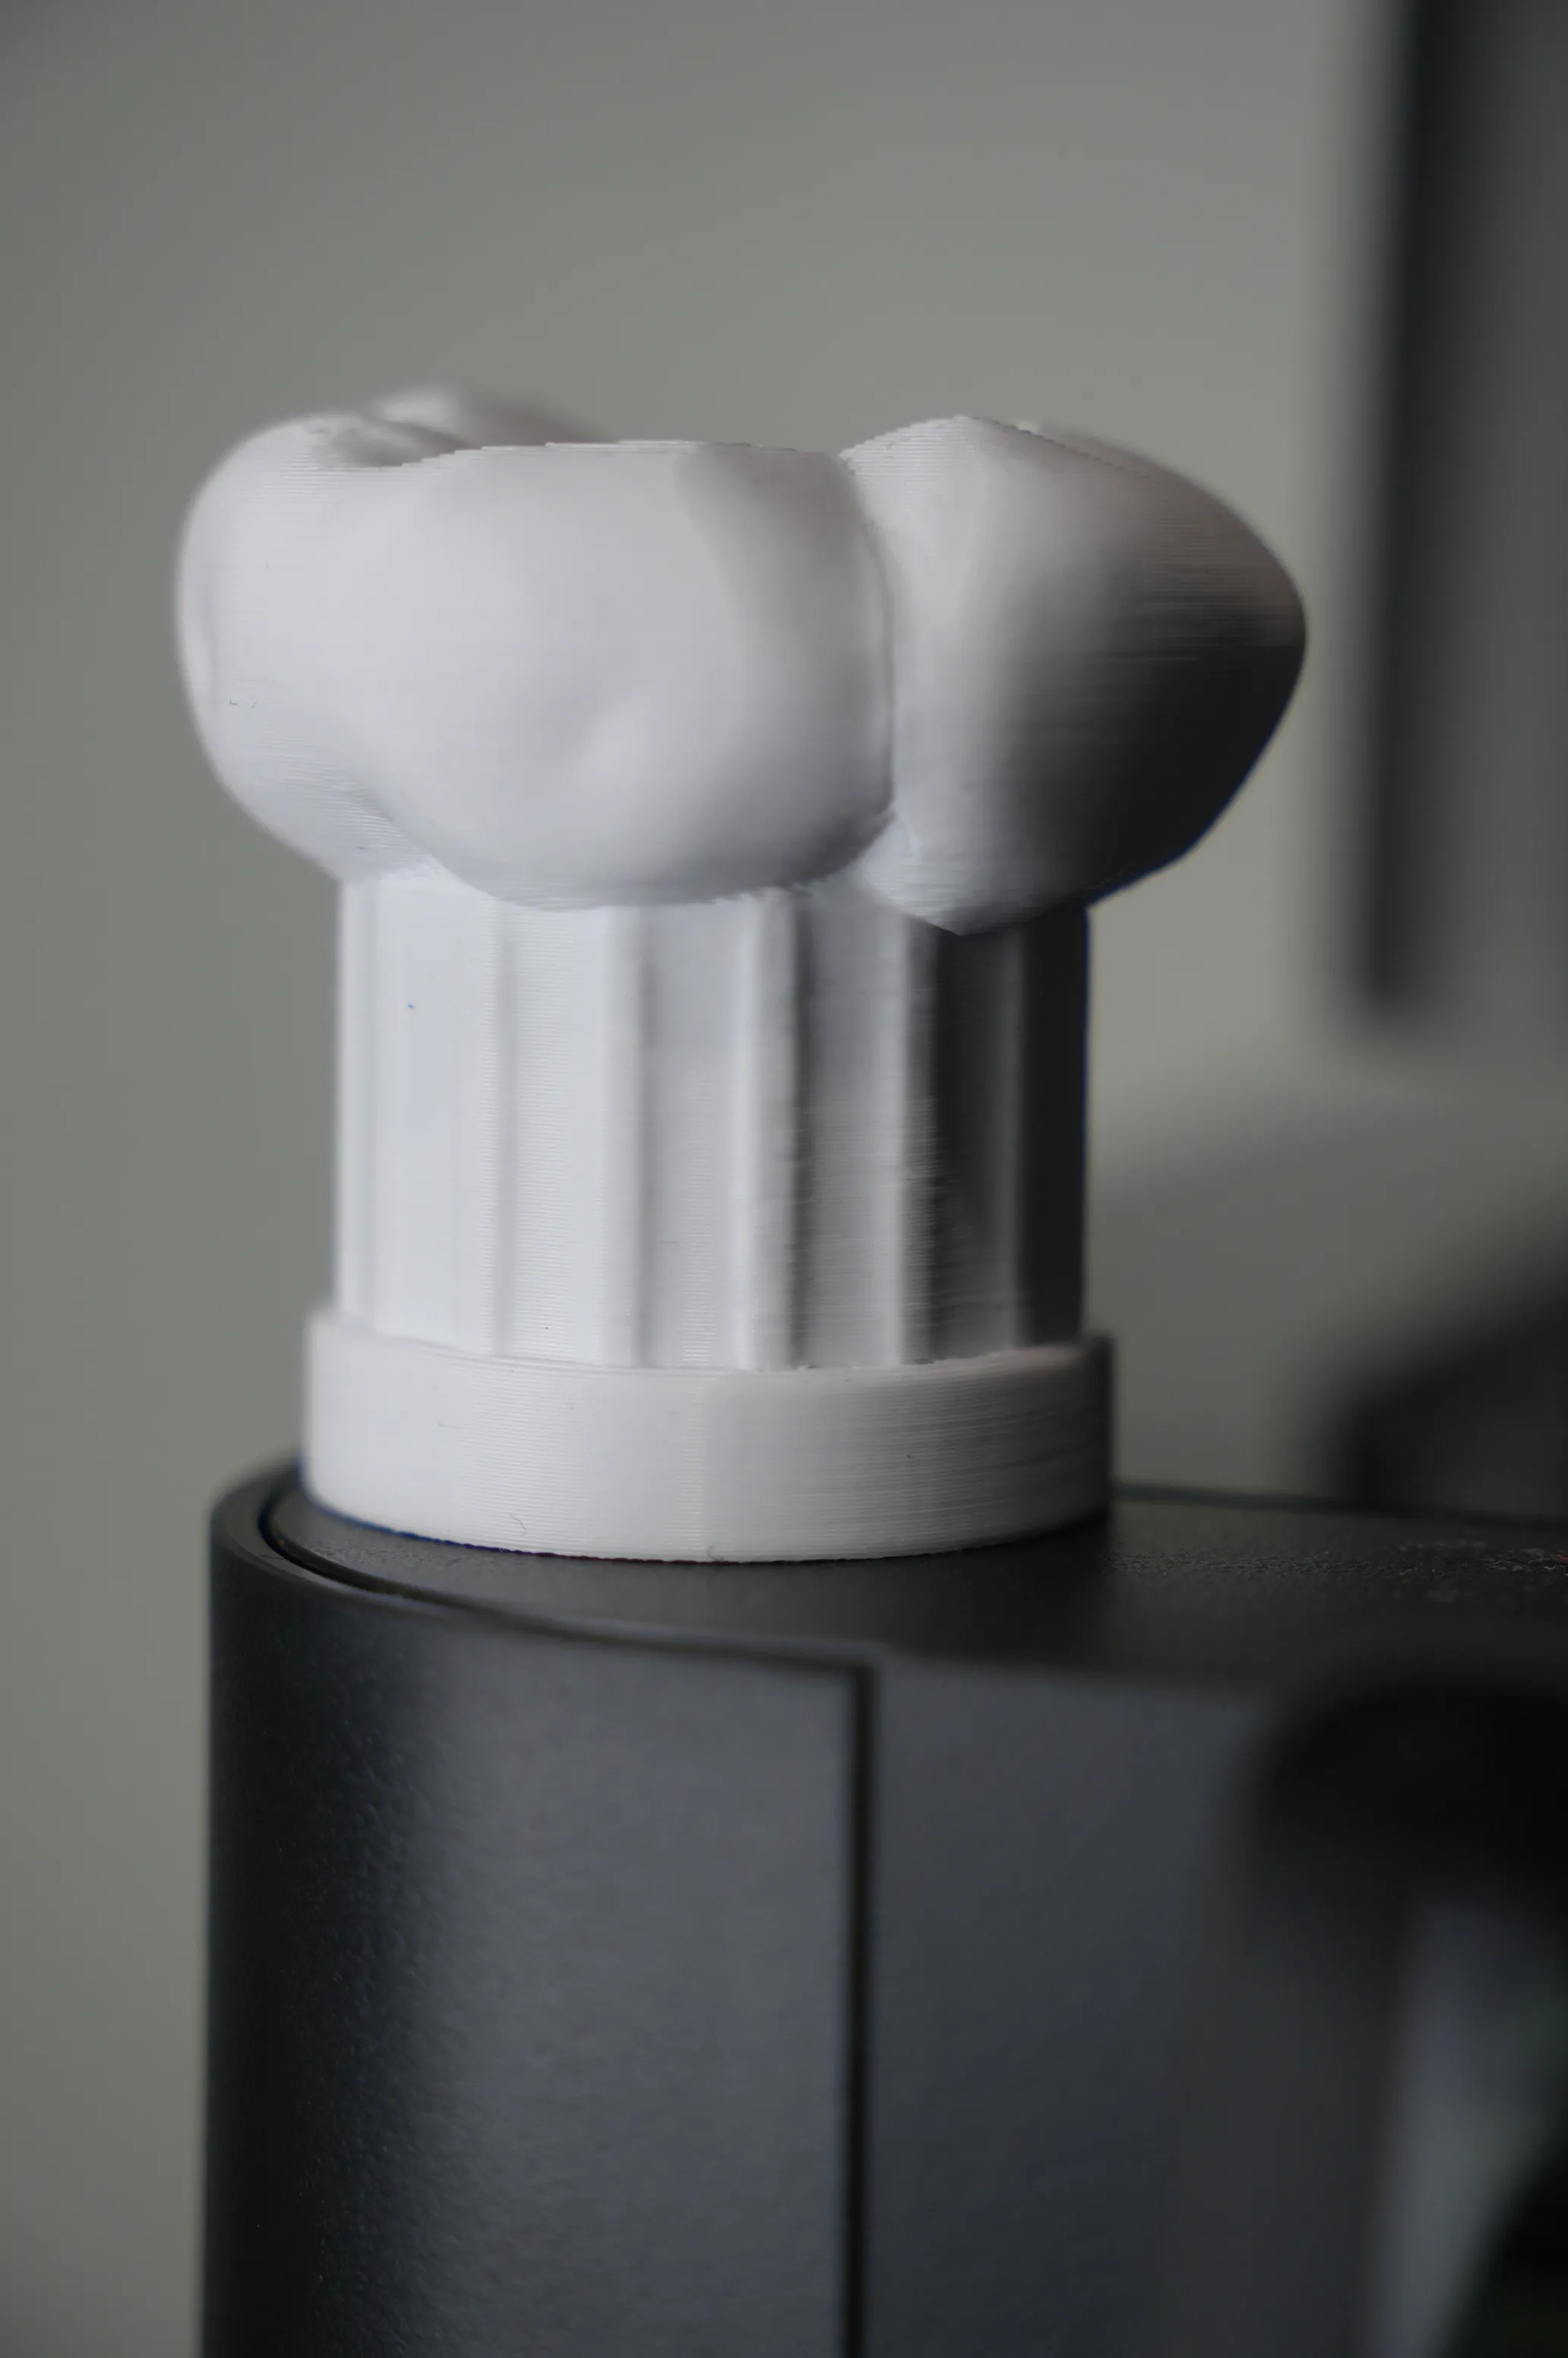
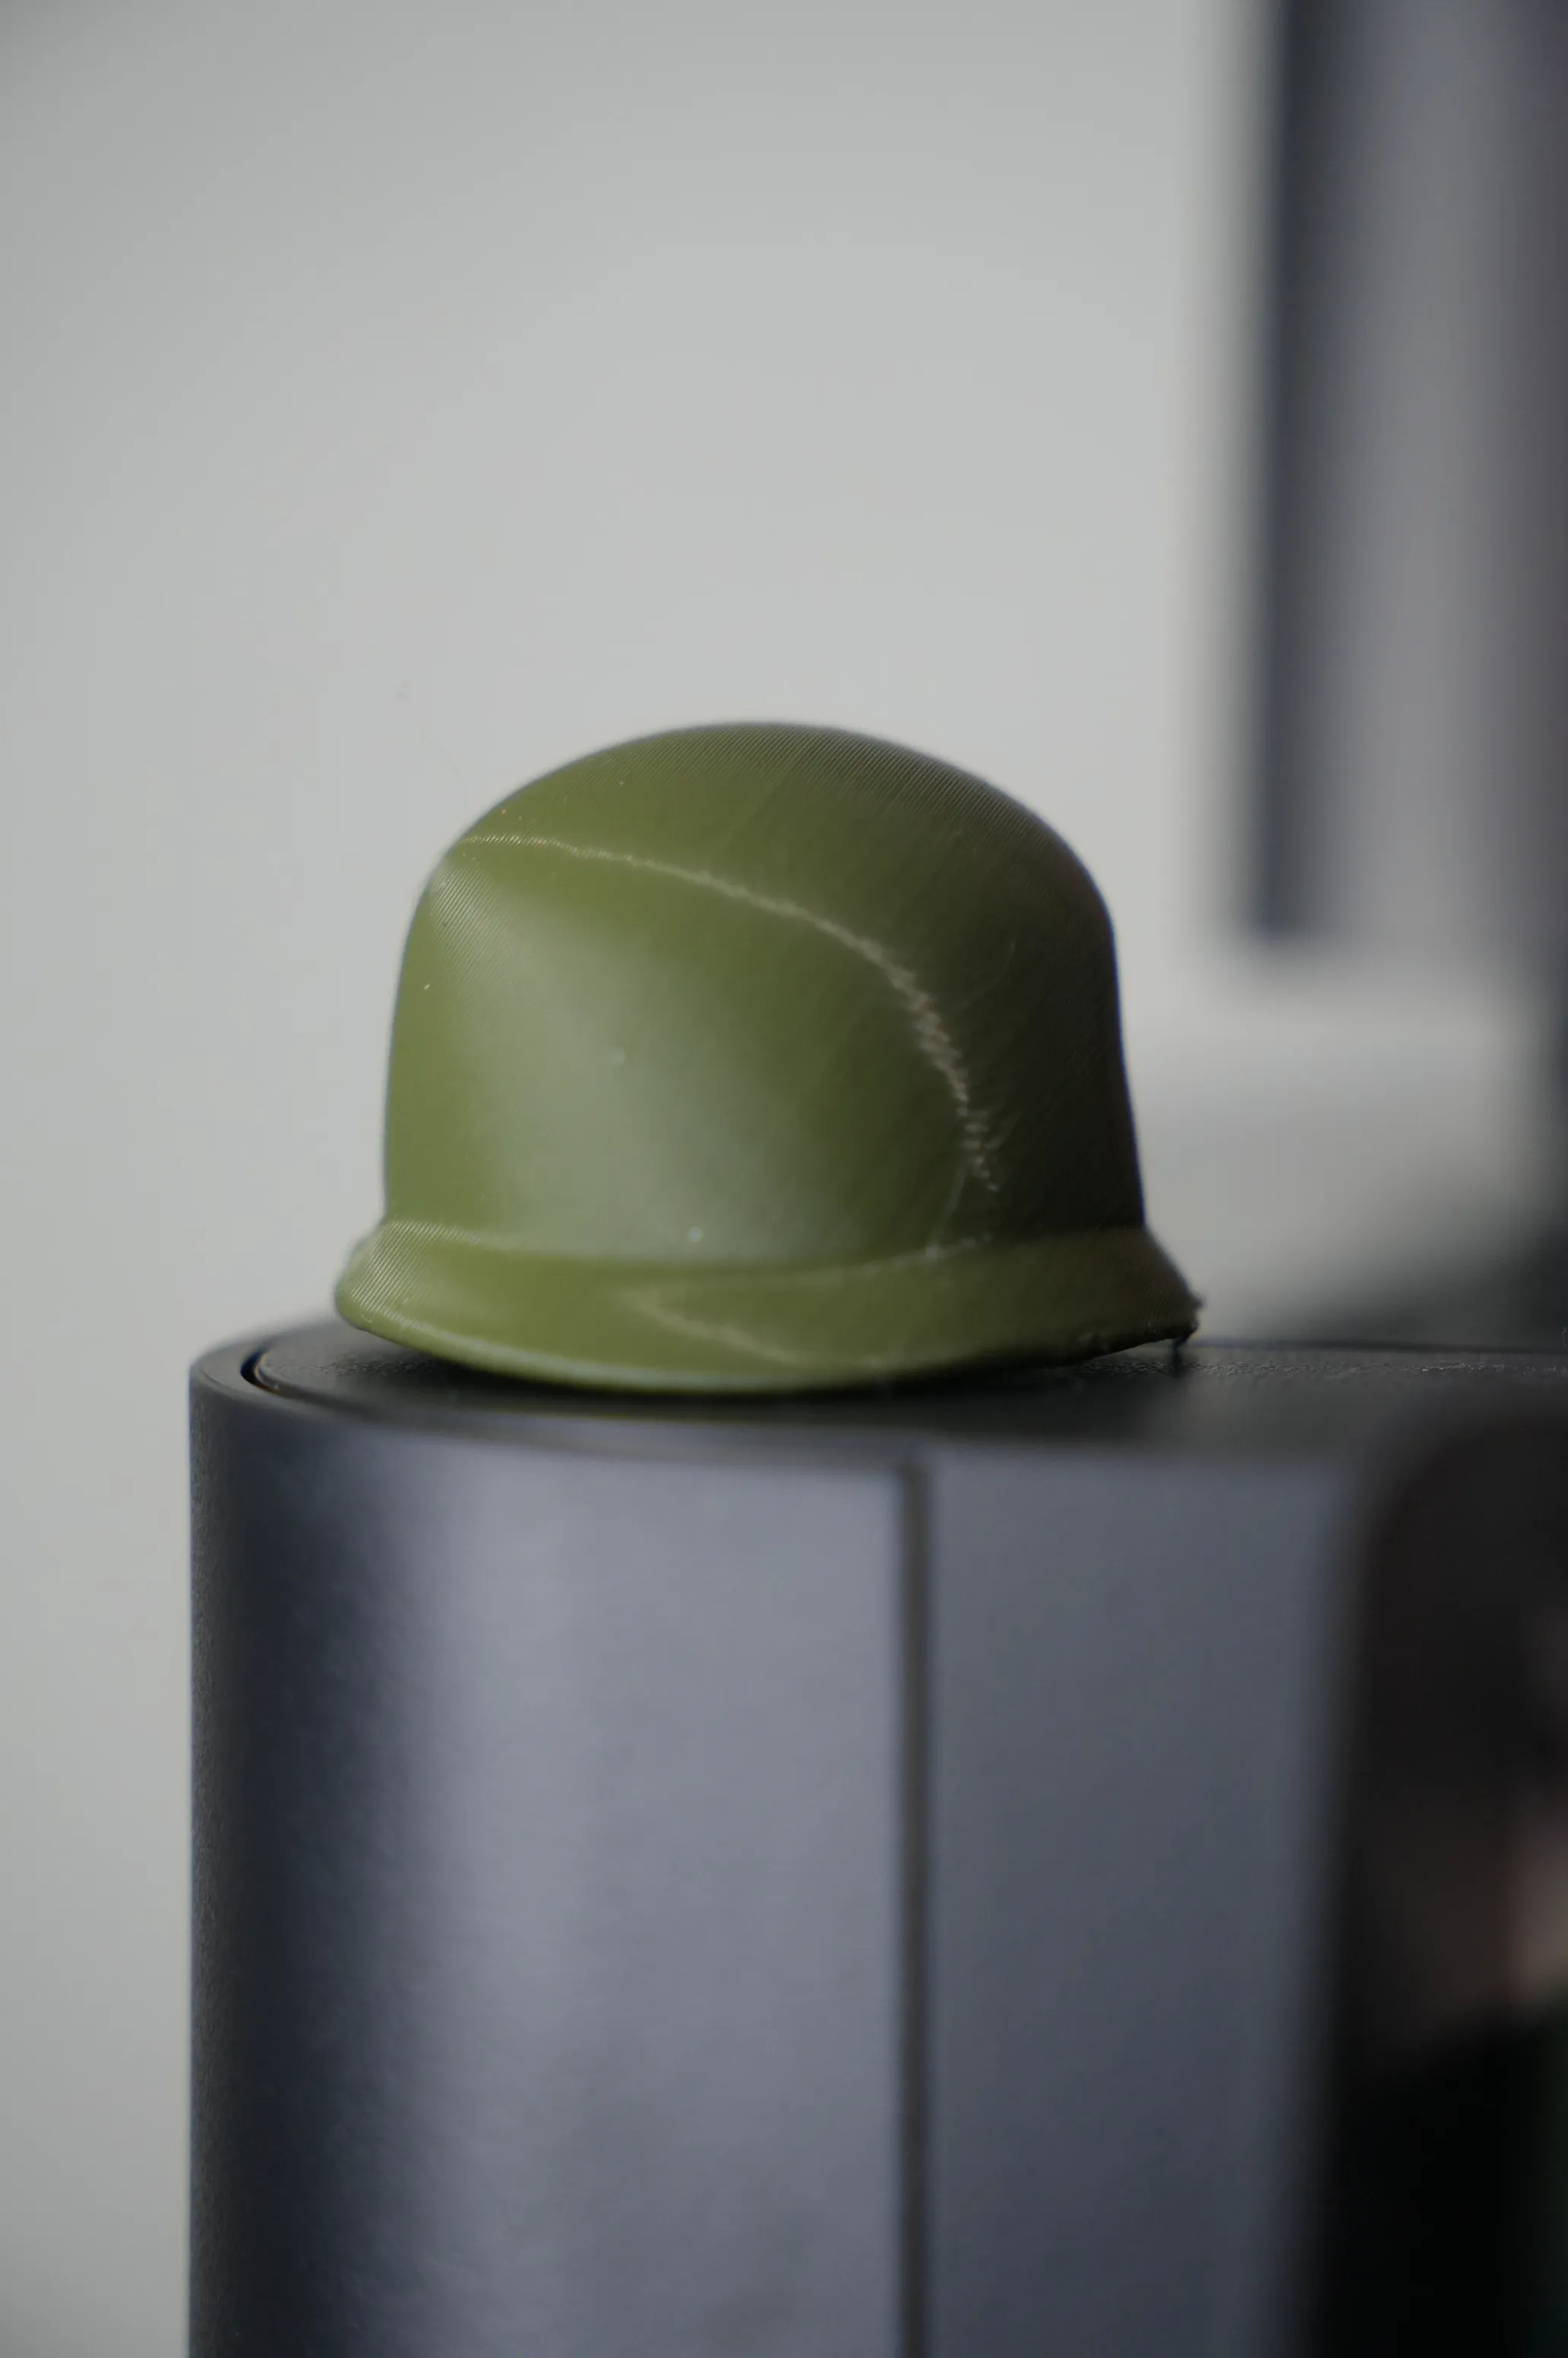
I also designed three hats as accessories in the second profile: a soldier helmet, a chef hat, and a Viking helmet.
Each hat has magnet slots sized at 6.1×6.1×3.1 mm (a 0.10 mm tolerance, 0.05mm less than the body parts), so you’ll need to press firmly for a tight fit. You can also adjust the slots in your slicer if needed.
Soldier helmet: The print was tested at an angled orientation to avoid visible lines on the top surface. However, if you run into printing issues or feel that the printing angle is too steep, it’s recommended to reset the rotation to 0° and enable adaptive layers, since it’s a rounded shape.
The Viking helmet has four parts: the “metal” rim, the “metal” horn support, the main helmet piece, and the horns. To assemble it, place the magnet in the main helmet piece, attach the rim over it, insert the horns into the horn support, and finally attach the horn support to the helmet.
Boost Me (for free)
If you like the model, I’d appreciate a little boost this time!
Change log:
16-02-2026: Body print profile now includes a new plate for eyes using AMS
License

You shall not share, sub-license, sell, rent, host, transfer, or distribute in any way the digital or 3D printed versions of this object, nor any other derivative work of this object in its digital or physical format (including - but not limited to - remixes of this object, and hosting on other digital platforms). The objects may not be used without permission in any way whatsoever in which you charge money, or collect fees.


Comment & Rating (38)