
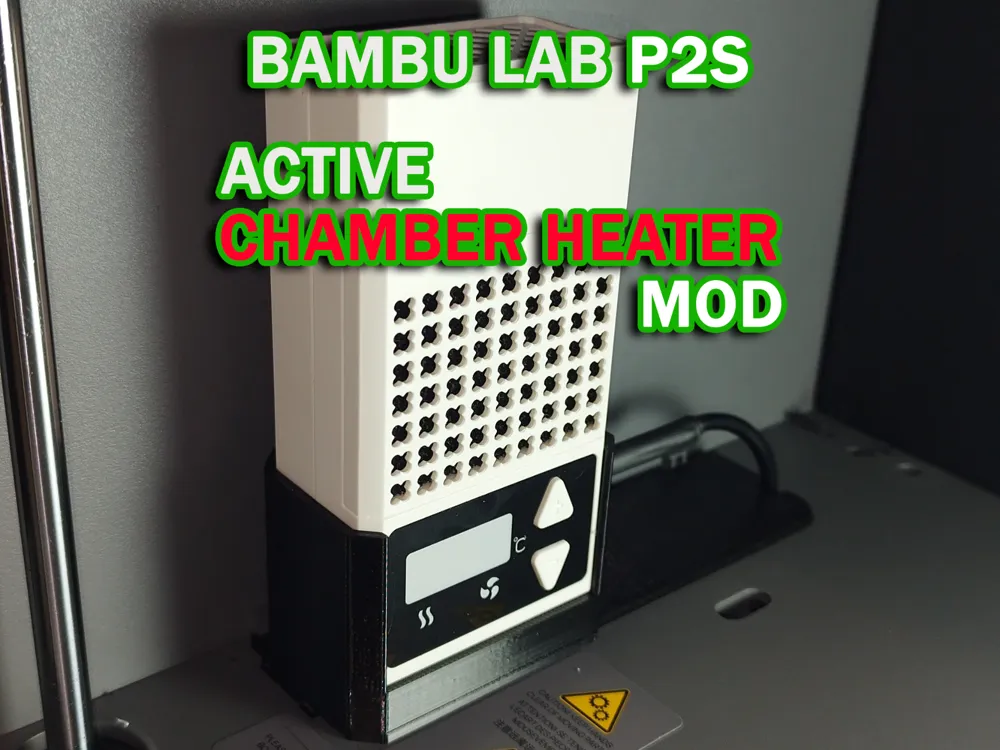
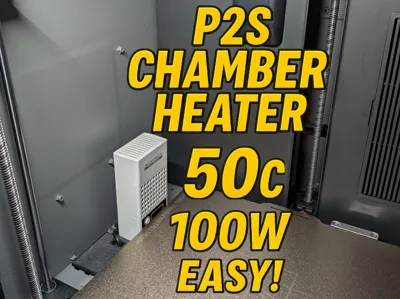
P2S Active Chamber Heater mod 100W
Print Profile(1)
Bill of Materials
- Viti M3 6mm x 2:
- Inserti in ottone M3 lunghezza 6mm x 2:
Description
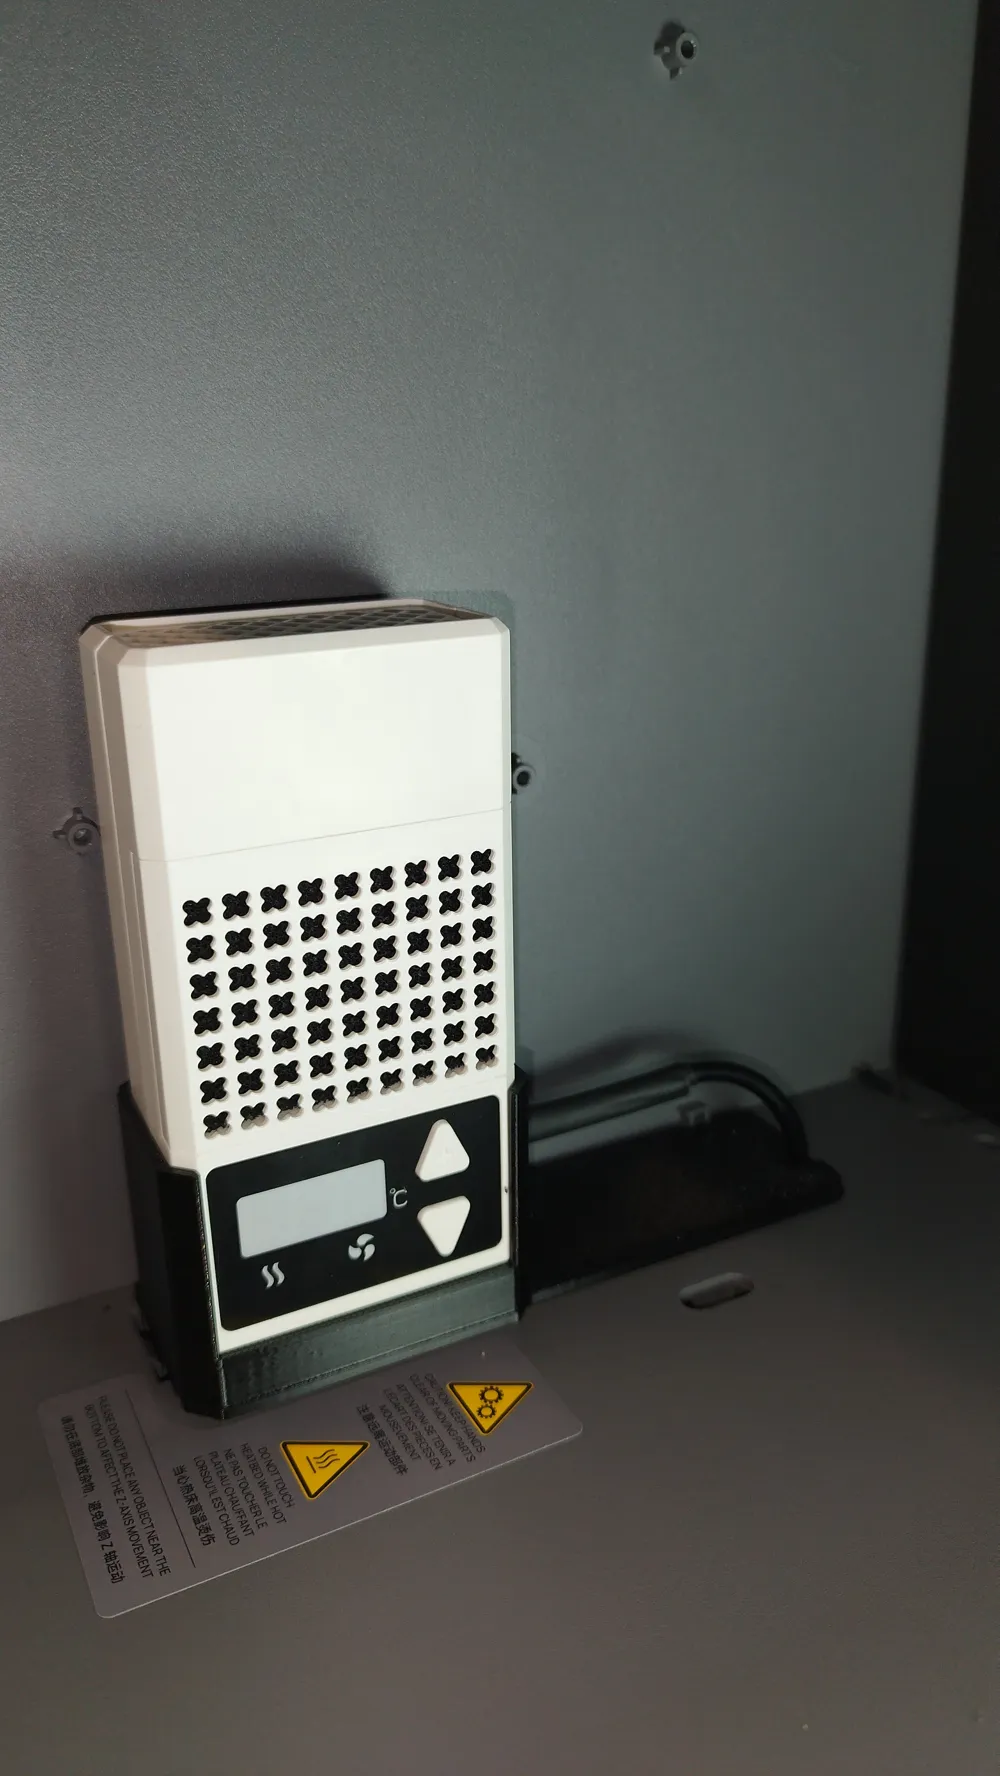
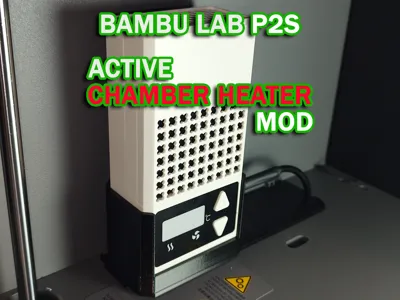
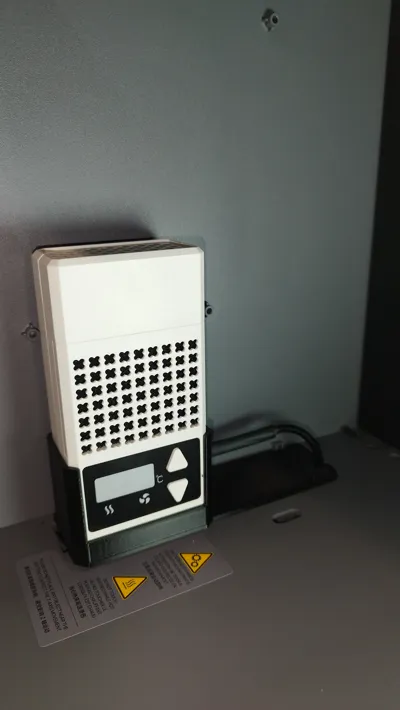
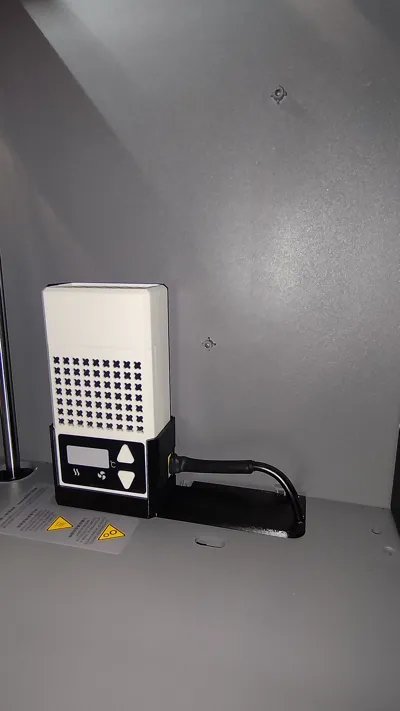
This support allows you to install a compact 100 W heater (actual power consumption is 80W), adjustable up to 50 °C, inside the printer
In my case, keeping the printer in the attic at an ambient temperature of about 10 °C, it was possible to reach an internal temperature of 50 °C using this heater in combination with the print bed set to 110 °C
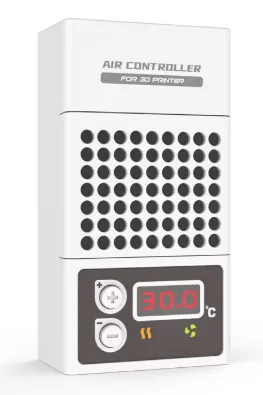
The heater used is the following:
https://it.aliexpress.com/item/1005004999454794.html
Since AliExpress listings are often changed or removed, I have included a photo of the product for reference
I have an older model that is slightly different aesthetically but from what I read, this one has the exact same measurements. If they happen to be slightly different (and we're probably talking about a maximum of 1 mm on the long side of the base), let me know and I will correct the files
Cable routing
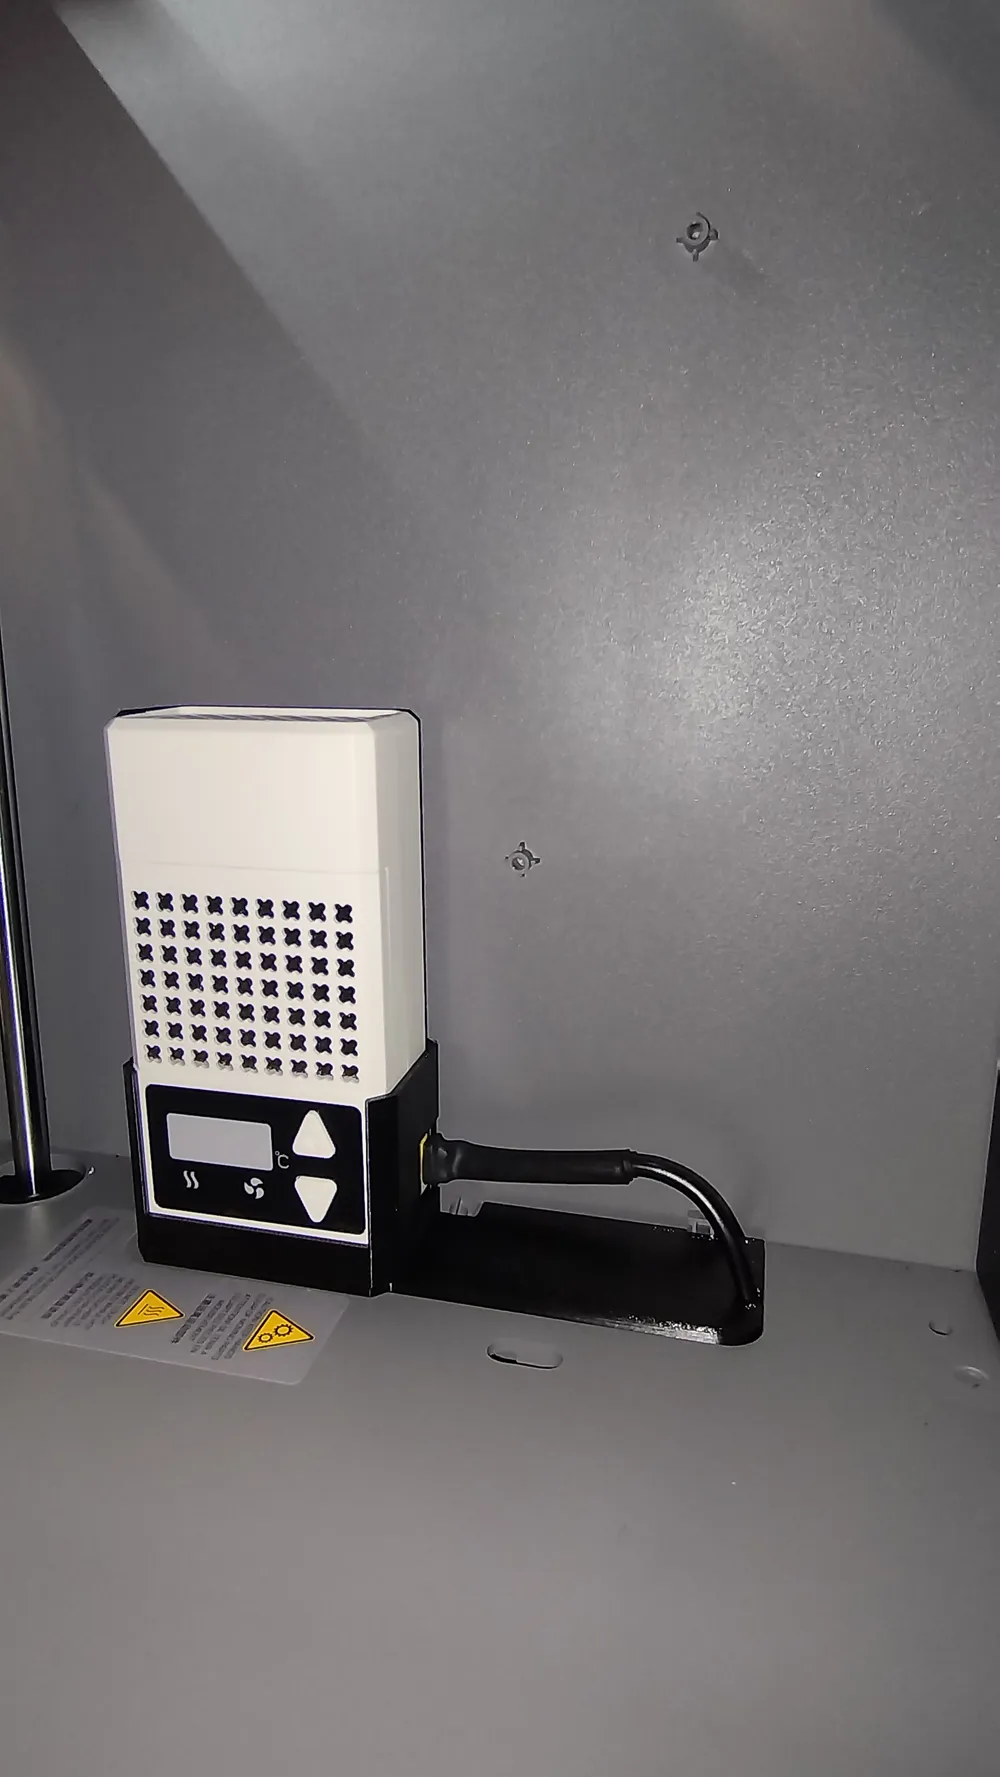
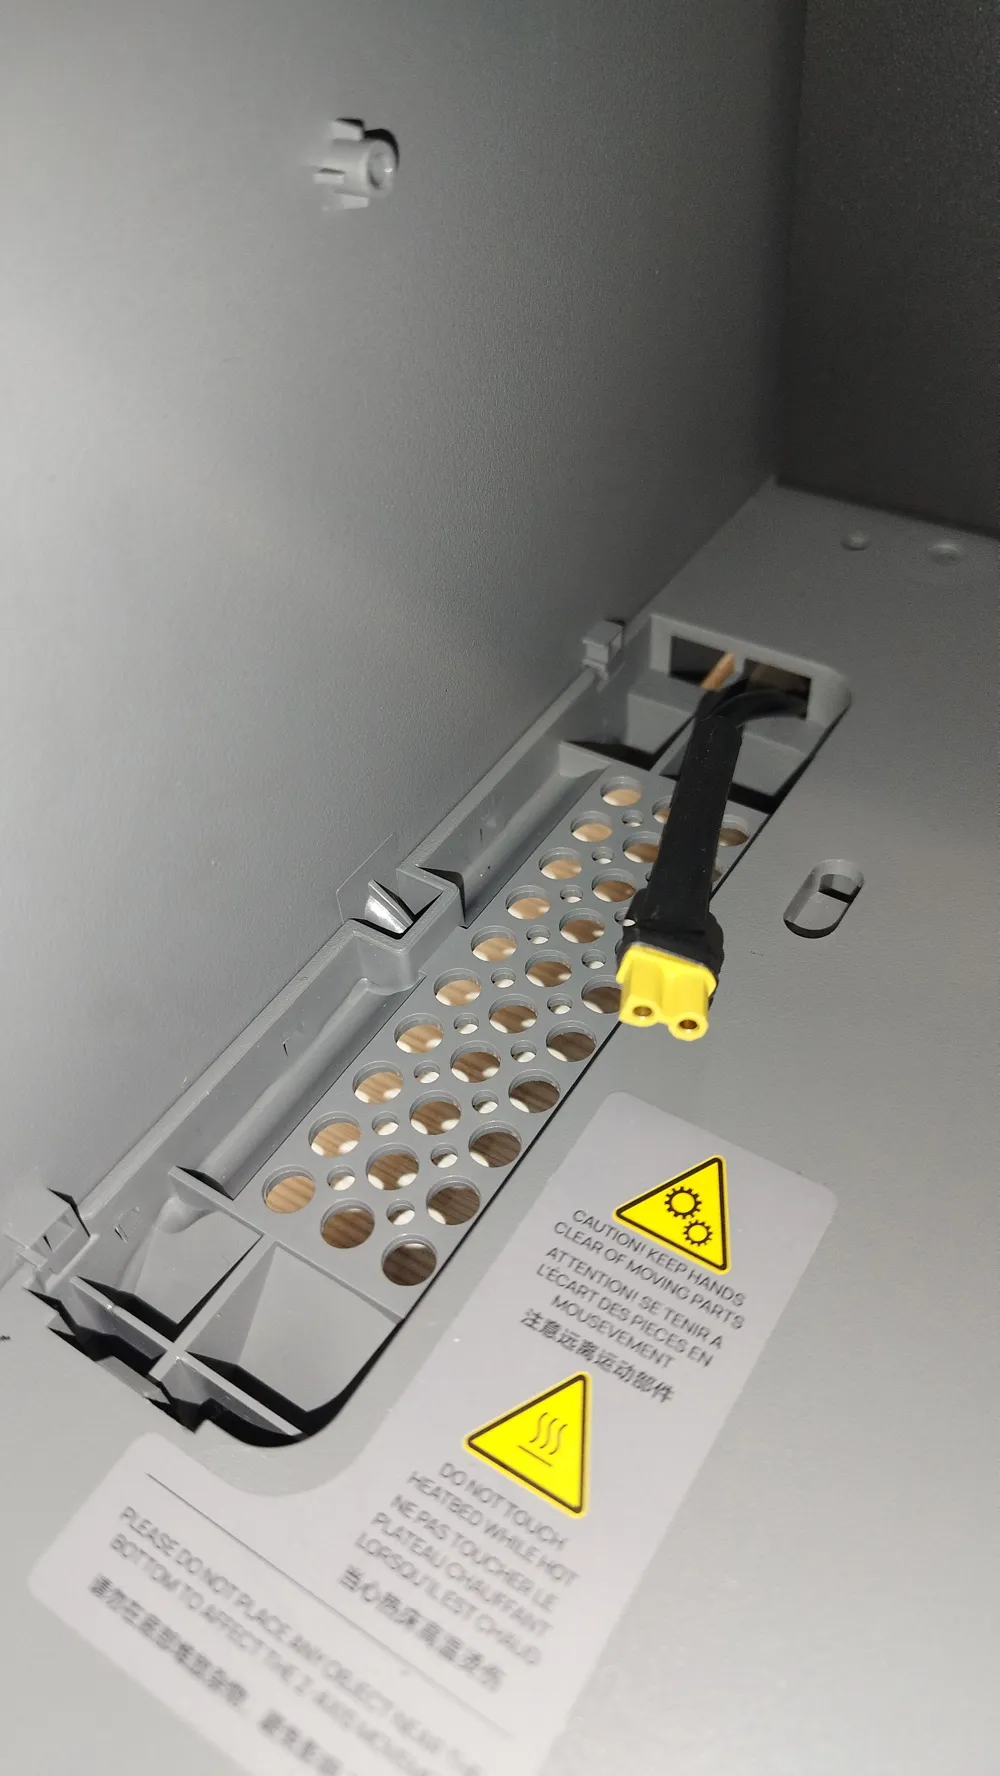
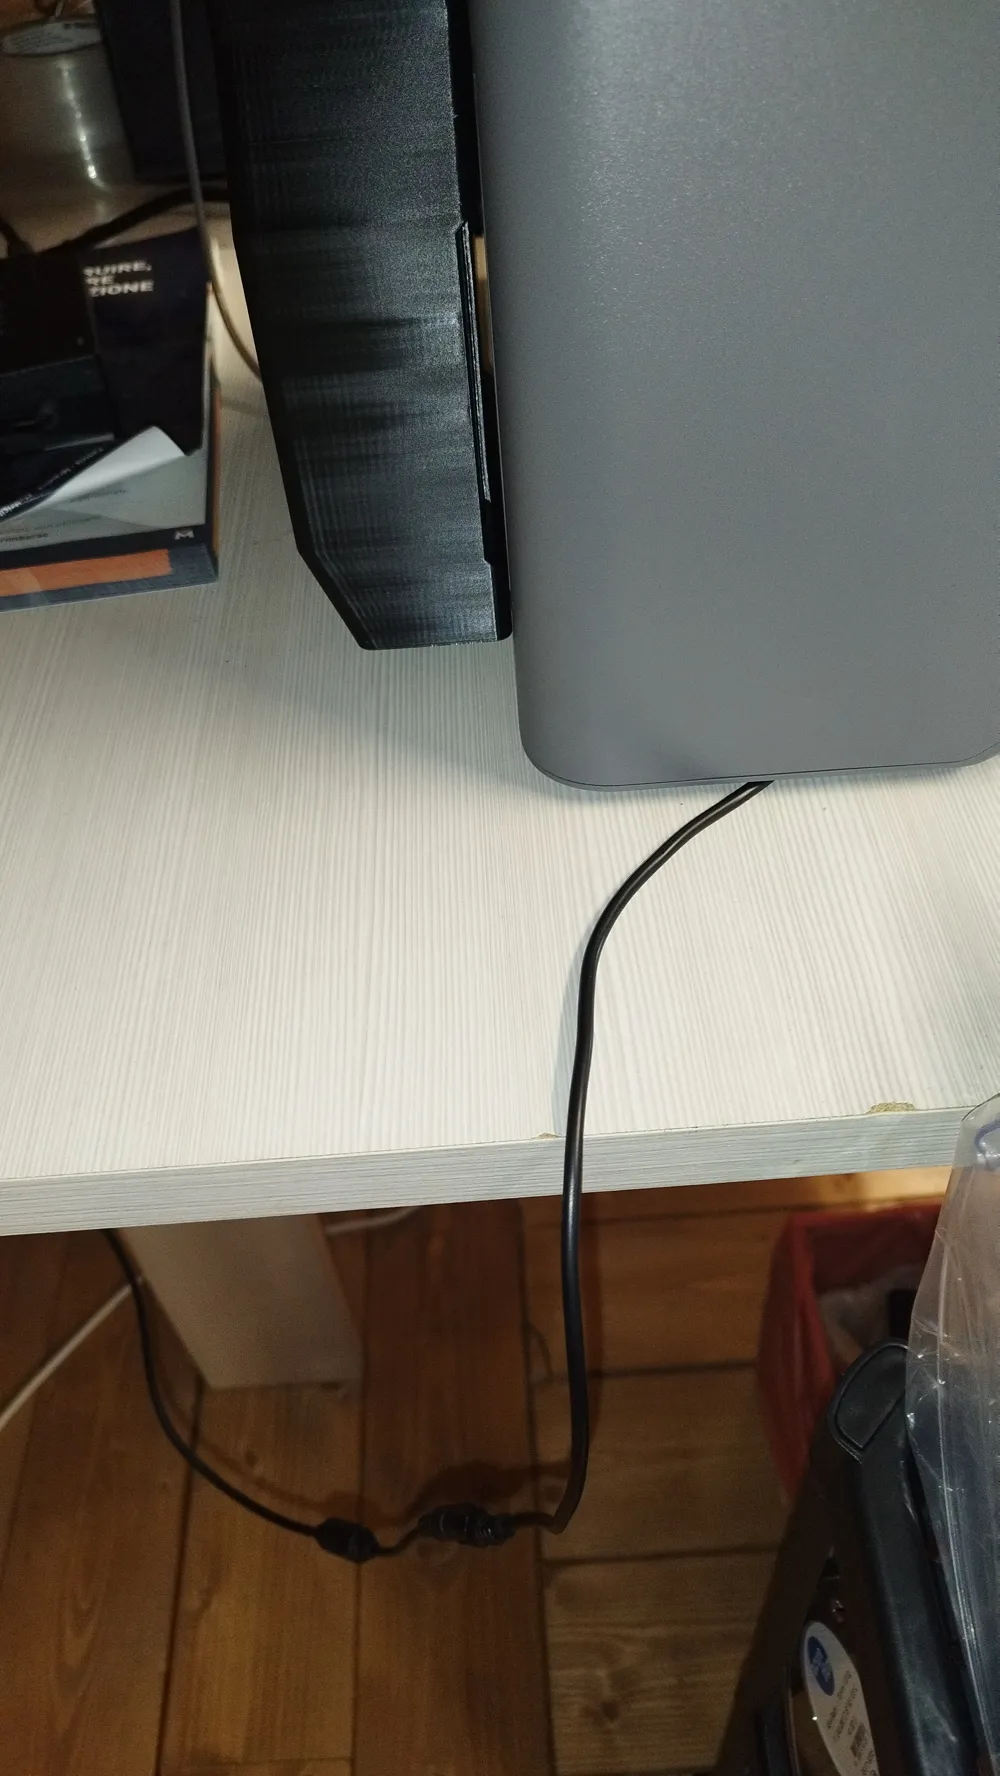
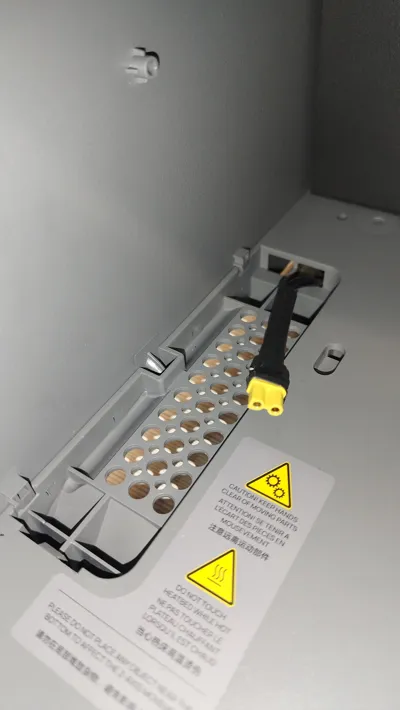
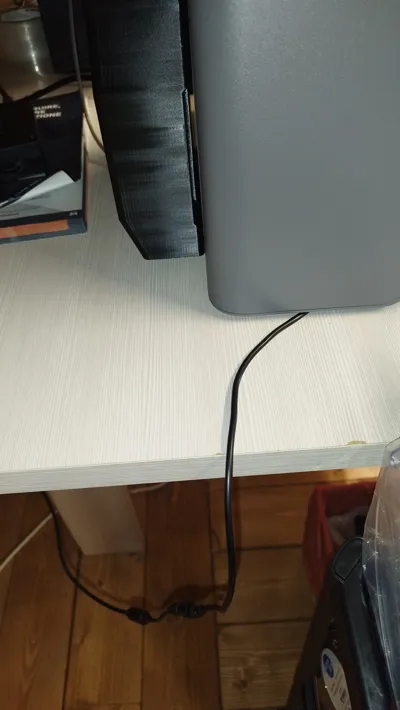
The cable can be routed through the existing hole under the removable plate inside the P2S (see photo)
Originally, this heater was installed on a resin printer, and due to space constraints, the connector had to be redone
If the original connector is too large, you can proceed in the same way and make it like mine, which means:
- solder the two wires directly to the heater connector
- insulate the connection with heat shrink tubing
A photo of my connector is included for reference
Bracket installation
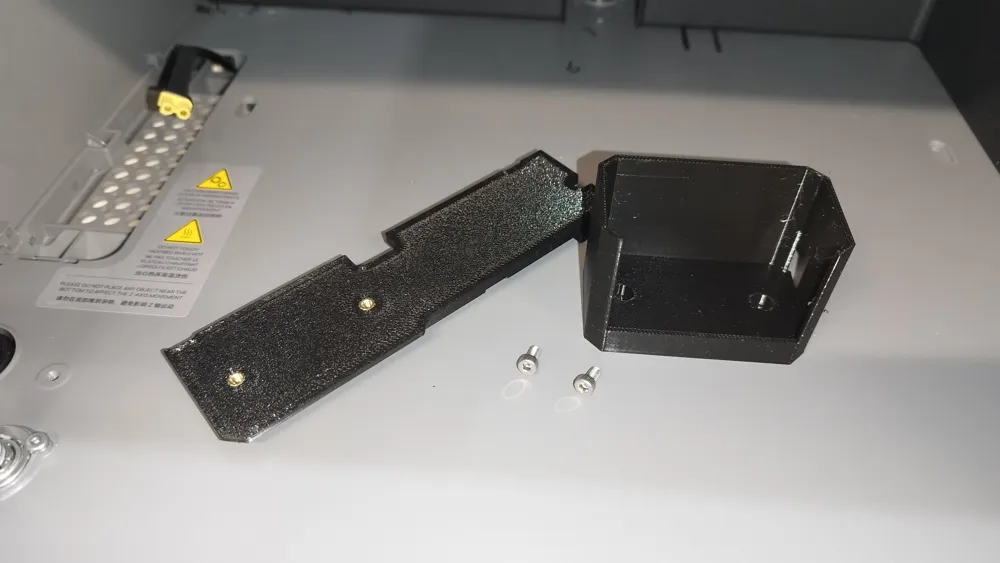
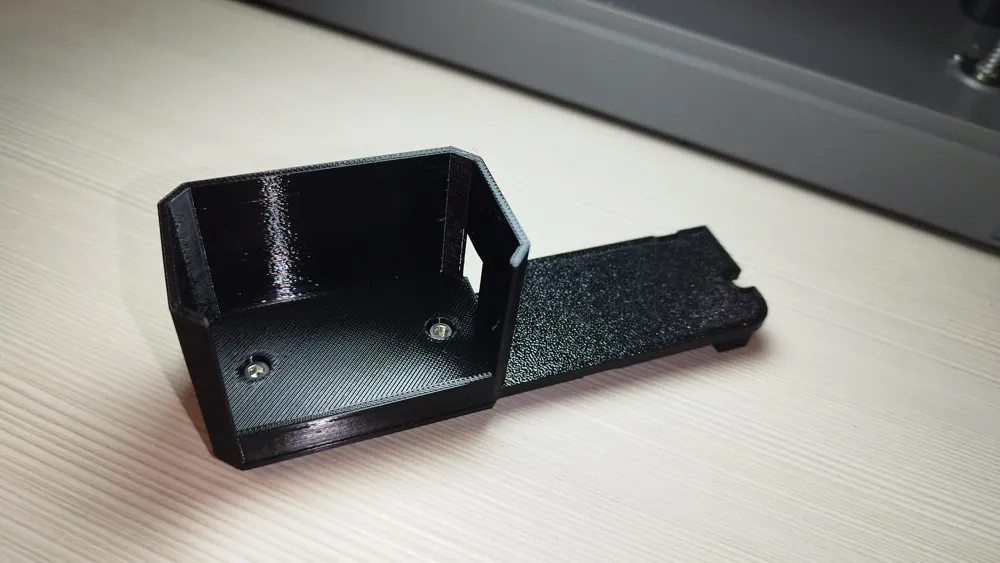
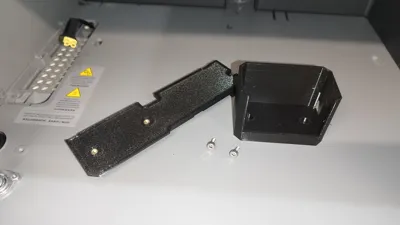
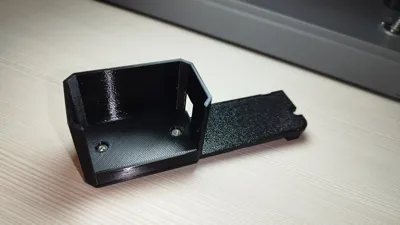
The original cover on the internal base on the left side of the printer must be replaced with the printed one, which snaps into place. The cable will pass through one of the two existing holes (the one on the right) towards the back of the printer (see photo)
Two M3 brass inserts (mine are 6mm) will then be inserted into the new printed cover, which will be used to secure the heater bracket with two 6mm long M3 screws
Boost Me (for free)
Please leave a Boost if you liked the model :)
This remix is based on

License

You shall not share, sub-license, sell, rent, host, transfer, or distribute in any way the digital or 3D printed versions of this object, nor any other derivative work of this object in its digital or physical format (including - but not limited to - remixes of this object, and hosting on other digital platforms). The objects may not be used without permission in any way whatsoever in which you charge money, or collect fees.


Comment & Rating (16)