CZ 457 chassie/rifle stock, Patronus Betulom


Print Profile(1)

Description
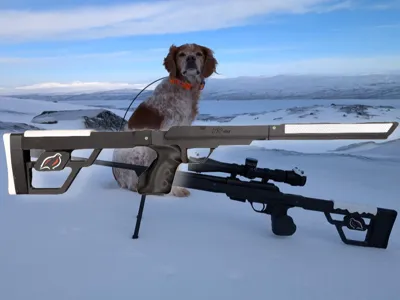
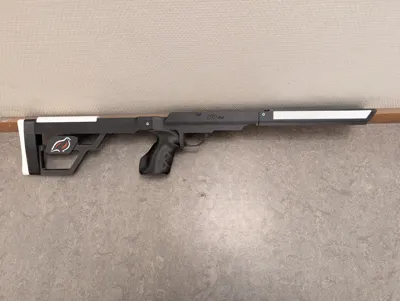
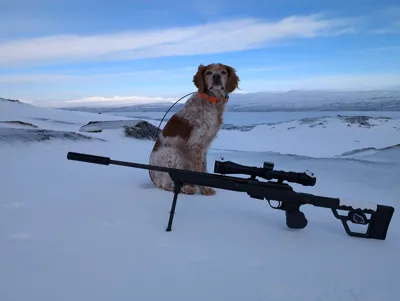
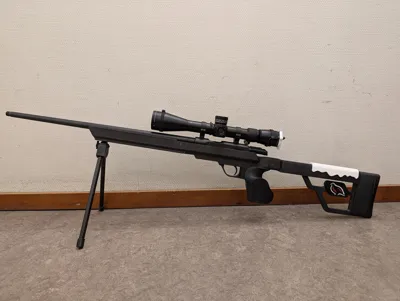
457 Chassie/Rifle stock, Patronus Betulom (the patron saint of birch trees)
This is my light weight full chassie/replacement hunting stock for the 457 rifle. It has been a ongoing work of mine for many years and its purpose was to give me a rifle stock the way I wanted it, it was never intended to be mass produced or the easiest print in the world. But I also think it is in a really good state at the moment and that many more can have use for it so I decided to upload it.
To avoid some problems with 3d-printed stocks and keep weight down it is not as adjustable as many other chassies, instead I built it to fit me and provide the drawings so you can redraw the parts you want to adjust for you. (For example lengtheners, cheek rest etc.). You can replace for end, butt stock and so on with a few screws. This stock is using extra carbon fibre rods to make it a fully functional stock that is more than capable of replacing the original one if you use the right materials.
It is light, with the given print profile it is about the same weight (maybe a little above) as the syntethic stock from CZ while providing some extra features like ARCA rail and support for magnetic bipods (can easily be replaced with some other function). The handle can be replaced with any standard AR handle, the screw is smaller (M4) but it should work any way.
The name comes from the intended use for my 457 rifle, I use it to hunt Ptarmigians that eats birch in the winter.
fusion 360-files included but only for personal use.
Extra hardware
- Carbon fibre tube 12x10mm: 1 piece with length 200mm, 1 piece 150mm and 1 piece 50mm. (For the longer two you can use any other 12mm outer diameter tubes, the shortest needs to be 10mm inner diameter)
- Carbon fibre solid rod 5mm: , 1x25mm, 1x8mm, 3x10mm , 2x70mm (optional, can be used to stiffen center piece)
- Screws countersunk M3x8mm, 15 pieces
- Heated inserts M3 4.5x5mm, 15 pieces
- Screw, flat head M4x20mm, 1 piece
- Screws countersunk M5x20mm, 2 pieces (replaces original stock screws)
- 2-components Epoxy glue
Tools:
- Sandpaper
- knife
- clamps (for glueing)
- saw (mainly for cutting CF rods and tubes)
- soldering iron (heated inserts)
- Drills (3mm, 4mm, 5mm and 12mm), to drill upp holes into exakt size. The 5mm drill needs to be long, at least 150mm!
- Screwdrivers for the screws mentioned above
Printing
This is a rifle stock so it is very dependent on a stiff material (maybe even more that strength). I therefore suggest using PLA (preferable with CF for stiffness) in the beginning and maybe change to a more expensive engineering material if you like the stock and need higher resistance against heat and weather. I use the rifle mostly in winter and PLA-CF have worked good for me two seasons but last season I changed to PPA-CF and I really like the improvement in the feeling now. With PLA, it can still feel and sound a little “plastic”, with PPA-CF that is much better.
Since stiffness and fit is very important, the result might vary a bit between printers and I can't increase margins so it gets to loose for some people. Therefore be prepared to use drills for holes and maybe sand paper on some places.
Assembling
(more instructions will be added, work in progress)
First glue the three main parts:
Center piece
Use 5mm and 12mm drills to make sure the holes for the CF parts are correct. Make sure to sand the carbon fibre parts with a course sand paper before glue to make the glue stick. Than glue all parts together at the same time using clamps to keep them in place. (Please dry fit first). To keep glue from the m4 nuts threads I wax an m4 screw so the glue does not stick and screw it in during the gluing process

Front end
The CF tube is suppose to be a stiff bridge between the center piece and the front end. You can either choose to glue it to the center piece or to the front end, not both if you want the front end to be removable.

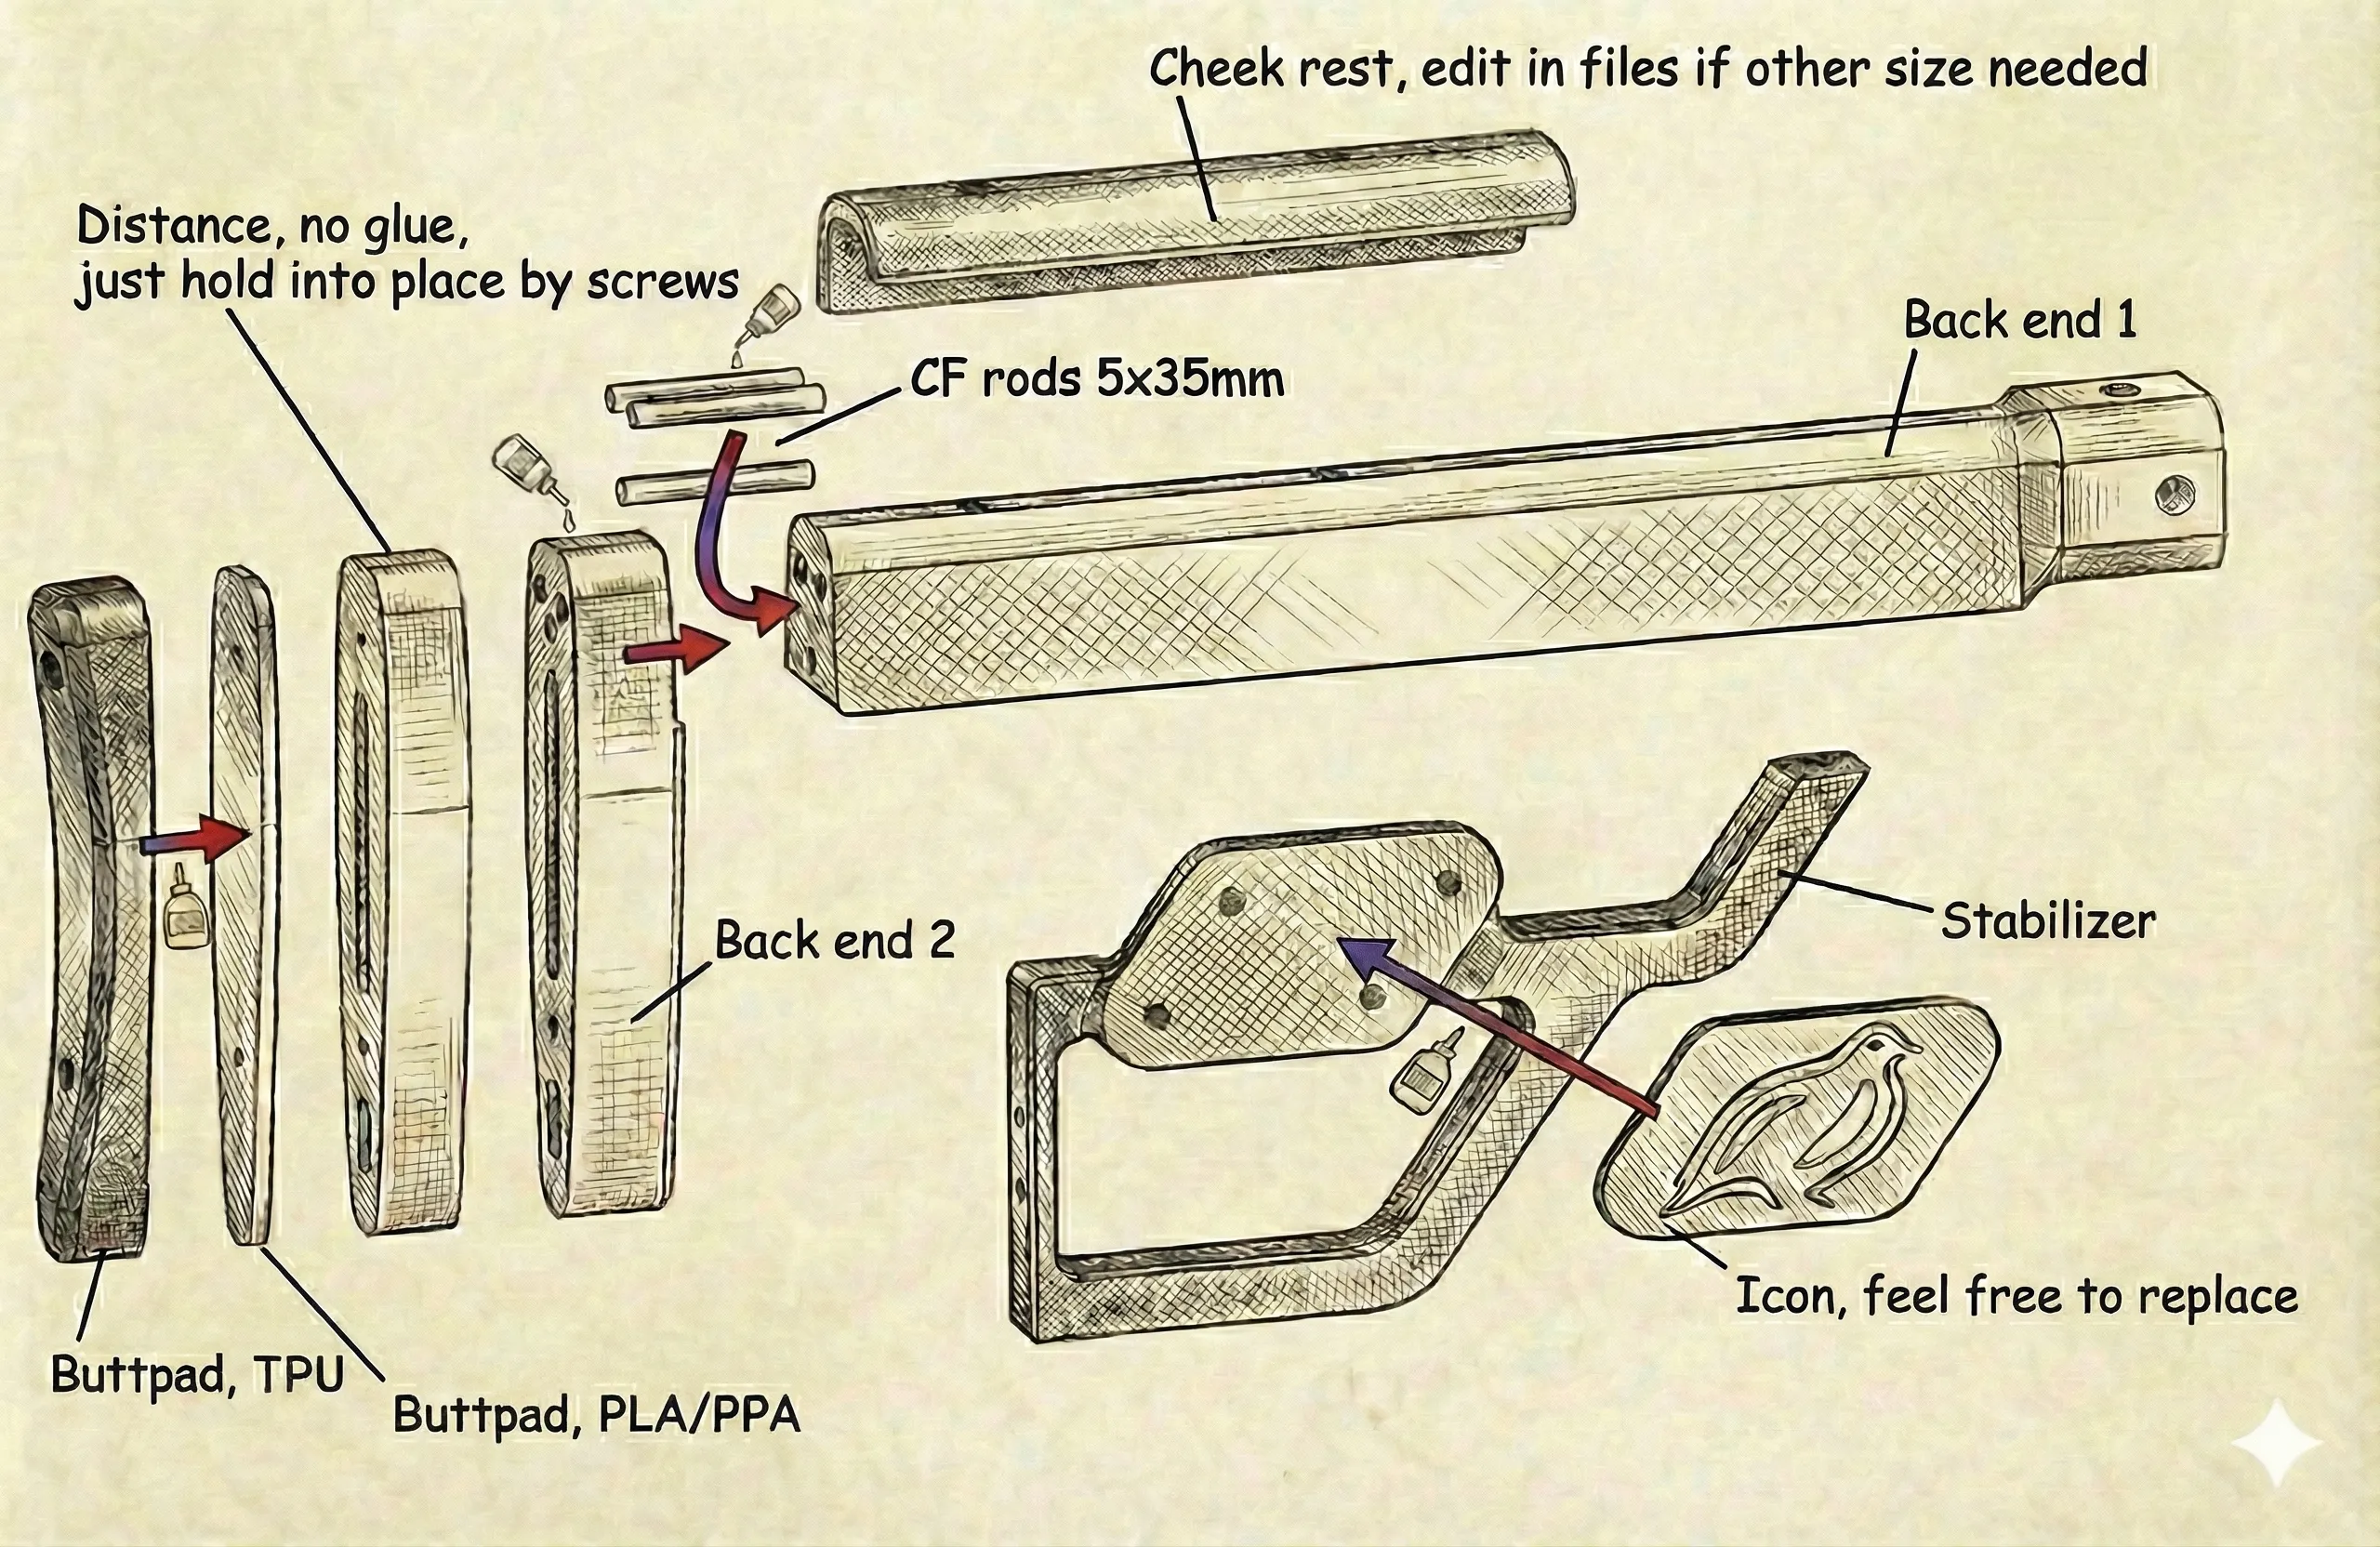
Back end
Glue the Back end 1 to the backend 2 with 3 CF rods as strengthening. (It was divided for maximum strength). Also glue the two parts of the butt end together. You can also glue the icon parts to both side of the "stiffener".
Next step is to add all heat inserts:
(Instruction will come when I have time, But you can probably look and understand most of places that will need heat inserts and then M3 screws)
License
You shall not share, sub-license, sell, rent, host, transfer, or distribute in any way the digital or 3D printed versions of this object, nor any other derivative work of this object in its digital or physical format (including - but not limited to - remixes of this object, and hosting on other digital platforms). The objects may not be used without permission in any way whatsoever in which you charge money, or collect fees.
Comment & Rating (24)