H2S / H2D / H2C Design elements


Print Profile(1)
Description
Boost Me (for free)
Many designs seem simple, but they take a lot of work. I am very grateful for any support.
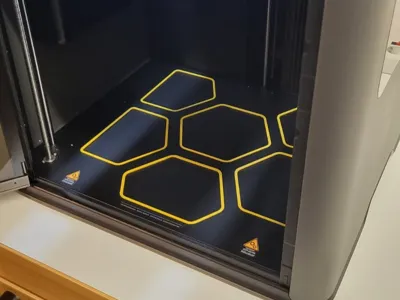
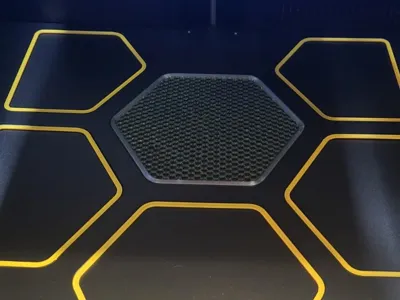
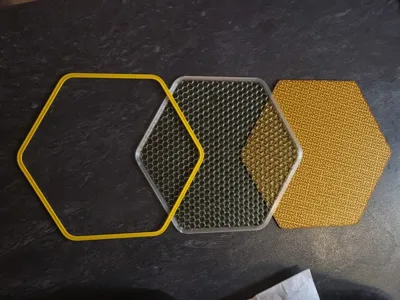
I thought to myself, why not add some decorative touches to the floor of the H2 series?
That's how the idea of adding color accents came about.
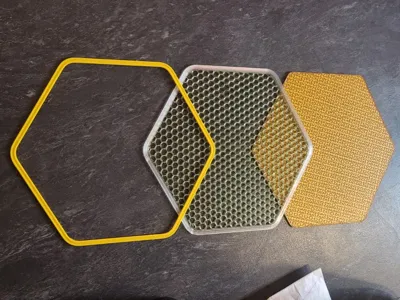
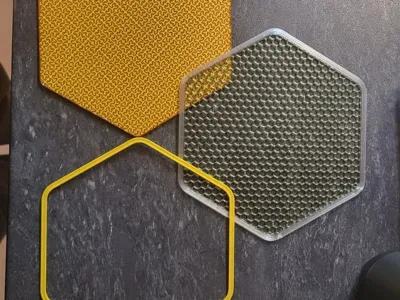
While playing around with Bamboo Studio, I discovered some other cool design options. This resulted in three different design variations that you can customize to your liking. Please follow the instructions and use my profile. There are many details in the settings to help you achieve the desired pattern.
A simple colored border? Or perhaps a pattern on the top layer? Maybe work with the infill or mix everything together? It's entirely up to you.
Surprise me with your patterns and color combinations.
Instructions
First of all, it is not necessary to print 6 plates. Just choose the design you like. For a complete set, you need 2 plates, as not everything fits on one.
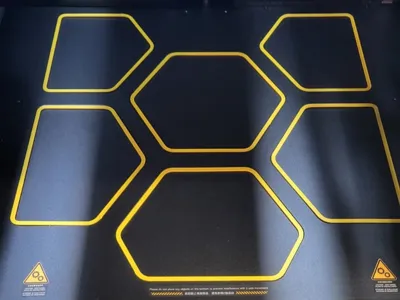
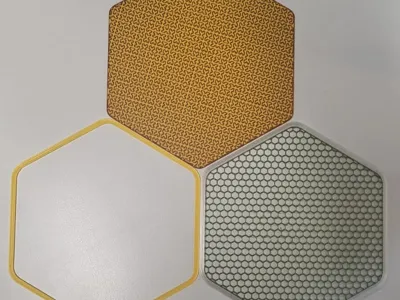
Plate 1 and 2 - The pattern on the TOP LAYER:
Each part has a line with coloring and base.
Under coloring, you can set the color of the pattern, depending on which color you want to use. Under base, you can set the color of the base plate. (See red mark on the picture

Each part has a line with coloring and base.
Under coloring, you can set the color of the pattern, depending on which color you want to use. Under base, you can set the color of the base plate. (See red mark on the picture)
You can customize the pattern with the following settings.
Top surface pattern: Selection of the pattern
Top surface density: How close together the lines of the pattern are. The smaller the value, the further apart they are.
Infill direction: The alignment of the pattern.

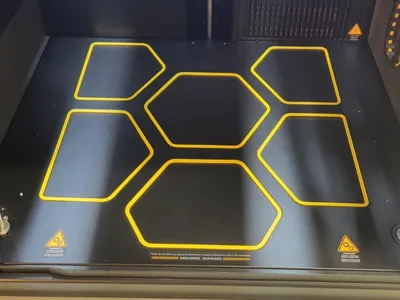
Plate 3 and 4 - COLORED FRAME:

Here you can simply select your desired color at the top.
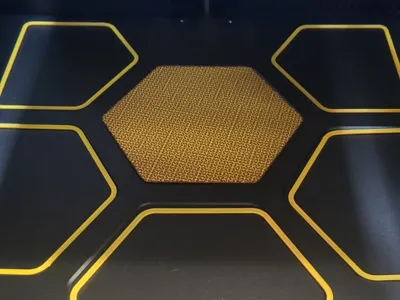
Plate 5 and 6 - Infill pattern:

Same as for plates one and two. There are two lines, one is for the frame color only, the other is for the infill color and the infill pattern.
You can customize the pattern with the following settings.
Sparse infill pattern: Selection of the pattern.
Sparse infill density: The density of the infill.
Infill direction: The alignment of the infill.

If you have any questions or suggestions, please feel free to contact me.
Happy printing!
License
You may create derivative works based on this object, provided that all such derivative works are published exclusively on the MakerWorld platform and include proper attribution to the original creator. You may not share, upload, host, distribute, or publish this object—or any derivative work of this object—on any other digital platform, marketplace, or distribution channel. Commercial use of this object and any derivative works is strictly prohibited. This includes, but is not limited to, selling, renting, sublicensing, or using the object in any context in which you receive monetary compensation or other financial benefits.
Comment & Rating (186)