Punk Wobblz - 002


Print Profile(2)
Description
Membership
Want to SELL PRINTS of this model legally? or become a SUPER SUPPORTER Obtain a COMMERCIAL LICENSE or MEMBERSHIP here!
Boost Me (for free)
ENJOYING THIS DESIGN? I love the craft of 3D printing and the art of design. If this model brought a smile to your face, please consider giving it a boost, like, or following me here to see more of my work!
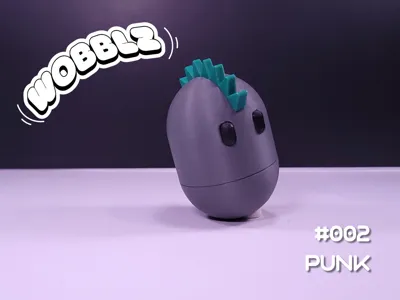
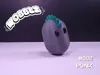
Punk Wobblz - 002
Spin it, flick it, roll it—and watch it pop right back up!
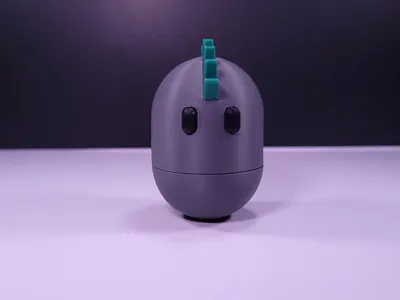
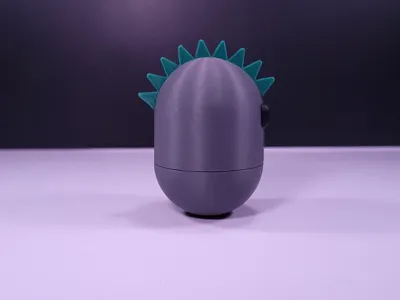
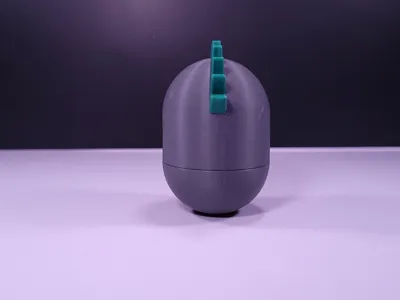
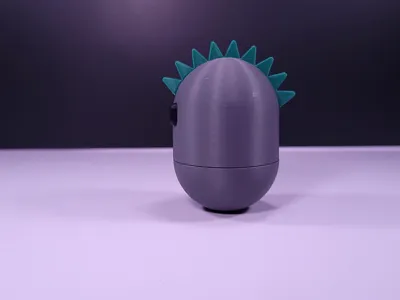
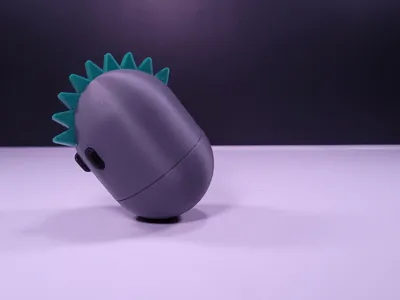
The Wobblz is a sleek, pill-shaped character designed to be poked, pushed, and knocked over—only to return to an upright position every single time. Inspired by classic self-righting toys, brings a nostalgic, physics-based fidget experience to the 3D printing community. They Wobble instead of Wiggle! Punk Wobblz - 002 is a friendly, pill-shaped character featuring a cool mohawk and a touch of style.

I wanted to create a fidget toy with a different type of play feature from the common articulating toys, taking inspiration from classic wobbling toys to bring that same nostalgic, self-righting motion to the 3D printing community. They Wobble instead of Wiggle!
Key Features & Printability
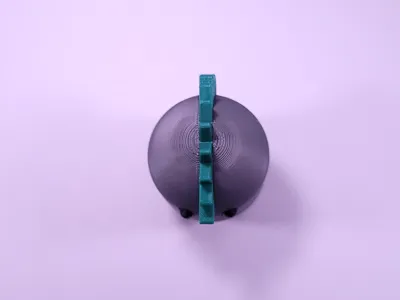
- Self-Righting Action: A precision-engineered internal cavity ensures the model always returns to an upright position when weighted correctly.
- No Supports Needed: Optimized geometry for a clean, support-free print directly off the build plate.
- Smooth Finish: Designed for a clean look that feels great in the hand and looks sharp on any desk.
- Great at Markets!: I've sold out of stocks of these several times at farmers' markets and events. Kids love 'em
- Hardware Required
- Glue Required
Technical Details
Size: At 100% scale, the Wobblz stands 60mm (2.36 inches) tall and is 40mm (1.57 inches) in diameter.
CRITICAL: WEIGHT AND BALANCE The self-righting mechanic relies entirely on the specific weight and center of gravity provided by the internal ballast.
- Required Weights: This model is designed specifically for a stack of five (5) 1" Steel Washers.
- Precision Counterweight: These washers must create a 27g counterweight to ensure the physics work as intended.
- Guaranteed Balance: I cannot guarantee the Wobblz will self-right properly with different brands or sizes due to weight variances.
- Community Feedback: If you experiment with other washers and find a specific brand that works perfectly, please share the details in the comments!
Assembly Instructions
- Print Parts: Print the body, base cap, and internal core.
- Weight the Base: Insert five (5) 1" steel washers (27g total) into the base. Note: Different washers may vary in thickness and weight, which will affect the balance.
- Insert Core: Place the core on top of the washers, lining up the key to the slot.
- Glue & Seal: Apply super glue to the base. Use the key for alignment to place the top body onto the base.
- Secure: Press and hold firmly until the glue sets to lock the weights inside.
- Wobble: Once dry, give it a shove!
Help Shape the Future of Wobblz!
I am looking to expand this series and would love your input! Should I add more characters? Would you prefer a screw-on base to remove the need for glue? Interested in accessories like hats or arms?
Let me know in the comments! Your feedback helps me decide which designs to prioritize next. If you enjoy the model, consider following my profile or joining my Membership Tiers for deeper dives into the design process.

Documentation (1)
License
You shall not share, sub-license, sell, rent, host, transfer, or distribute in any way the digital or 3D printed versions of this object, nor any other derivative work of this object in its digital or physical format (including - but not limited to - remixes of this object, and hosting on other digital platforms). The objects may not be used without permission in any way whatsoever in which you charge money, or collect fees.
Comment & Rating (18)