
Humidity sensor with temperature display ESP Home
Print Profile(1)
Bill of Materials

- ESP 32 S2 Mini x 1: https://amzn.eu/d/0aIERRfX
- Rundes GC9A01 Display x 1: https://amzn.eu/d/0iTSz8S3
- Sensor x 1: https://amzn.eu/d/0i5JiOFB
Description
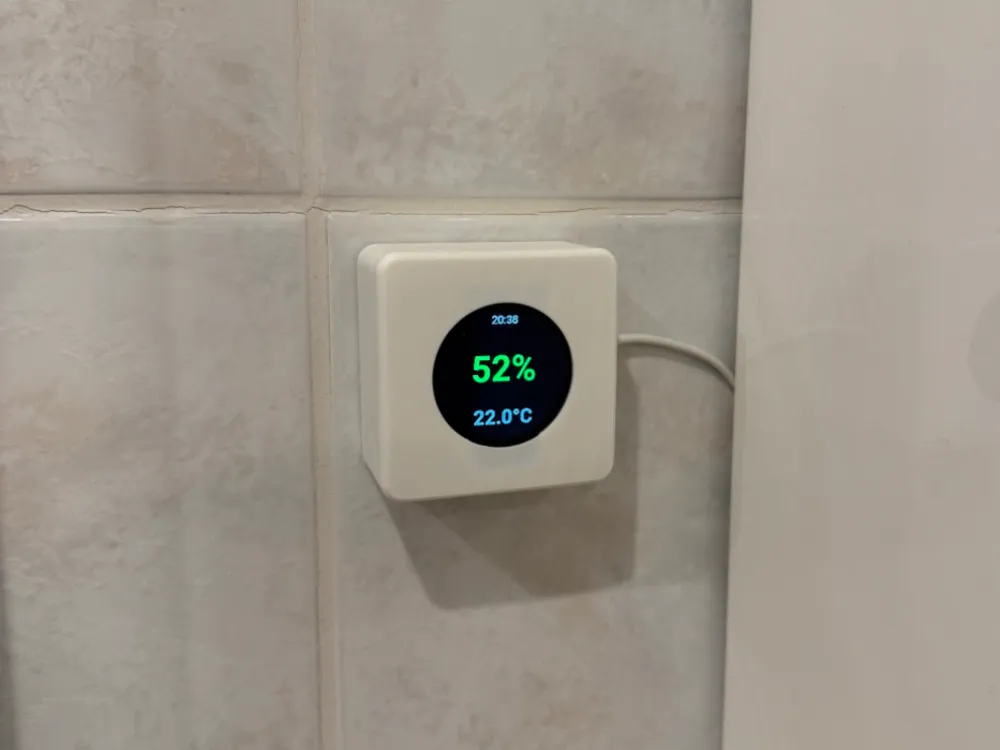
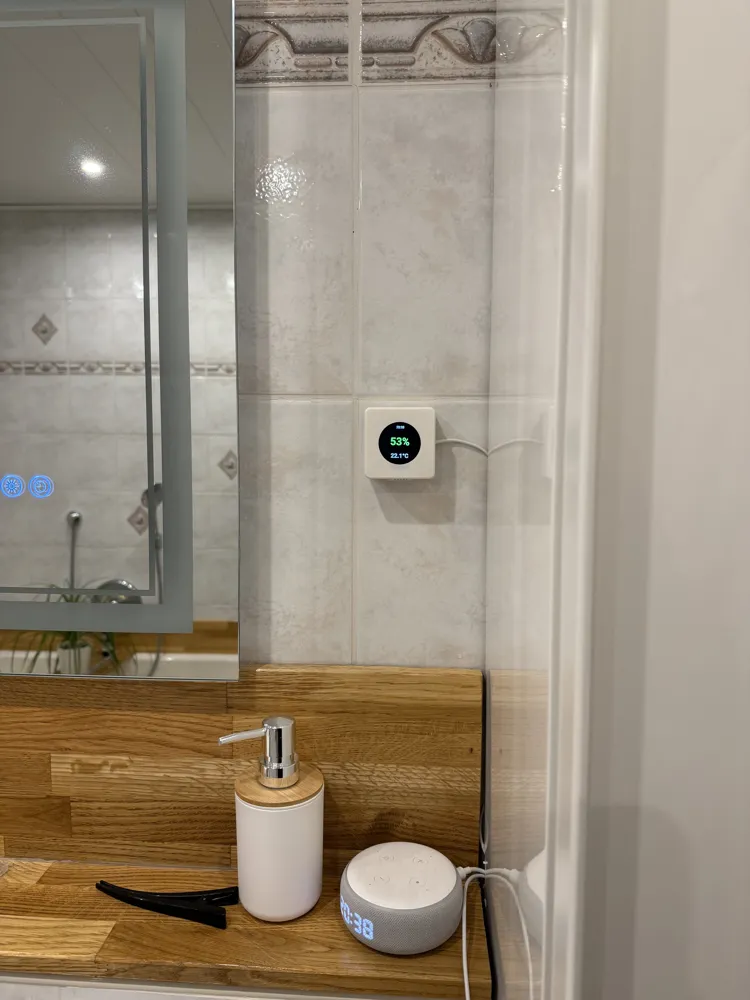
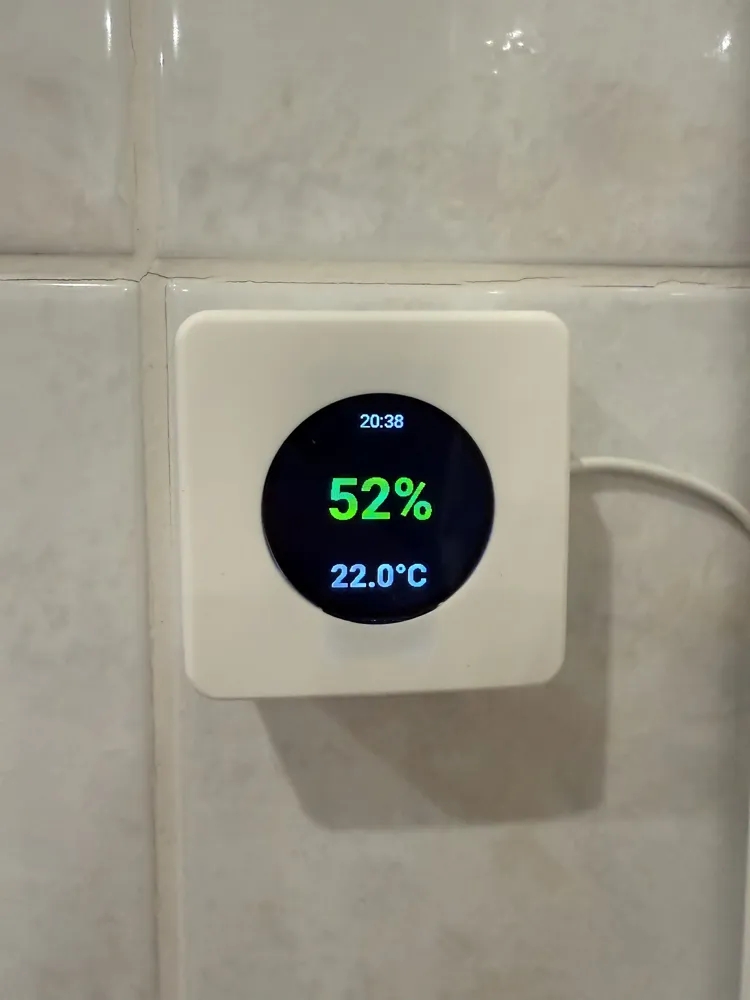
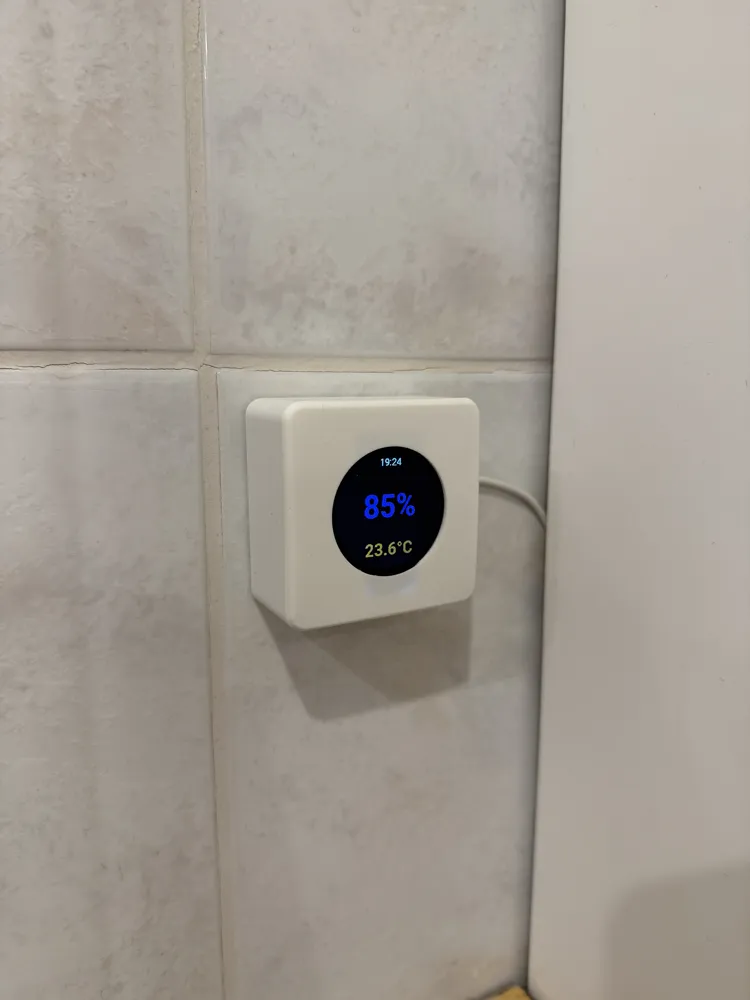
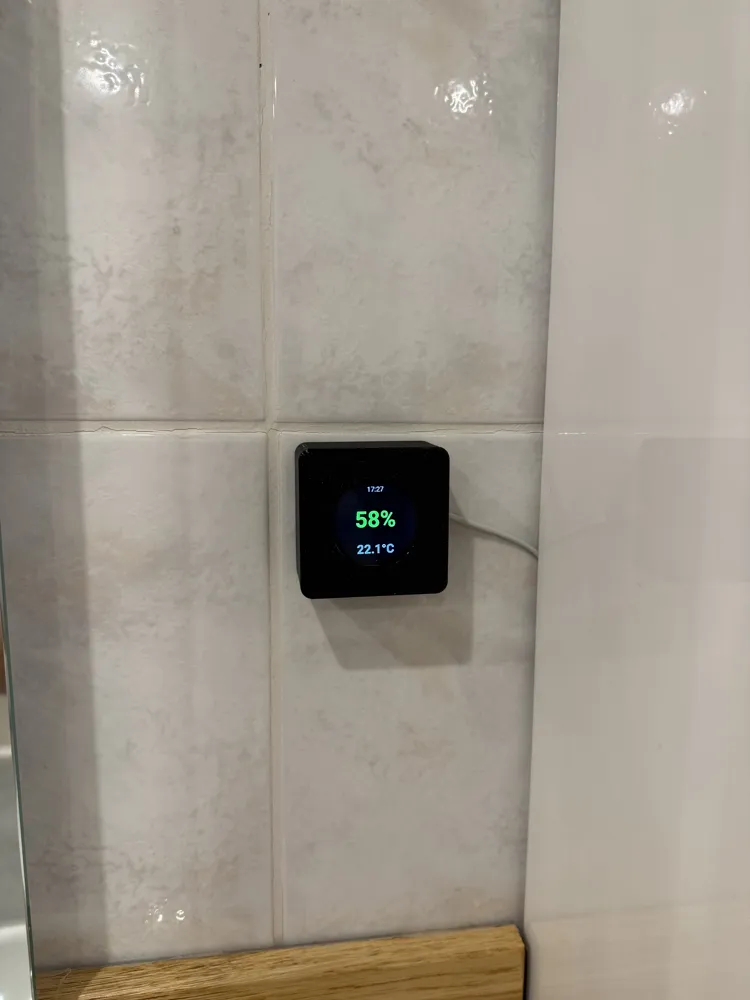
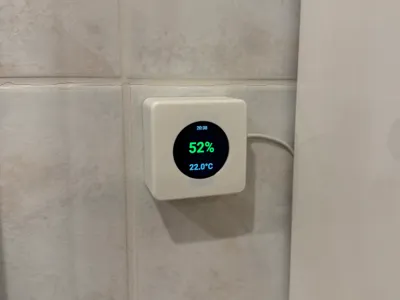
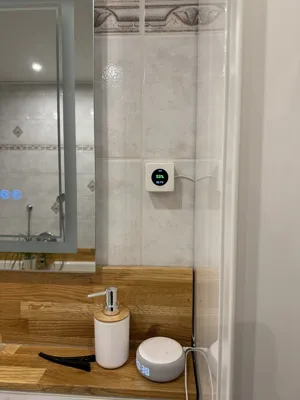
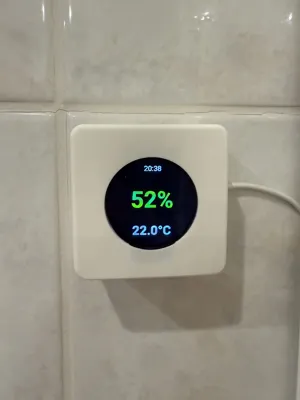
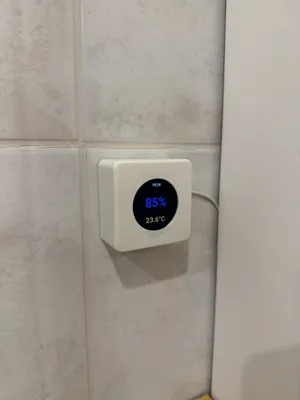
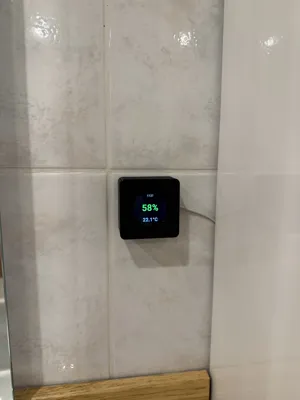
This is a small ESP32 S2 Mini humidity sensor that displays humidity and temperature with a round GC9A01 TFT display. The colors of the individual displays change depending on the temperature and humidity, so you can see at a glance how humid and warm it is in a room.
Another great advantage is that it automatically sends all data to your home network via Home Assistant, allowing you to check all rooms with one device.
Wiring of the individual components:
Display → ESP 32
CS → GPIO 34
DC → GPIO 33
RST → GPIO 21
SCL → GPIO 36
SDA → GPIO 35
VCC → 3.3V
GND → GND
Sensor → ESP 32
+ → 3.3V
- → GND
OUT → GPIO 4
After installing ESP-Home, don't forget to create the 'fonts' folder in user/esphome and place the Roboto font from Google Fonts there.
The attached .txt file contains the .yaml file that needs to be uploaded to the device so that it functions and looks like mine.
For uploading, I used python Version 3.12 in PowerShell on my Windows computer.
The commands I used:
-------------------------------------------------
ESPHome:
create a new script (.yaml):
cd esphome
py -3.12 -m esphome wizard >filename<.yaml
This should call a configurator that creates the file.
it must be ensured that for the S2 mini, "board: lolin_s2_mini" is used.
afterwards, this file can be found and edited under user/"your user"/esphome.
------------------------------------------------
upload a script (.yaml) to an ESP32:
cd esphome
py -3.12 -m esphome wizard >filename<.yaml
-------------------------------------------------
If you have any questions, feel free to write a comment!
I will try to answer as quickly as possible.
Documentation (1)
License



Comment & Rating (0)