Impossible Passthrough Chess Board


Print Profile(2)


Description
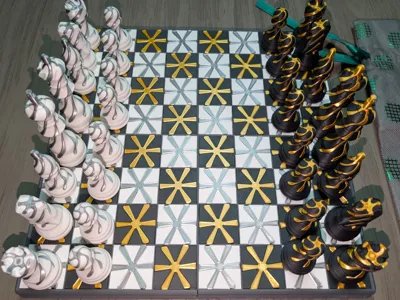
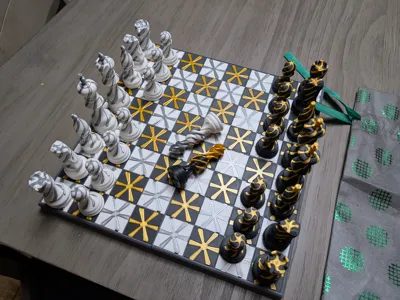
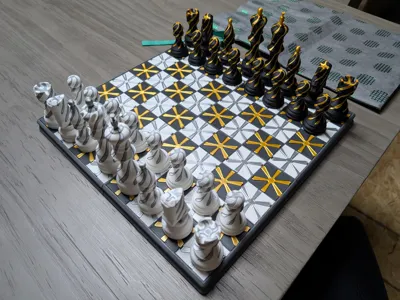
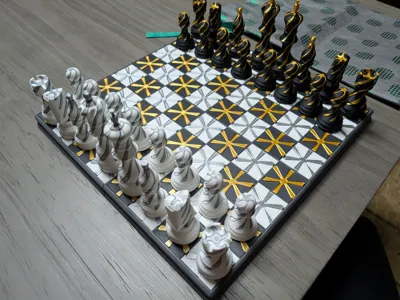
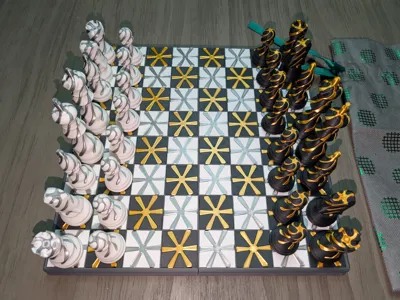
Finally, the upload everyone has been asking for. My version of an impossible passthrough chess board.
This model was inspired by GemoGens wonderful Chess Set. I simply didn't think the included board quite lived up to the pieces. So i set off designing my own impossible pass through board. This board uses 64 impossible passthrough cubes (rectangles technically) set in a frame. The frame is intentionally a bit dull so to not detract from the cubes. However, i was able to sneak in a silhouette of a pawn into the edging.
Since the original Chess Set and Cube designers have limited their licensing to prevent remixes. I am not able to include their designs in this post. Since the cube is a requirement for my design, i will simply link to the cube i used here. The Cube i used was designed by The Duck Vault and can be found here. You can use this cube or any cube you wish to fill out the board. As long as you follow the below instructions.
Instructions:
- Cubes must be uniformly sized to X=39mm x Y=39mm x Z=??mm (simply use the slicer on whatever cube you choose)
- Cubes must be cut on the Z axis to a height of 16mm (some cube designs may work better than others) again use slicer for this.
- Leaving the final cubes sizes to be 39x39x16
- Print 32 cubes of each color for a total of 64 cubes
- Print 4 of my base pieces
- Connect the 4 bases in a square using the small keys.
- A drop of CA glue on the keys may help hold them together.
- Drop cubes into base and Voilà. (they may be a little tight)
I have included my .step files if anyone would like to make improvements or embellishments. Unlike the pieces I used to create this set, my design is share and share alike.
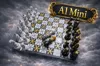
Update: I added a profile for the A1 Mini. I removed a bit of the interlocking key that protrudes from each frame. This should not interfere with the assembly and allows for printing on the A1 Mini.
License
You may create derivative works based on this object, provided that all such derivative works are published exclusively on the MakerWorld platform and include proper attribution to the original creator. You may not share, upload, host, distribute, or publish this object—or any derivative work of this object—on any other digital platform, marketplace, or distribution channel. Commercial use of this object and any derivative works is strictly prohibited. This includes, but is not limited to, selling, renting, sublicensing, or using the object in any context in which you receive monetary compensation or other financial benefits.
Comment & Rating (7)