
Manual Mini Camera Cable Cam Dolly V2
Print Profile(1)
Description

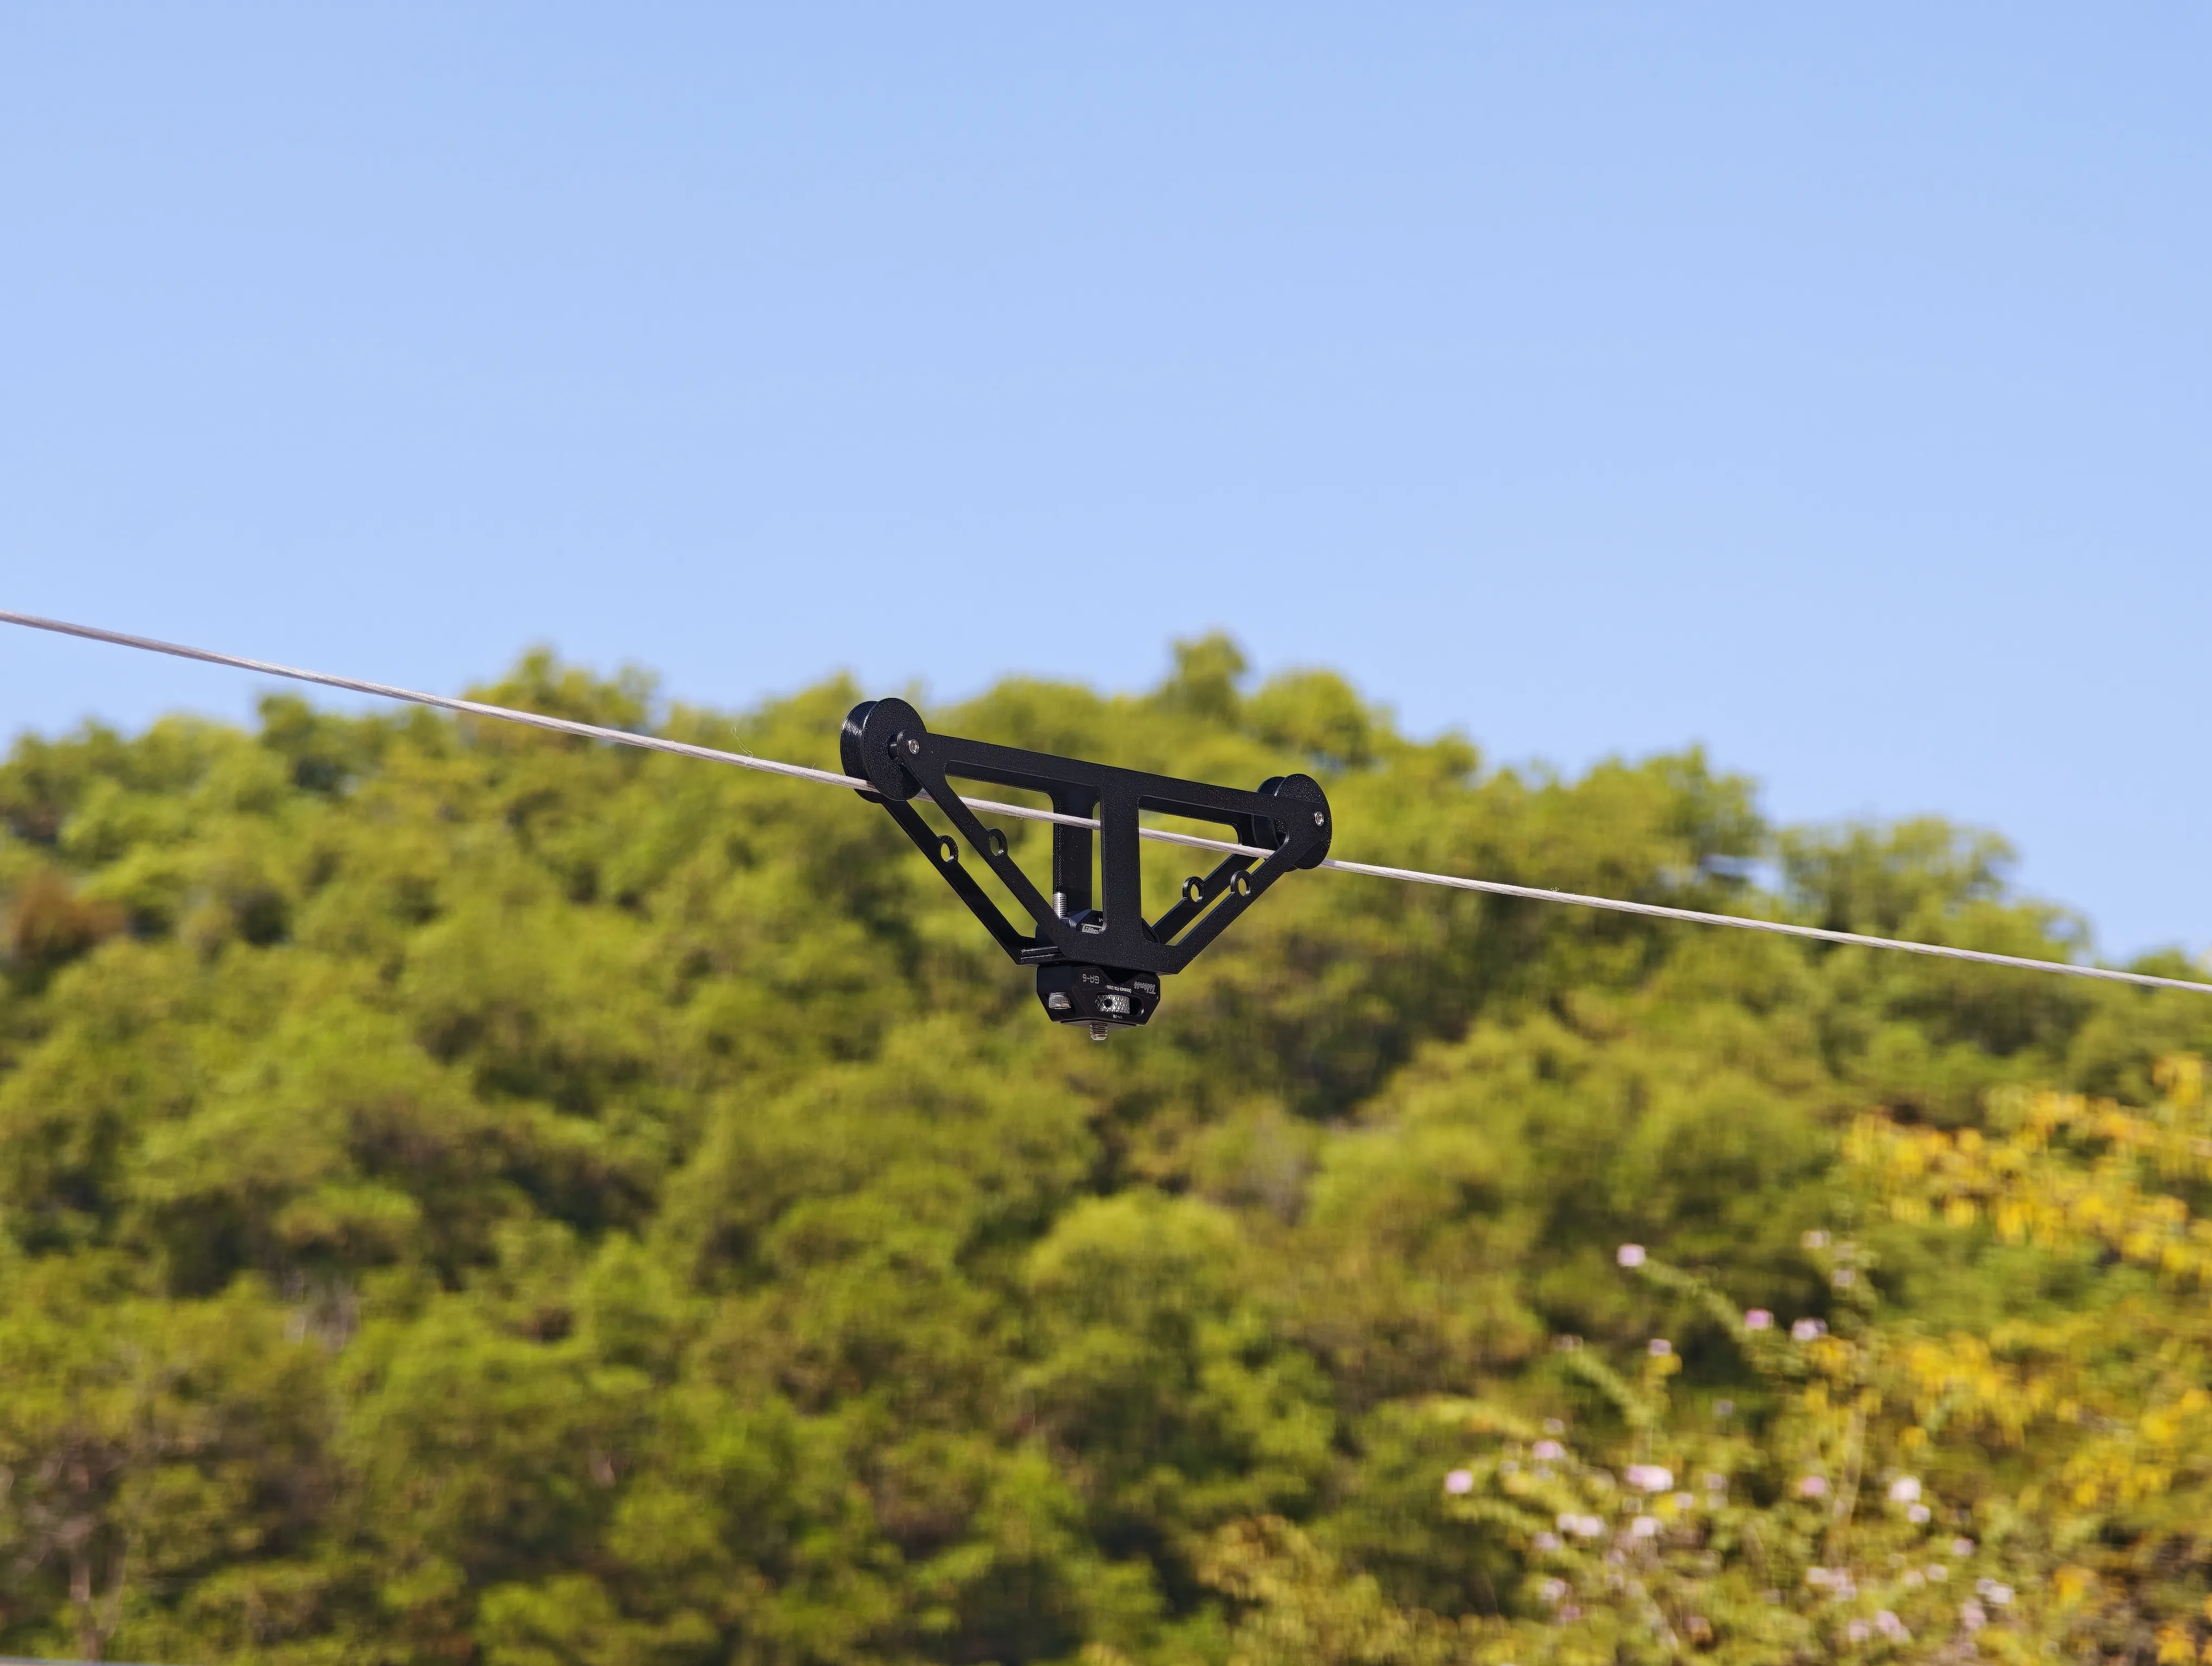
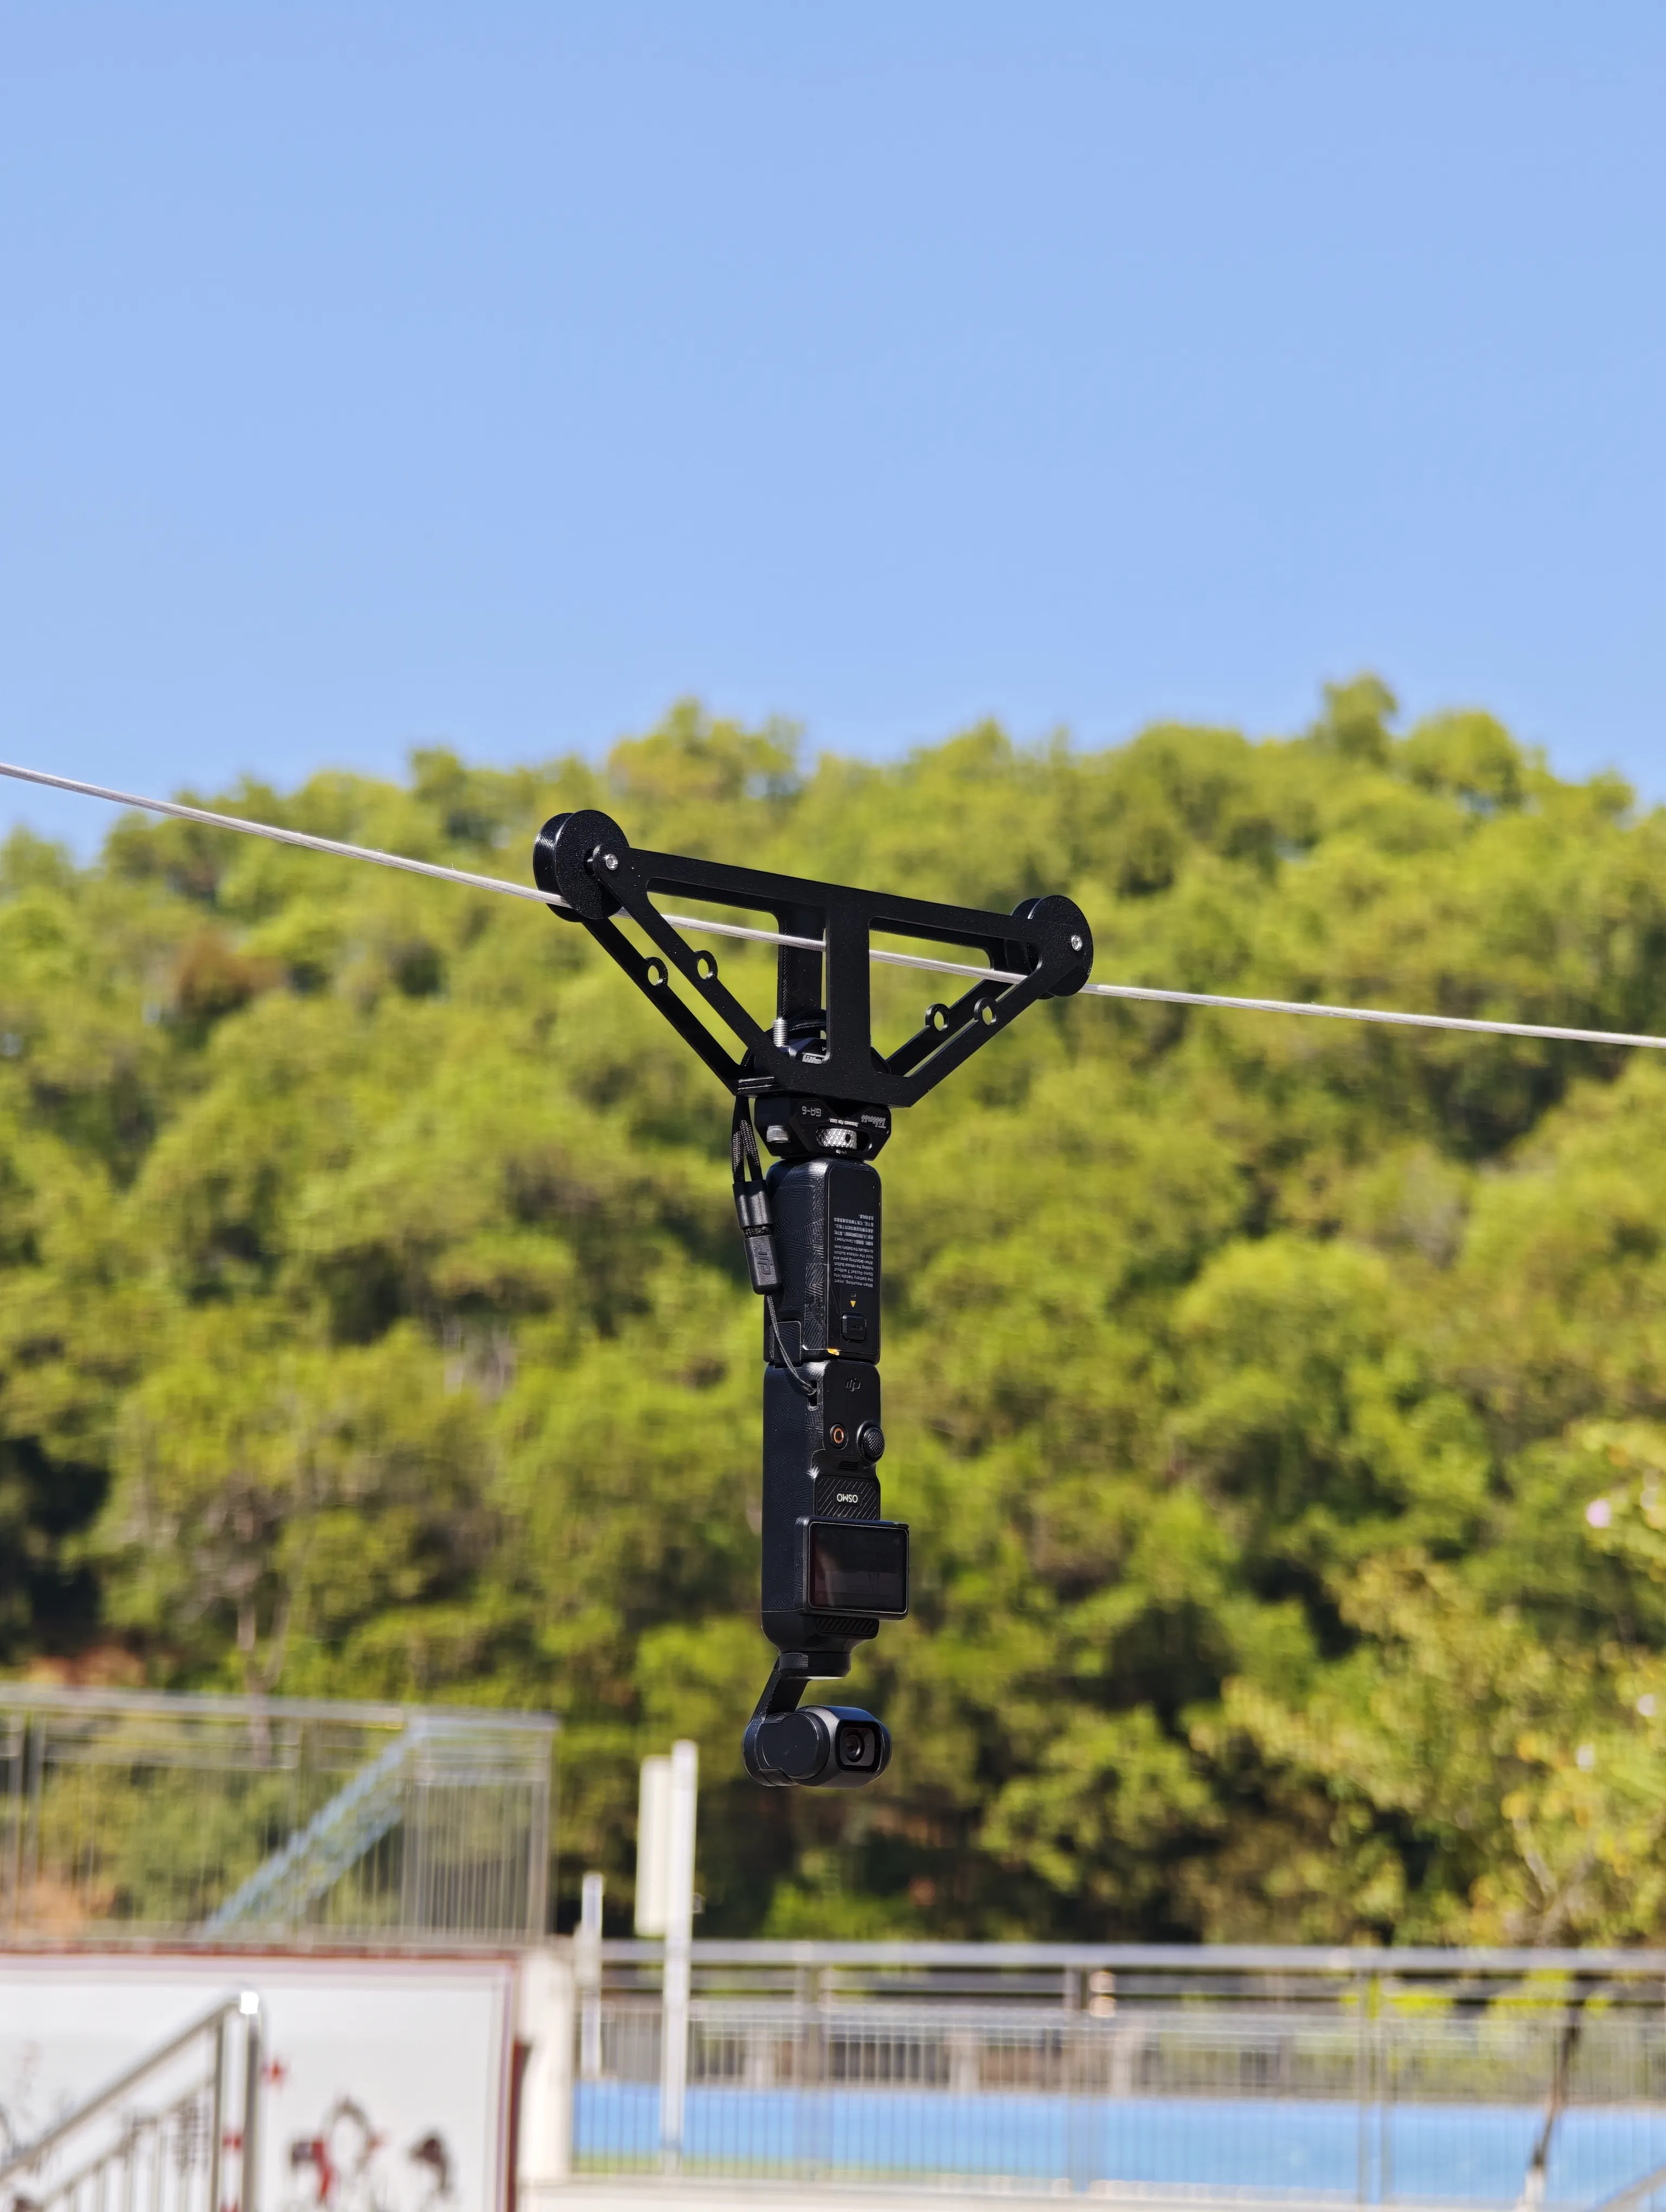
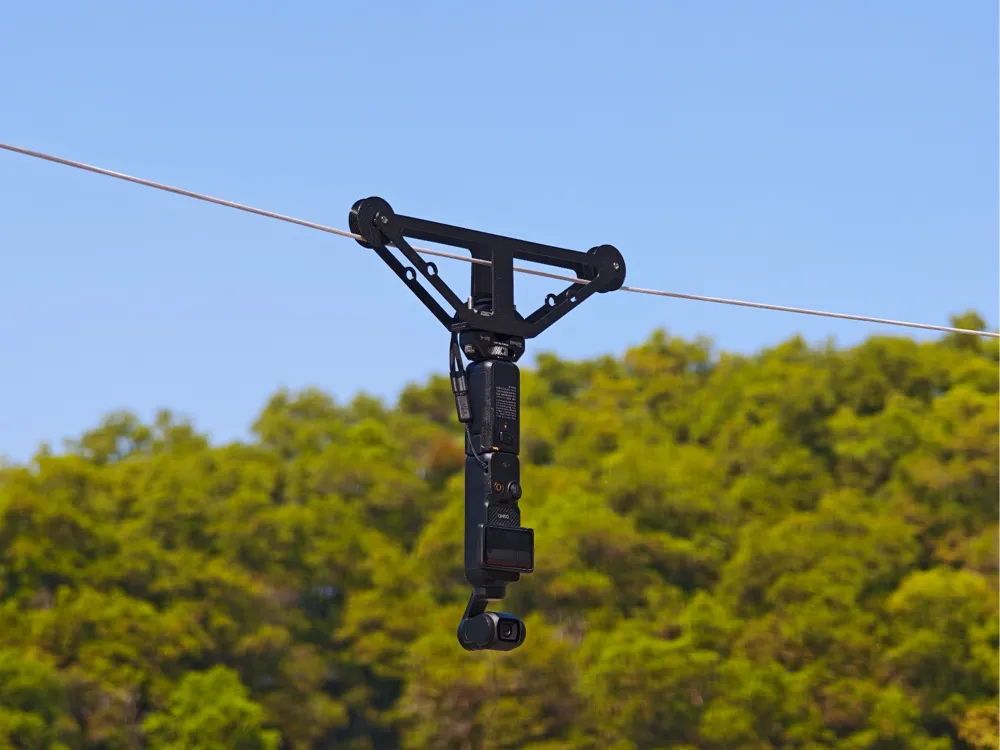

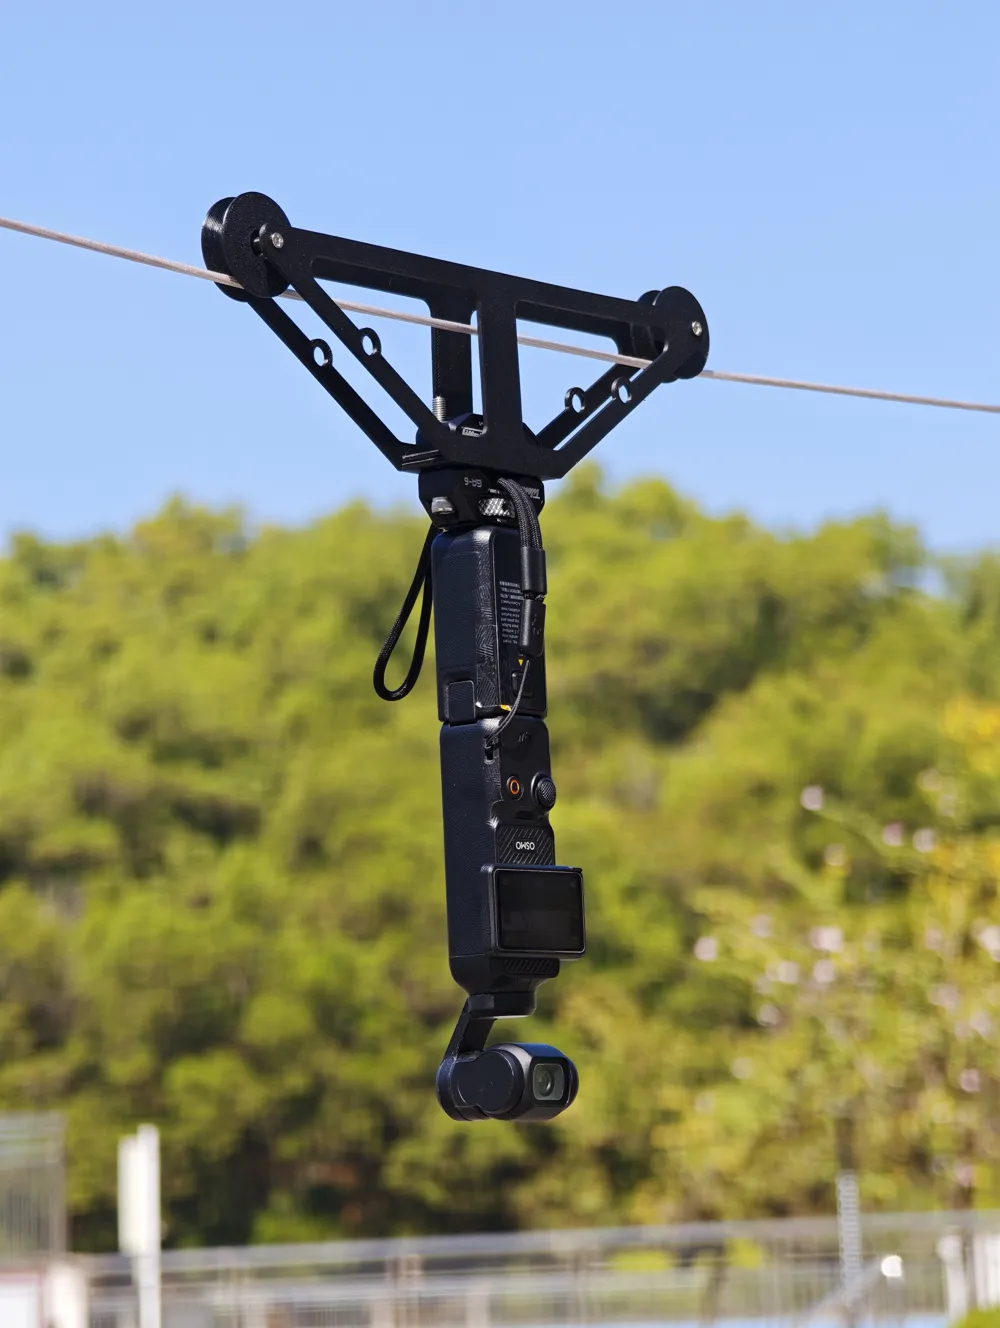
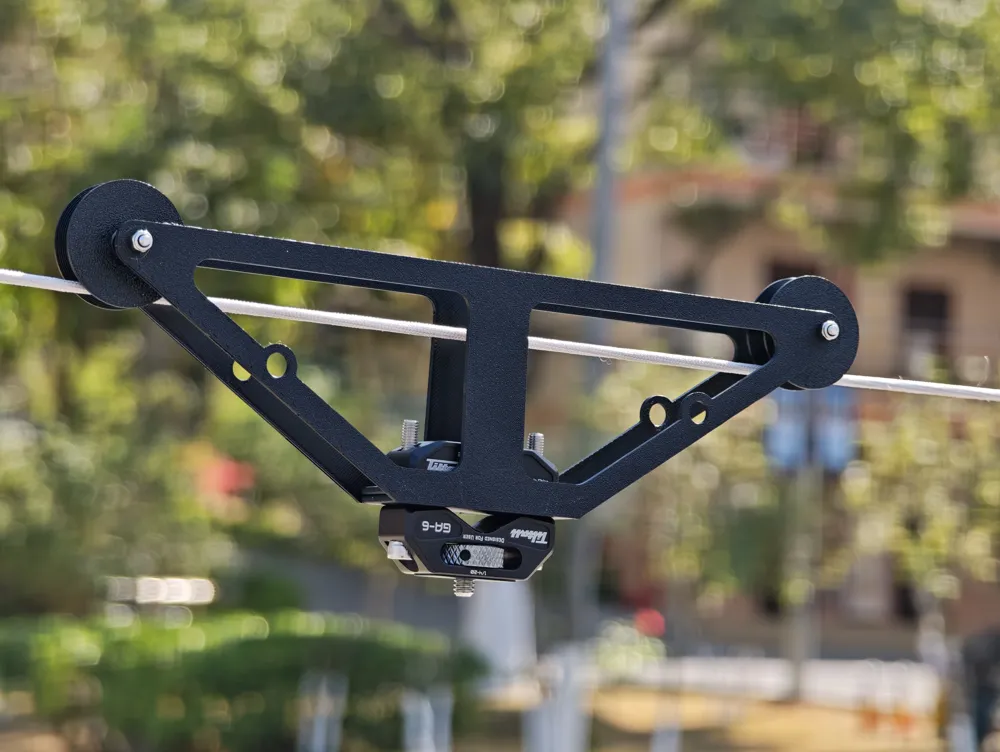
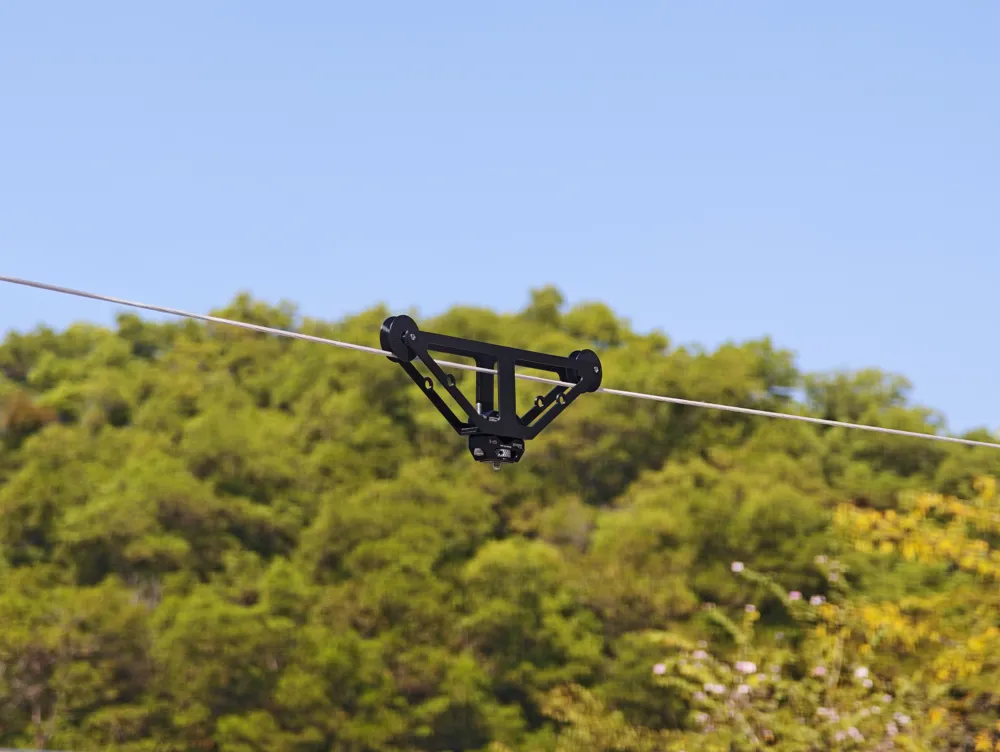
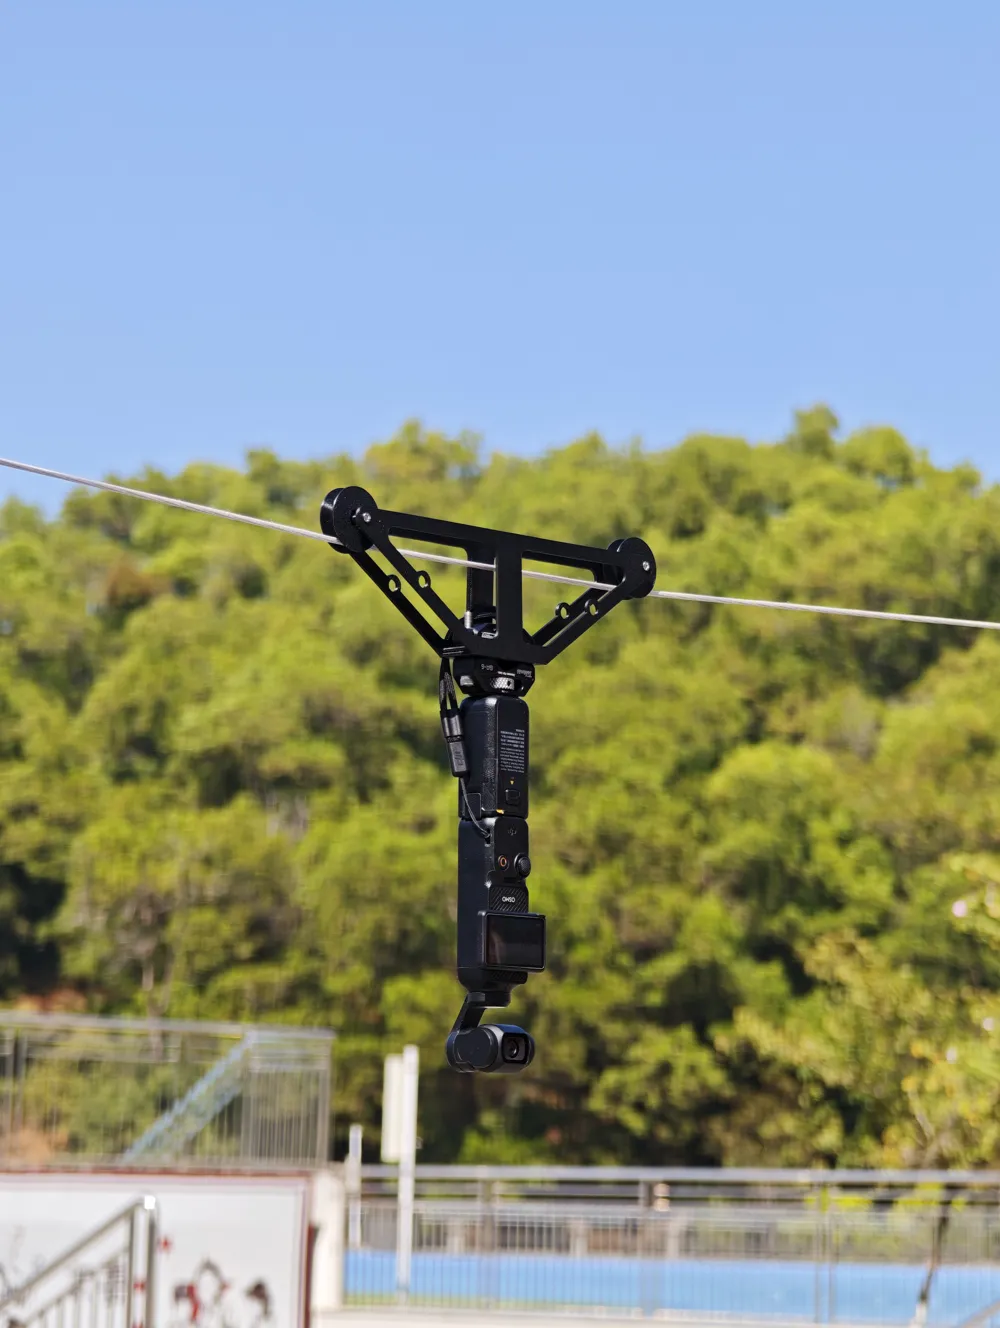
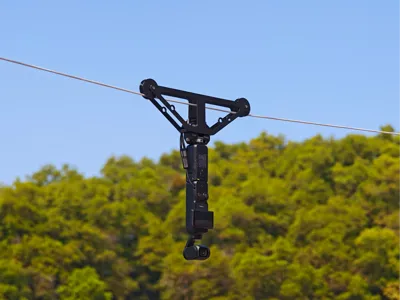
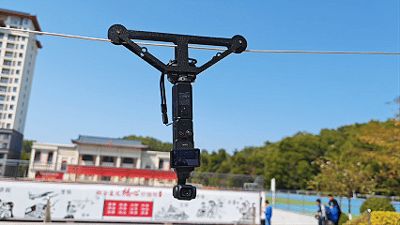
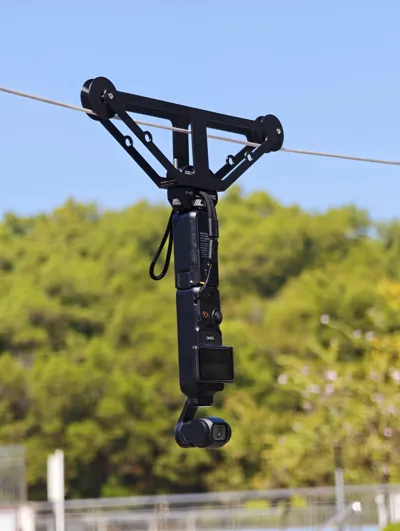
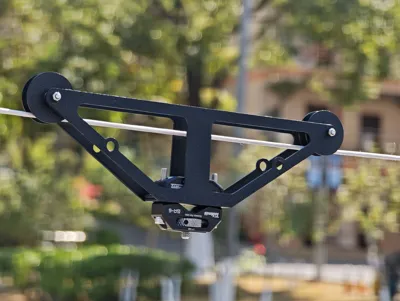
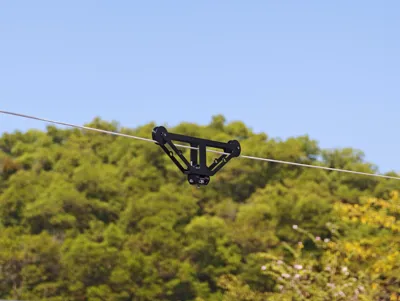
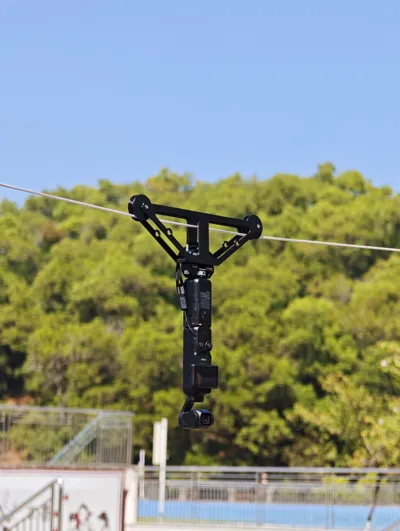
Manual cable cam dolly for portable photography equipment,
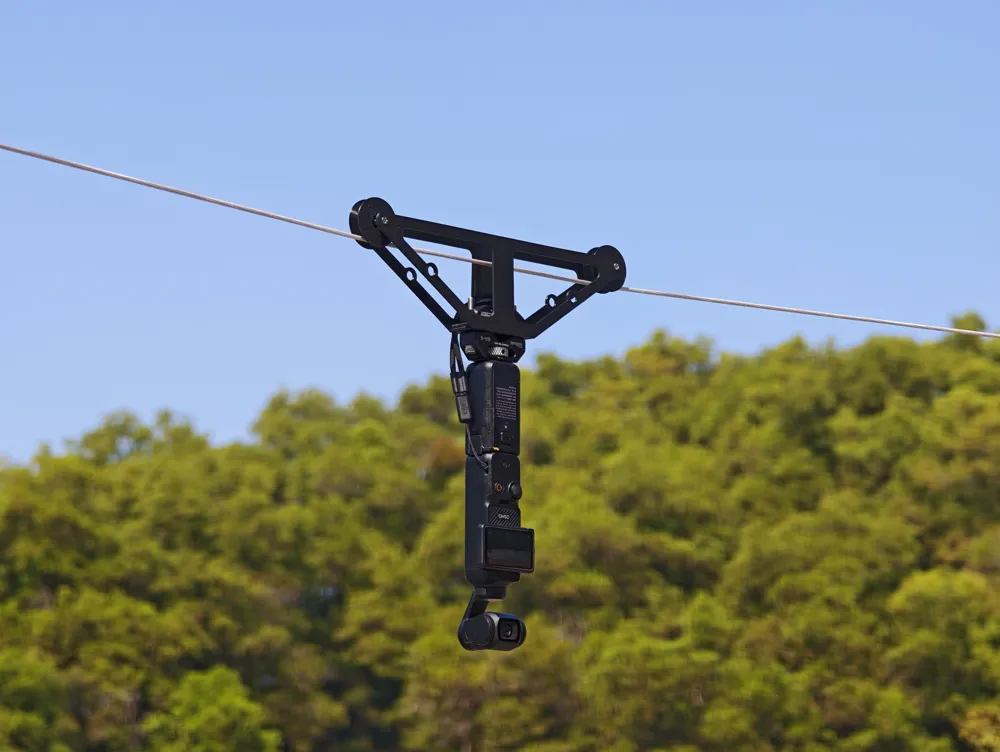
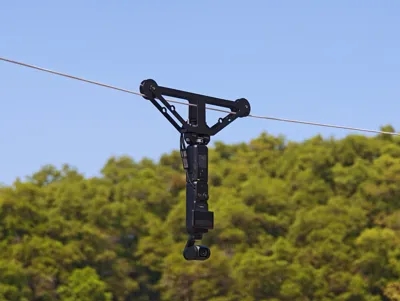
Especially suitable for mounting Pocket 3, and can also accommodate action cameras or OSMO Mobile phone stabilizers,
Achieving long-distance linear camera movements, which is more convenient, faster, and cheaper than laying tracks.
Manual cable cams sell for two or three hundred yuan or even more online, but mine costs only about 40 RMB.
There are two ways to use it:
1. Automatic gliding can be achieved by the height difference between the two ends of the rope
2. Manual camera movement can be achieved by pulling with another rope.
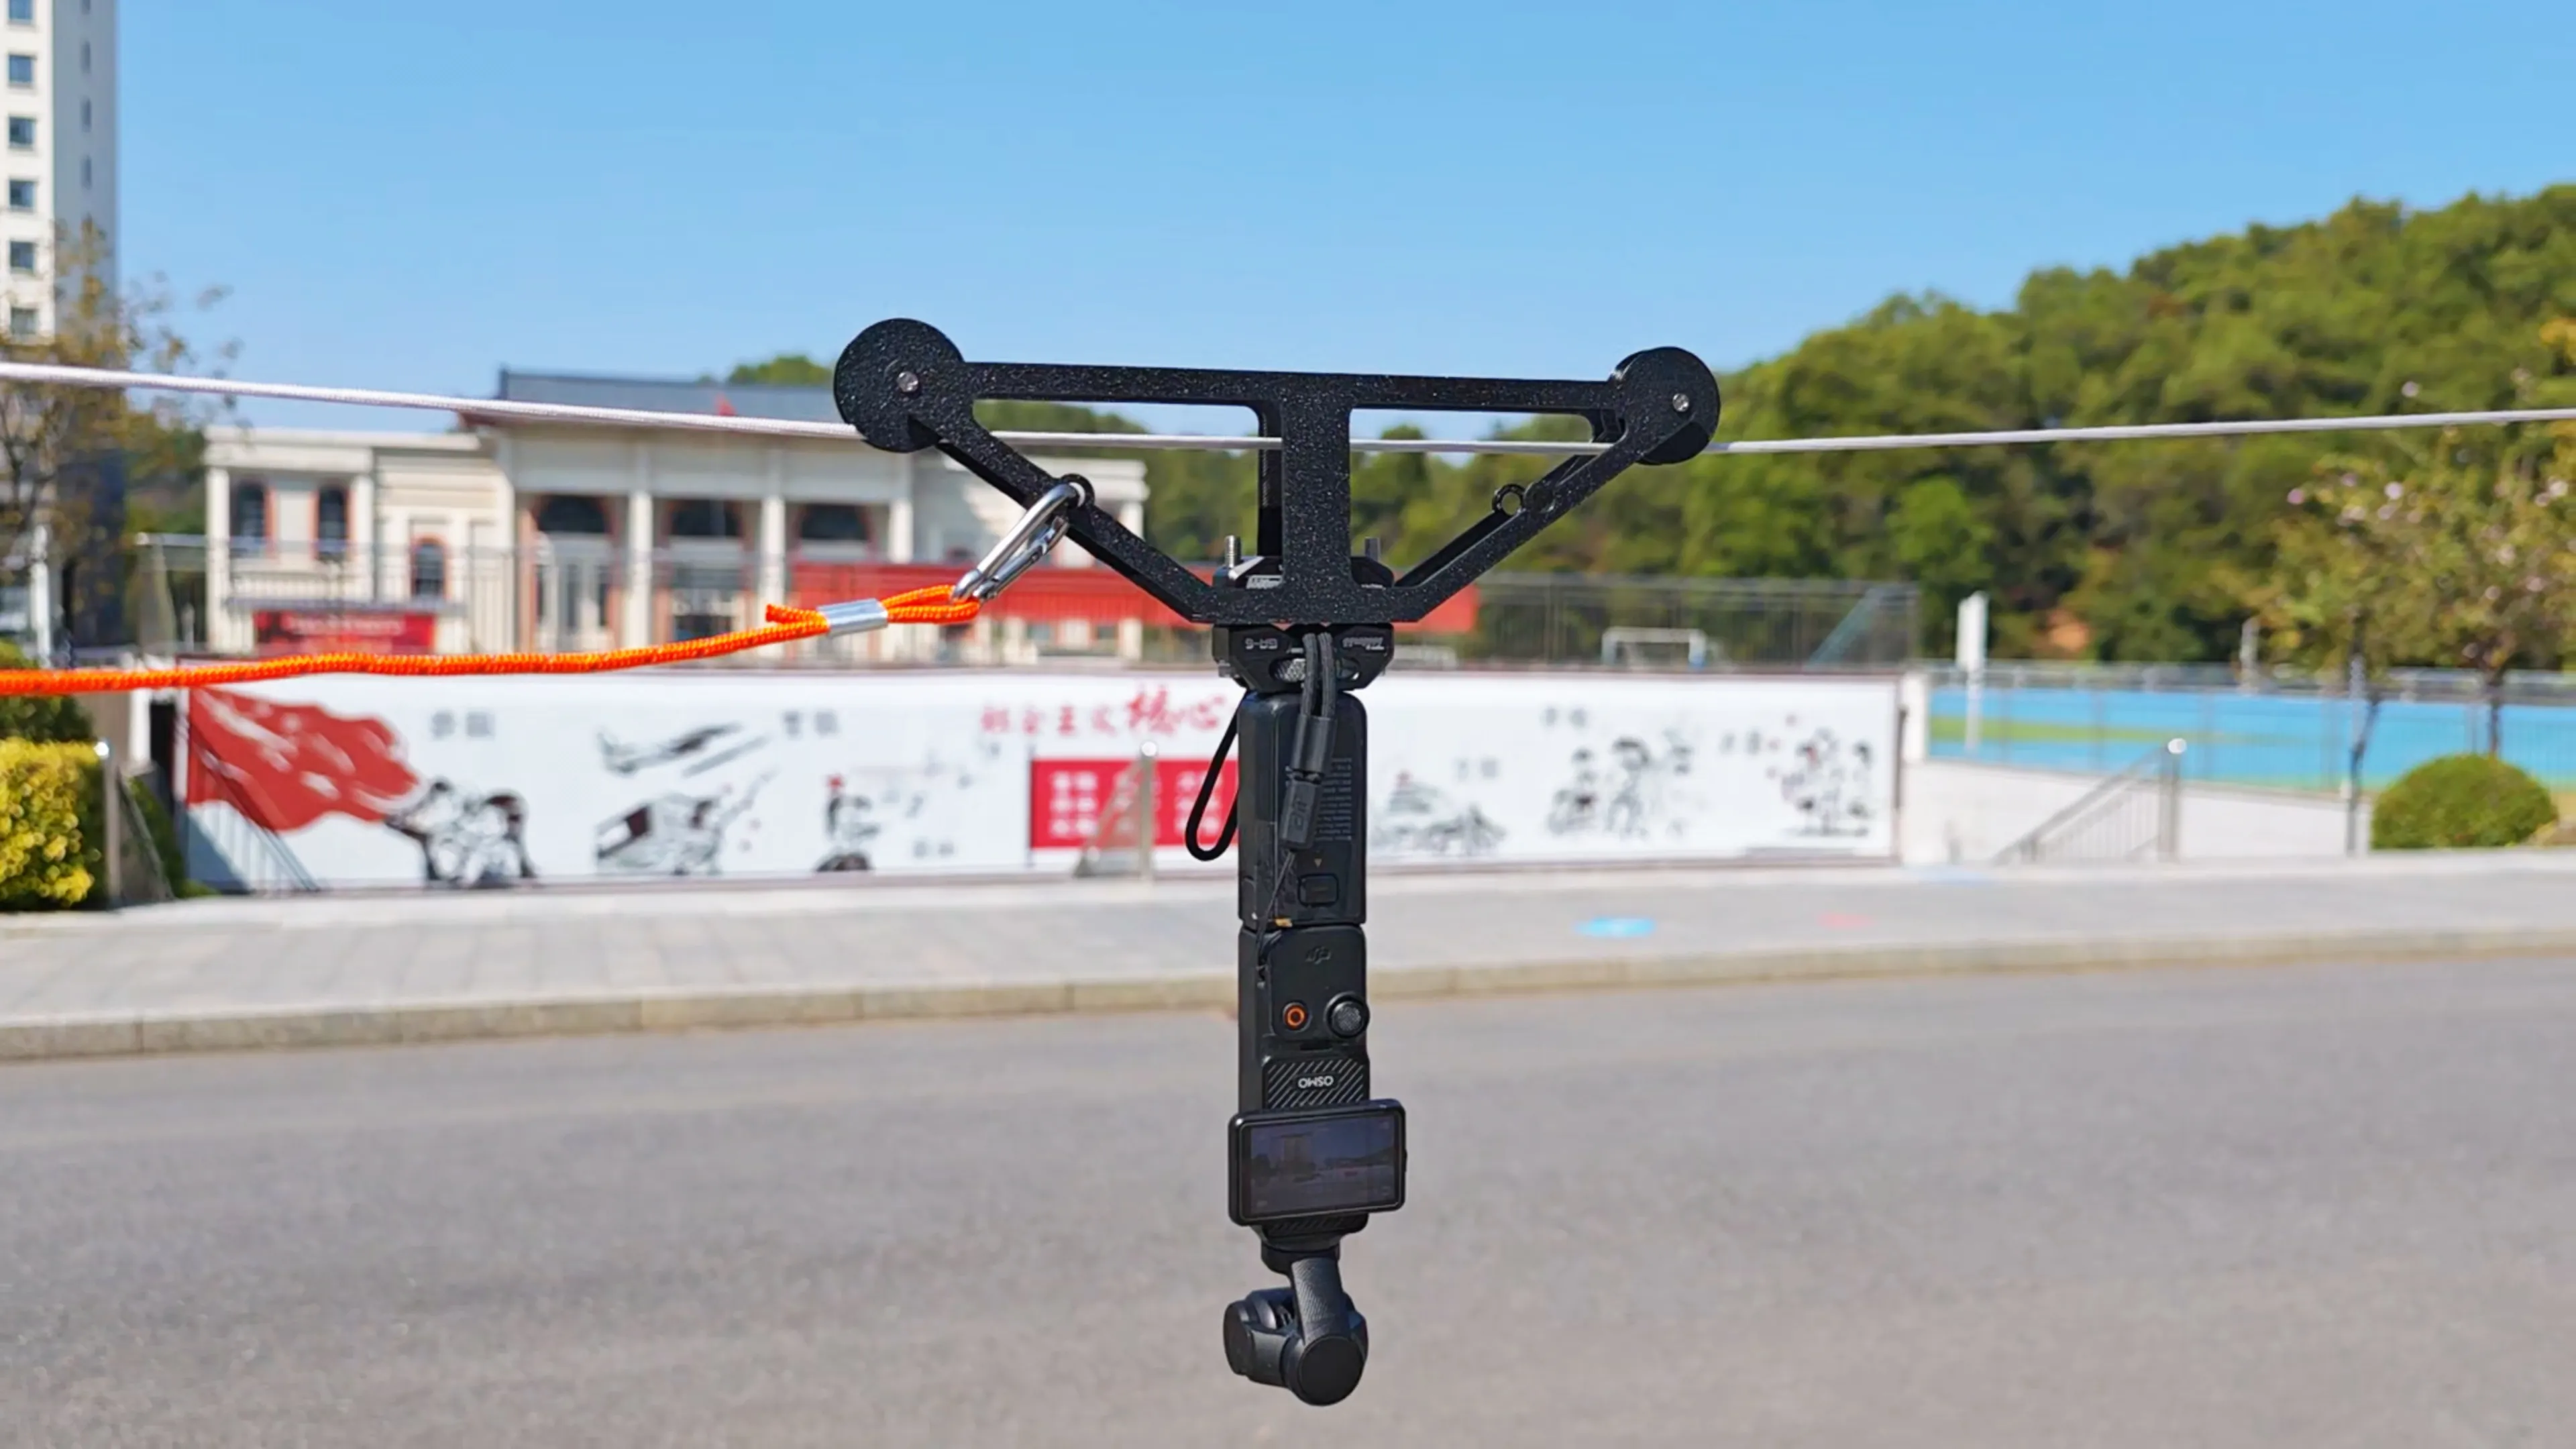
Required components:
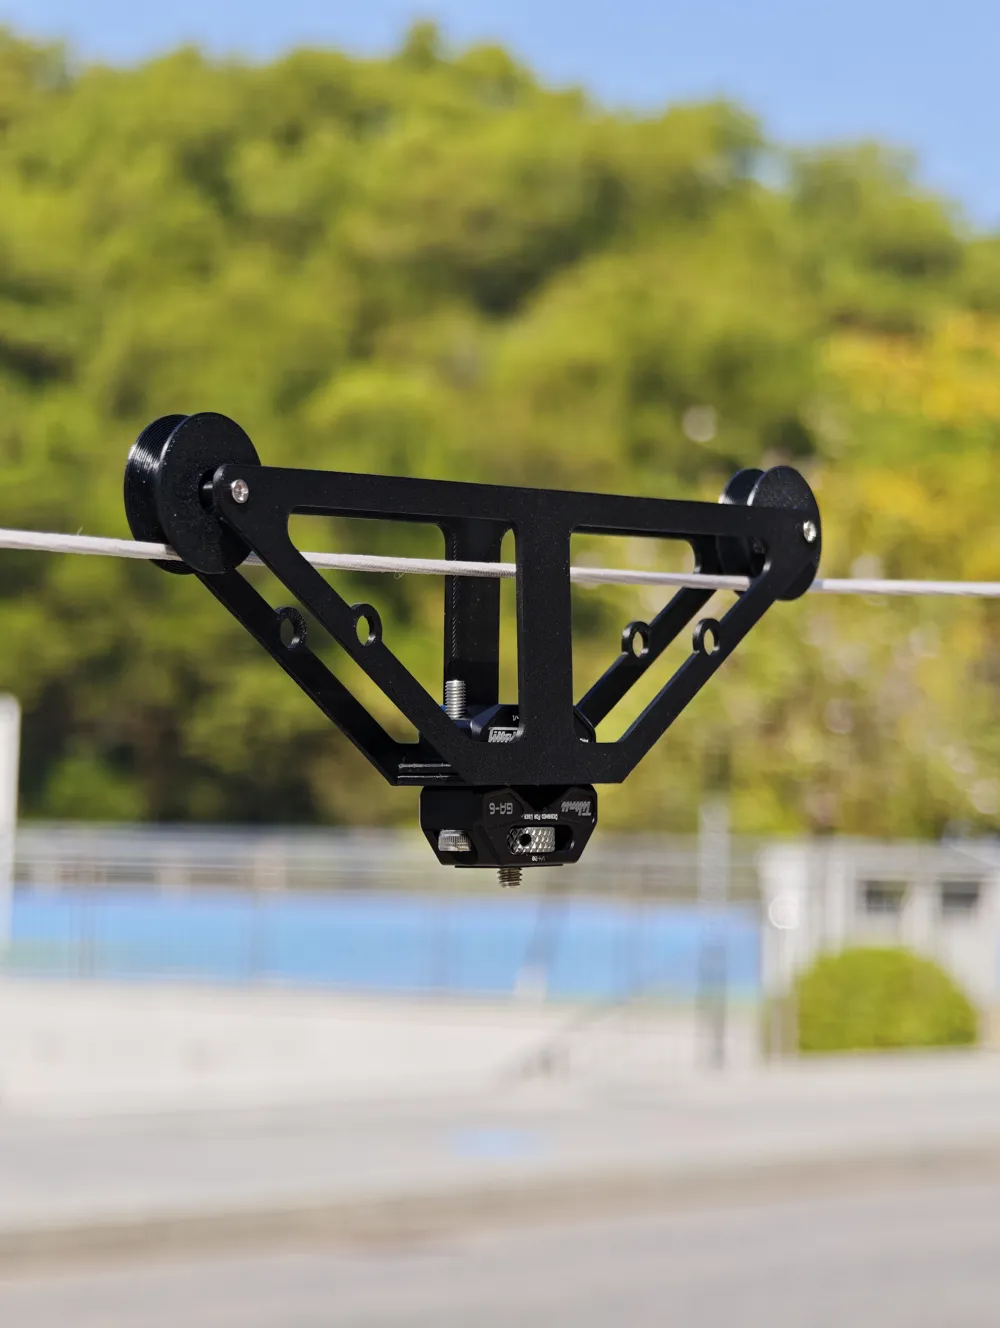
1. Tiltall GA-6 photography clamp. The screw length can be chosen based on where else you might use it; the shortest to the longest can be installed.
2. Two 633ZZ bearings (3*13*5mm).
3. Two M3*28mm screws.
4. Two M3 lock nuts.
5. 4mm or thicker nylon rope (e.g., 9-core paracord). Purchase the length as needed.
Optional:
Self-tightening guy rope tensioners, for quickly tightening the rope.
A pair of M6*28mm screws and M6 nuts, for attaching the traction rope.
Installation instructions:
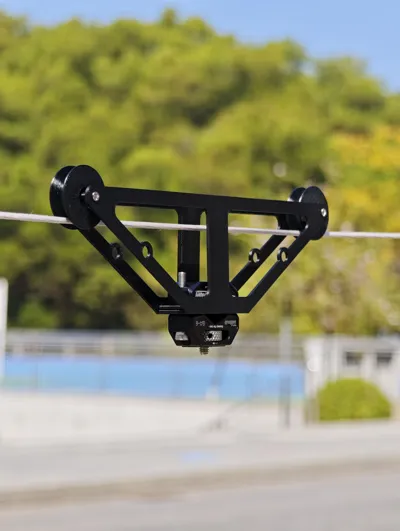
1. Place the bearings in the grooves in the middle of the wheels, then apply glue into the four holes of the wheels. Assemble the upper and lower halves, press them flat with a heavy object, and wait for the glue to solidify. It is normal to have a small gap in the middle after pressing the bearings together; this ensures the wheels firmly grip the bearings without wobbling.
2. Use M3*28 screws on both sides to pass through the base plate - wheels - top plate, and tighten with lock nuts.
3. Separate the upper and lower halves of the GA-6 clamp, attach them to the bottom of the dolly with the original screws, and it's ready to use.
4. Remember, when deploying, first pass the rope through the middle of the dolly, then secure both ends of the rope. Otherwise, the dolly cannot be mounted on an already tensioned rope. After installing the dolly and tensioning the rope, please carefully check the rope's security before mounting the camera, to prevent equipment damage from falling.
Version notes:
This is Version V2; Version V1 has been internally tested and deprecated.
New features:
V2 allows direct use of the lower half of the GA-6 clamp, eliminating the need to purchase additional screws and nuts for installation, and the lower half is less likely to be lost.
Added two traction attachment holes for attaching a traction rope.
The wheel mounting positions now have directly printed bosses adapted to the height, eliminating the need to purchase additional nylon posts.
Areas for future improvement:
Add adjustable damping to control gliding speed when sliding due to elevation differences.
Add a handbrake to prevent it from sliding when adjusting equipment.
Add a buffer to prevent impact when sliding to the end of the rope.
Change the mounting structure to allow installation or removal of the dolly after the rope has been tensioned.
License

You shall not share, sub-license, sell, rent, host, transfer, or distribute in any way the digital or 3D printed versions of this object, nor any other derivative work of this object in its digital or physical format (including - but not limited to - remixes of this object, and hosting on other digital platforms). The objects may not be used without permission in any way whatsoever in which you charge money, or collect fees.


Comment & Rating (21)