
Flush mounts - Victron Lynx + SmartShunt + 770-EZ
Print Profile(1)

Description
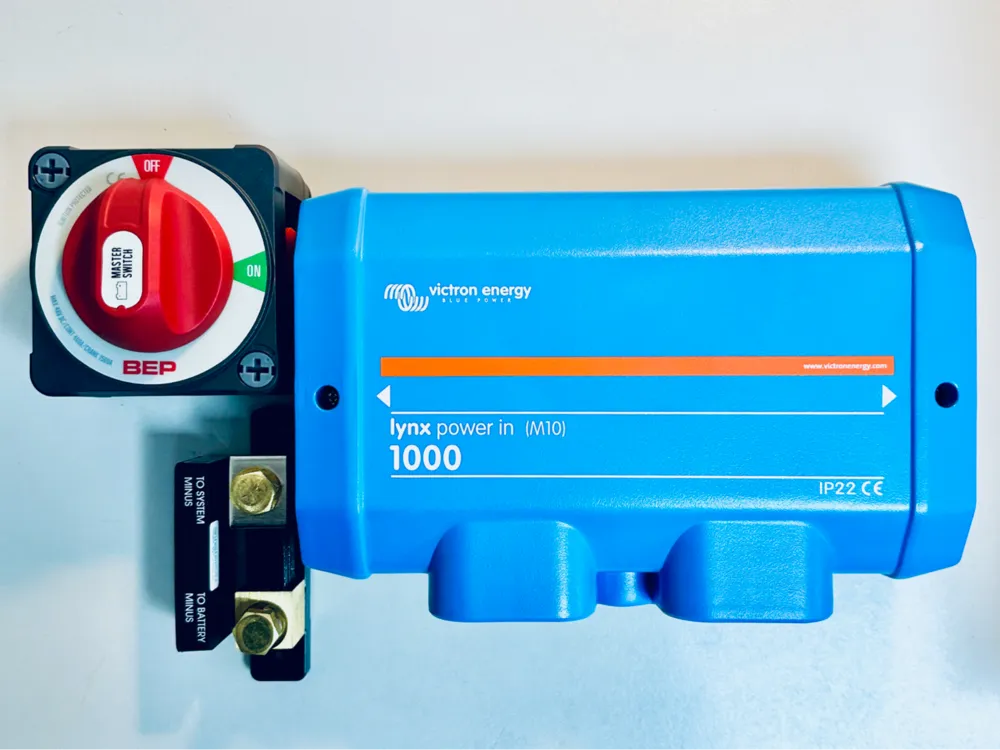
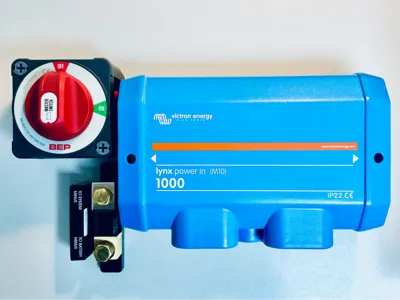
Mounting a Victron SmartShunt and battery main isolator directly to the busbars of a Lynx has become common practice in a lot of off-grid systems, giving a cleaner install with less cabling.
However, different combinations of products result in mismatching back plate heights. The shunt pushes the Lynx 4.6mm away from the mounting surface, for example.
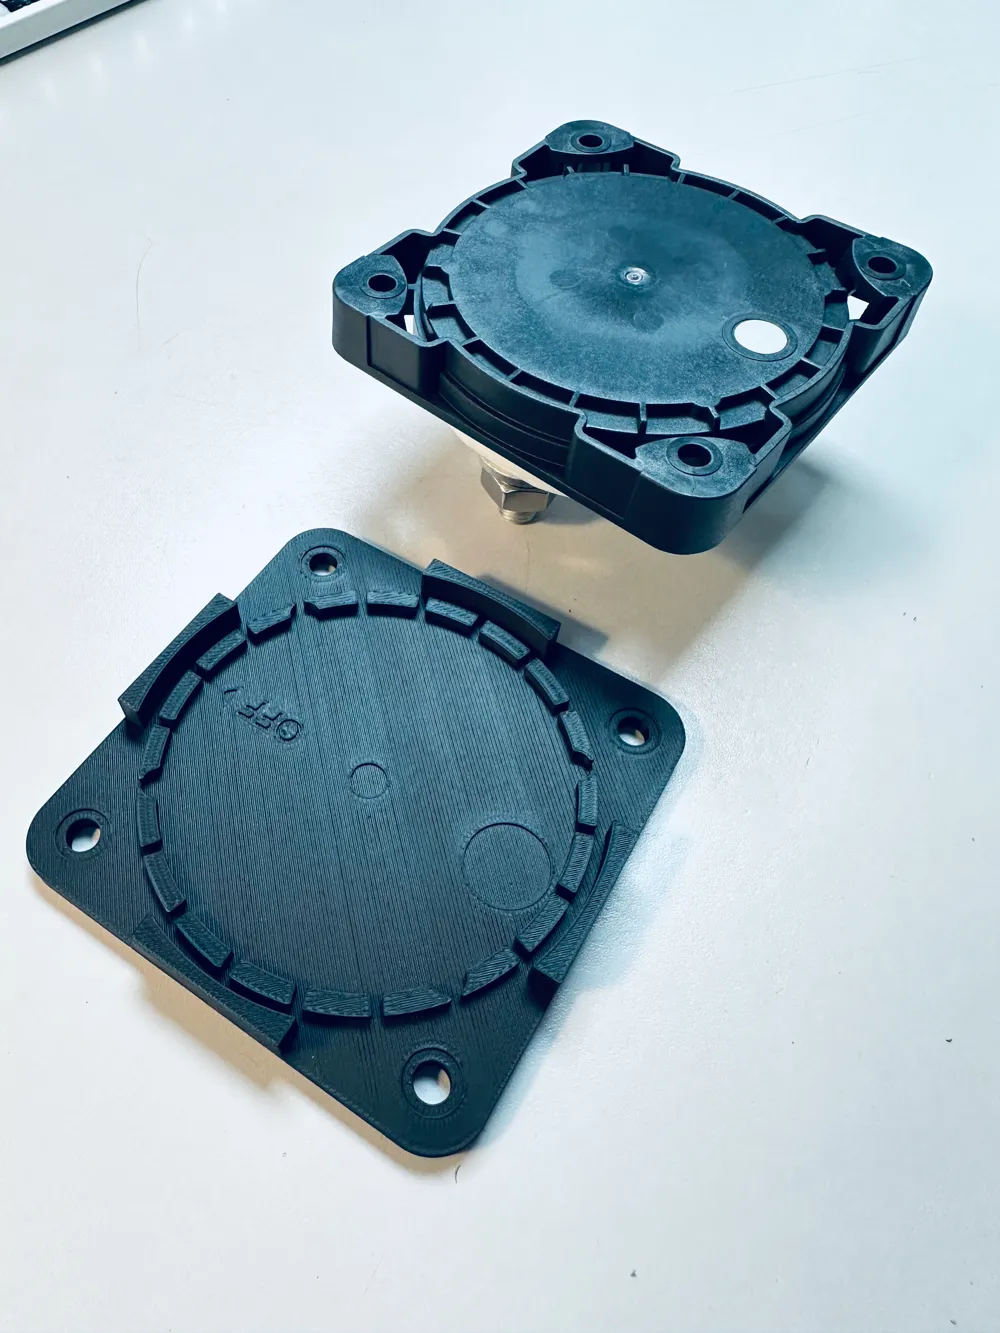
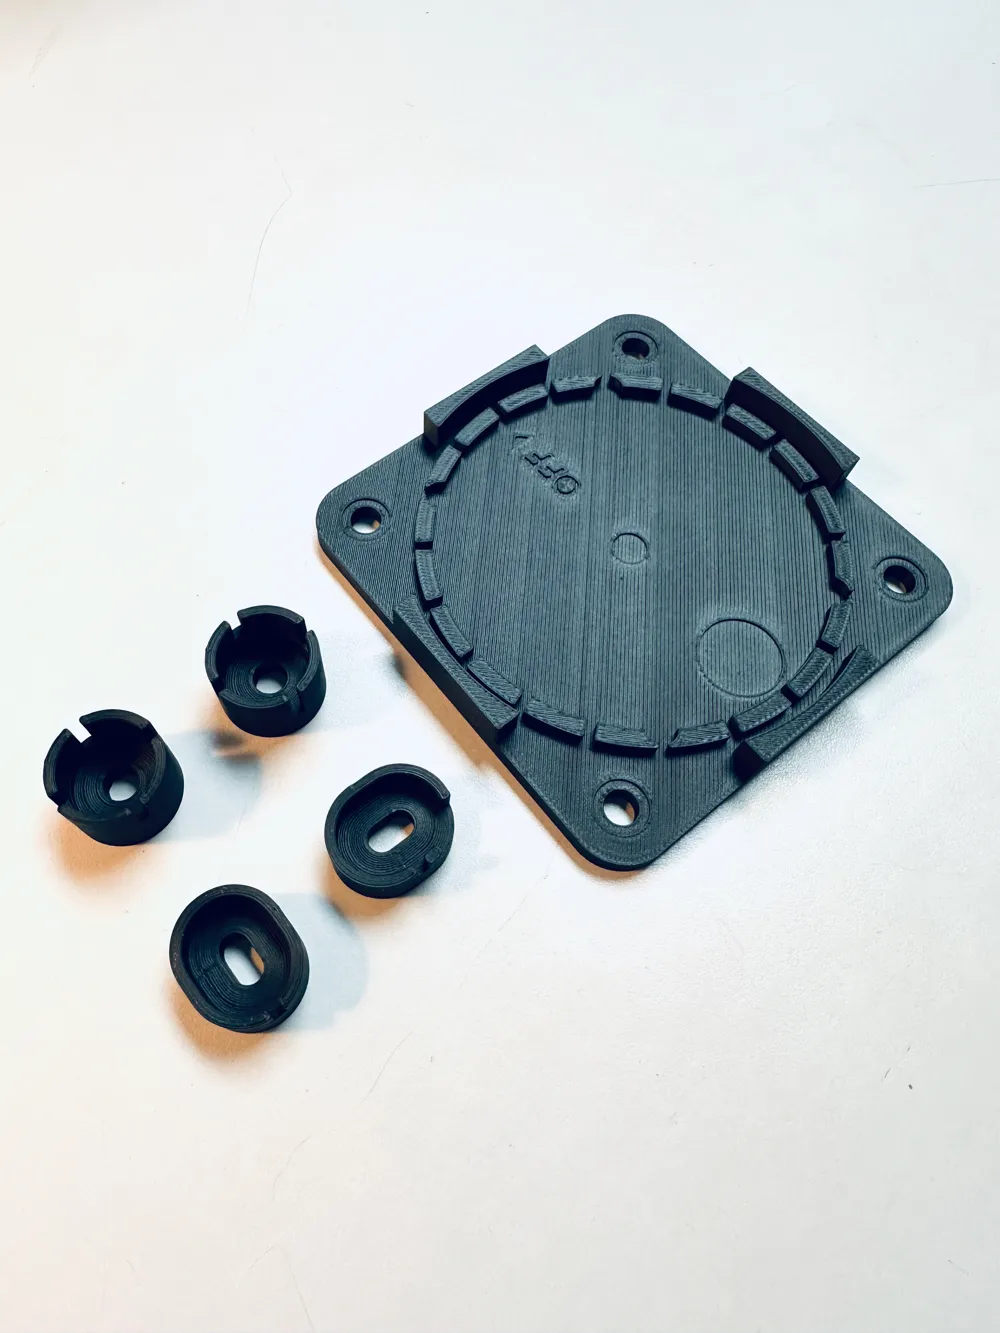
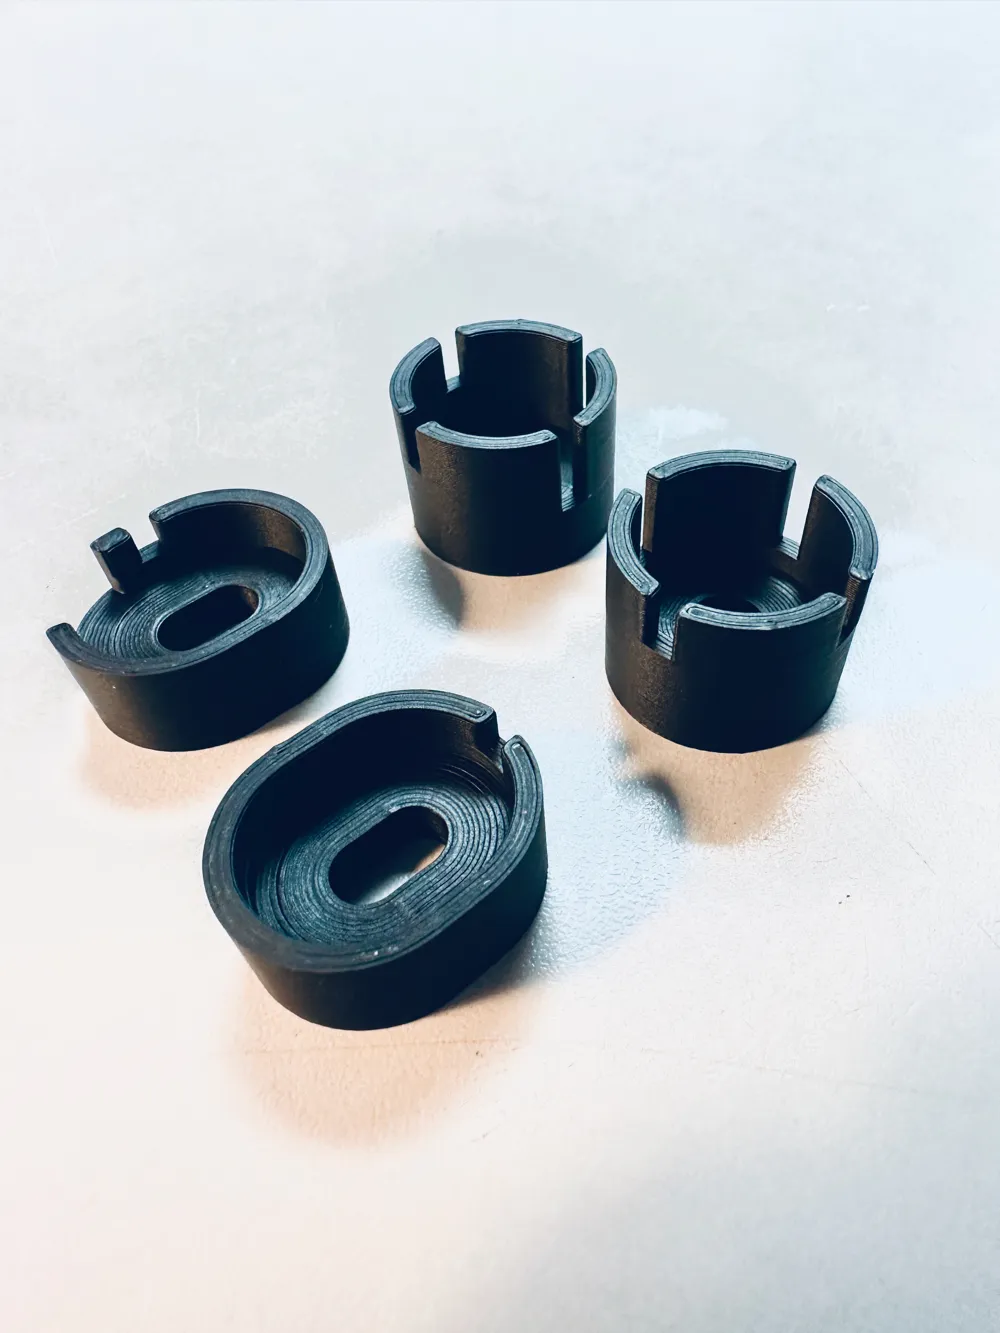
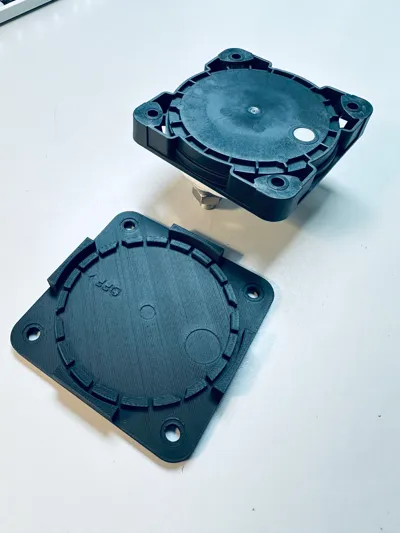
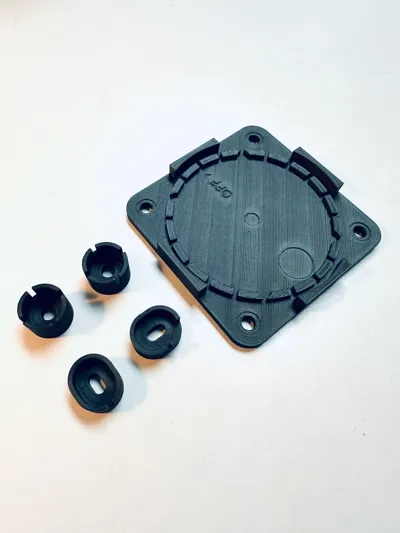
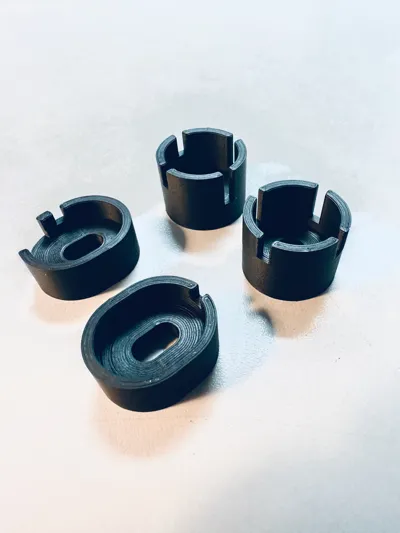
The spacers in this kit allow you to flush mount a Victron Lynx M10 (Power In or Distributor) and SmartShunt 500A/50mv (SHU050150050), and optionally a Marinco Pro-Installer EZ-Mount 400A switch (BEP-770EZ). The SmartShunt sits deeper than everything else, so you don't need a spacer for it.
Lynx spacers = +4.6mm
BEP 770-Ez = +5mm
(from SmartShunt base)
I'll be adding more popular switch spacers soon!
Note that this is the ‘minimalist’ spacer design, using less material. There is also a full backplate version coming soon - keep an eye on my other models.
The models shown were printed in Bambu Charcoal Matte PLA, any PLA Basic / PLA Matte will be absolutely fine.
Instructions
- Choose what you need from the plate (Lynx spacers only, or Lynx + switch), and print. The print settings and orientation have been optimised for strength and fit, you shouldn't need to change anything.
- Bolt the 770-EZ and SmartShunt to the Lynx's busbars (you'll need to remove the switch's faceplate), and flip the entire assembly over
- The Lynx spacers are a tight fit over each mounting foot, and should hold in place before fitting. Optionally, a drop of superglue will hold them.
- The BEP-770EZ is also a snug fit - note the correct orientation, matching the “OFF” label to the switch assembly.
- With the Lynx's cover removed, mount the entire assembly as required using the original mounting holes. And you're done!
Drop me a note in the comments if you encounter any issues. If you'd like spacers made up for a different combination of components, let me know - if I can get my hands on the exact components I'll happily add them to the file.
License

You shall not share, sub-license, sell, rent, host, transfer, or distribute in any way the digital or 3D printed versions of this object, nor any other derivative work of this object in its digital or physical format (including - but not limited to - remixes of this object, and hosting on other digital platforms). The objects may not be used without permission in any way whatsoever in which you charge money, or collect fees.


Comment & Rating (9)