
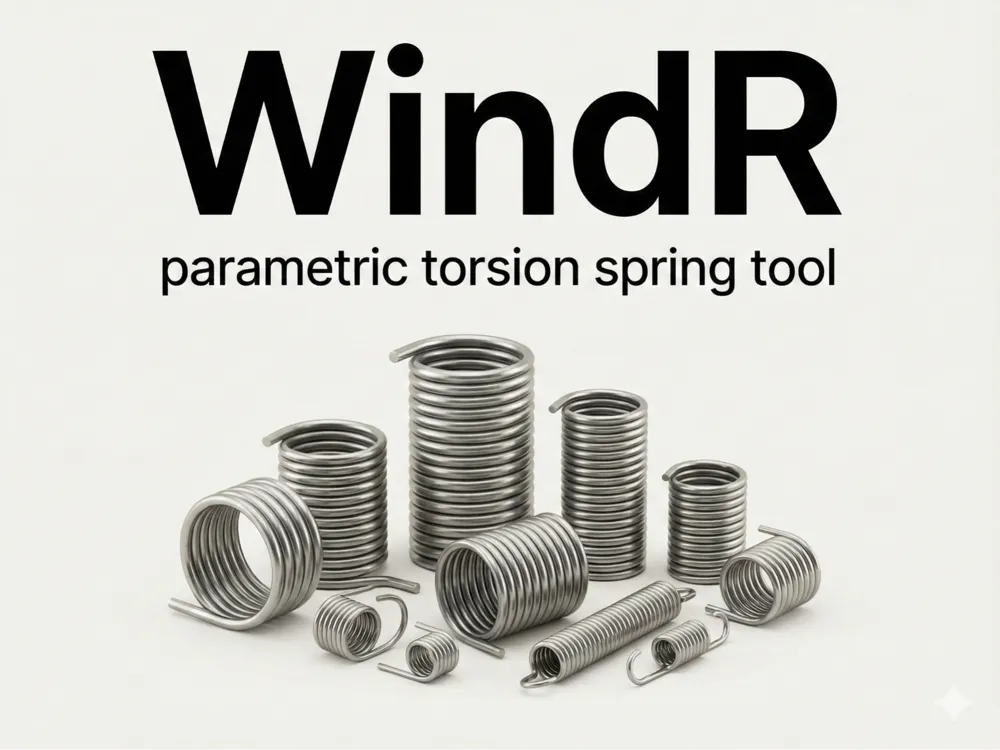
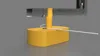
WindR | The Parametric Torsion Spring Winder
Print Profile(1)

Bill of Materials



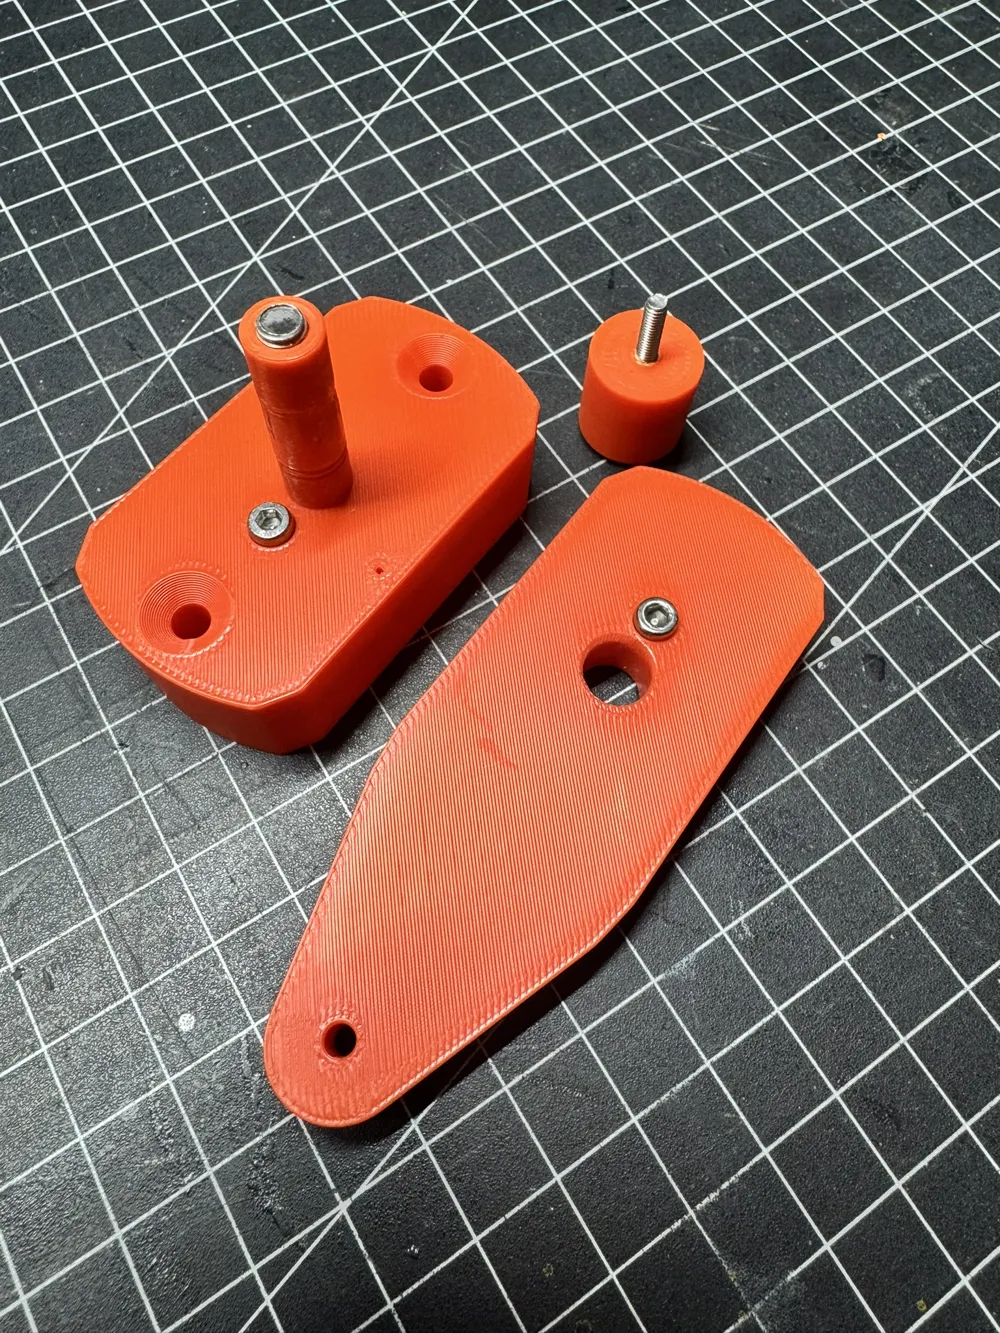
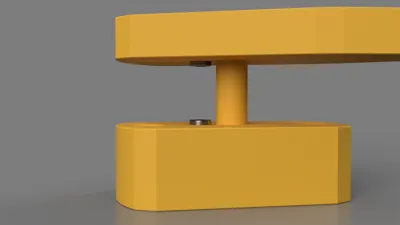
- M5x30mm Machine Screw (30mm or longer) x 1: for the middle post
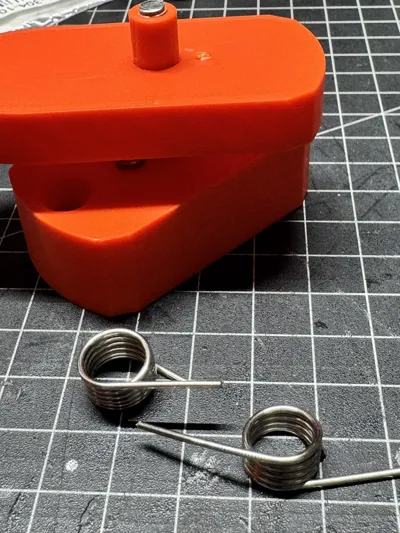
- pring wire steel x 1: from 0,5 to max 2.9 mm
Description
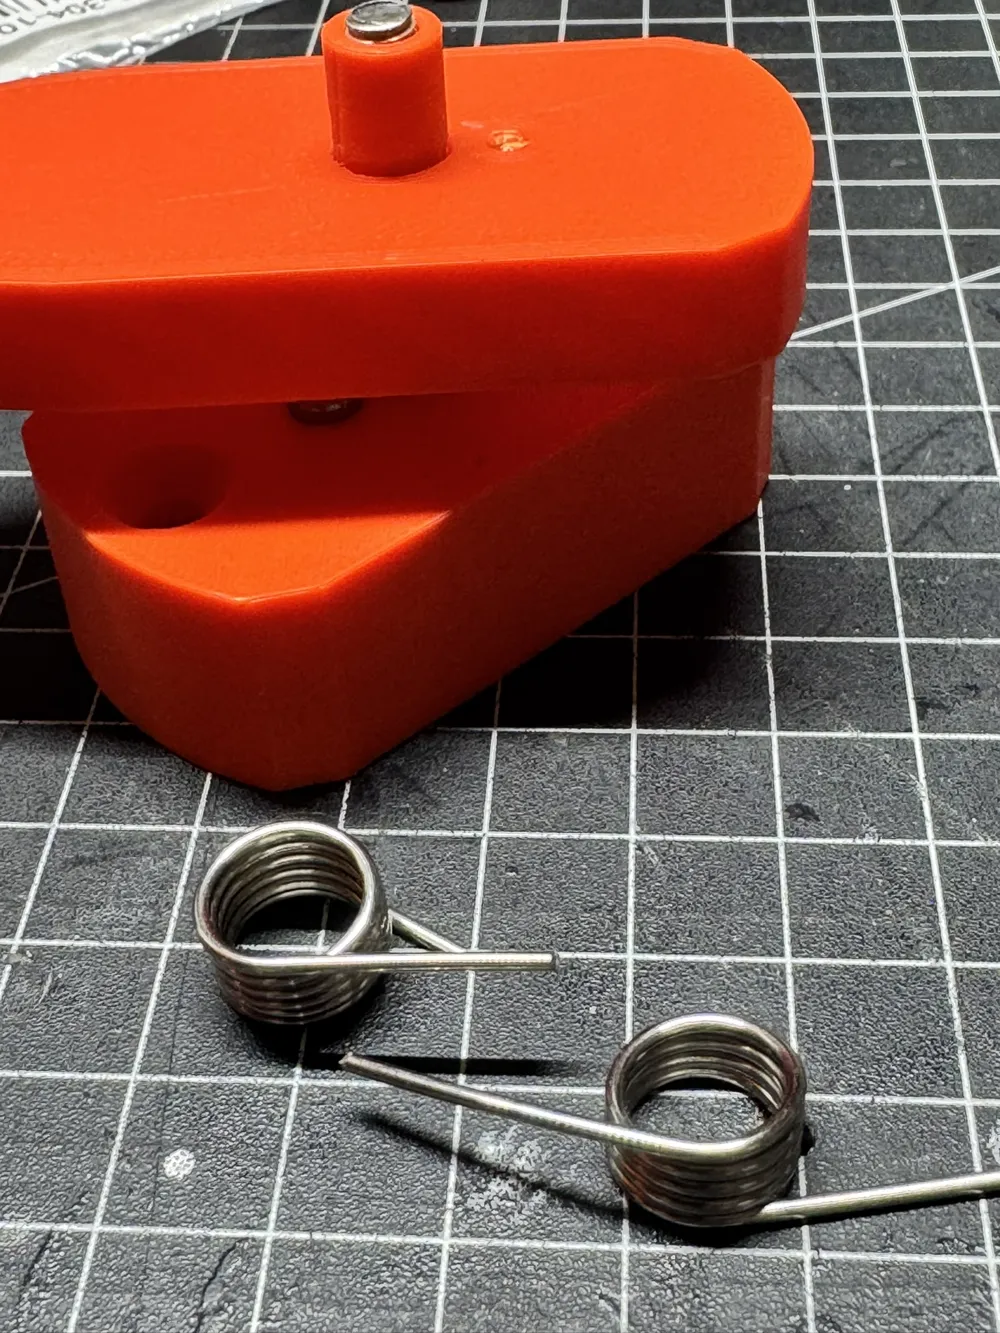
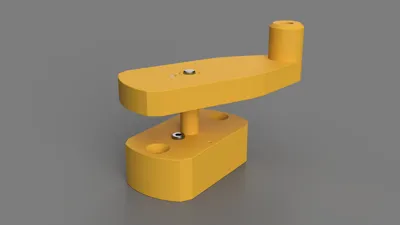
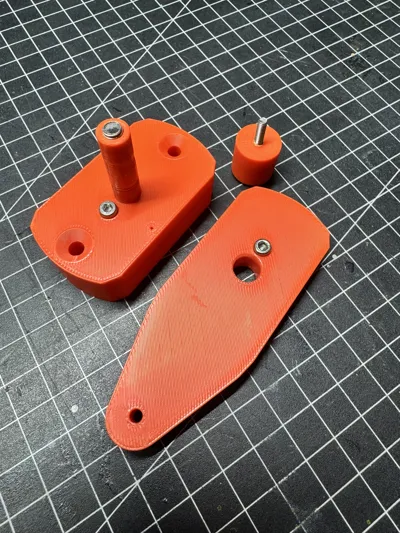
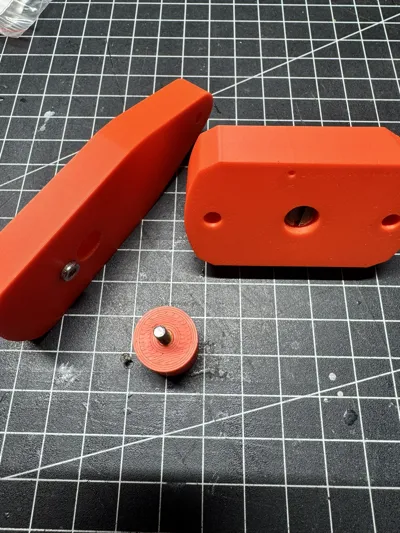
Stop hunting for that "perfect" spring in overpriced variety packs. With WindR, you can manufacture custom torsion springs tailored exactly to your project's needs. This tool is fully parametric, allowing you to dial in wire diameters from 0.5mm to 2.9mm and coil diameters from 5.5mm to ~20mm.
What is WindR?
- Fully Parametric: Print the exact size you need for your specific wire gauge.
- Precision Control: Achieve consistent, professional-grade results every time.
Durable Design: Optimized for PETG to withstand the mechanical stress of winding steel. Reinforced with standard metric screws.
Step-by-Step Winding Guide
- Prep your Wire: Order spring steel wire from your preferred supplier.
- Match your WindR: Print the version of WindR that corresponds to your wire diameter
- Measure and Cut: Cut your wire to length, always leaving a bit of extra "bite" for the winding process.
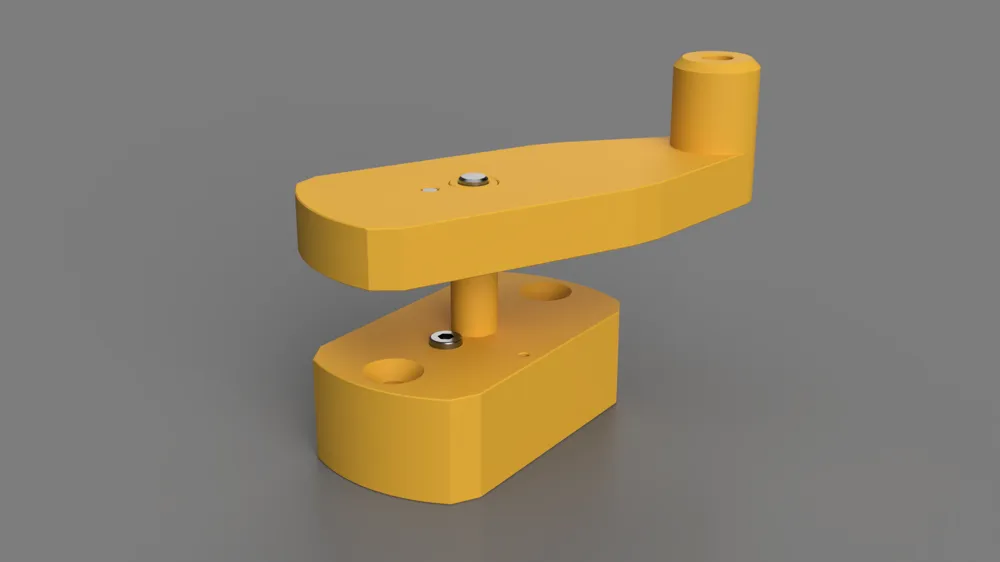
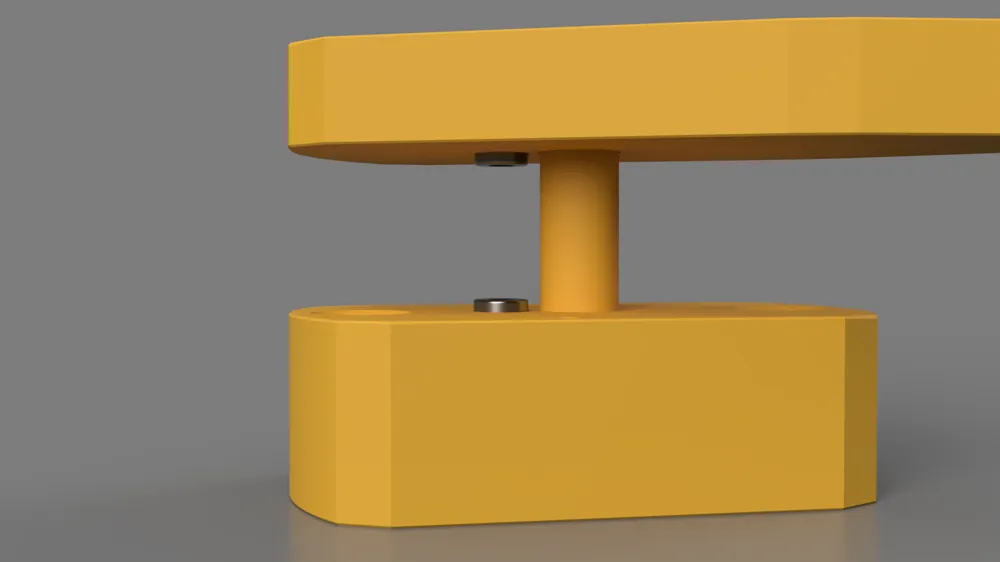
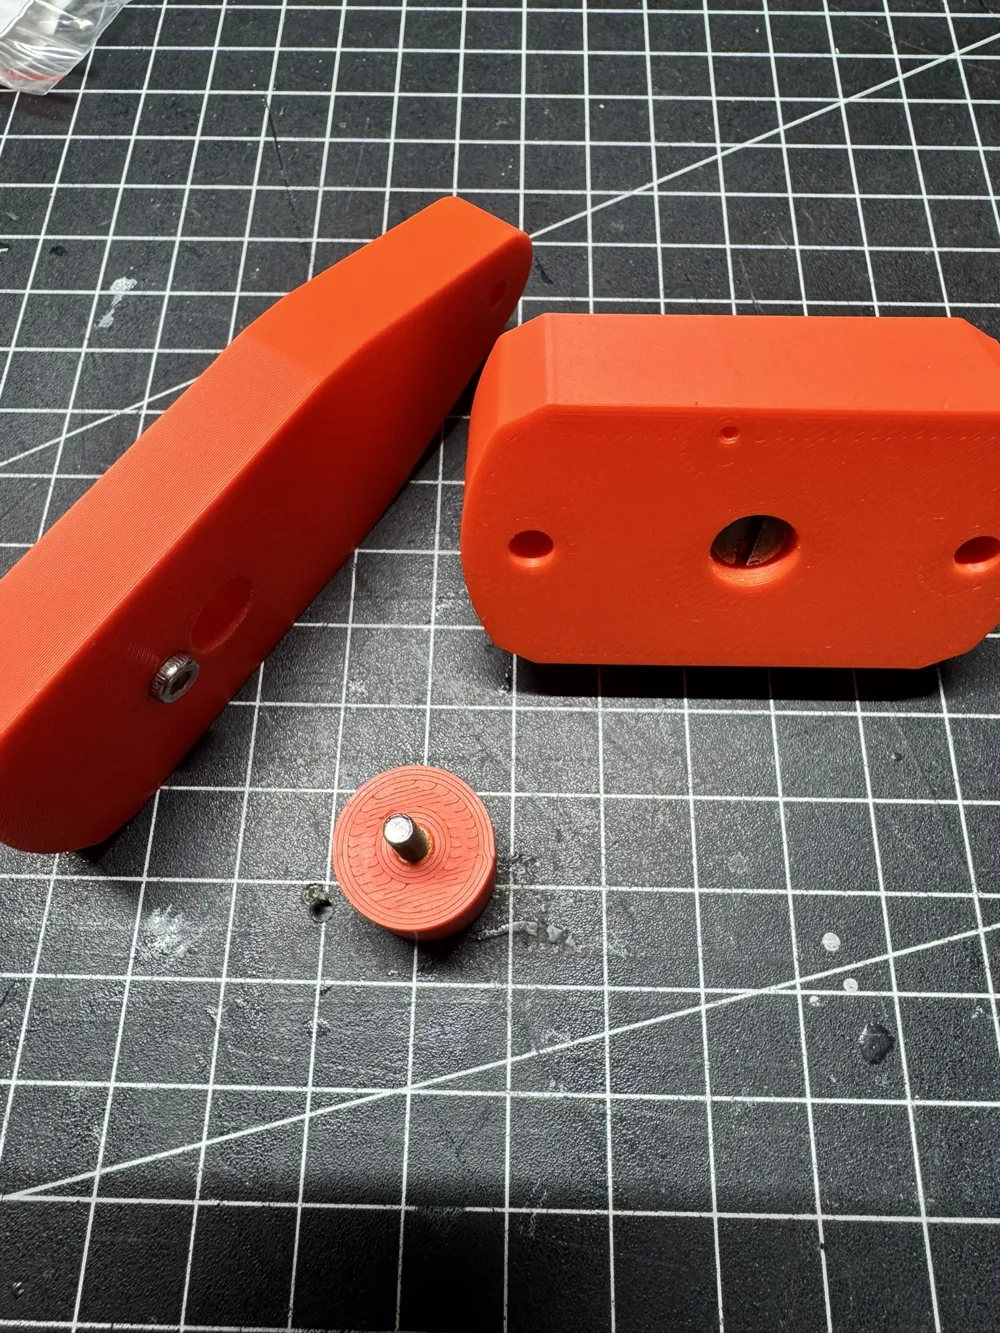
- Load the Base: Insert the wire into the bottom piece. Slide it between the middle post and the screw.
- Calibrate: Adjust the screw height so it is flush with the wire. It should be snug but not crushed.
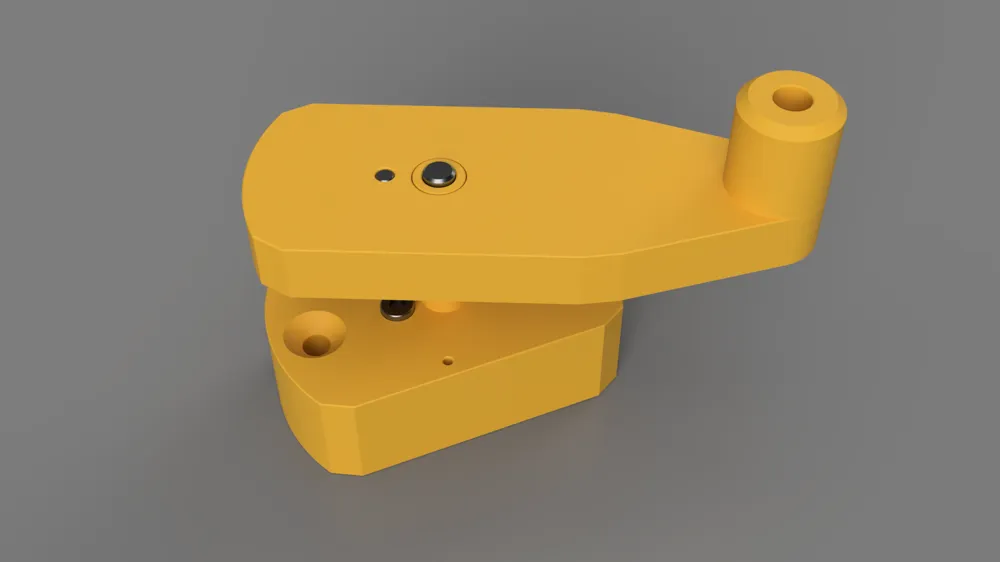
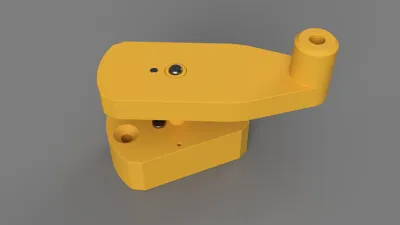
- Assemble and Wind: Place the top piece over the post. Guide the wire between the screws, press the parts together firmly, and rotate the top handle in your desired direction.
- Release: Once you've reached the desired number of coils, carefully release the tension and trim the ends.
Boost Me (for free)
support my ideas
Documentation (3)
License

You shall not share, sub-license, sell, rent, host, transfer, or distribute in any way the digital or 3D printed versions of this object, nor any other derivative work of this object in its digital or physical format (including - but not limited to - remixes of this object, and hosting on other digital platforms). The objects may not be used without permission in any way whatsoever in which you charge money, or collect fees.


Comment & Rating (9)