Retro Arcade Coin Slot Clicky Button Fidget AMS


Print Profile(3)

Bill of Materials

Description
Boost Me (for free)
If you like my designs, please consider boosting me to show your support!
***PLEASE CLEAN YOUR BED PROPERLY BEFORE PRINTING. DAWN DISH SOAP(Or Equivalent) AND HOT WATER THEN DRY WITH PAPER TOWEL OR AIR DRY!! NOTHING ELSE NEEDED!! THIS WILL ENSURE YOUR PRINT IS SUCCESSFUL***
## These models printed as shown but if you dont clean your bed properly and have adhesion issues, then you can add a brim or mouse ears. I test all my prints and it is proven to print as I set it up. ##
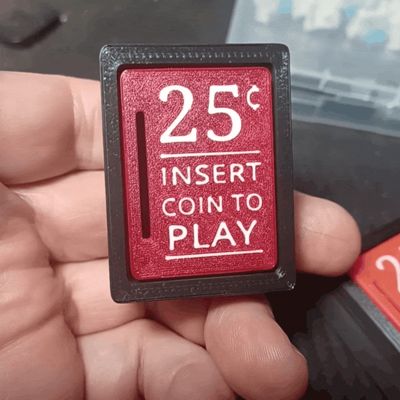
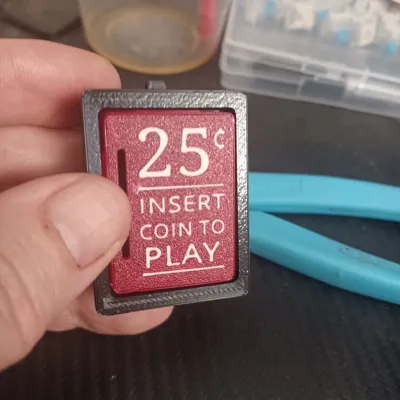
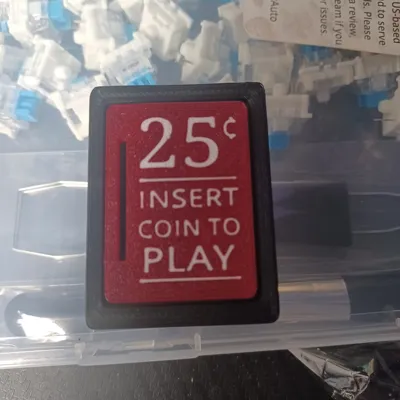
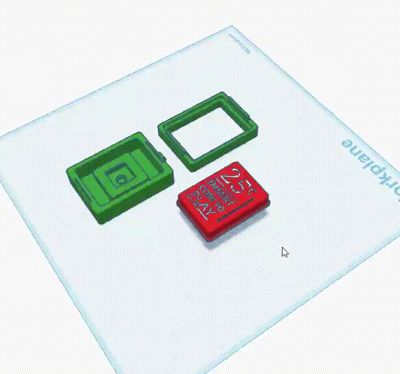
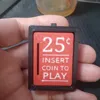
Retro Style Arcade Coin Slot Fidget Clicker Button
## Added optional magnetic back print profile for those who want to make it into a magnet (2) 8x2mm magnets ##
****Ideally print the button with PETG Translucent Red and PETG White to mimic the real buttons more closely.****
#Make sure to clean bed before printing the button and avoid using 3rd party plastes as they tend to not give a good finish on face down printing.#
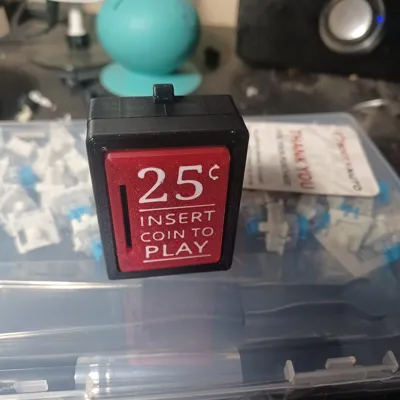
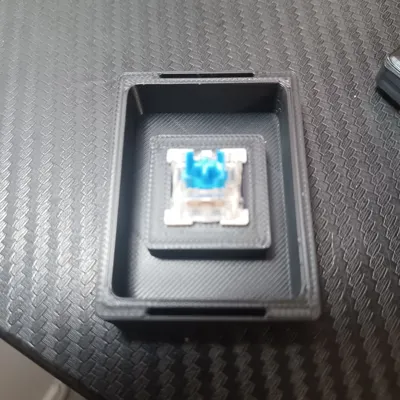
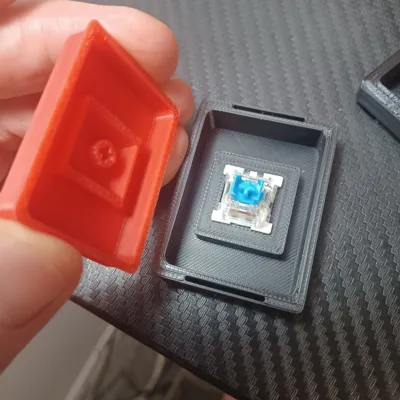
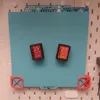
Designed in Tinkercad using these keyboard switches , but should work with other similar ones. I designed it to be as thin as possible so you will have to use cutters to cut off the electrical barbs as seen in image below.

Assembly: Press switch in snugly to bottom base, then carefully align the button onto the switch top “cross” and press it down, then slide top piece over the button aligning the slots into the bottom piece, I highly recommend using a couple of tiny drops of super glue after assembly to help hold top and bottom together.


Membership
Join my Commercial Membership and enjoy selling rights for all of my models for as low as $3 per month.
License
You shall not share, sub-license, sell, rent, host, transfer, or distribute in any way the digital or 3D printed versions of this object, nor any other derivative work of this object in its digital or physical format (including - but not limited to - remixes of this object, and hosting on other digital platforms). The objects may not be used without permission in any way whatsoever in which you charge money, or collect fees.
Comment & Rating (27)