
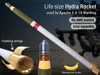
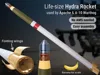
Life-size A-10 Warthog Hydra Rocket
Print Profile(4)

Bill of Materials










Description
Want more like this model? Check out these collections: Grenades | Artillery & Ammo | Life-size Weapons | Missiles & Bombs | and more (3)… |
Summary
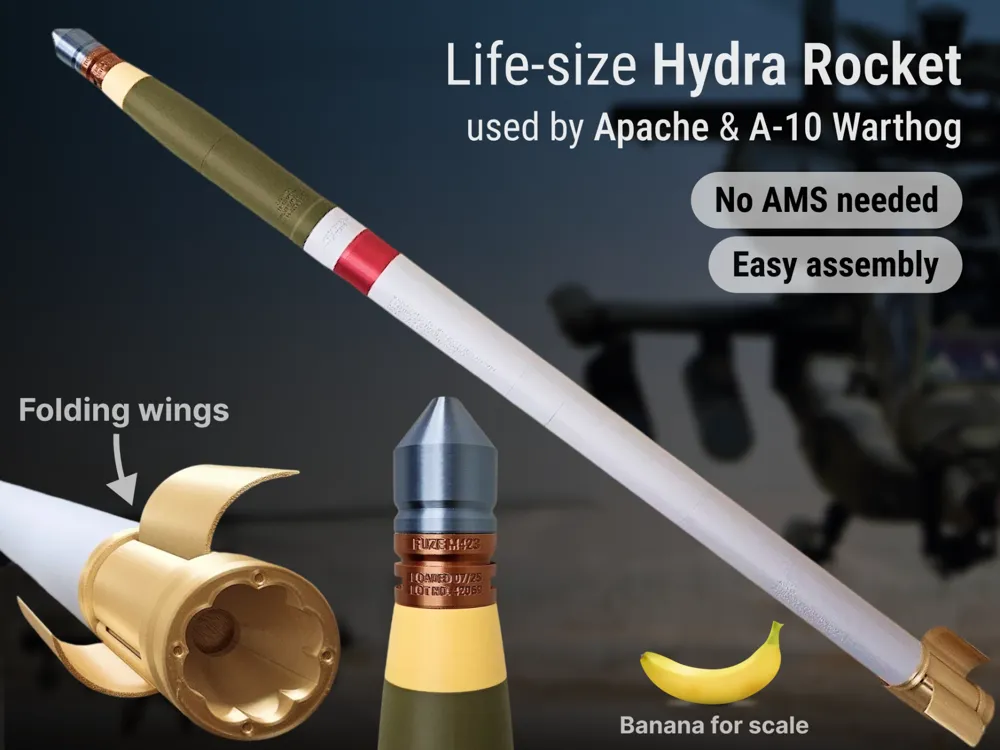
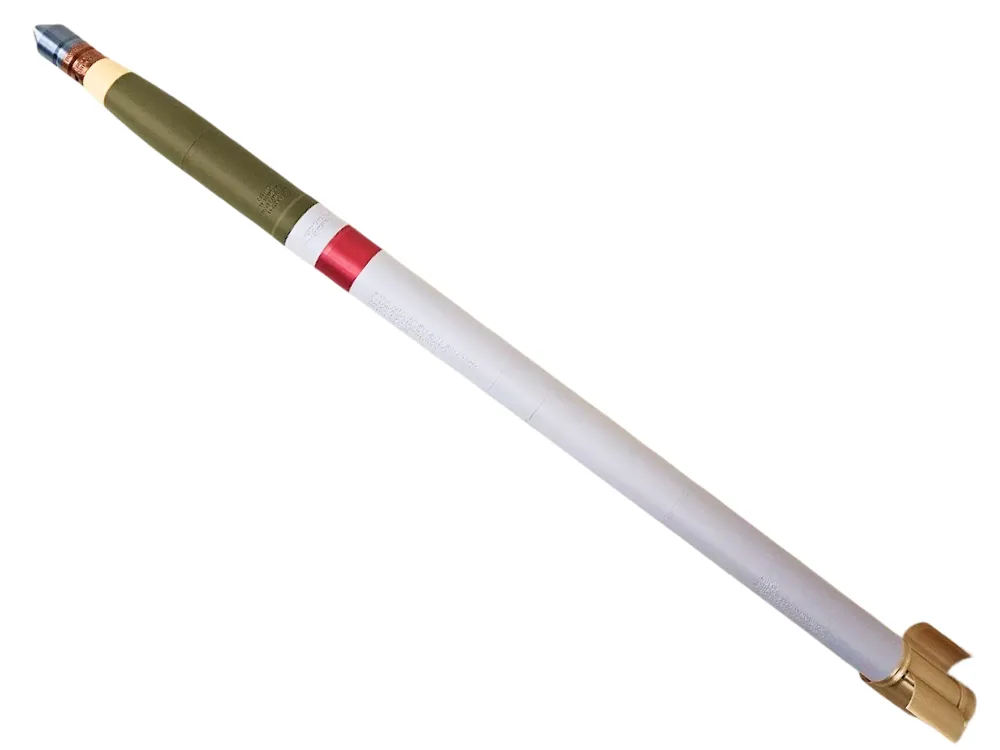
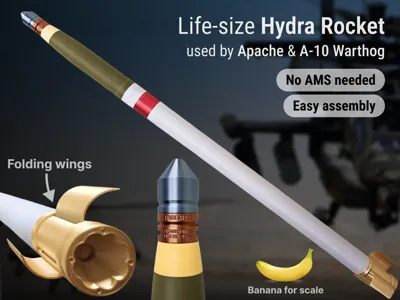
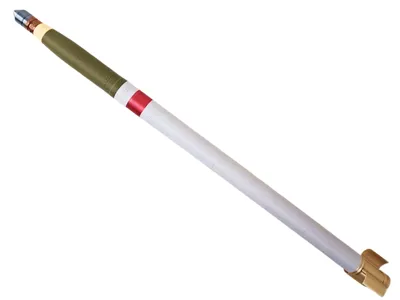
The life-size Hydra Rocket fired by the A-10 Warthog, Apache, Eurocopter, and many more is ready to print. This model is around 4ft long when fully assembled (which takes just a minute or two screwing the parts together). I've optimized this model to use screw-on attachments for easy assembly that is sturdy and requires no glue.
Background: The Hydra 70 is a versatile 2.75-inch (70 mm) diameter unguided rocket system primarily used by United States and allied forces for air-to-ground missions. It is commonly launched from rotary and fixed-wing aircraft, such as the AH-64 Apache and A-10 Thunderbolt II, and can be equipped with a wide variety of warheads for anti-personnel, anti-armor, and illumination roles.
Filaments used
- Rocket Body
- Bambu Basic Light Gray
- Sunlu Red Silk (Amazon link) – Printed as Matte so that its more dull/metallic than shiny
- You can substitute any red filament, such as Bambu Matte Scarlet Red
- Rocket Motor
- GiantArm Silk Gold (Amazon link) is the gold shown the model images
- Bambu Metal Iridium Gold is what I have switched to since its stronger
- Warhead Tip
- Bambu Basic Sunflower Yellow
- Overture Silk Copper (Amazon link)
- Polymaker Army Green (Amazon link)
- Hatchbox Metallic Gray (Amazon link)
Assembly is easy
Most of the parts simply screw together, so if you make a mistake you can just unscrew and rescrew in seconds, no problems. Make sure you don't over tighten – they are quite strong, but all plastic screws can eventually break under enough pressure – you should be able to screw them until they feel snug.
1. Screw the main body together, which includes 4 longer white/gray segments, one shorter red segment, and one short white/gray segment.

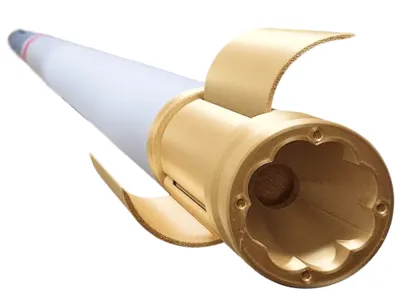
2. Connect the rocket motor by connecting the top threaded piece to the bottom piece with the two long pegs provided.
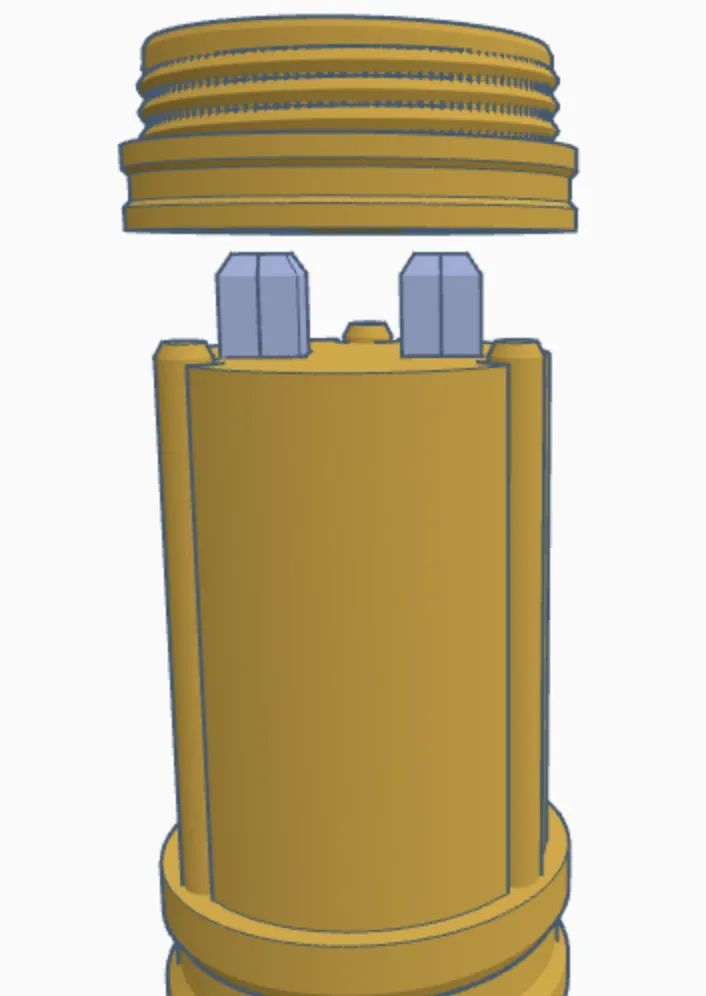
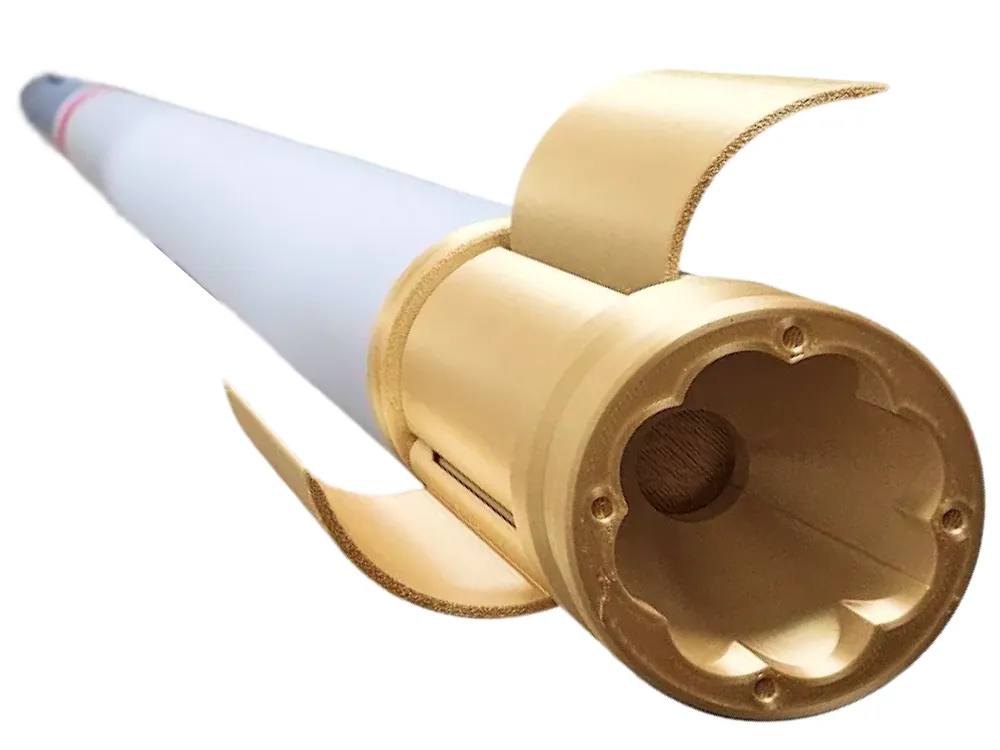
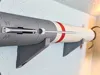
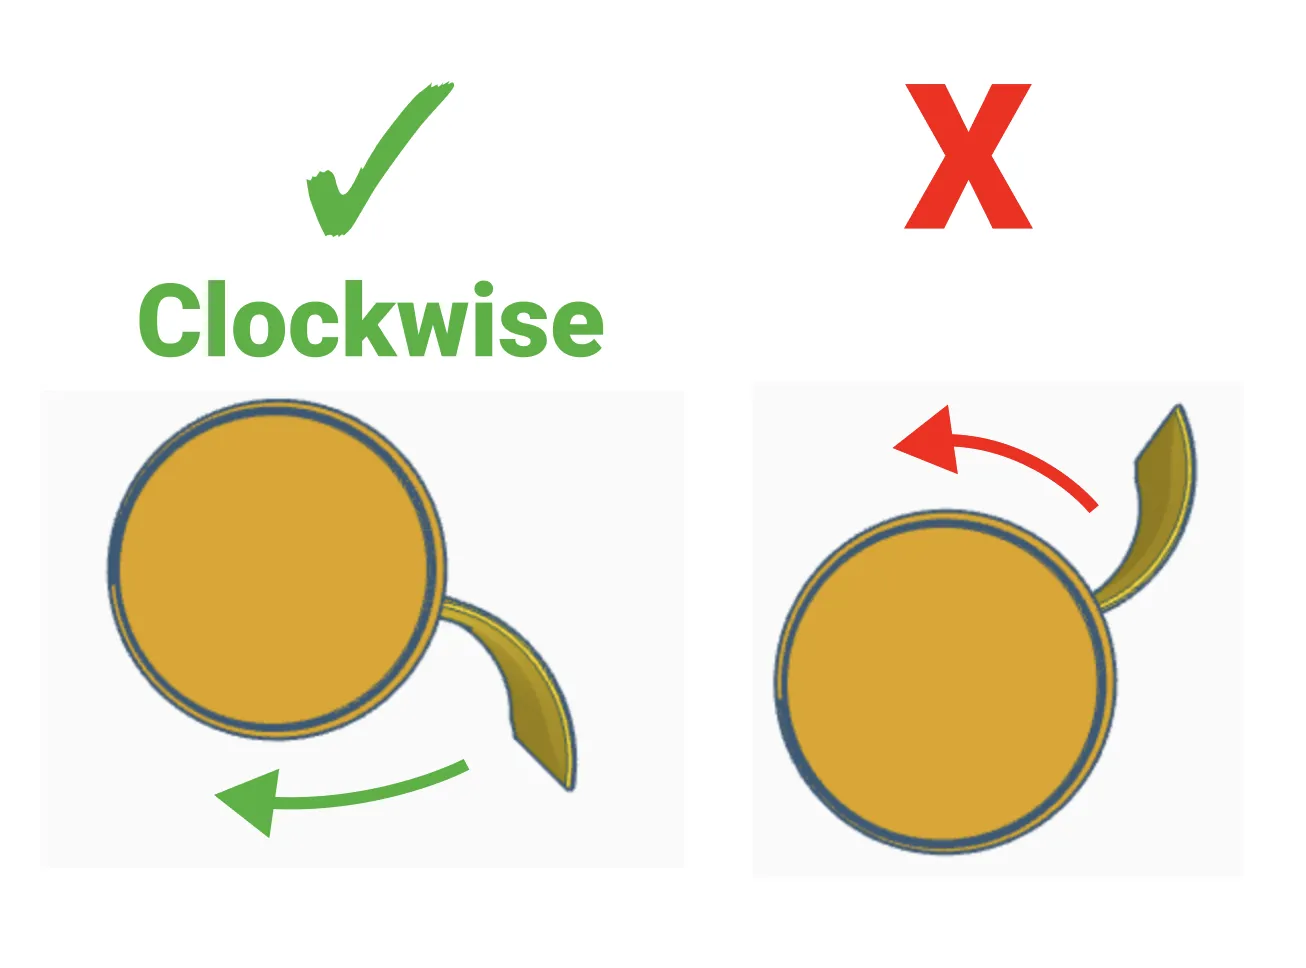
3. Then the attach the fins to the rocket motor – they will snap into place with little force. Note that they must be facing clockwise, not counter clockwise. If you insert them counter clockwise you will find that they don't fold all the way.
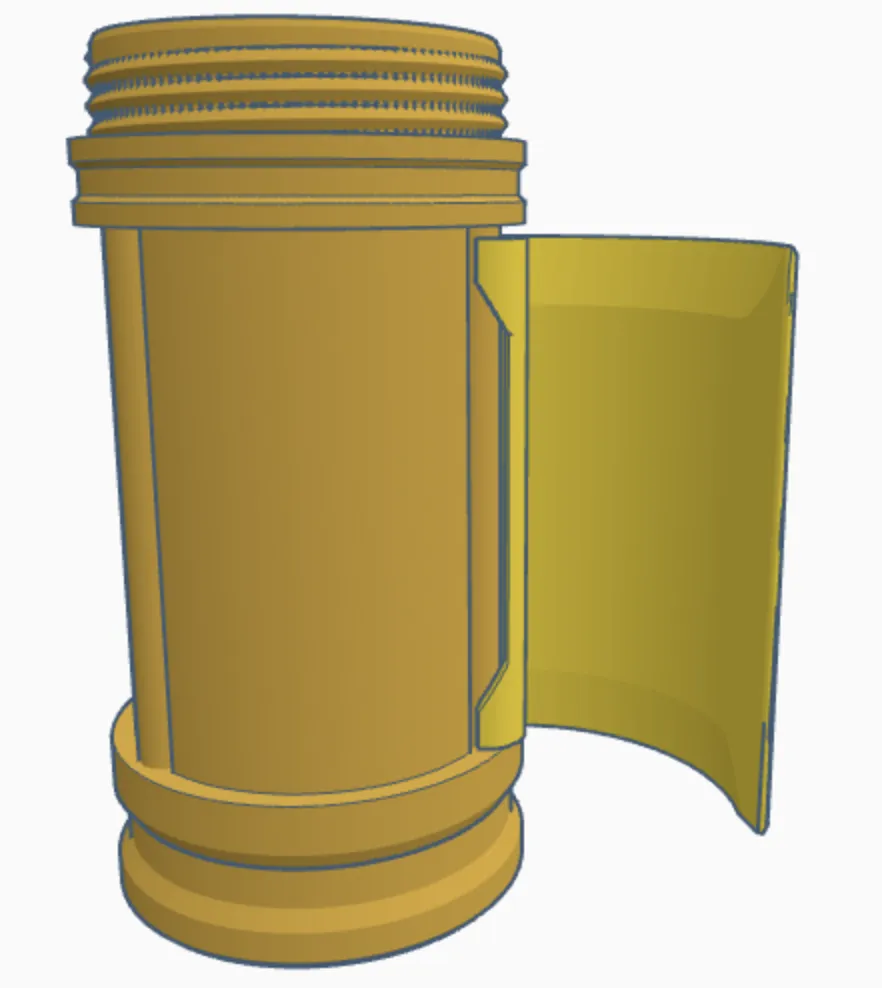
4. Now screw the rocket motor to the bottom of the rocket (the end furthest from the red stripe).
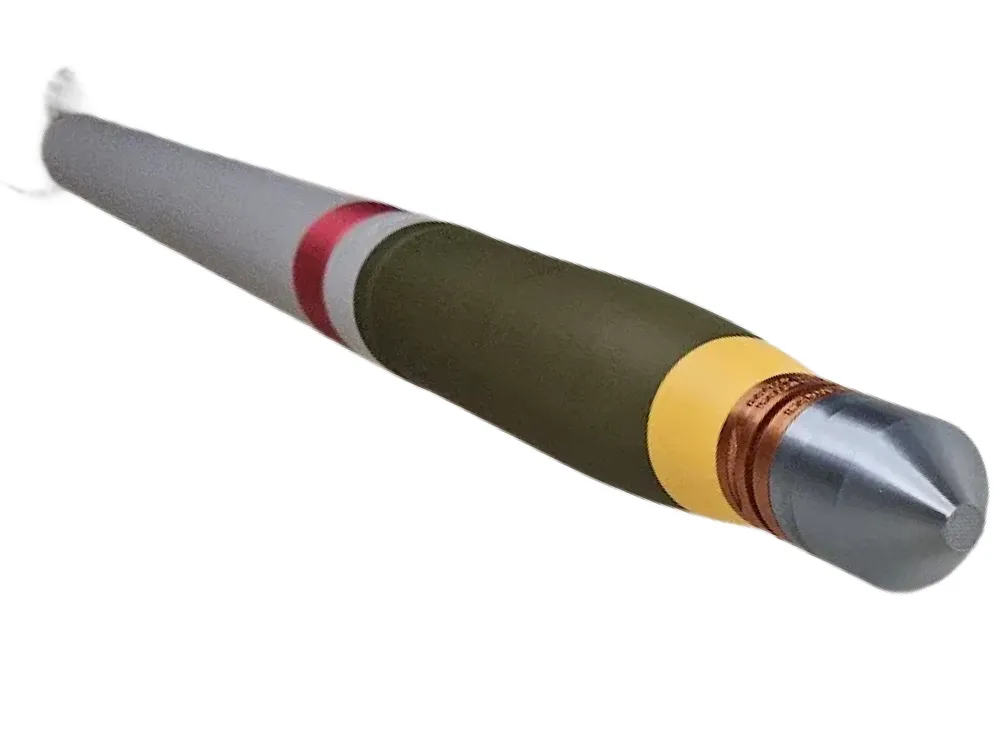
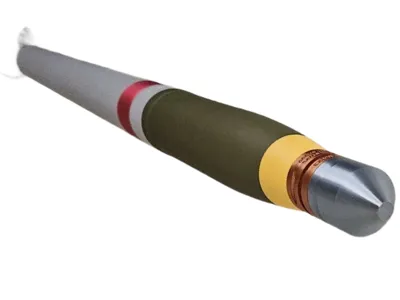
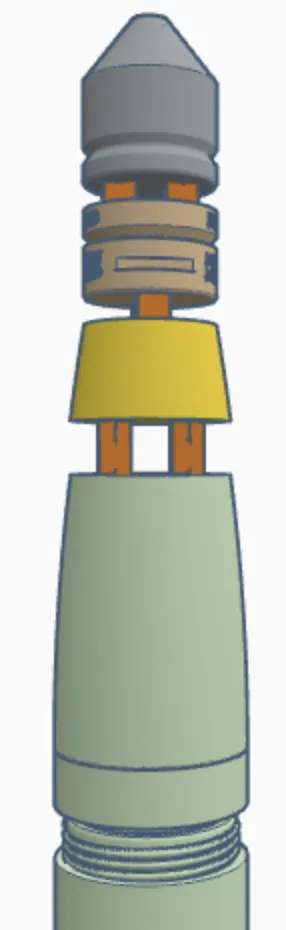
5. Then use the shorter pegs provided to connect together the yellow strip, copper, and dark silver portions of the fuze together with the green warhead.
6. Lastly, screw together the two halves of the green warhead and then screw the whole warhead onto the end of the rocket (the end closest to the red stripe).
Boost Me (for free)
If you enjoy my work and would like to help support my ability to share more (and even better) models in the future, please consider boosting or buying me a coffee at the link below. Your support is what helps me have enough filament and supplies to do all the print testing required for my models to be high quality and easy to assemble. It takes a mountain of test prints for each model. Thanks :-)
| Here's a link to my Buy Me a Coffee page, thanks for the support! |
( ! ) Do not sell my prints — I have not authorized selling prints. If you sell my prints on Etsy, Amazon, eBay, etc, I will find out.
This 3D print is intended for decorative purposes only and is not suitable for children. Small parts may present a choking hazard and edges may be sharp. By printing this 3D print, you assume all liability for any harm to yourself or others resulting from its use.
License

You shall not share, sub-license, sell, rent, host, transfer, or distribute in any way the digital or 3D printed versions of this object, nor any other derivative work of this object in its digital or physical format (including - but not limited to - remixes of this object, and hosting on other digital platforms). The objects may not be used without permission in any way whatsoever in which you charge money, or collect fees.


Comment & Rating (81)