Search models, users, collections, and posts

Parametric Rifle Scope Cap

Print Profile(1)

All
P1S
P2S
H2D
A1
X1 Carbon
H2S
X1
H2C
A1 mini
X1E
H2D Pro
X2D
P1P
A2L

0.2mm layer, 10 walls, 15% infill
Designer
45 min
1 plate
4.9(9)

Open in Bambu Studio
Boost
264
897
22
8
405
196
Released 

Bill of Materials

Maker's Supply Kits and Parts
Select all
2x20 mm Stainless Steel Dowel Pins (20PCS) - DA011

Description

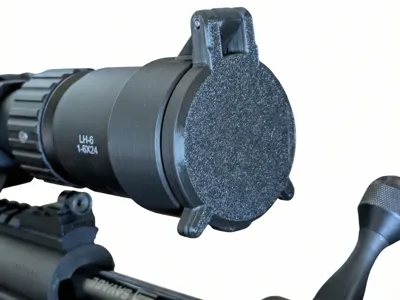
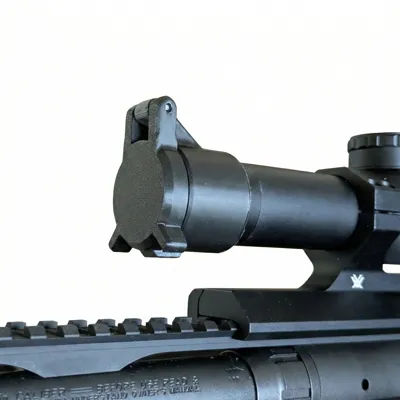
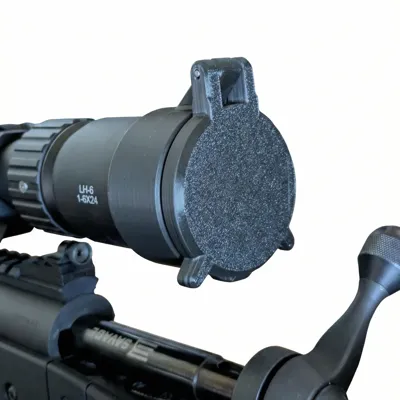
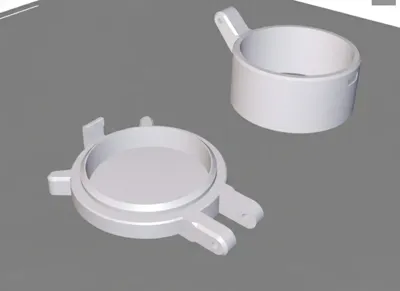
Parametric Rifle Scope Caps - tested from 30mm - 75mm sizes


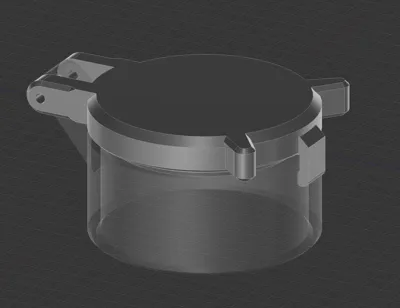
Designed for no supports and a single Press fit D2x20mm dowel pin.


Most important step, you must print in BambuStudio and do not print assembled. Click Split > To objects.


Place the collar with the hinge up, and the cap down on its front


Add a outer brim to the collar side for better adhesion. 


Single wall on first side for the cap. 

These are press fit Scope caps, obviously not waterproof. Just protection for glass elements. 

Comment & Rating (22)

(0/1000)

Perfect! I cut a 2mm welding rod for the hinge, works really good
designer
2
Reply
Did anyone have this issue with the design generated?
0
Reply
amazing thank you! any chance you’d be interested in creating a parametric lpvo throw lever?
The designer has replied
designer
2
Reply
Oh, cool idea! I'll take a look.
1
Reply
Replying to @davinchee :
You mad lad you did it! Thanks so much you rock! Im going to print this tomorrow, this will be so amazingly helpful for those who have scopes that are not the standard size.
0
Reply
when you edit and print from the bambu app, the print fails because it prints it as one piece standing up
The designer has replied
0
Reply
Yeah, you need to use BambuStudio so you can follow the instructions below. Most important step, you must print in BambuStudio and do not print assembled. Click Split > To objects. Place the collar with the hinge up, and the cap down on its front. Add a outer brim to the collar side for better adhesion.
1
Reply
but I dont know how to change the size in bambu studio
0
Reply
What does "Single wall on first side for the cap. " mean? wall loop =1, Only one wall on first layer or something else?
0
Reply
Boosted
works super. did print a few before i got the first one right, front of the scope had a raised edge. used a toothpick as a pin. love it
0
Reply
Print Profile
0.2mm layer, 10 walls, 15% infill
works well
0
Reply
Printed perfectly, thank you! Printed 2 - one for front and one for back. Used 3mm hole with 3mm screw. I have a very low clearance between the bottom front of the scope and the hand guard, the clip of the cap does not fit there. Is it possible to get the hinge on the side? Perhaps 2 hinges at 4 and 8 o'clock? Also maybe make the bottom part a little thinner?
(Edited)
0
Reply
is this for a real rifle
0
Reply
Print Profile
0.2mm layer, 10 walls, 15% infill
no issues with print
0
Reply

License

This user content is licensed under the MakerWorld Exclusive License.

You may create derivative works based on this object, provided that all such derivative works are published exclusively on the MakerWorld platform and include proper attribution to the original creator. You may not share, upload, host, distribute, or publish this object—or any derivative work of this object—on any other digital platform, marketplace, or distribution channel. Commercial use of this object and any derivative works is strictly prohibited. This includes, but is not limited to, selling, renting, sublicensing, or using the object in any context in which you receive monetary compensation or other financial benefits.