


Print Profile(2)
Bill of Materials


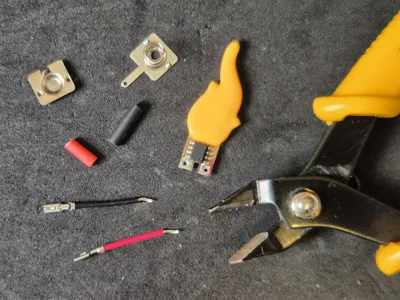
- LED "flame" 3V x 1:
Description
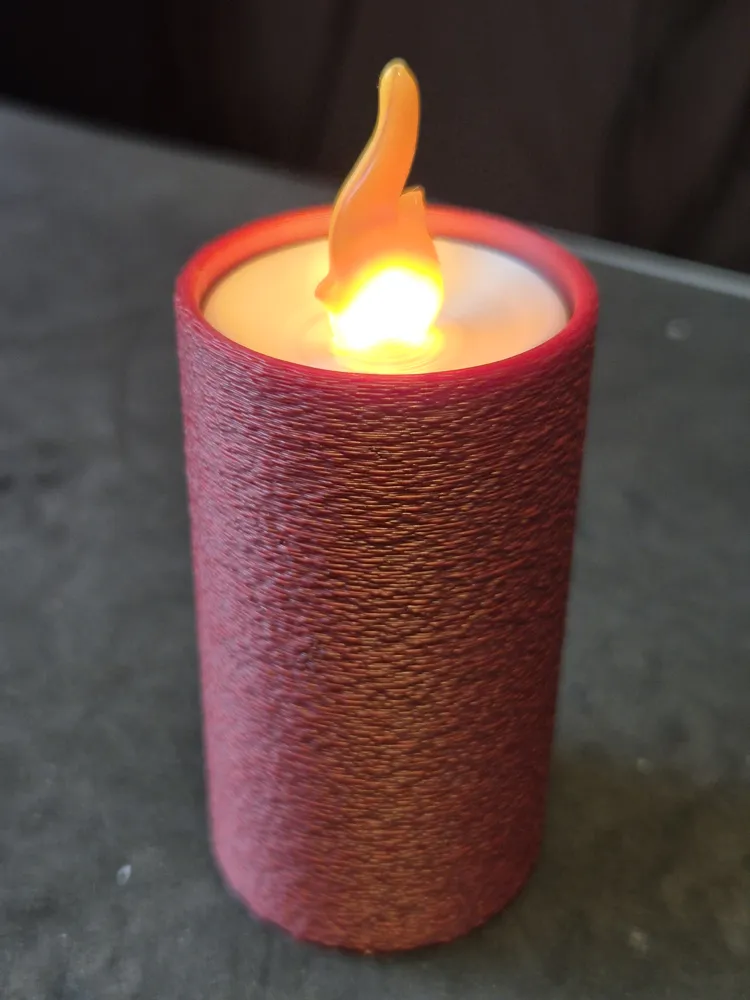
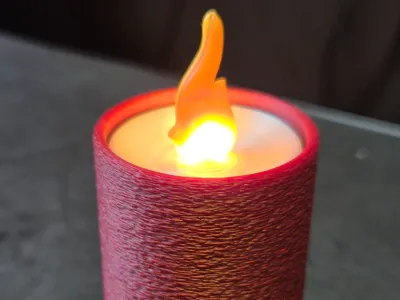
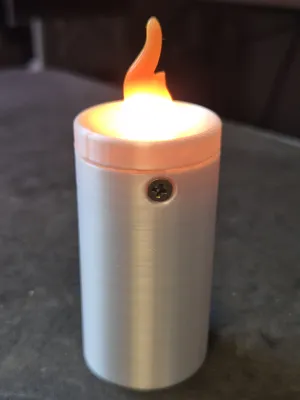
“Real” flame LED 2xAAA candle with changeable cover
I had this idea in my head since I got my Maker's Beginner Kit with spring contacts for two AAA batteries.
To build this LED candle you will need only:
- 1x 2xAAA batteries contacts (from Maker's Beginners kit or sold separately)
- 2x M3 screws with funnel head
- Few centimetres of wire
- White filament for the candle body (PLA Silk works perfectly)
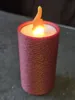
- Color filament for the cover
- 1x 3 Volts “flame” LED can be found on Aliexpress (ie: https://www.aliexpress.com/item/1005006041485684.html)

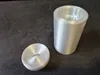
First print the “wax” - candle body and the cap.

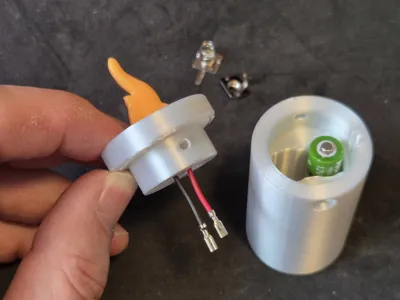
Prepare the material and run the print of the cover (we will connect the LED to the batteries before it is fully printed).

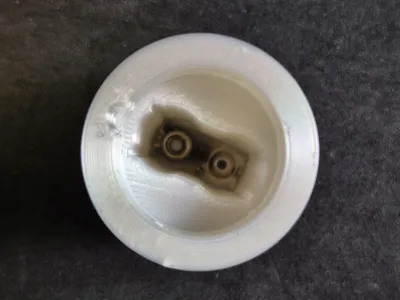
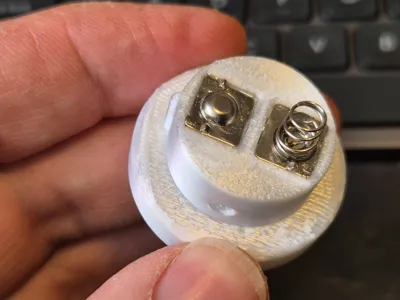
Insert the “double” contact to the bottom of the candle body:

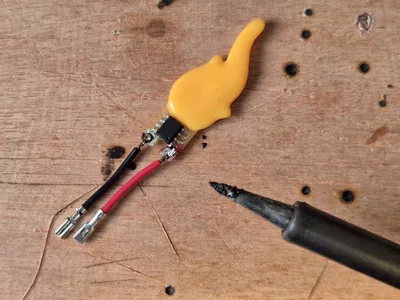
Prepare the wires:

Solder the wires to the LED "flame" (minus is on the left side when looking at the IC - there is a tiny sign on the PCB:

You can choose to use connectors, solder the wires to the contacts or just squeeze the wires under the “single” contacts. Mind the polarity!

I decided just to sqeeze the wires under the contacts and fix the contact with a drop of superglue. It is easy and works just well.

And you are almost done!

Insert the cap to the candle body and fix it with two M3 screws (any lenght between 5 to 8 mm should do the job:

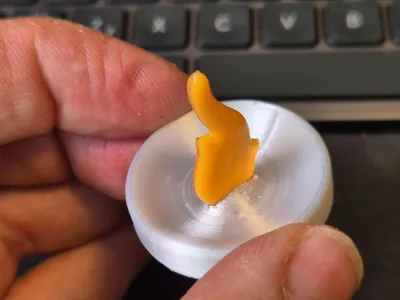
I believe that the cover is fully printed now - so you can insert the “wax” into it - be careful of the flame!

Enjoy the warm shimmering light!
Please feel free to design your own covers for your candle and publish it - I am very curious about your creativity! The diameter of the “wax” is 35 mm and the height is 67 mm. My basic cover has the inner diameter 36 mm and height is about 70 mm. I plan to design a cap from some transparent/translucent filament so the candle can be used outdoors too.
License
You may create derivative works based on this object, provided that all such derivative works are published exclusively on the MakerWorld platform and include proper attribution to the original creator. You may not share, upload, host, distribute, or publish this object—or any derivative work of this object—on any other digital platform, marketplace, or distribution channel. Commercial use of this object and any derivative works is strictly prohibited. This includes, but is not limited to, selling, renting, sublicensing, or using the object in any context in which you receive monetary compensation or other financial benefits.
Comment & Rating (0)