
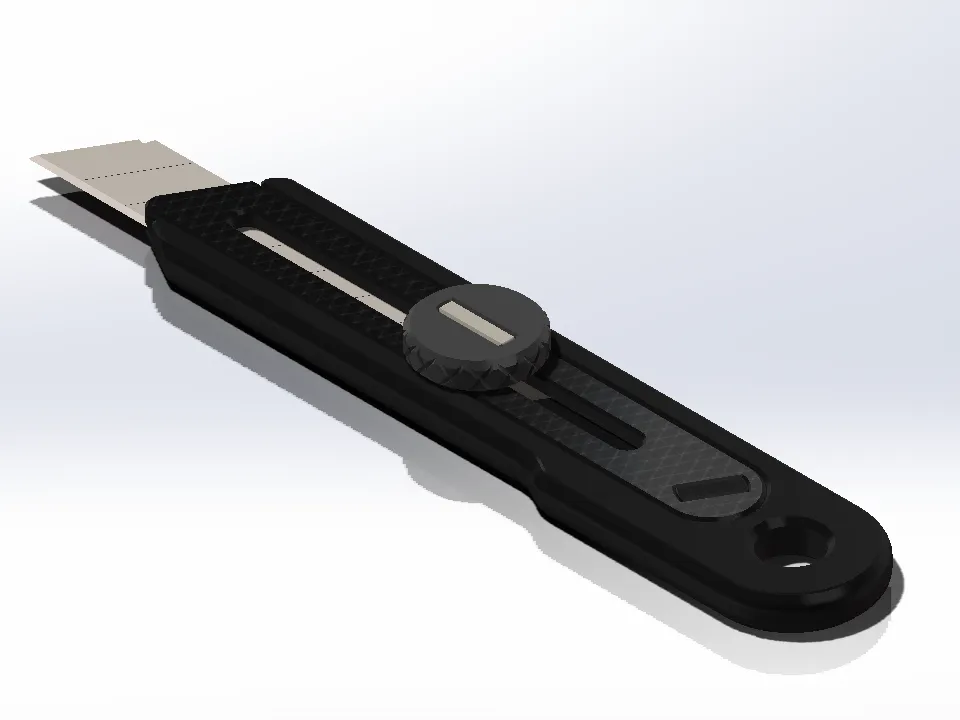
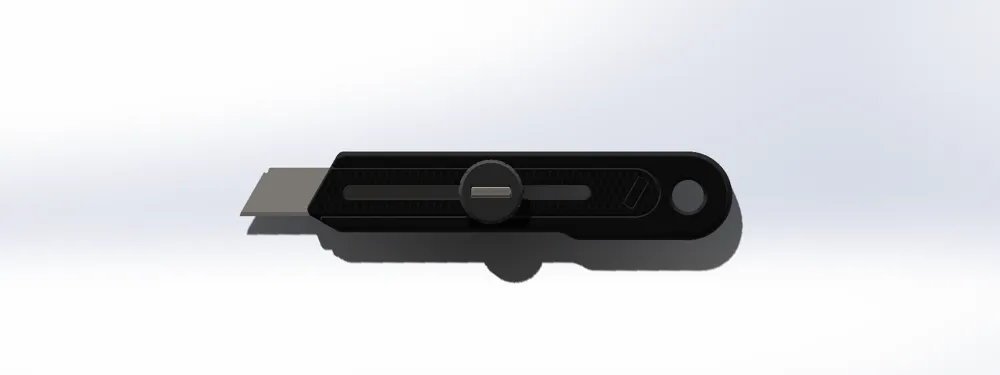
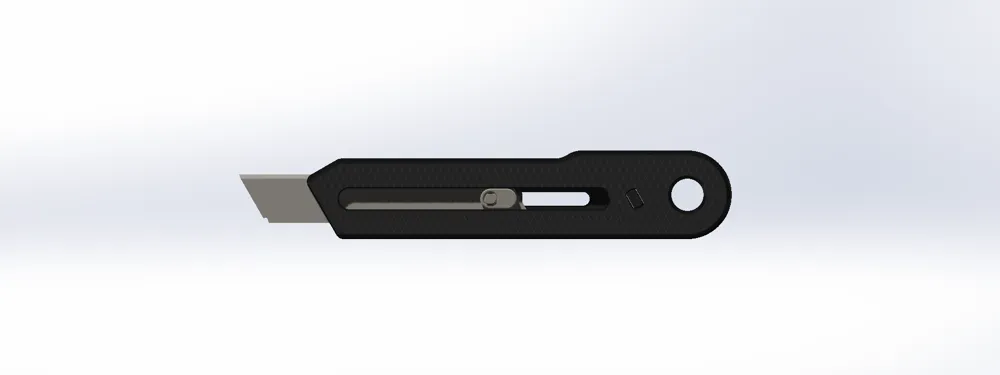
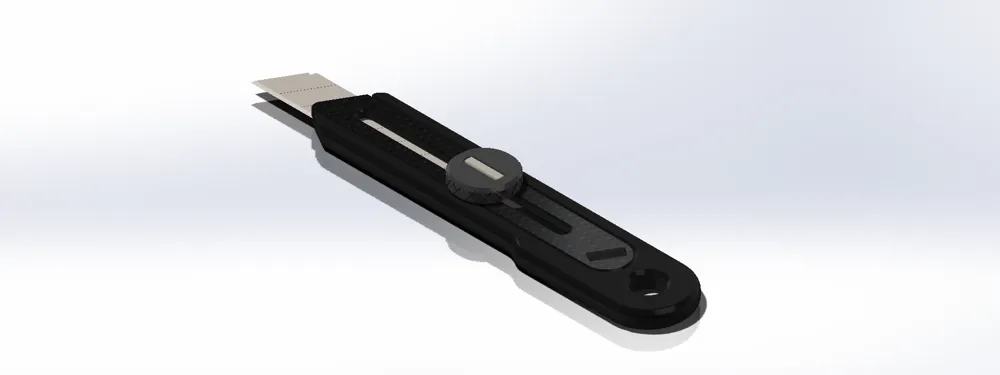
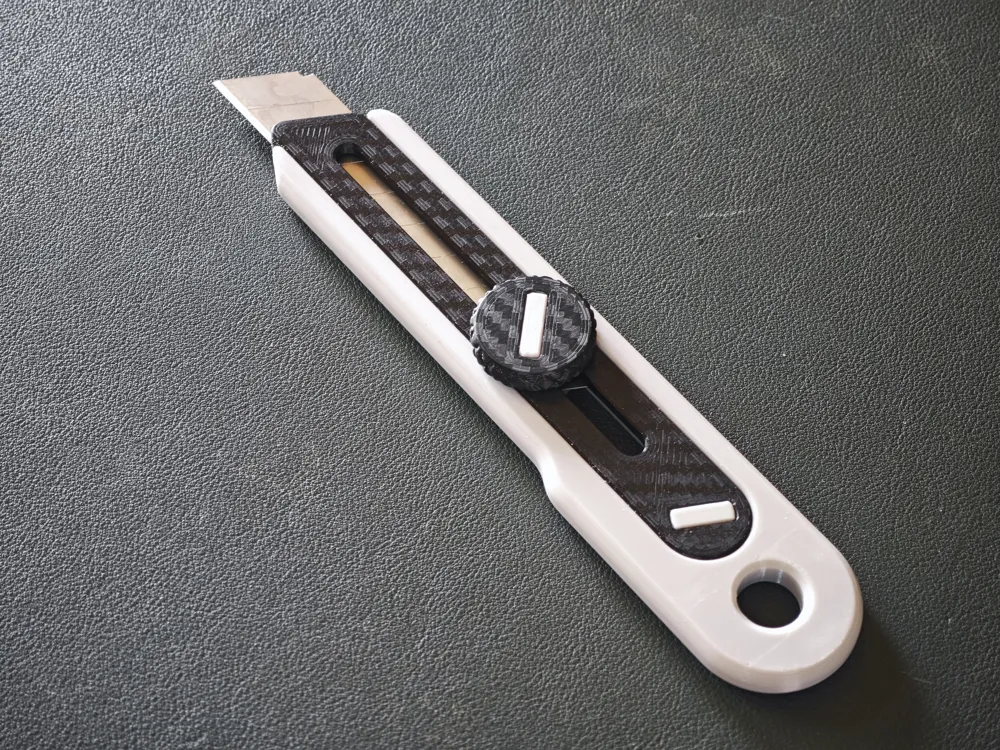
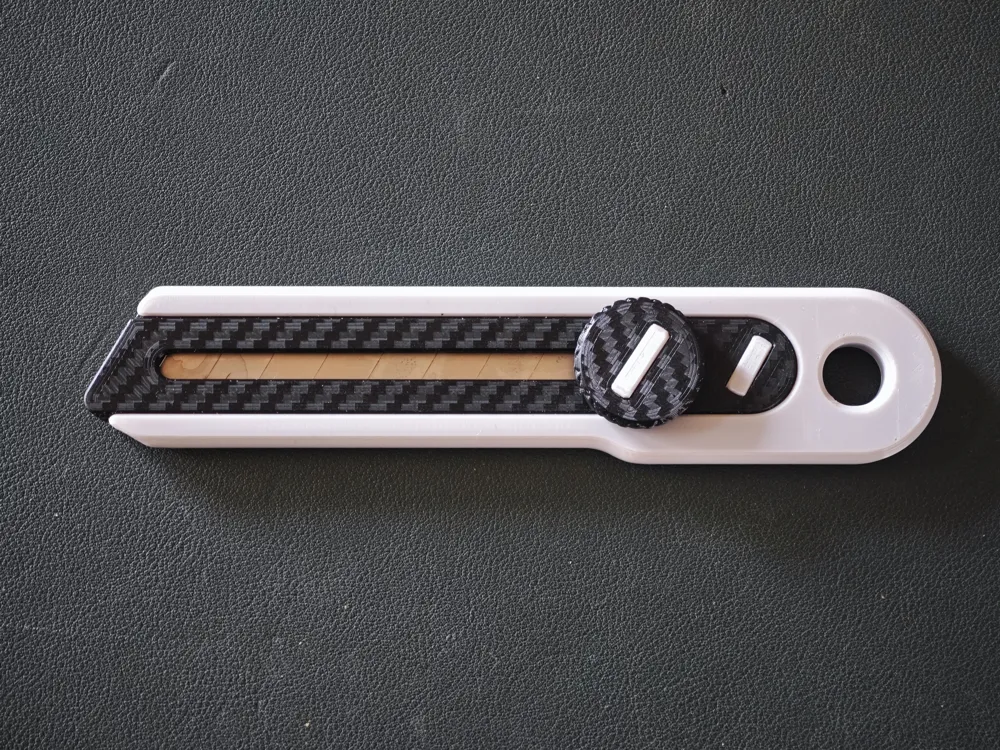
Utility Knife Housing (No Hardware Version) Compatible with standard 18mm blades
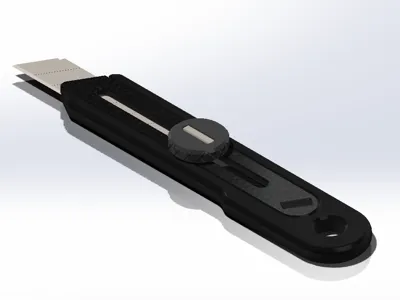
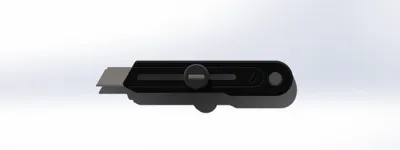
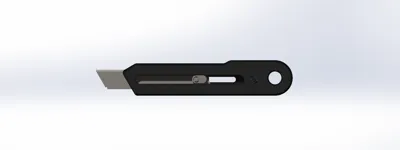
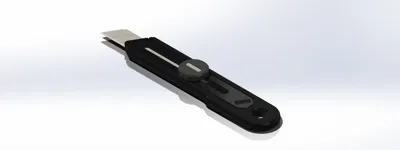
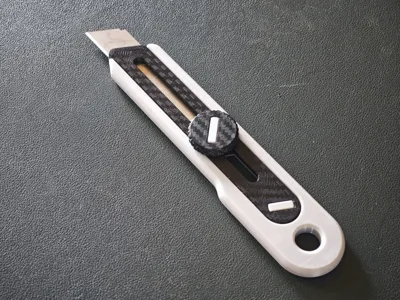
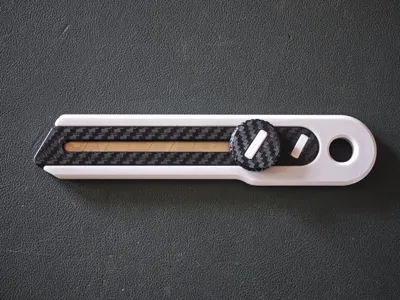
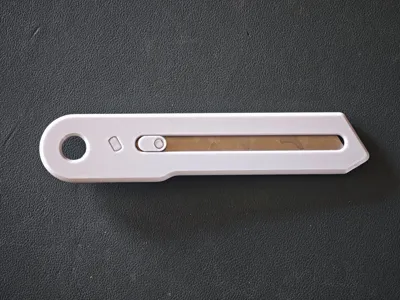
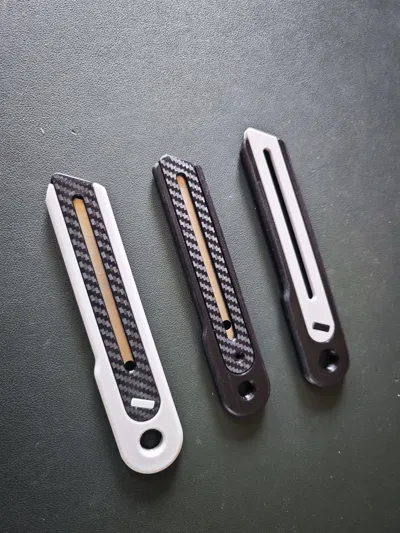
Print Profile(2)
Description
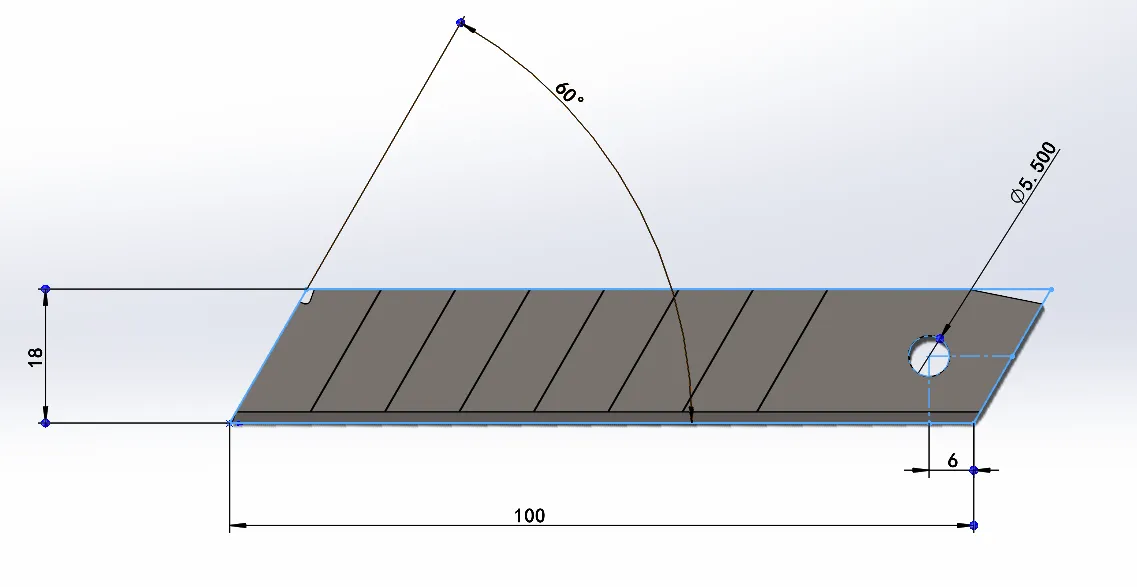
Suitable for standard 18mm wide (actual 17.8mm approx) utility knife blades (blade length 100mm thickness 0.5mm hole 5.5mm approx)
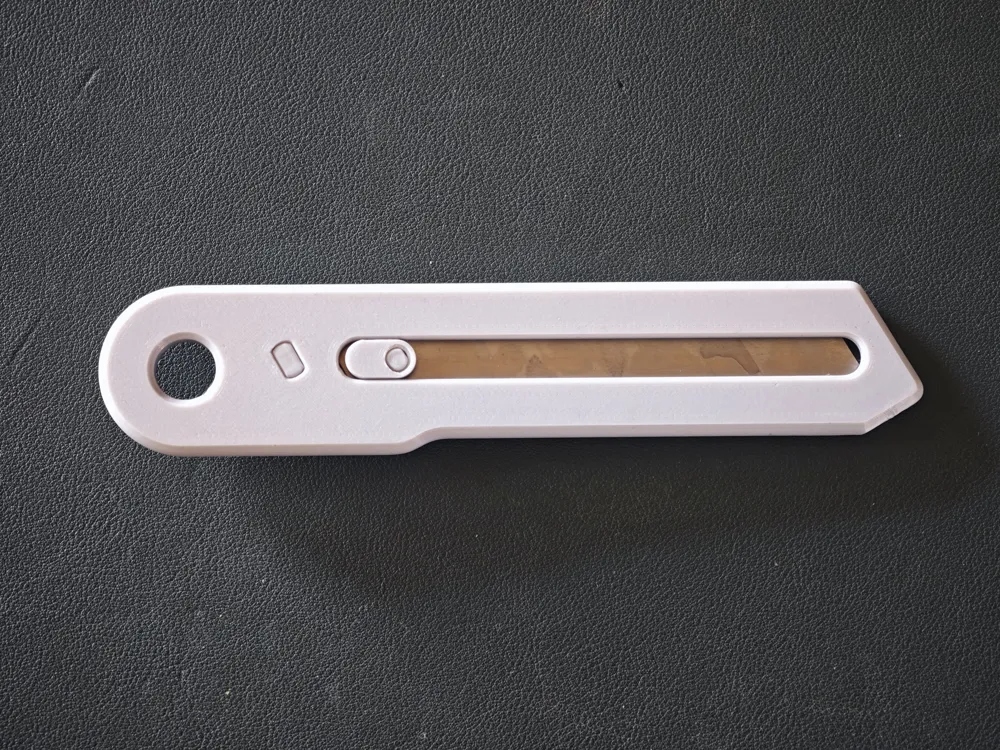
Originally the push rod and locking mechanism used M5 hex screws Considering universality and the DIY spirit this fully 3D printed version was designed without any hardware parts and printing strength and assembly issues were considered as much as possible
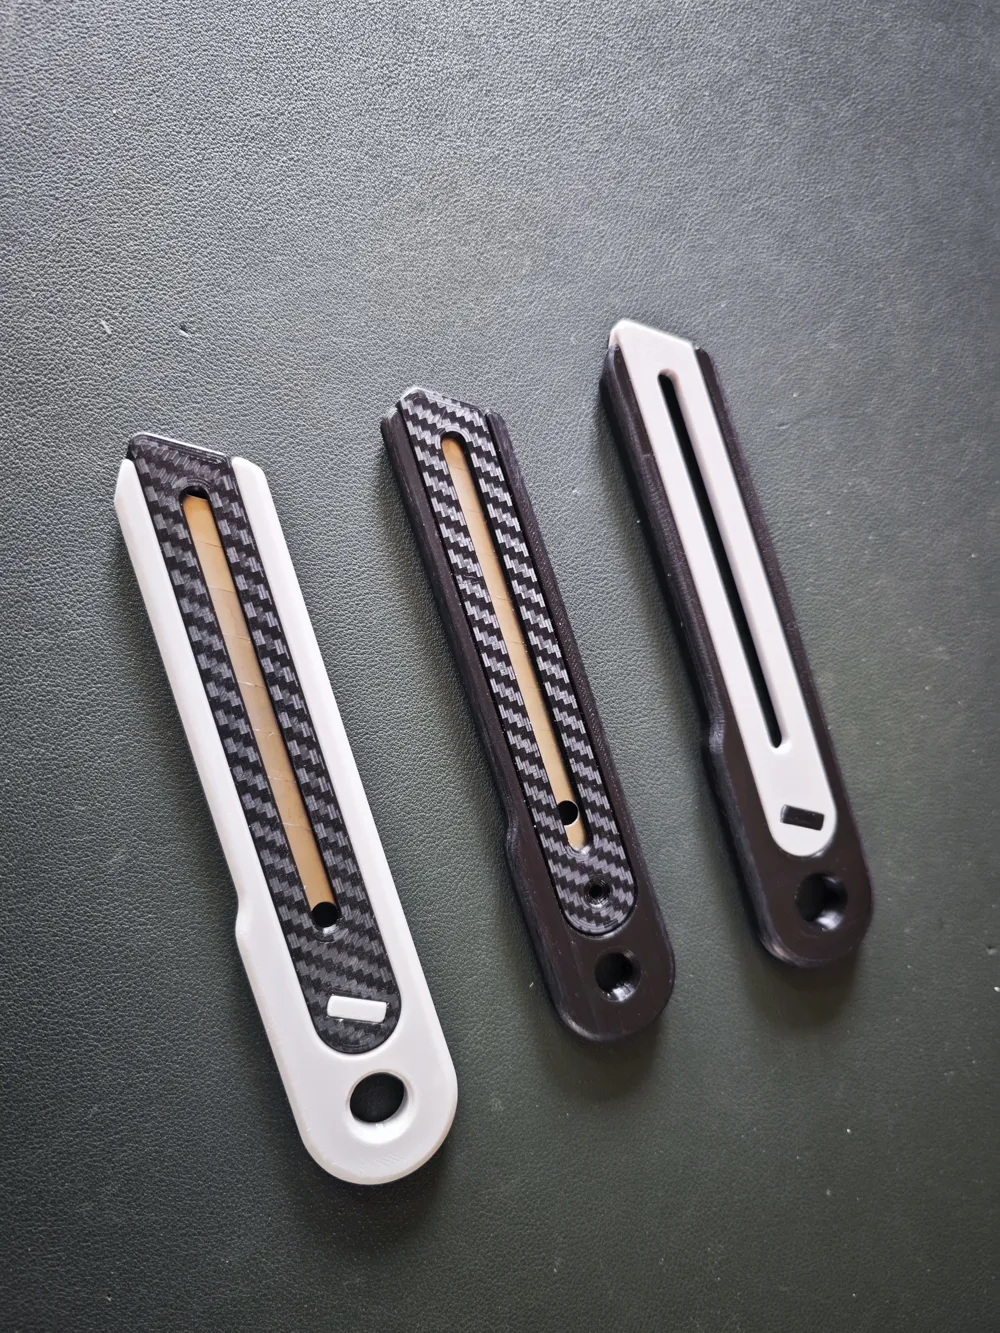
There are 6 parts in total Assemble according to the diagram
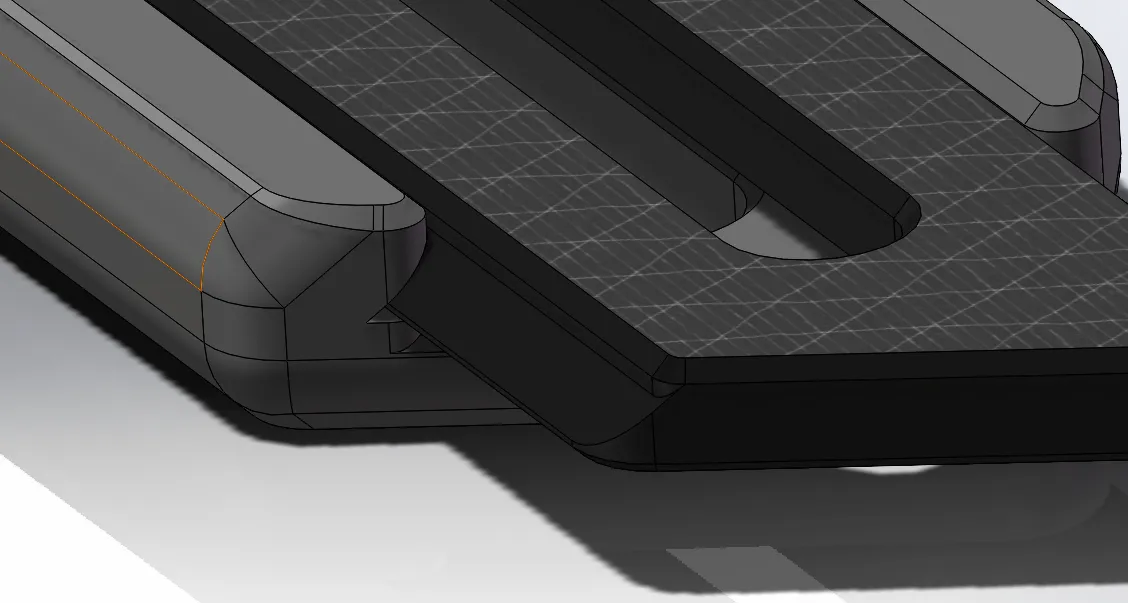
1. Upper and lower shell assembly Align the grooves and slide into the upper shell Pay attention to the front/back and direction
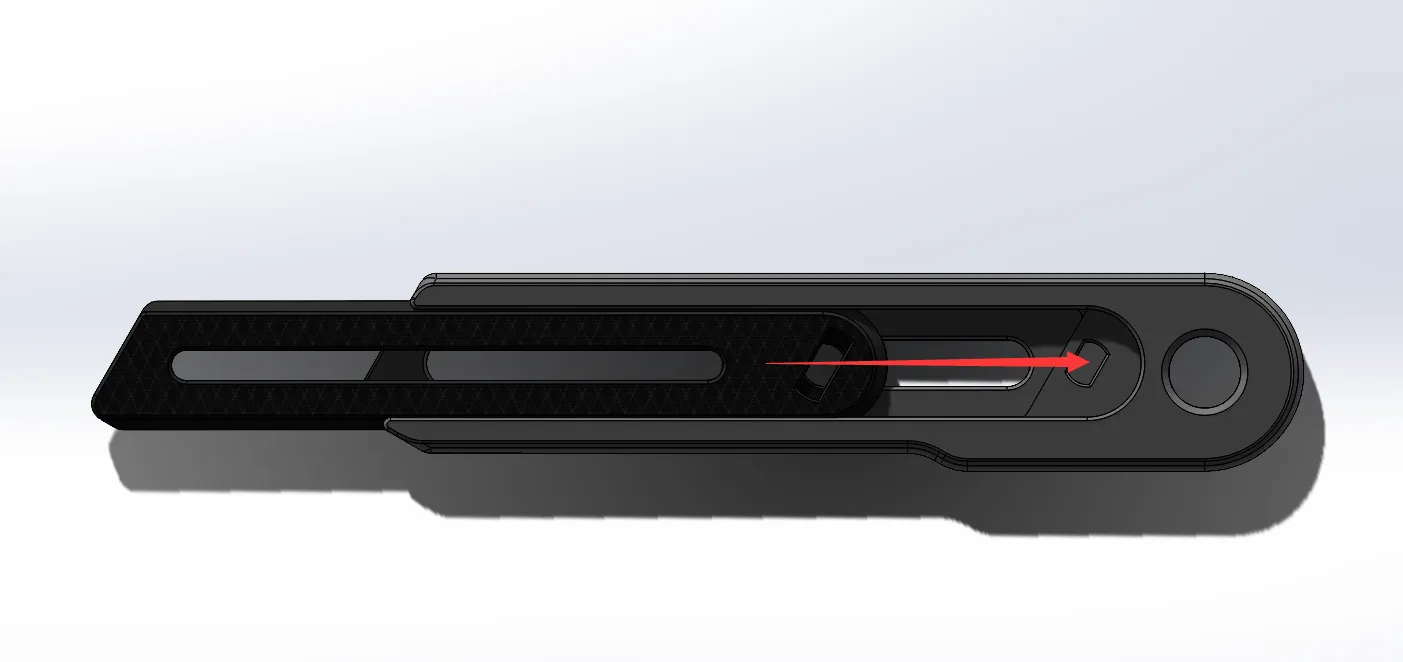
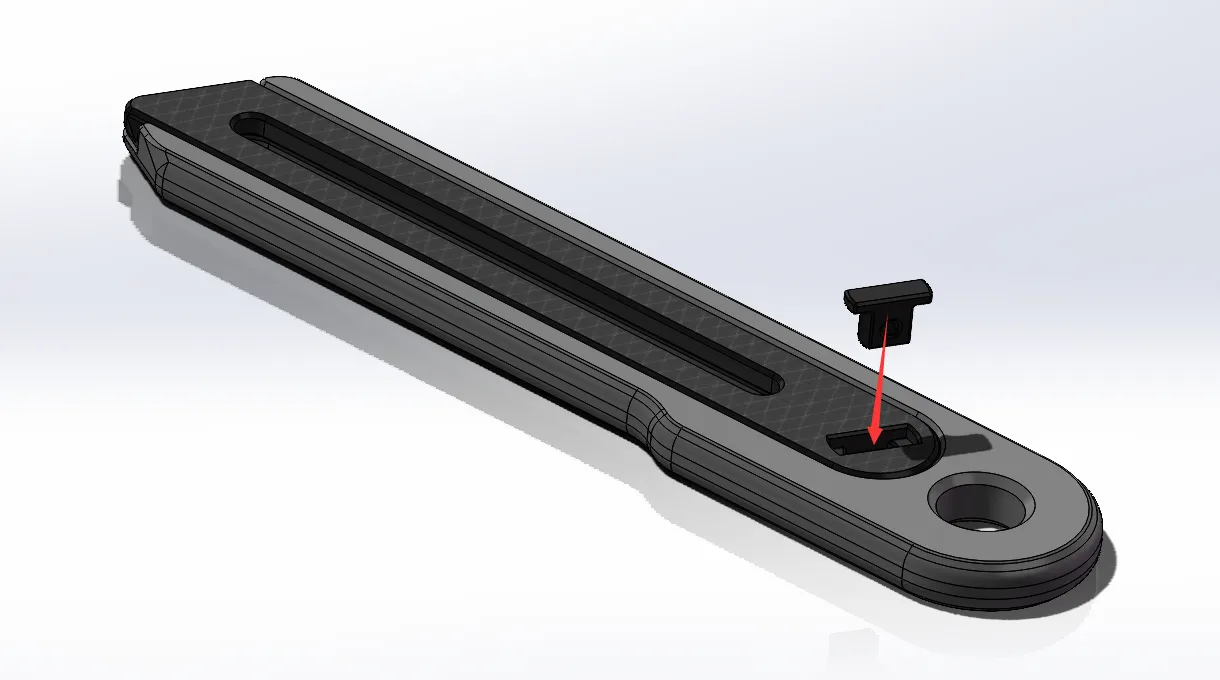
2. Align the pinholes insert the pin
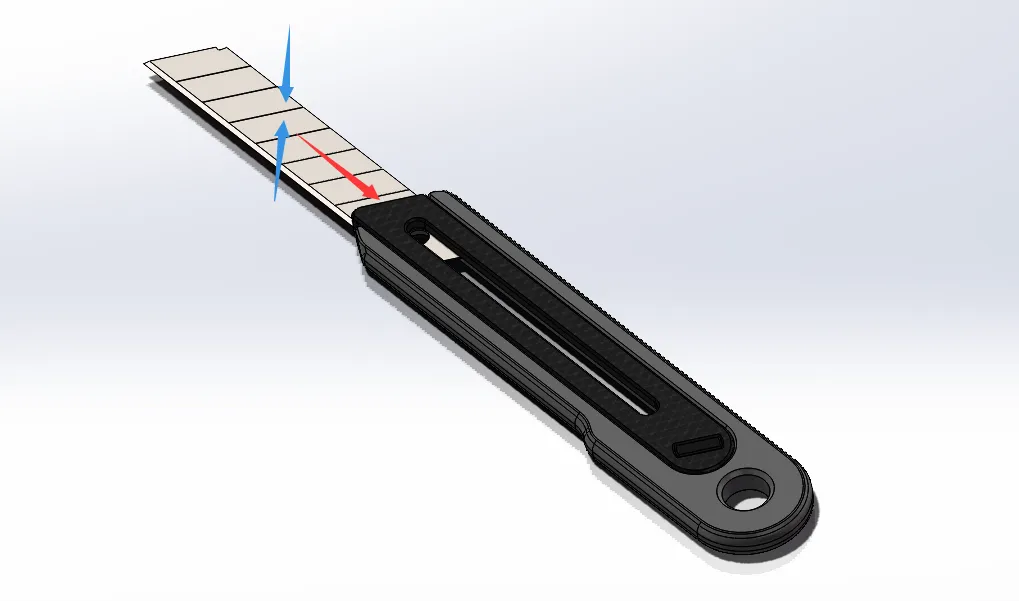
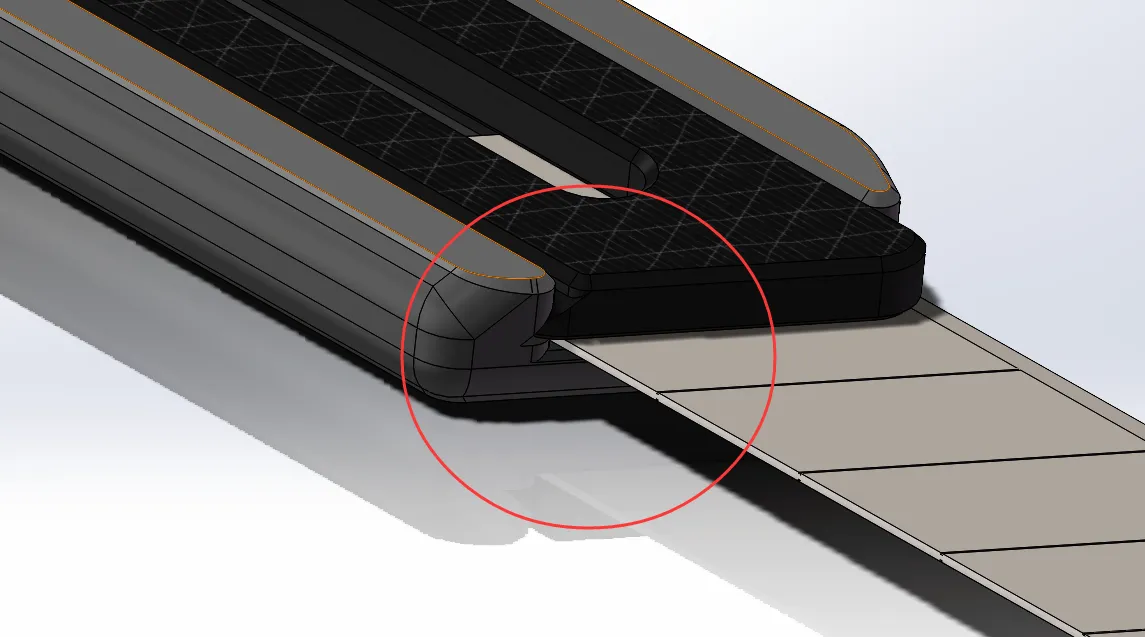
3. Install the blade Align with the blade gap between the upper and lower shells and slide it in according to the diagram (Note: Hold the back of the blade avoid the cutting edge to prevent finger injuries)
4. Combine the adjustment screw and thumb nut Align and push until it's flush
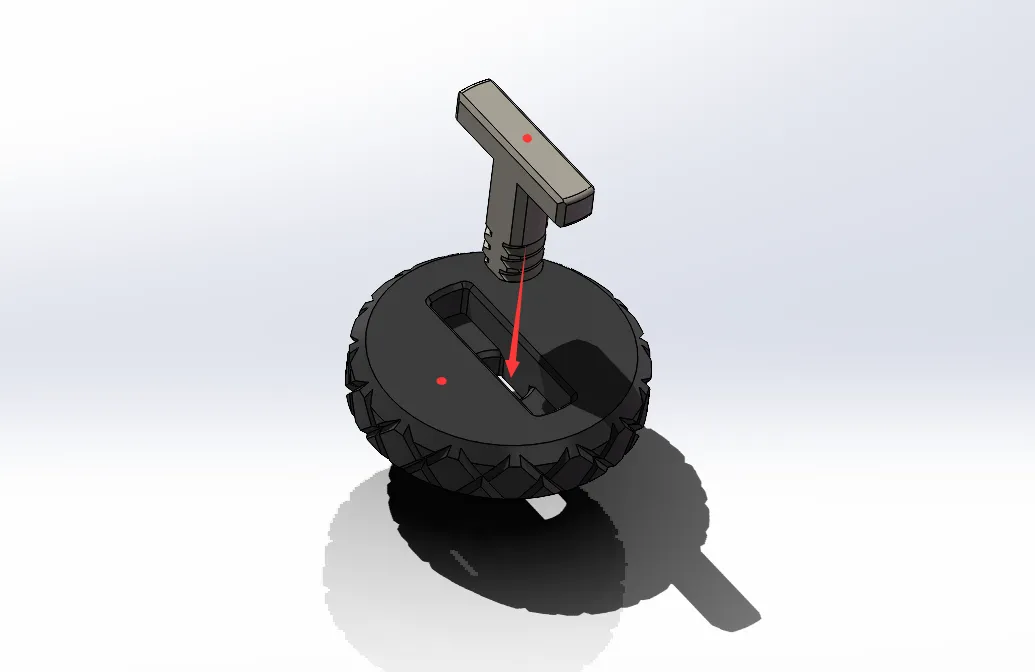
5. Insert the adjustment nut into the corresponding blade hole
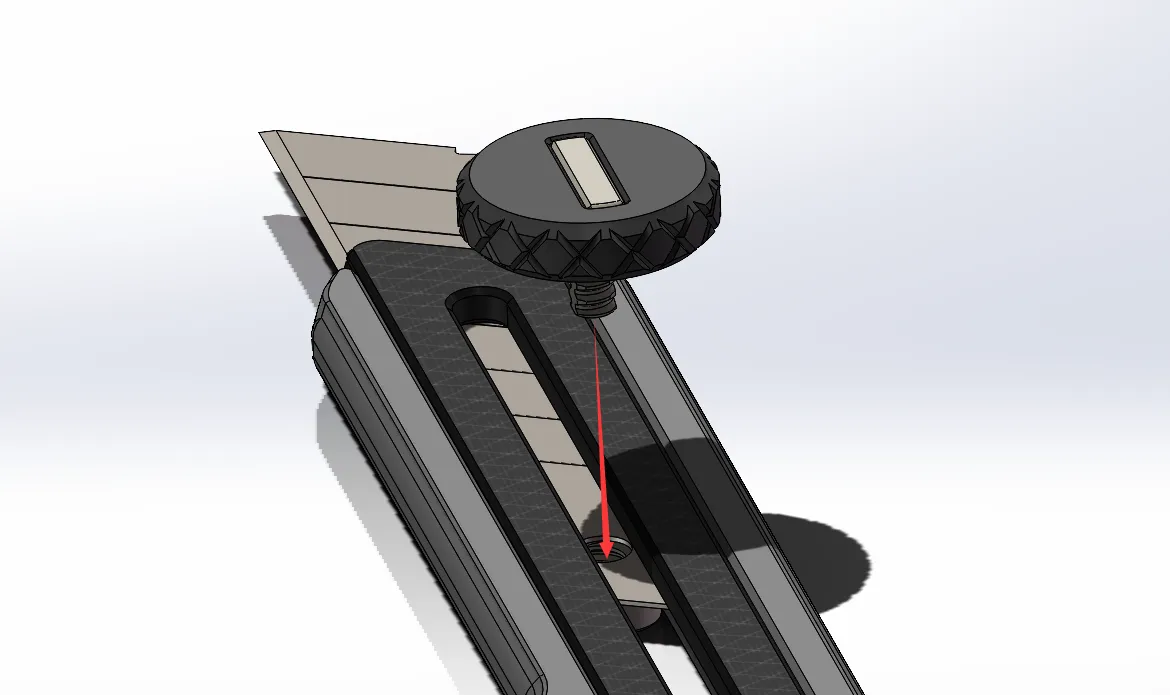
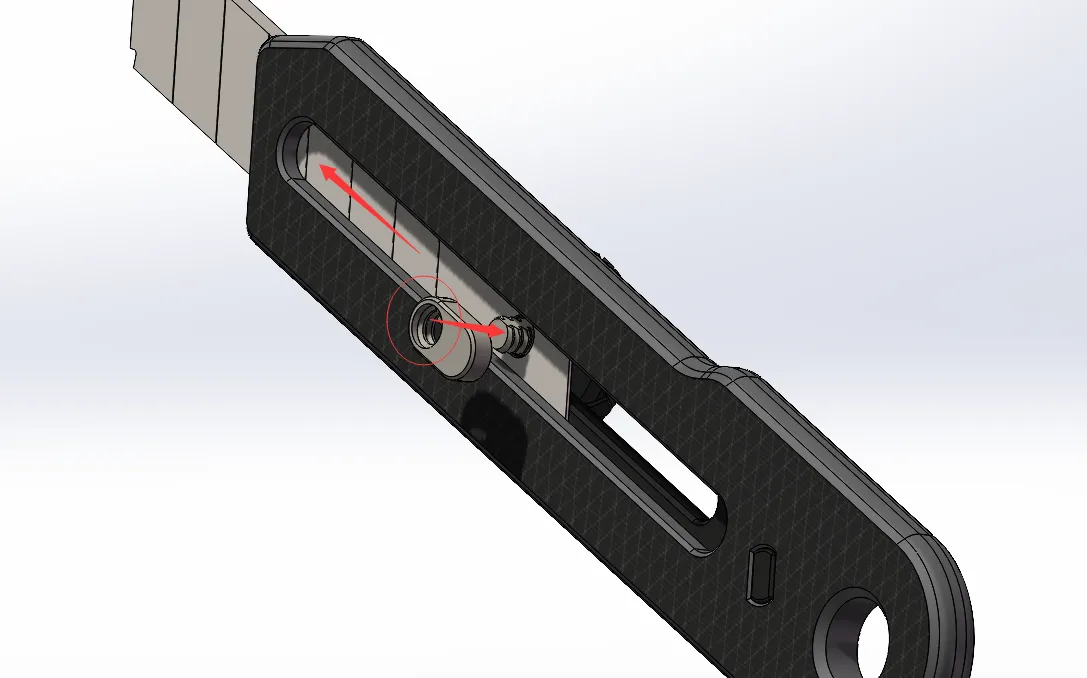
6. Align the slider nut in the back groove and tighten it (Note the orientation of the slider nut hole) Tighten and loosen several times to remove any threading burrs then loosen to complete the final assembly
When in use adjust the blade extension distance to the working length and then tighten Retract it into the shell for storage when not in use
PS: 1. Usage scenarios: After all 3D prints are just 3D prints and their strength and durability are not as good as engineering plastics and metals Although strength issues have been considered as much as possible in the design high-strength use cases (such as cutting thick acrylic sheets) are still not recommended to avoid safety accidents
2. Assembly issues: Based on assembly strength corresponding tolerance gaps were left in various positions (e.g. smaller gap between shell and pin larger clearance for thread fit) However considering the differences between various 3D Printers and filaments it is still recommended to calibrate the filament's sinkage rate in advance (I personally recommend adjusting to an outer tolerance of -0.05mm and an inner tolerance of +0.05mm)
3. Color issues: My personal aesthetic is limited I only used a two-color contrasting test piece and the uploaded profile is just a single-color all-in-one test profile Reference orientation is provided and top surface ironing is enabled to achieve better surface quality (so supports are enabled) STL files are provided in the attachments for multi-color you can be creative
Enjoy!
License



Comment & Rating (5)