


Print Profile(1)
Description
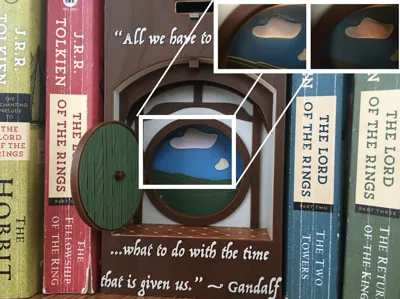
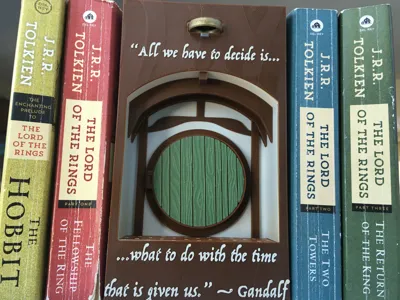
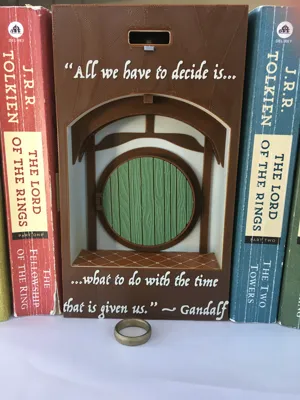
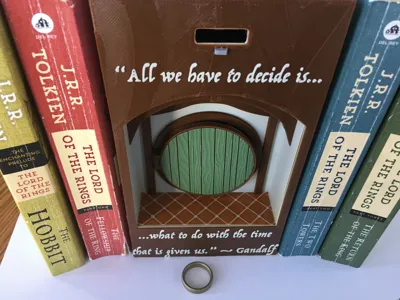
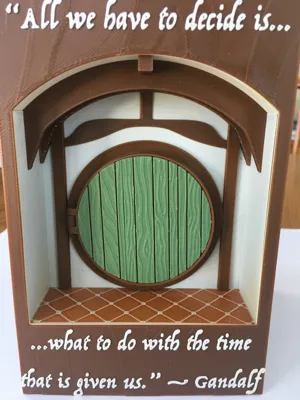
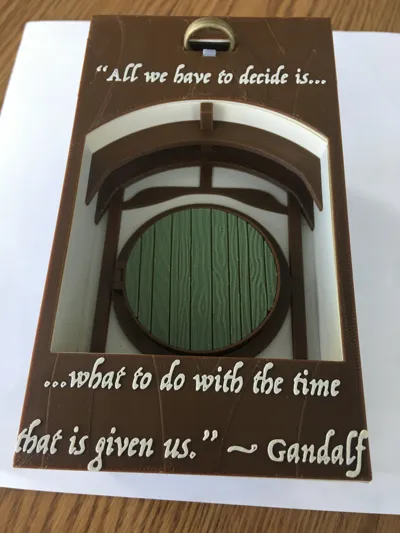
This may appear like an ordinary Lord of the Rings book nook at first, but insert the ring and everything changes.
"And far away, as Frodo put on the Ring and claimed it for his own…The Dark Lord was suddenly aware of him, and his Eye piercing all shadows looked across the plain to the door that he had made…For he knew his deadly peril and the thread upon which his doom now hung…
…At his summons, wheeling with a rending cry, in a last desperate race there flew, faster than the winds, the Nazgûl, the Ringwraiths, and with a storm of wings they hurtled southwards to Mount Doom.”― J.R.R. Tolkien, The Return of the King
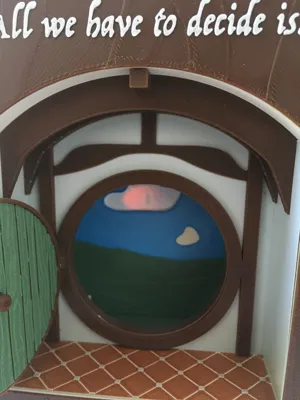
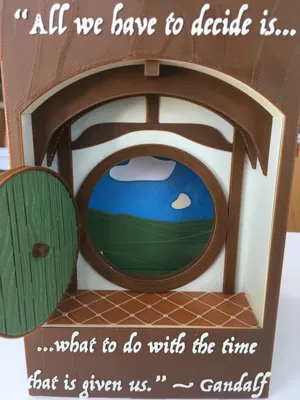
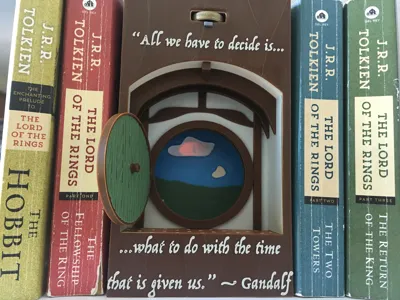
when the ring is left alone, the shire outside the Frodo's door may appear peaceful. It is a bright cal sunny day.
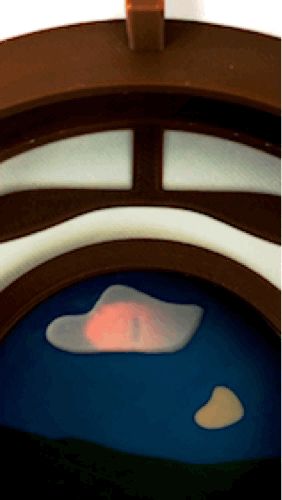
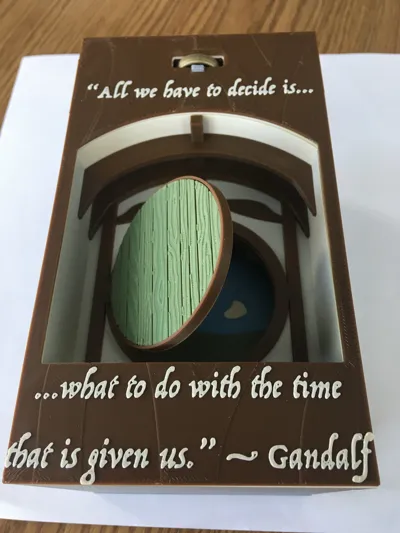
But all changes when the ring is used.
The sky darkens, and through the clouds, the eye of Sauron is visible searching for the ring. Not to destroy the evil power that it bring, but to control it.
So be careful with the ring you have.
"I wish it need not have happened in my time,' said Frodo.'So do I,' said Gandalf, 'and so do all who live to see such times. But that is not
for them to decide. All we have to decide is what to do with the
time that is given us."―J.R.R. Tolkien, The Fellowship of the Ring
Non 3D printed parts: 2 generic pen springs, a piece of 8 ½ by 11 inch piece of paper, a string of fairy lights(I designed this for the special moments memories collection led photo clip string lights. You can use other lights, but I cannot guarantee a great result), and two 10m pieces of filament.


Assembly:
First assemble the inside of Frodo's home by either taping or glueing the floor to the walls. (I used tape when I could so that it would be easy to disassemble the book nook if needed and i would suggest doing the same. Then take the wooden trim for the room and connect the outer frame of the door using a piece of filament for the hinge. Then insert pieces of the door making sure that the wooden panels are vertical and glue them together (the handle should be on the the side of the door that is not visible when closed. And that is everything for the inside of the hobbit hole.


Next assemble the background. slide the sky and hills into the slot on the background holder and then slide the eye panel in next. Check the front to make sure the eye is in the right place behind the cloud. if it is not fully visible then the eye panel is probably backwards and will need flipped around. Then slide a piece of white 8 ½ by 11 inch paper between the two panels so that the eye is no longer visible through the cloud.


Next assemble the mechanism. Take one of the big outer pieces and insert the latch and spring as shown in the picture using a short piece of filament as the hinge once again.


Then use glue to attach the flat panel with the arched slit to the light slider as shown in the images. (make sure that the slits on both pieces line up with each other).


Then take the string of lights and bundle up the last 6 lights together and insert it into the slider. The cord should be able to fit into the slit in the panel glued to the slider. Then tape the first 3 out of the remaining 4 lights to the back of the panel, two on one side and one on the other. These three lights should be close to the bottom of the panel. (6 lights should be inside the cavity in the slider, 1 light will be on the cord coming out of the slot, and then the other 3 are taped to back panel) (all 10 lights can go in the slider, but the eye will not show up as well)


Then insert the slider into the assembled section of the mechanism and make sure that the cord for the lights is sitting in slot to allow the slider to travel back and forth. Then press the other big piece of the slider onto the assembled section, and insert the other pen spring into the back, making sure it goes straight into the hole. Then insert the T shaped spring holder into the hole behind the spring and tape it down. (this is a good time to make sure the mechanism works by inserting the ring into the slot in the front. If it locks in place and inserting the tiny T shaped release into the slot under the ring slot caused the ring to pop out, then the mechanism is assembled correctly.)


Then insert the battery box for the lights into its holder in the same orientation as the picture and feed the cord through the slot.

Now set the three section--the background, the mechanism, and the batter box holder on their side and slide them together like they would be in the final product. Make sure the extra cord for the lights in the back of the background piece.

Then, holding the three sections together, insert them into the outer case, and make sure that the switch on the batter box is accessible through the hole in the outer case.


Then insert the release into the small slot under the ring slot if you have not already done so. The flat side should be pointed out of the book nook, and insert the inside room section into the rest of the book nook. Then glue the two front panel pieces together and lastly, press it onto the book nook by pressing the pins into the holes in the inside pieces.


Commercial Membership N/A
License
You shall not share, sub-license, sell, rent, host, transfer, or distribute in any way the digital or 3D printed versions of this object, nor any other derivative work of this object in its digital or physical format (including - but not limited to - remixes of this object, and hosting on other digital platforms). The objects may not be used without permission in any way whatsoever in which you charge money, or collect fees.
Comment & Rating (0)