


Print Profile(3)
Bill of Materials


Description
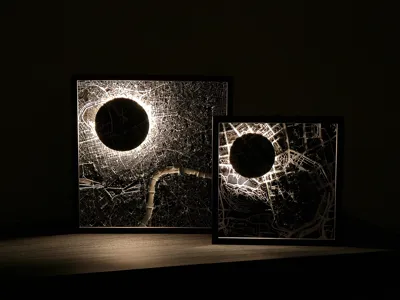
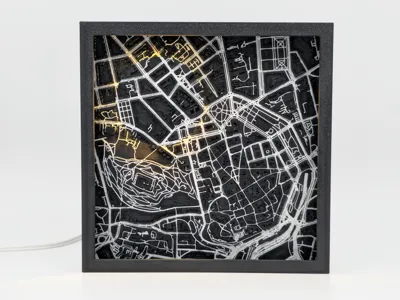
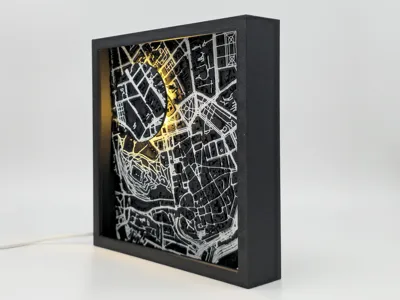
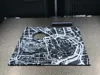
City map picture frame-like ambient lamp
You can make picture frame-like ambient lamp of your favorite city. Smaller frame is 150x150 mm and work with IKEA KAPPLAKE or STRIMSÄV light or Bambulab LED Lamp Kit MH001 which have almost same dimension like STRIMSÄV. Bigger frame is 200x200 mm and works with STRIMSÄV or Bambulab LED Lamp Kit MH001.
Frame 150x150 mm
In print profile are different models to print. First choose which type of light you'll using and print base for it. Then you can find three heights of frame, choice depend of the height of terrain of your map (generation of map will be explained later). There is 25 mm, 30 mm or 35 mm high. And last it height of reflector for light which also depends of your map.
Frame 200x200 mm
For bigger frame is only one type of base, frame and reflector at this time.
Map generation
I'm using https://map2model.com/ for generating map model.
Choose area in map you like to print in model using “Square” on right menu.

For generating choose size of your map 150,00 mm or 200,00 mm, turn on “Topography” and turn off “Frame”. Then press "Generate Mesh".

If you like your map, export and download it by clicking on “Export 3MF”. Then open downloaded file in BambuStudio.

Switch type of printer and choose colours. I like my frames black and white, so I switch everything to black and roads, rivers and water to white.

Then clone your map to second plate, make sure both maps are centered.

On first map "Add negative part” in shape of “Cylinder” and change the size depends on the frame size and light type.
150x150 mm frame, KAPPLAKE - 36 mm in diameter,
150x150 mm frame, STRIMSÄV/MH001 - 46 mm in diameter,
200x200 mm frame, STRIMSÄV/MH001 - 56 mm in diameter.

Then move it to the center (right click on negative part, choose “Center”).

And offset position to the left top corner depends on the frame size.
150x150 mm frame - offset 30 mm,
200x200 mm frame - offset 40 mm.

Then to the second map “Add negative part” and choose ”Load…" and find model “cut150.stl” or “cut200.stl” from downloads depends on your frame size.

Again right click on that negative part and choose “Center”.

Now you are ready to print map with hole for light in int and second plate with circle of map which will be used on top of the reflector.


Assembly
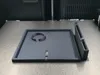
Glue LED light to the frame base with provided double sided tape or use your favorite glue (super glue, hot glue,…).

Then glue map on the top of the base.

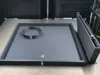
Base fit on frame with little pins on top side.

And then crew frame to base on the bottom of the frame, where you can find two screw holes.


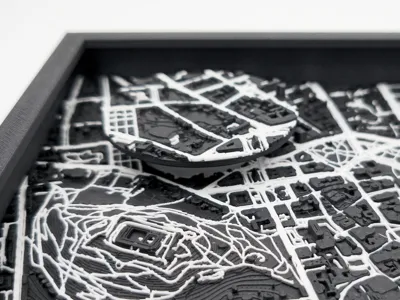
Glue reflector in the center of the printed circular map cutoff.

And then glue reflector on the top of the LED light in the map.

Then you can hang the frame on the wall or use provided stand and fix it on the back for placing frame on the table.


Membership
Do you want to sell my printed models? 💲 Please consider joining Commercial License Membership.
Boost Me (for free)
Thank you for your support! ❤️
License
You shall not share, sub-license, sell, rent, host, transfer, or distribute in any way the digital or 3D printed versions of this object, nor any other derivative work of this object in its digital or physical format (including - but not limited to - remixes of this object, and hosting on other digital platforms). The objects may not be used without permission in any way whatsoever in which you charge money, or collect fees.
Comment & Rating (0)