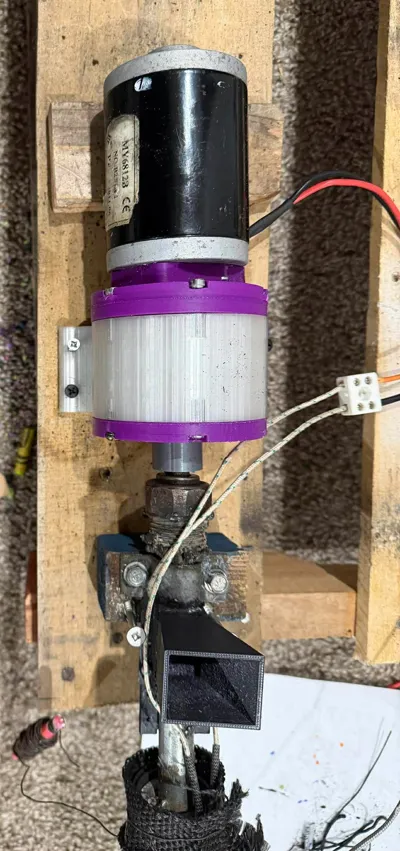
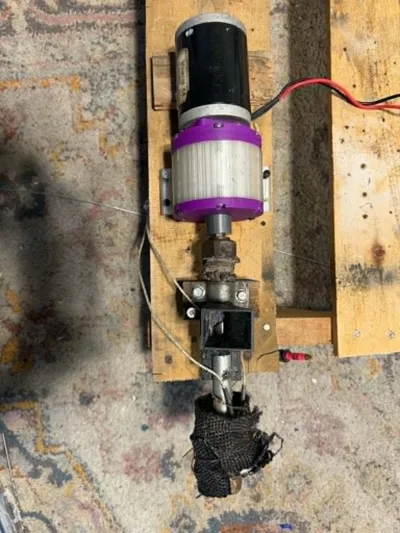
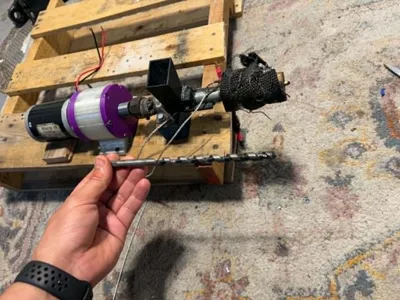
planetary gearbox for wood pits Filament Extruder


Print Profile(1)

Bill of Materials


Description
1/16 planetary gearbox for nema 17 or MY6812b motor
Assembling the Planetary Gearbox
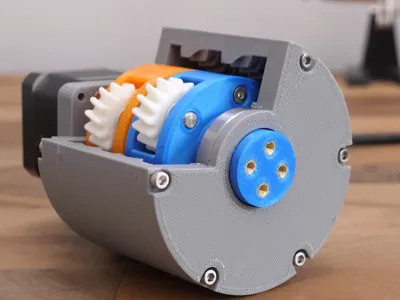
Ok, so here are all 3D printed parts ready and now I can show you how I assembled the gearbox. For better visualization I printed each of the parts in a different color.

The input shaft is gold, the first stage carrier is orange, the planet gears are white, the second stage carrier and output blue, and the ring gears or the housing is gray. Everything is 3D printed with PLA filament.
Parts List
Here’s a list of all components needed for assembling the planetary gearbox:
- 6mm Steel Cylinder Rod ………………….…. Amazon / AliExpress
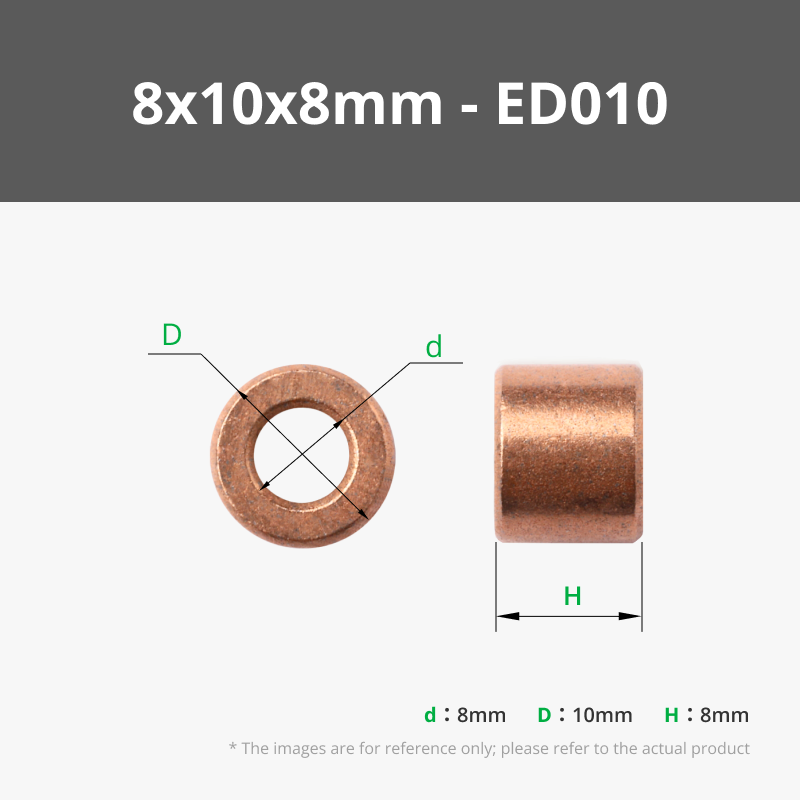
L=22mm x6 pcs - 8mm Bushings …………………………………. Amazon / AliExpress
L=10mm x6 pcs - Ball Bearing 25x37x7mm 6805 – x2 …… Amazon / AliExpress
- Ball Bearing 17x26x5mm 6803 x2 ……… Amazon / AliExpress
- Ball bearing 12x21x5mm 6802 – x2 ….. Amazon / AliExpress
- Threaded inserts M3x5mm ………….……. Amazon / AliExpress
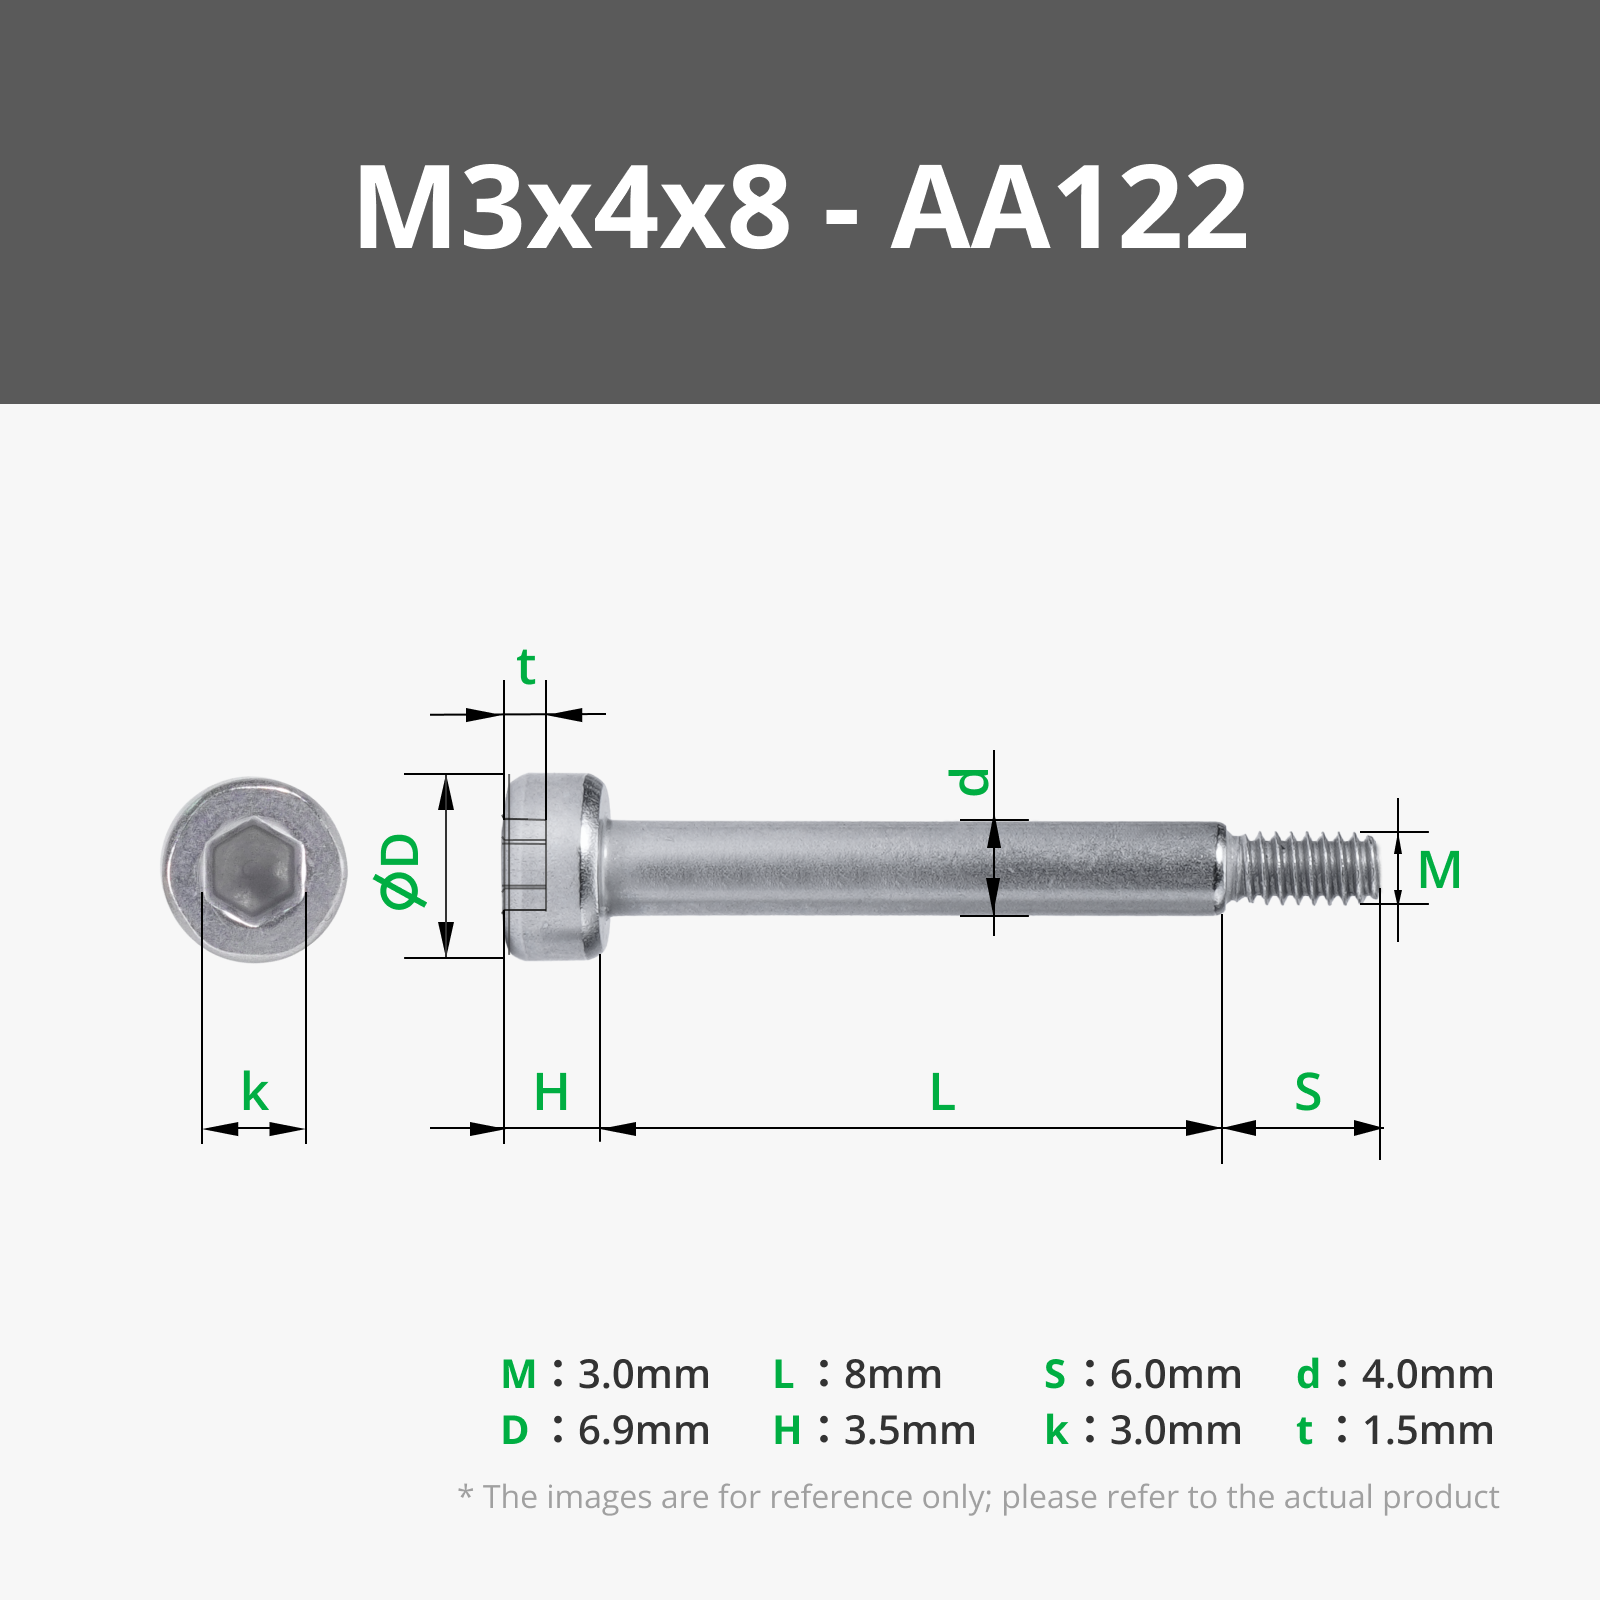
- M3 bolts and nuts …………………………….. Amazon / AliExpress

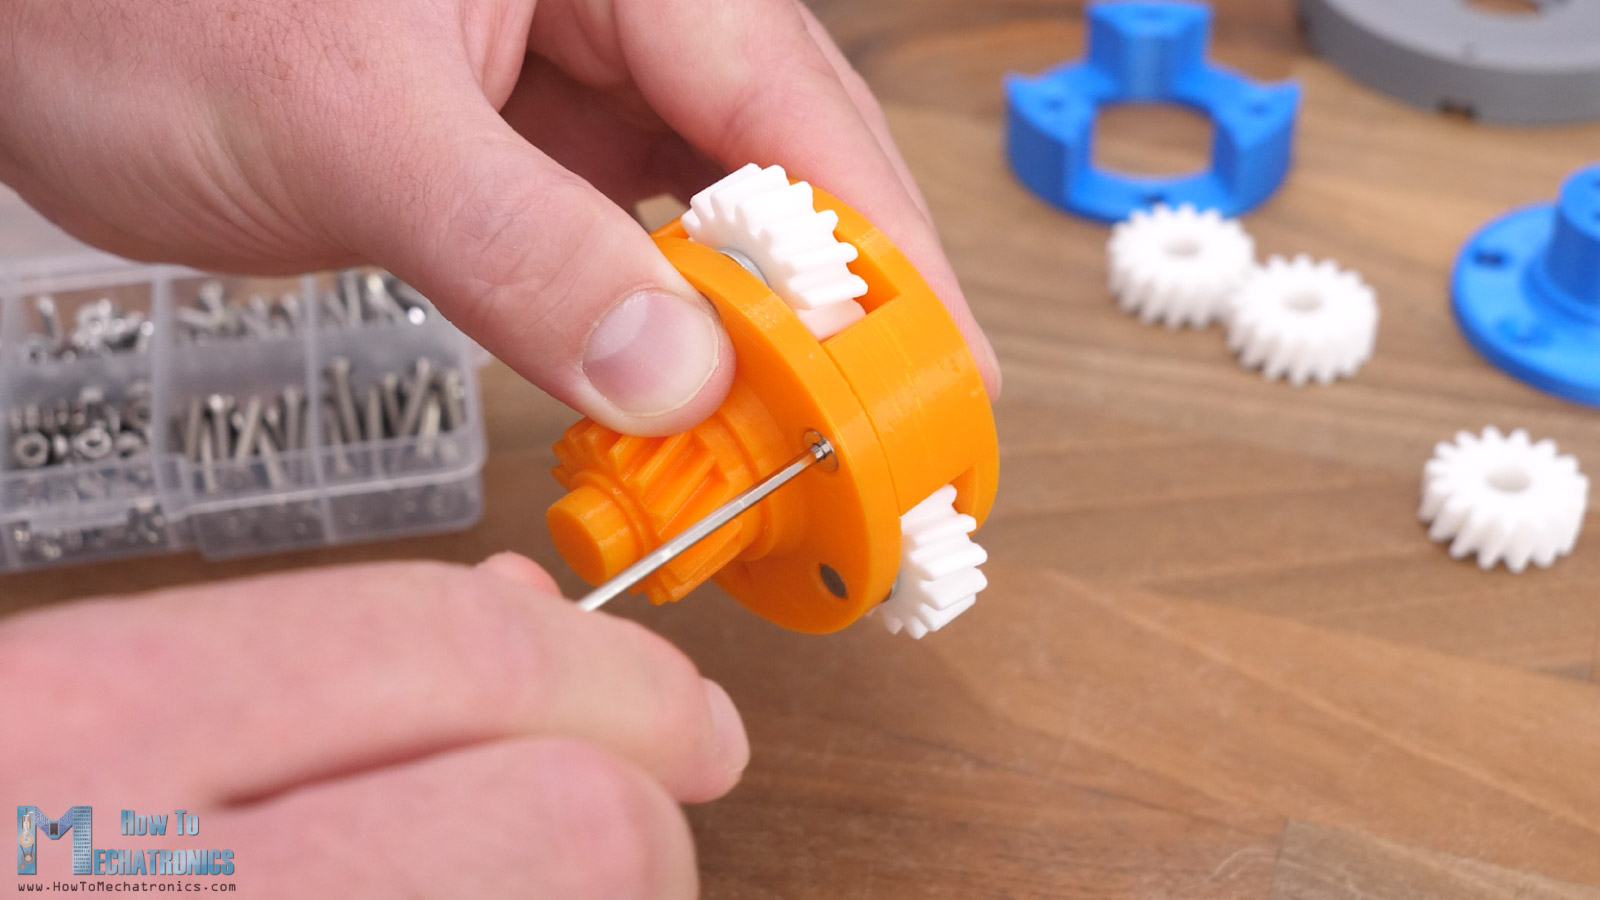
Then we can install the 6mm shaft in place for the planet gears.
On the planet gear I installed suitable bushing with 8mm outer diameter and 10mm length. The planet gears are 9mm thick, and the extra 1mm of the bushing should be distributed on both sides of the gear. Then we will insert M6 washers on both sides of the gear and so the bushing will be in contact with the metal washer which makes better contact instead of touching the plastic gear.

Ideal here instead of bushings we should use other types of bearing which can accept the axal forces that occur due to the helical tooth profile of the gears. But just like I already mentioned, I designed the gearbox based on the components that I had at home from my previous projects.
Once the three planet gears are installed, we can simply insert the other section of the carrier in place and secure them together with the help of some M3 bolts.
Here’s how the first stage looks like when we insert the input shaft or the sun gear and insert everything into the housing or the ring gear. The carrier rotates 4 times slower than the input shaft.
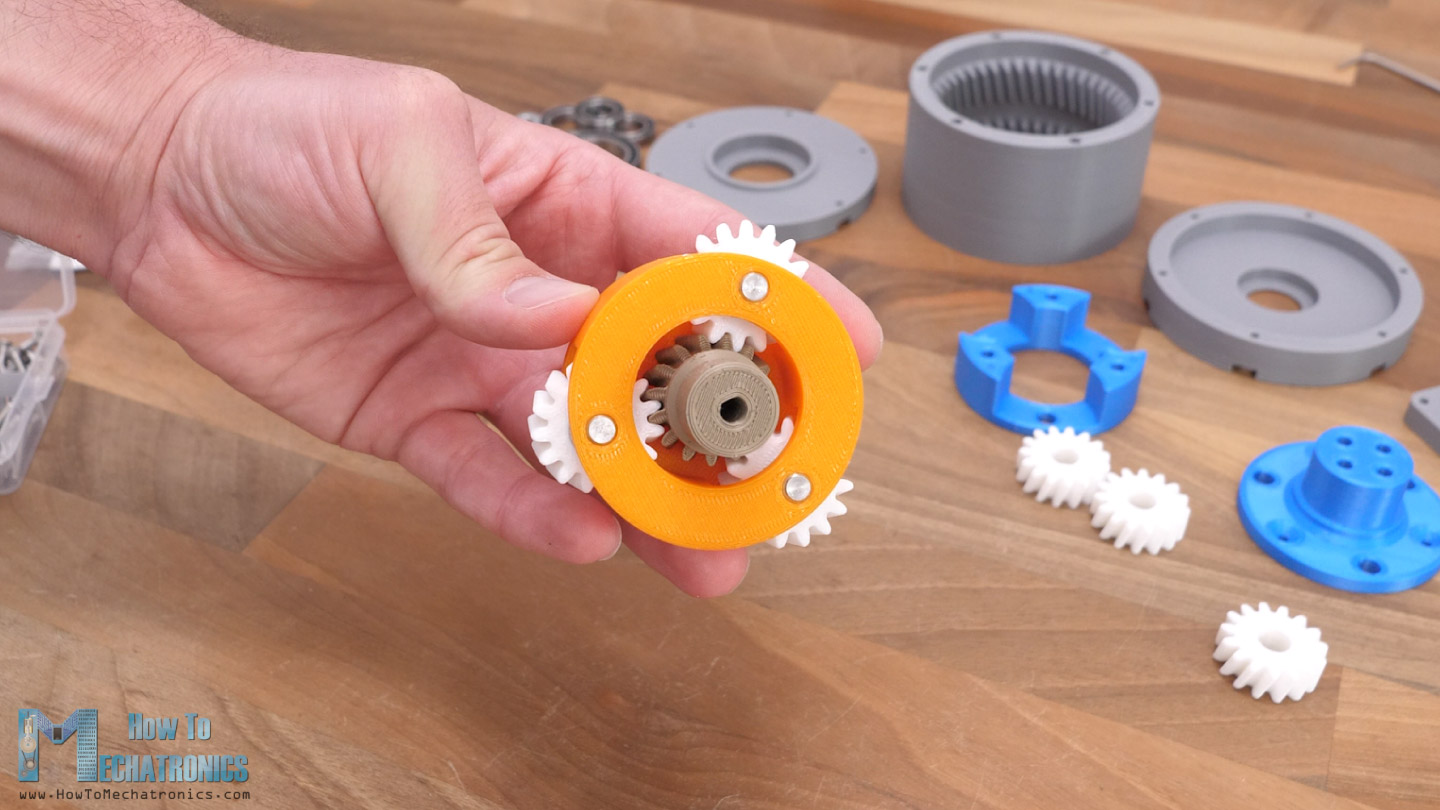
Here’s how the first stage looks like when we insert the input shaft or the sun gear and insert everything into the housing or the ring gear. The carrier rotates 4 times slower than the input shaft.
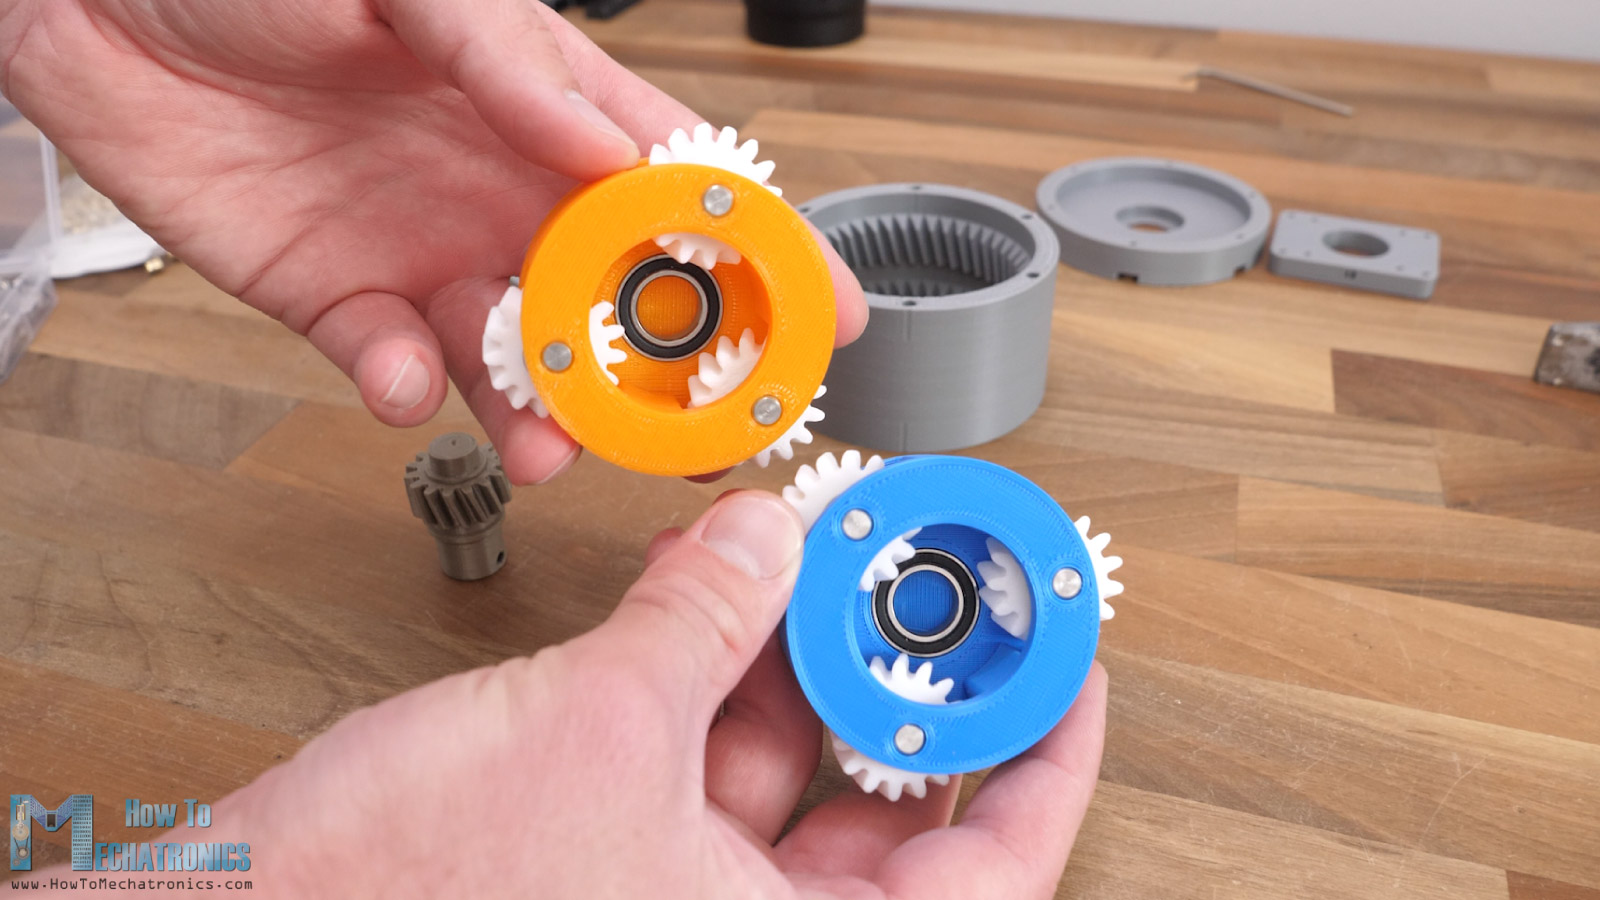
Here are the two bearings in place in the carries, so we can move on with the assembly. Before inserting them in the housing, first I added some threaded inserts on the housing which will be used for securing the back and front cover of the gearbox.
For smoother operation I added some lubrication to the gearing.
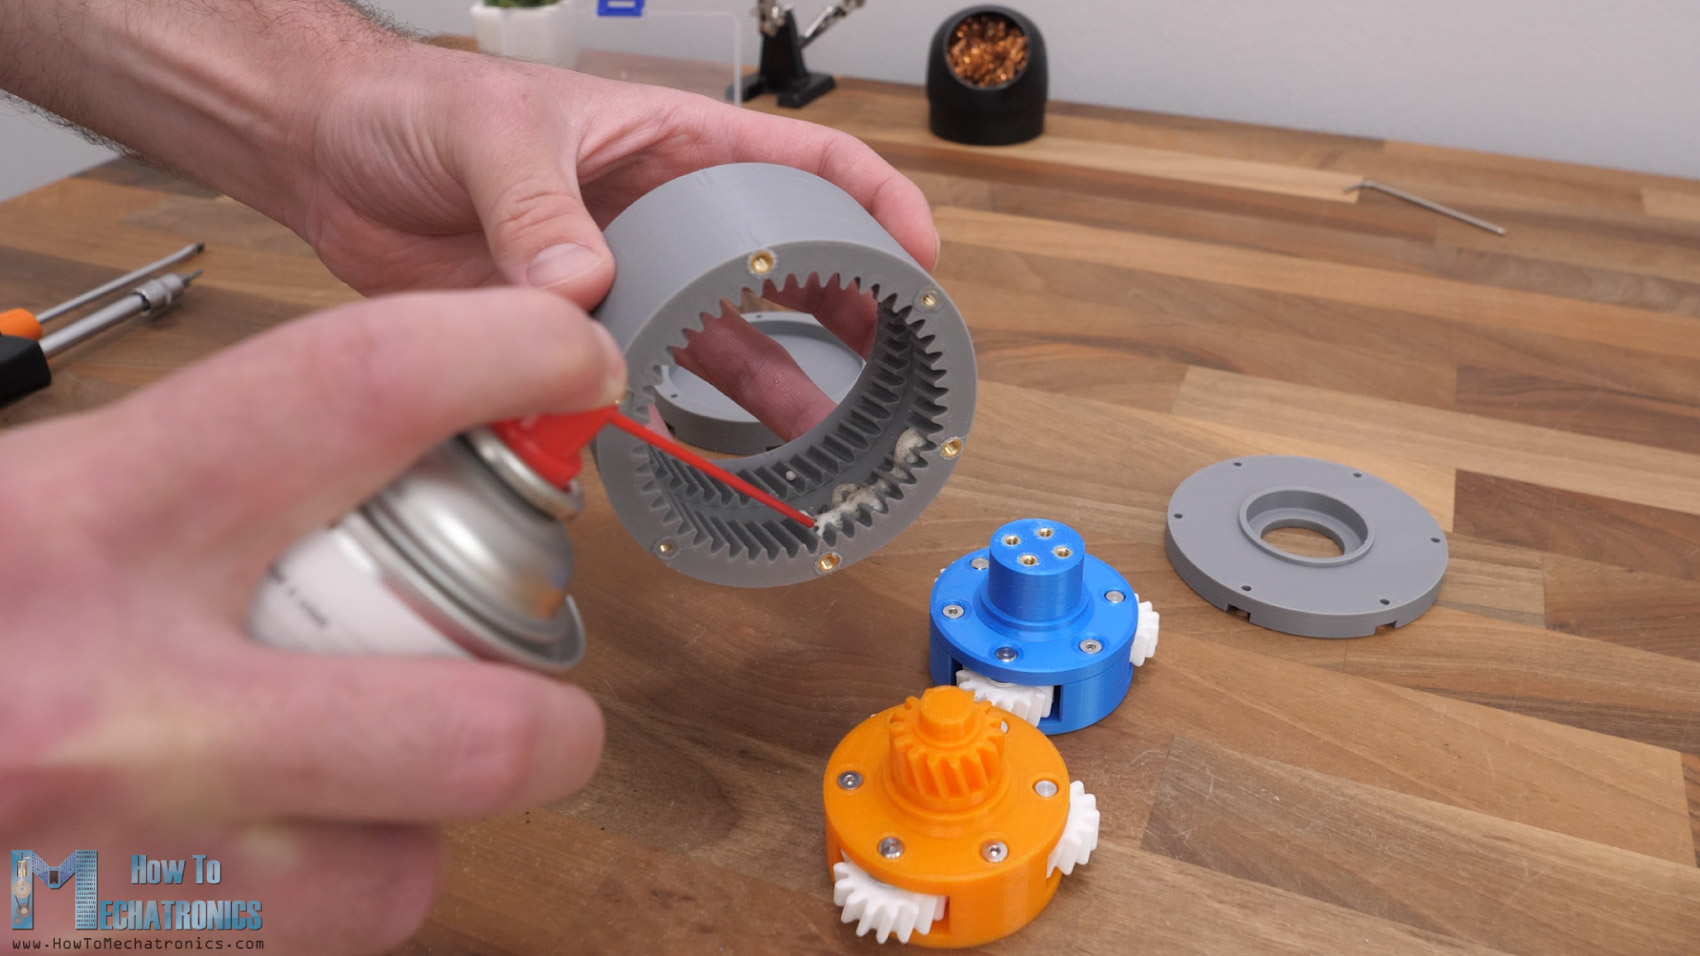
The gears meshed snugly in place, with very little resistance when rotating the input shaft and at the same time it feels like there is almost no backlash, but we will see the actual backlash a bit later in the video when we will test the gearbox.
Next, we can install the bearing on the output shaft, and put the front cover in place.
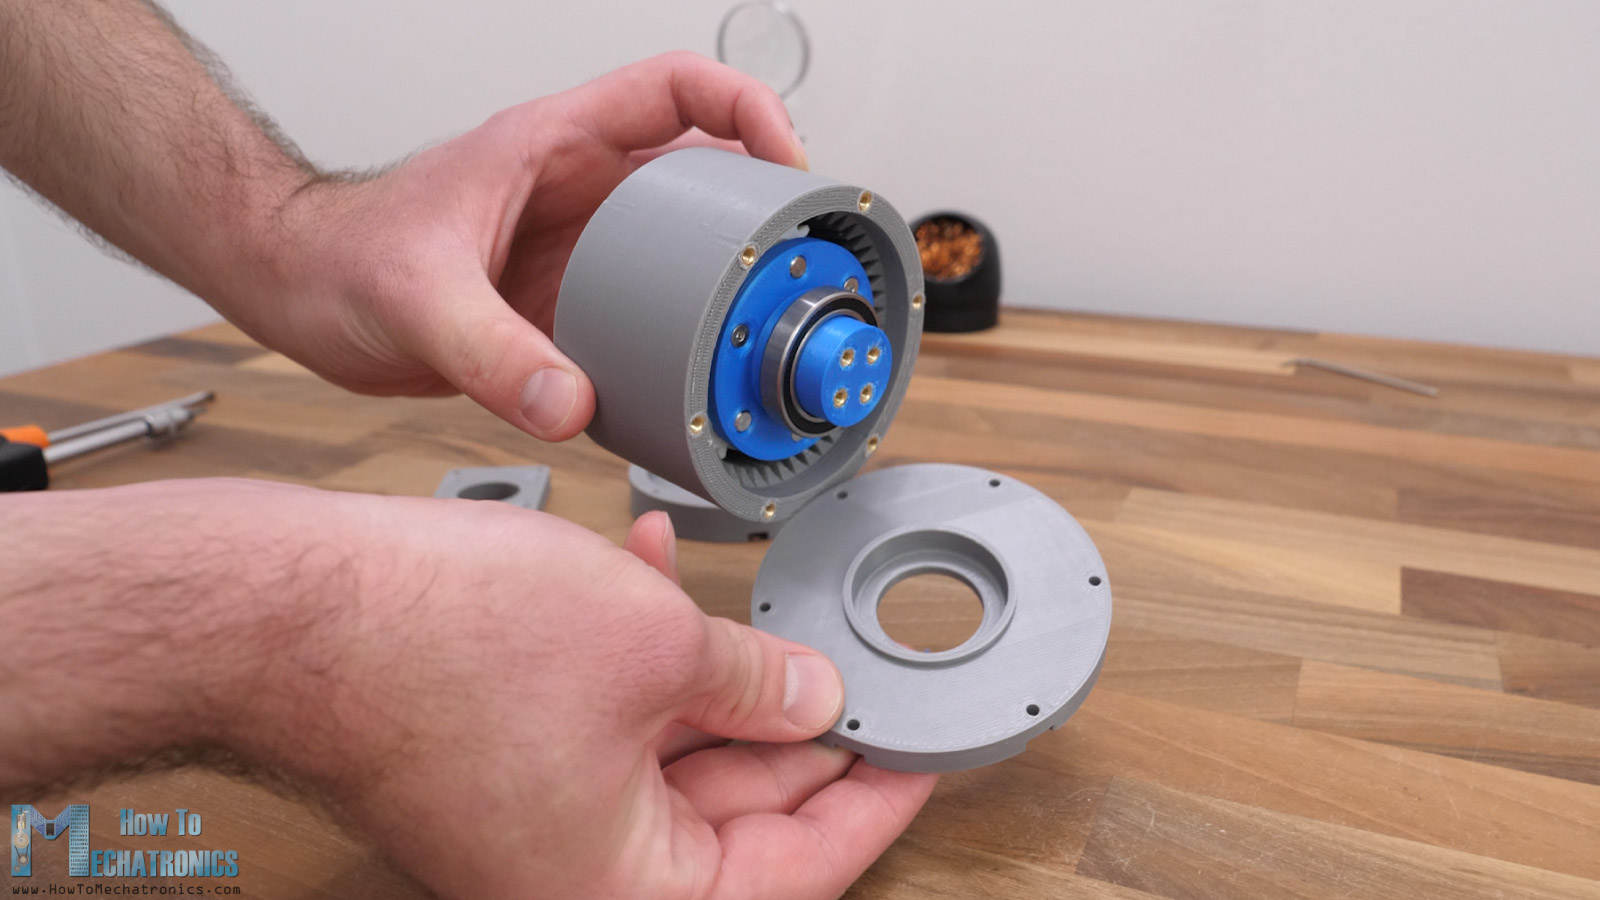
We secure the cover with some M3 bolts. With the same method, we insert the bearing for the input shaft on the back cover and secure it in place with some M3 bolts again.

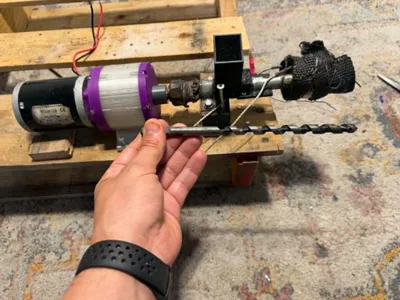
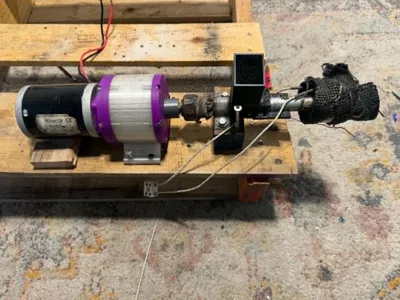
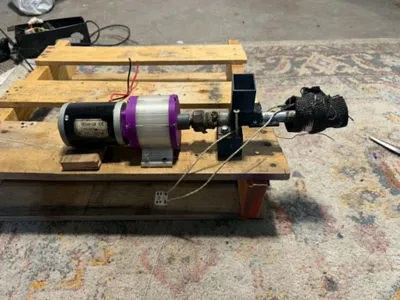
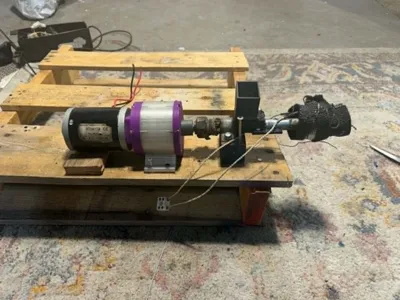
And that’s it, our planetary gearbox is completed. I really like how clean the design came out.
Comment & Rating (1)