RC Car Body Magnet Mount


Print Profile(1)

Bill of Materials


.jpg)
Description
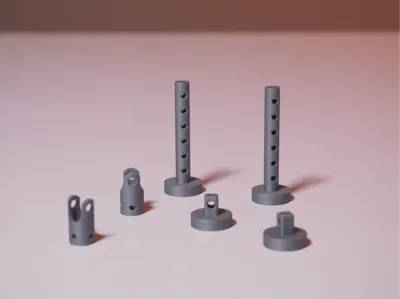
Magnet mount to fit multiple RC car bodies on a single chassis.
👇read carefully
I recreated these magnet mounts to either attach a body without visible fasteners to an existing chassis, or to be able to combine several different bodies on a single chassis and be able to change them according to desire or context.
I hope RC car users will find them useful.
👇 Important points, tips, tricks, and materials 👇
The model below was printed in PLA TOUGH+
- PLA Tough+ offers better flex resistance and is also less brittle than Classic PLA.
You will need to get:
x1 : Cutter.
x1 : Pliers.x4 : M3x5 Flat Head Cap Screws (FHCS).
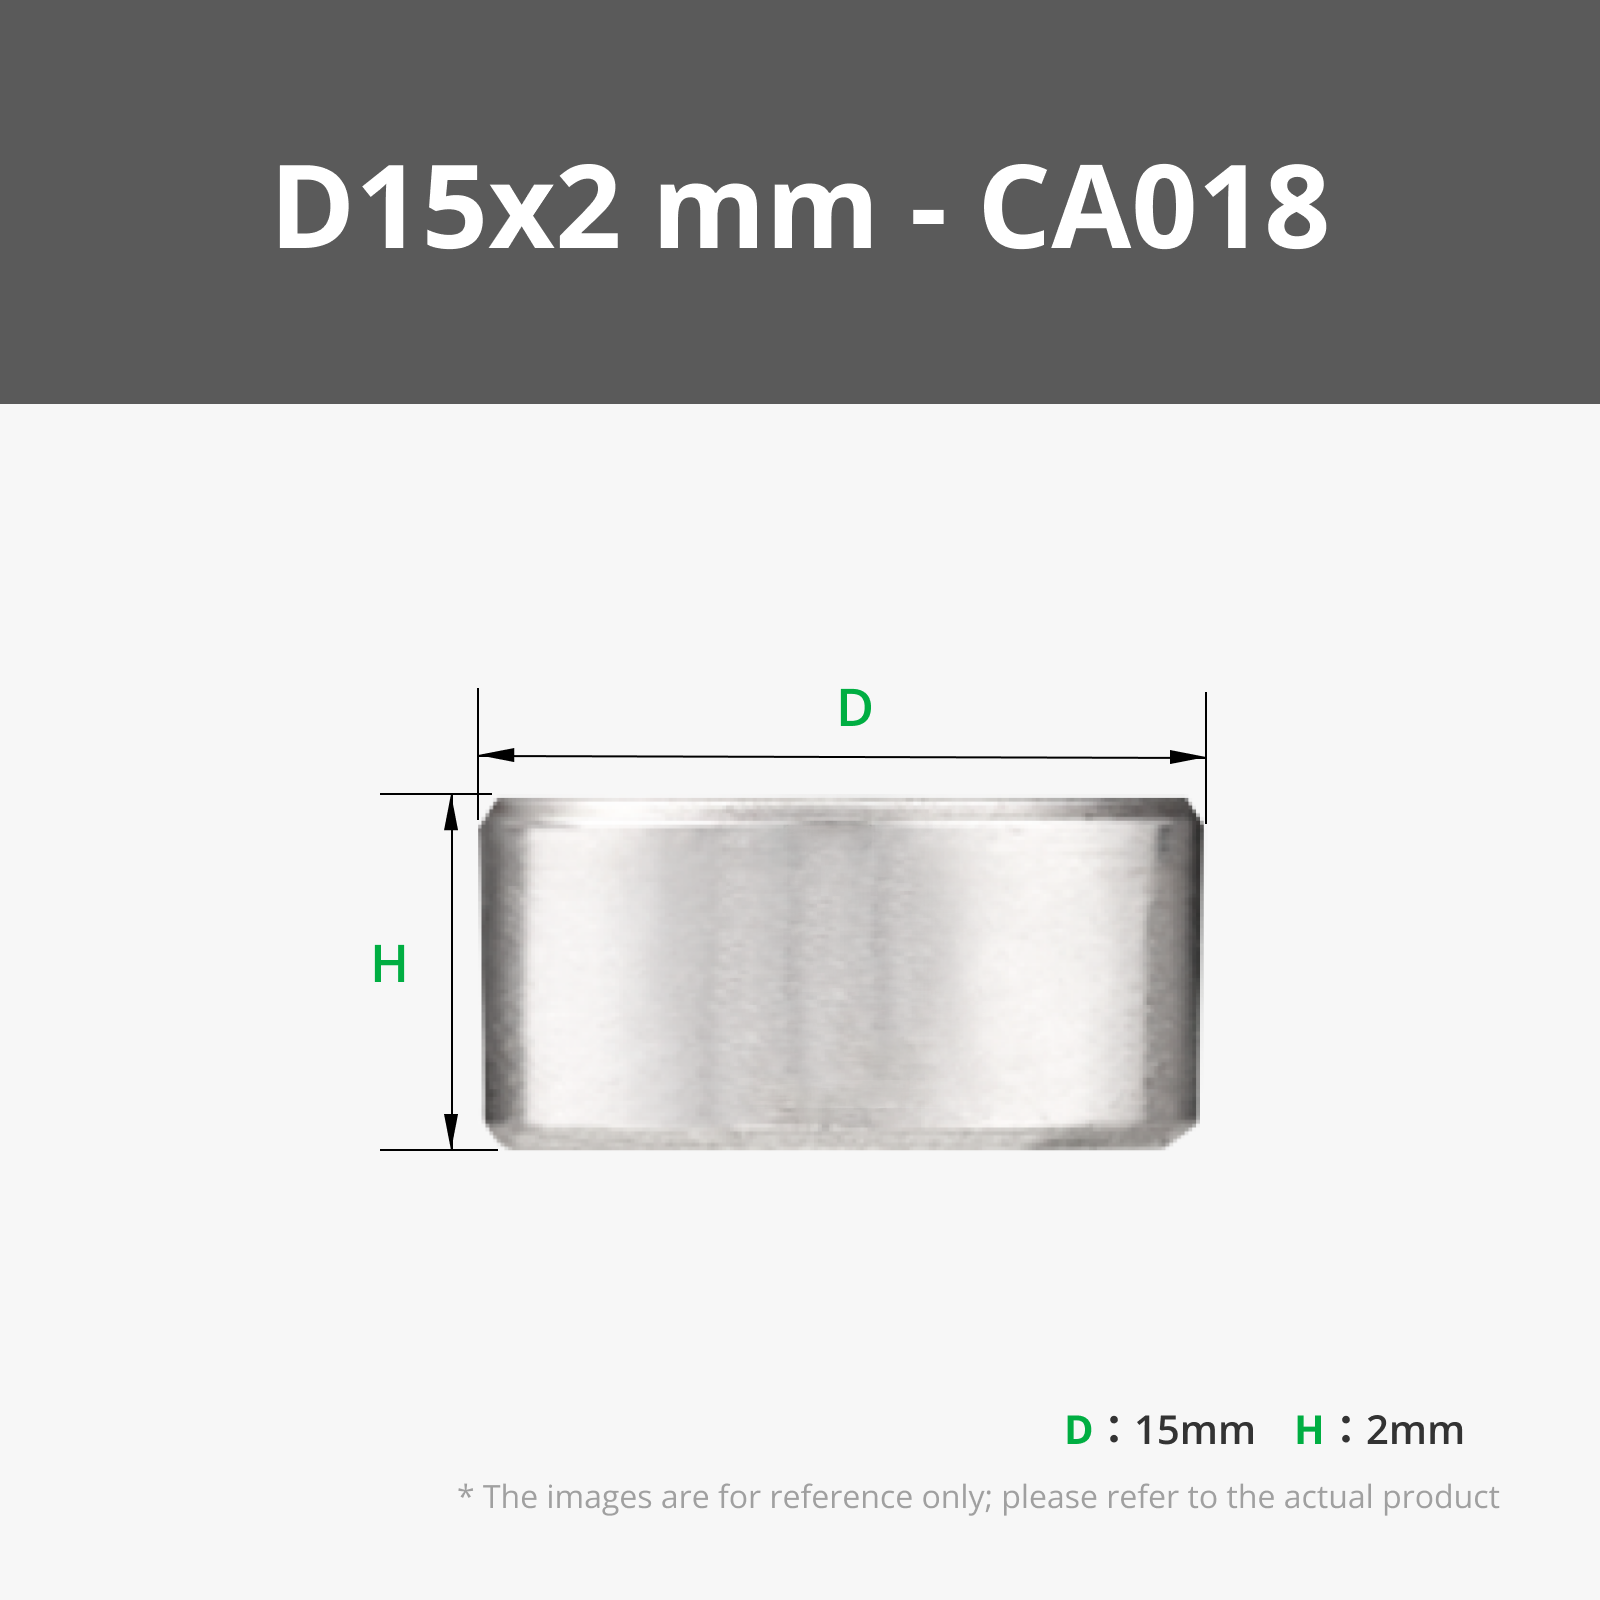
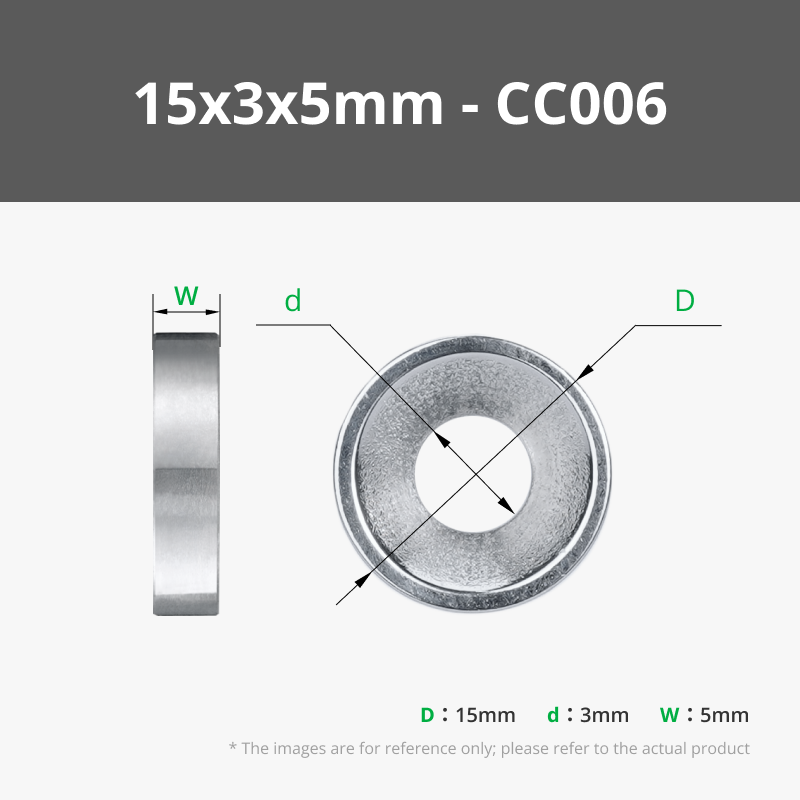
x4 : Countersunk magnets.
x4 : Round magnets.
x4 : M3x8 Button Head Cap Screws (BHCS).
x1 : Double-sided adhesive tape.or
x1 : kraftprotz PLA, ABS, PETG, TPU glue
Boost Me (for free)
A small boost to support a small independent creator! This model was entirely designed by me in Fusion 360, and if you feel like it, show your support and don't hesitate to give your best boost, it provides strength and motivation!
Small guide or advice.
some examples of use:
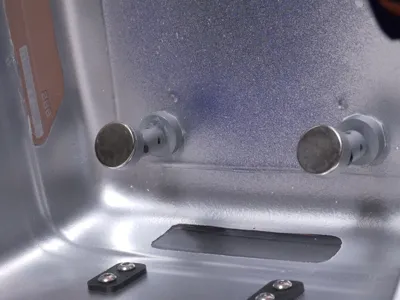
If you're starting with a brand new base, you'll need either 4x Countersunk magnets and 4x M3x5 Flat Head Cap Screws (FHCS).
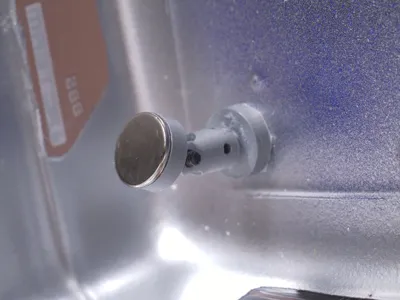
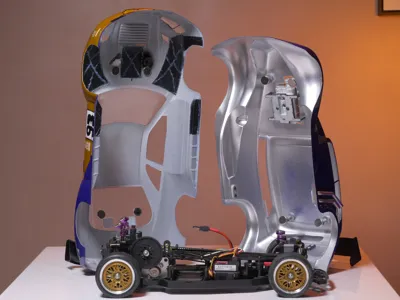
To get the same result as photo 1, you can also use double-sided adhesive tape or kraftprotz PLA, ABS, PETG, TPU glue and attach 4x round magnets, as shown in photo 2.
⚠️Pay attention to the magnet orientation.


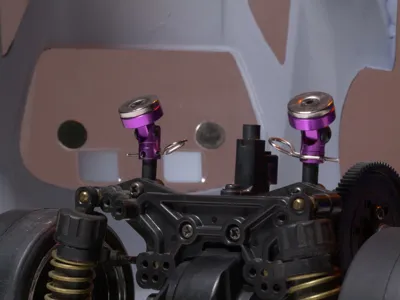
Personally, I recreated them to be able to add multiple magnetic bodies to a single chassis.
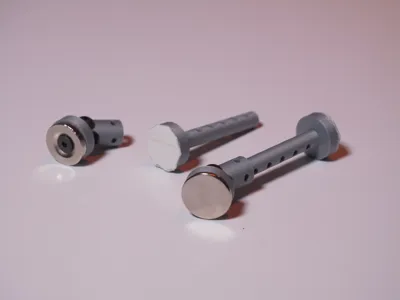
So I glued the round magnet onto the assembled mount with 2 M3x8 button head screws, with the ball joints at 180°, and I put double-sided adhesive tape on the extension which I shortened with a cutter. Once the settings were correct, I glued the mount part to the shortened extension and put double-sided tape on the extension part and glued them to the hotrod body.


⚠️let the build plate cool before removing 3D printed parts⚠️
License
You shall not share, sub-license, sell, rent, host, transfer, or distribute in any way the digital or 3D printed versions of this object, nor any other derivative work of this object in its digital or physical format (including - but not limited to - remixes of this object, and hosting on other digital platforms). The objects may not be used without permission in any way whatsoever in which you charge money, or collect fees.
Comment & Rating (6)