
IKEA SKADIS Parametric Bin Generator
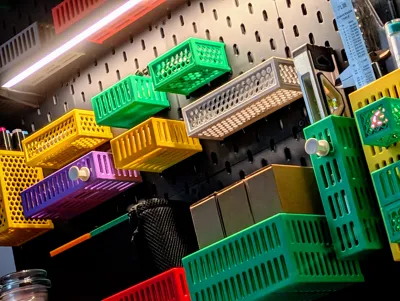
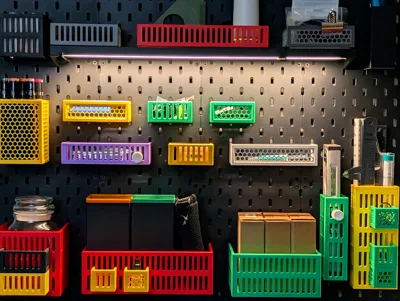
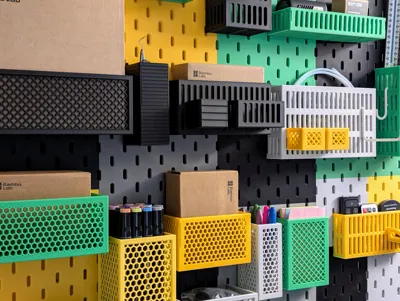
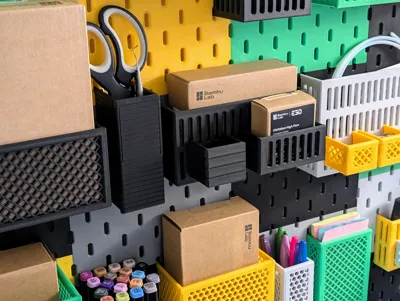
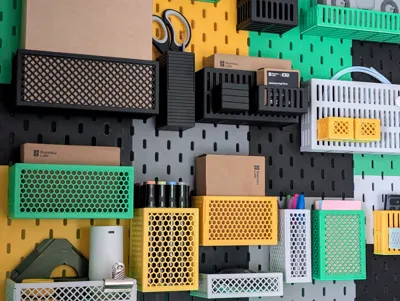
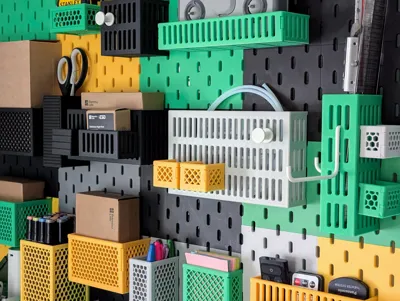
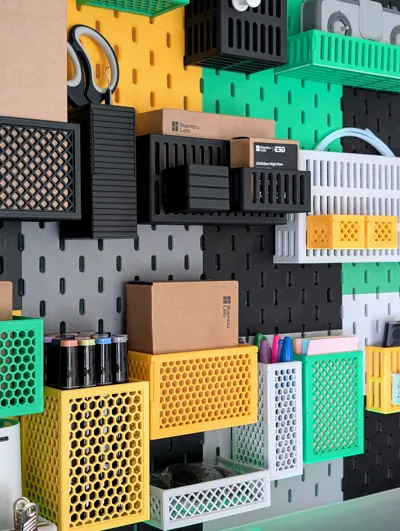
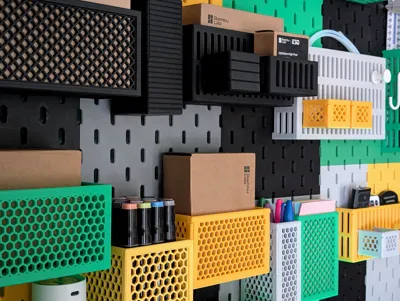
Print Profile(36)
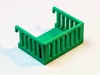
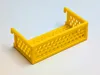
Description
______________________________________________
Boost Me (for free)
If this model helped you, please support my work by giving me a boost. Thank you!
Hello everyone!
Following on from the Living Hinge trays, I wanted to offer something that was more versatile
Introducing the Slot-Together Skadis Bin Generator.
Bigger, Deeper, and More Versatile
While the Living Hinge model is perfect for quick, light storage, this new slot-together design allows for significantly larger dimensions and new customisation options.
Key Features:
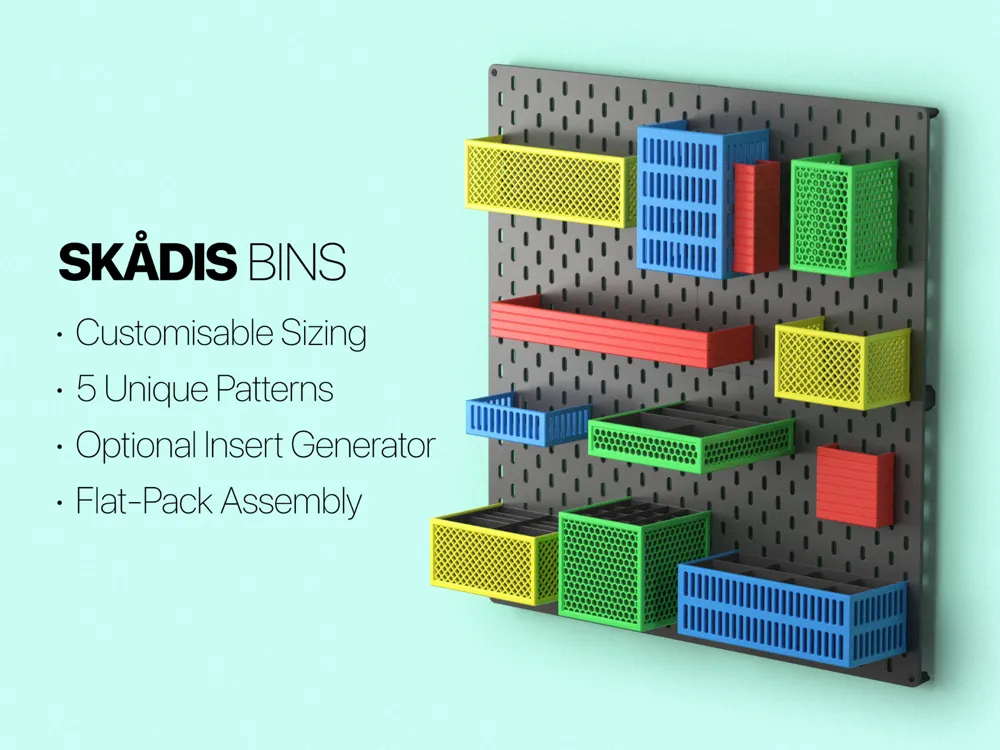
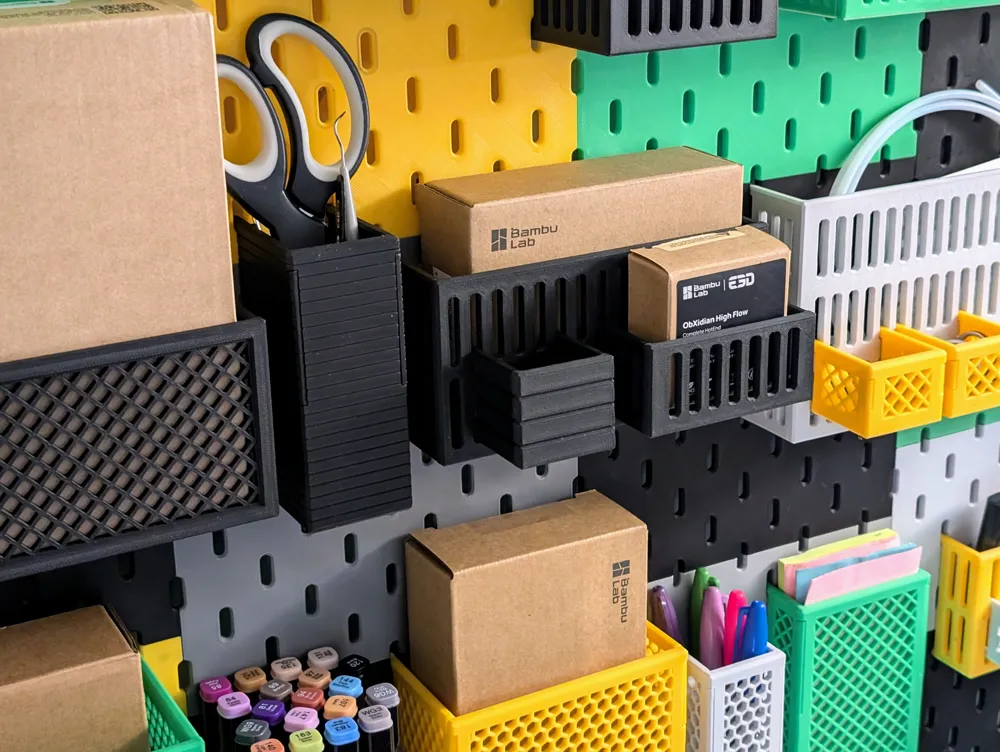
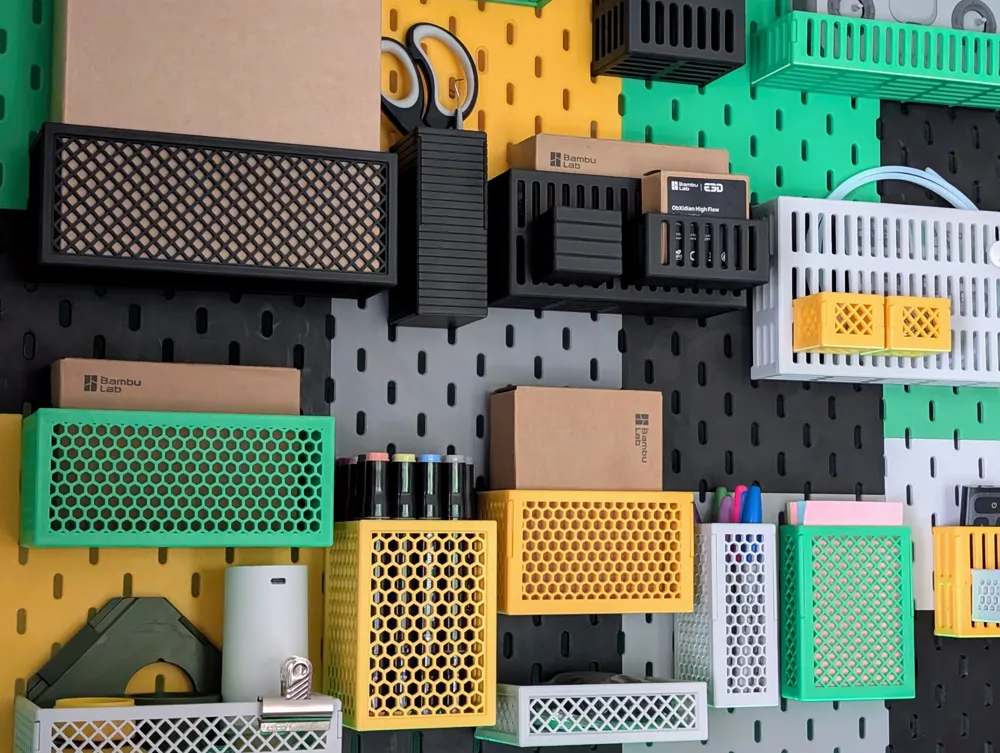
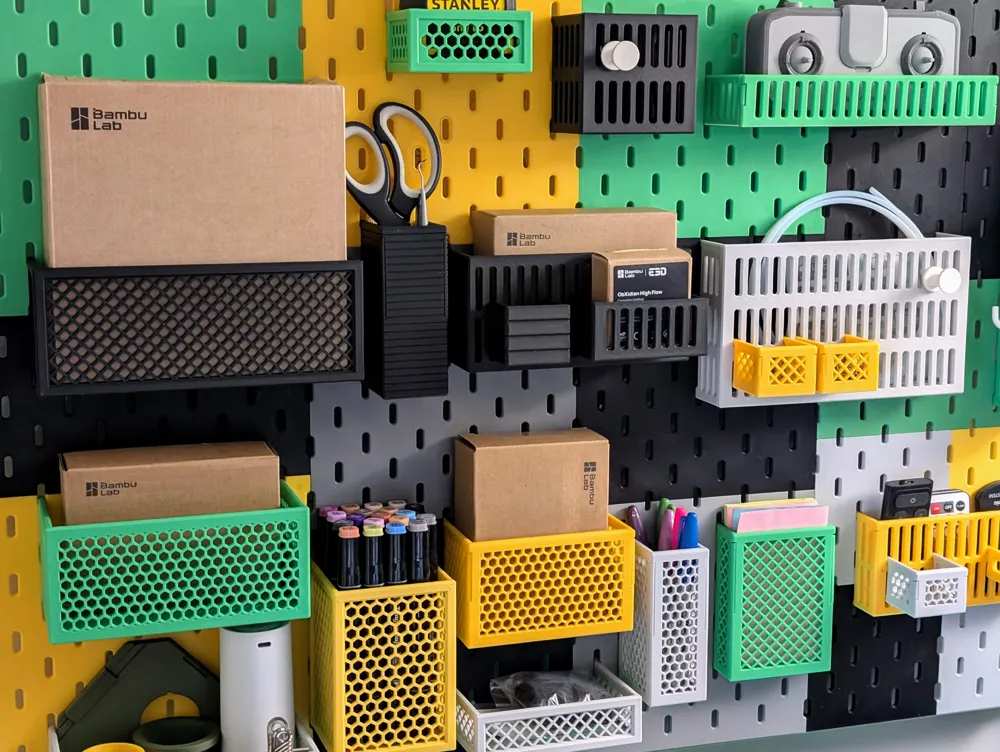
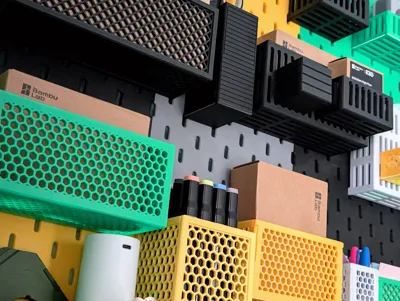
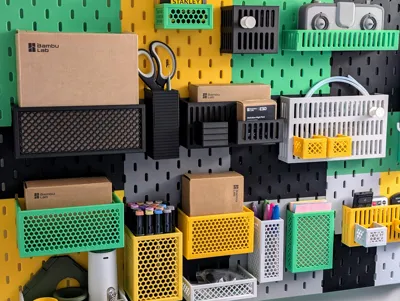
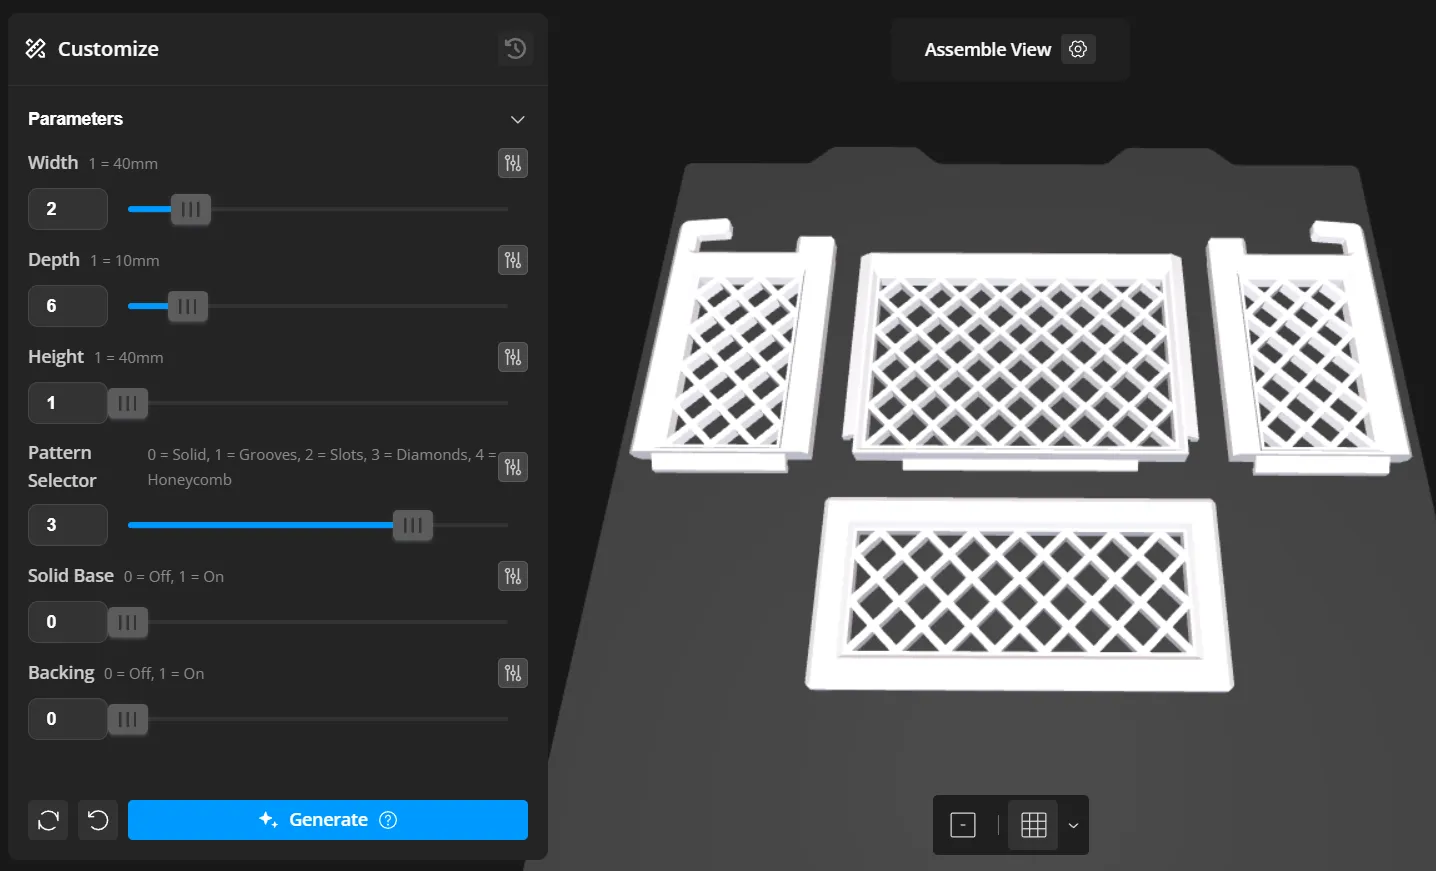
- Massive Size Range: I've expanded the limits. You can generate tiny bins (40x30x40mm) or massive deep storage containers up to 280mm Wide x 220mm Deep x 240mm Tall.
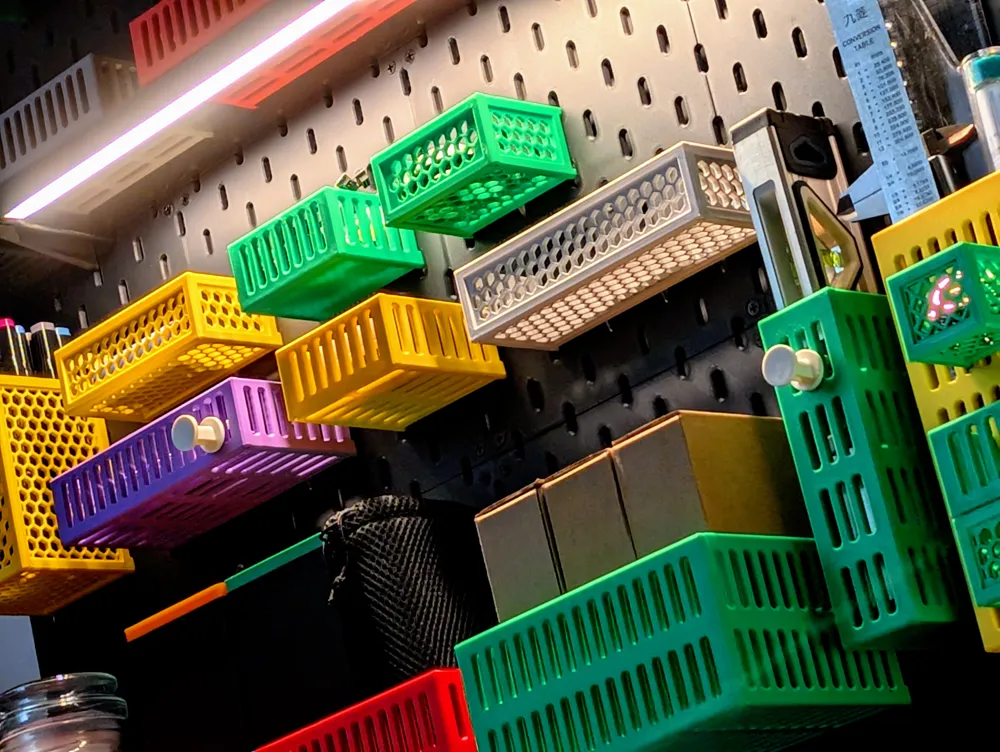
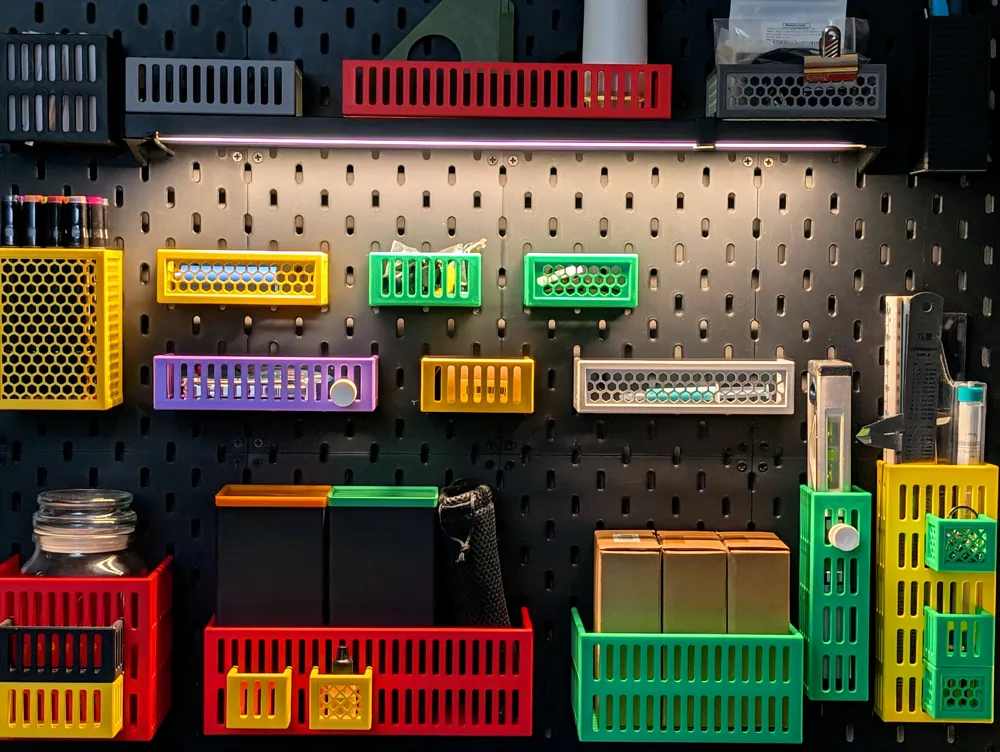
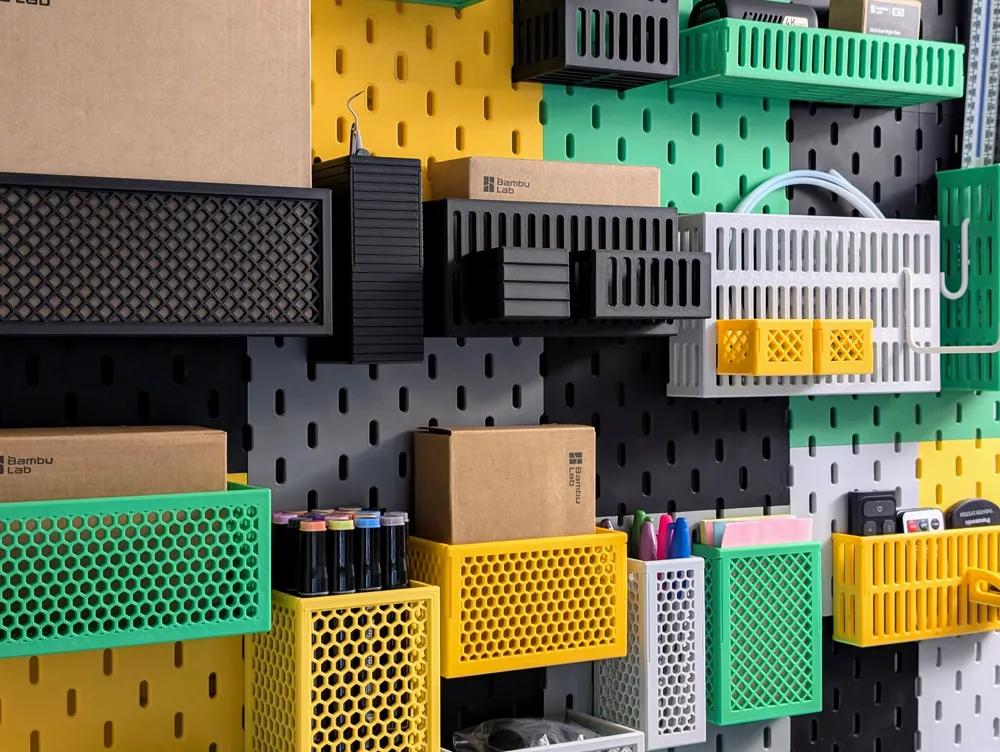
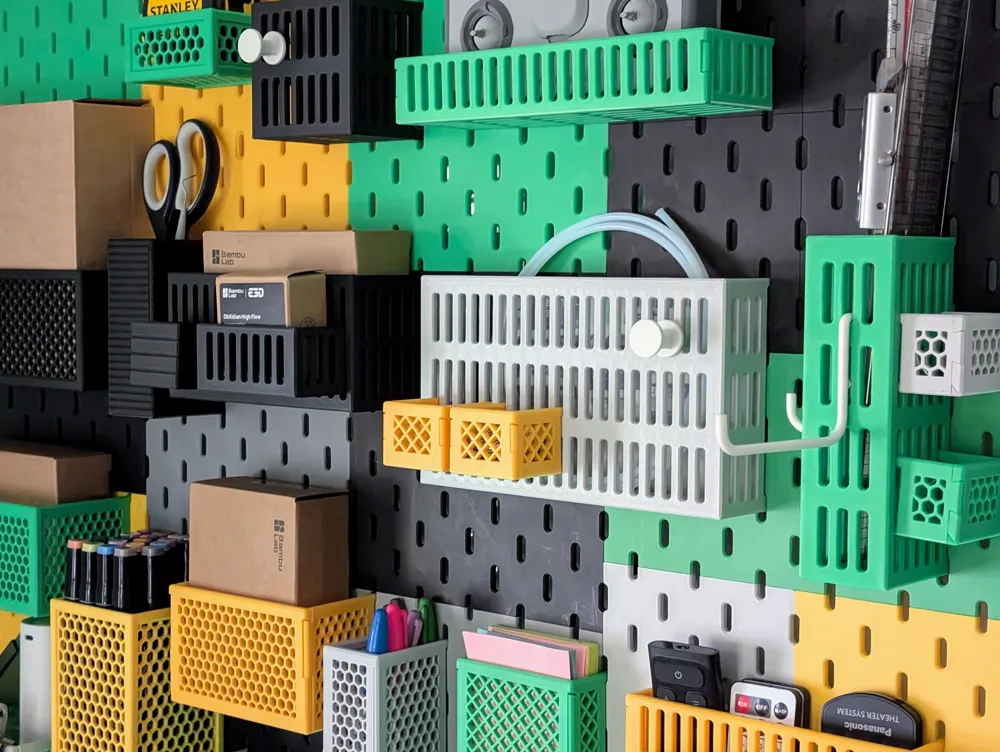
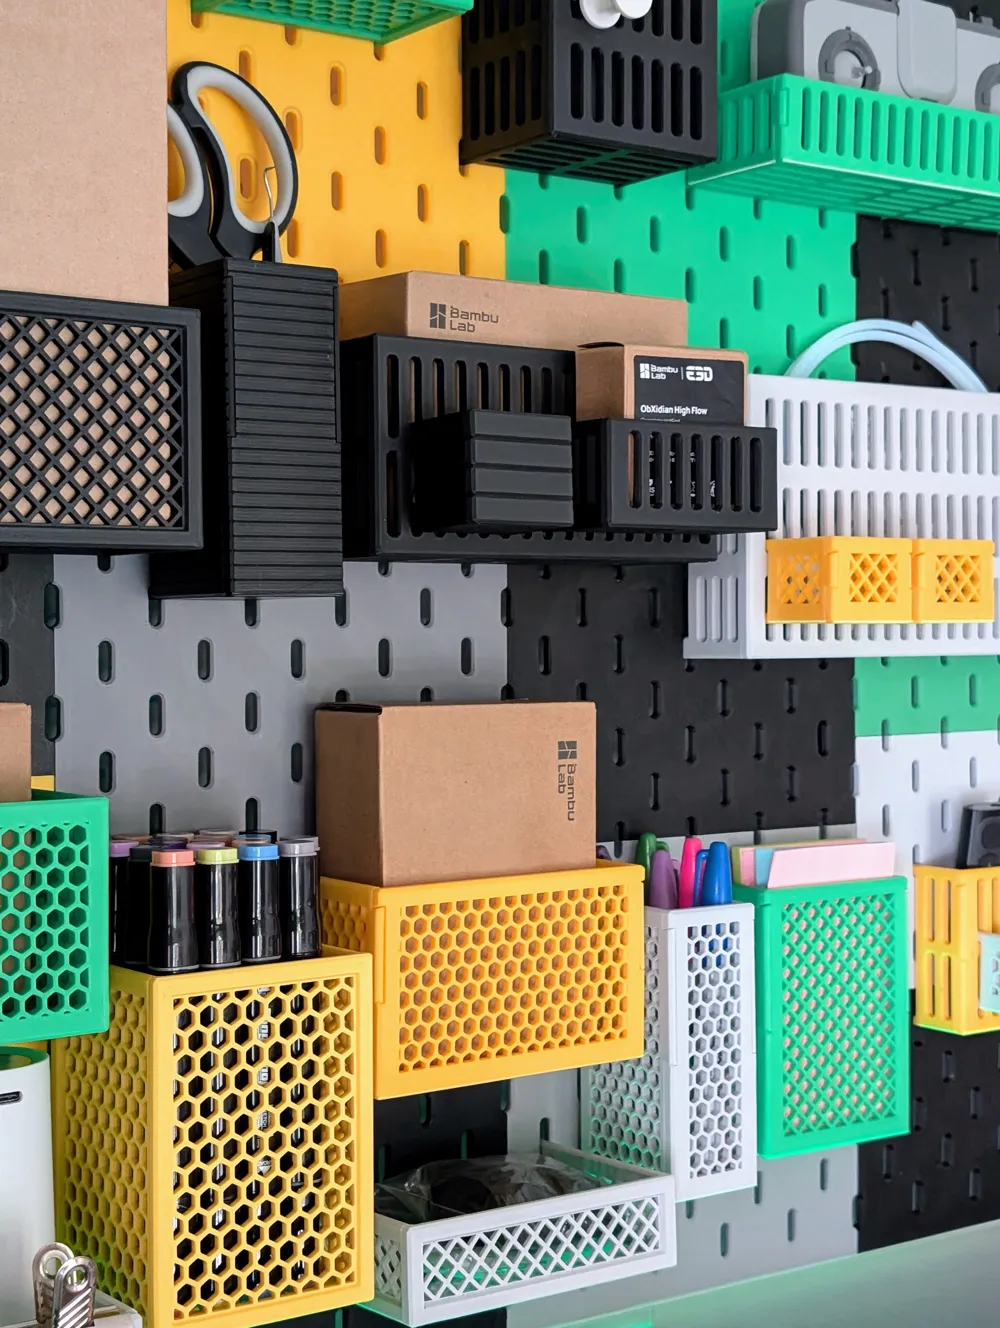
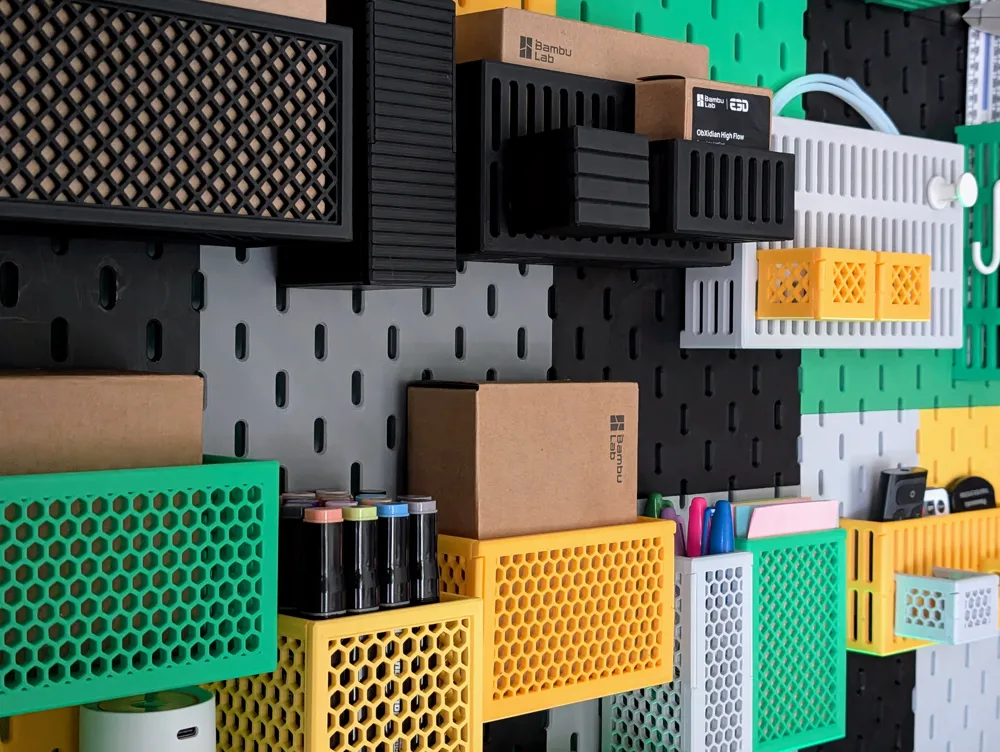
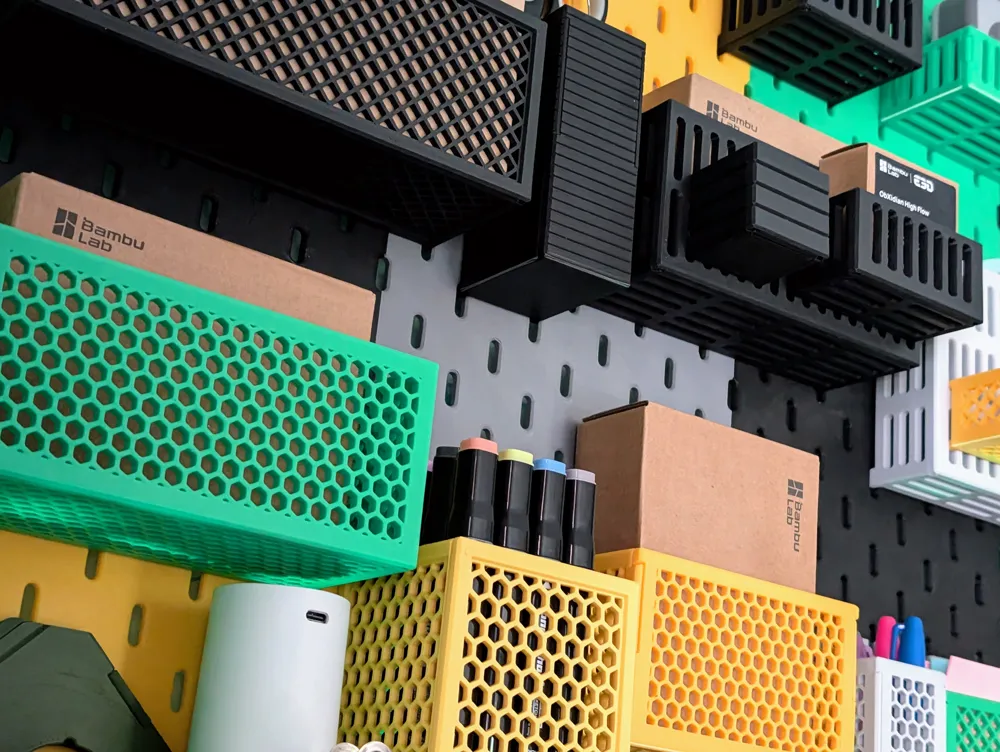
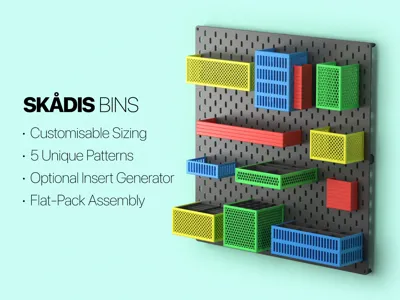
- 5 Design Patterns: Match your style with Solid (Plain), Grooves, Slots, Diamonds, or Honeycomb.
- New Customization Toggles:
- Solid Base: Toggle this on for a completely solid floor—perfect for storing tiny items (screws, beads) that might fall through a patterned mesh.
Optional Back: Choose whether you want a full back wall or an open-back design.
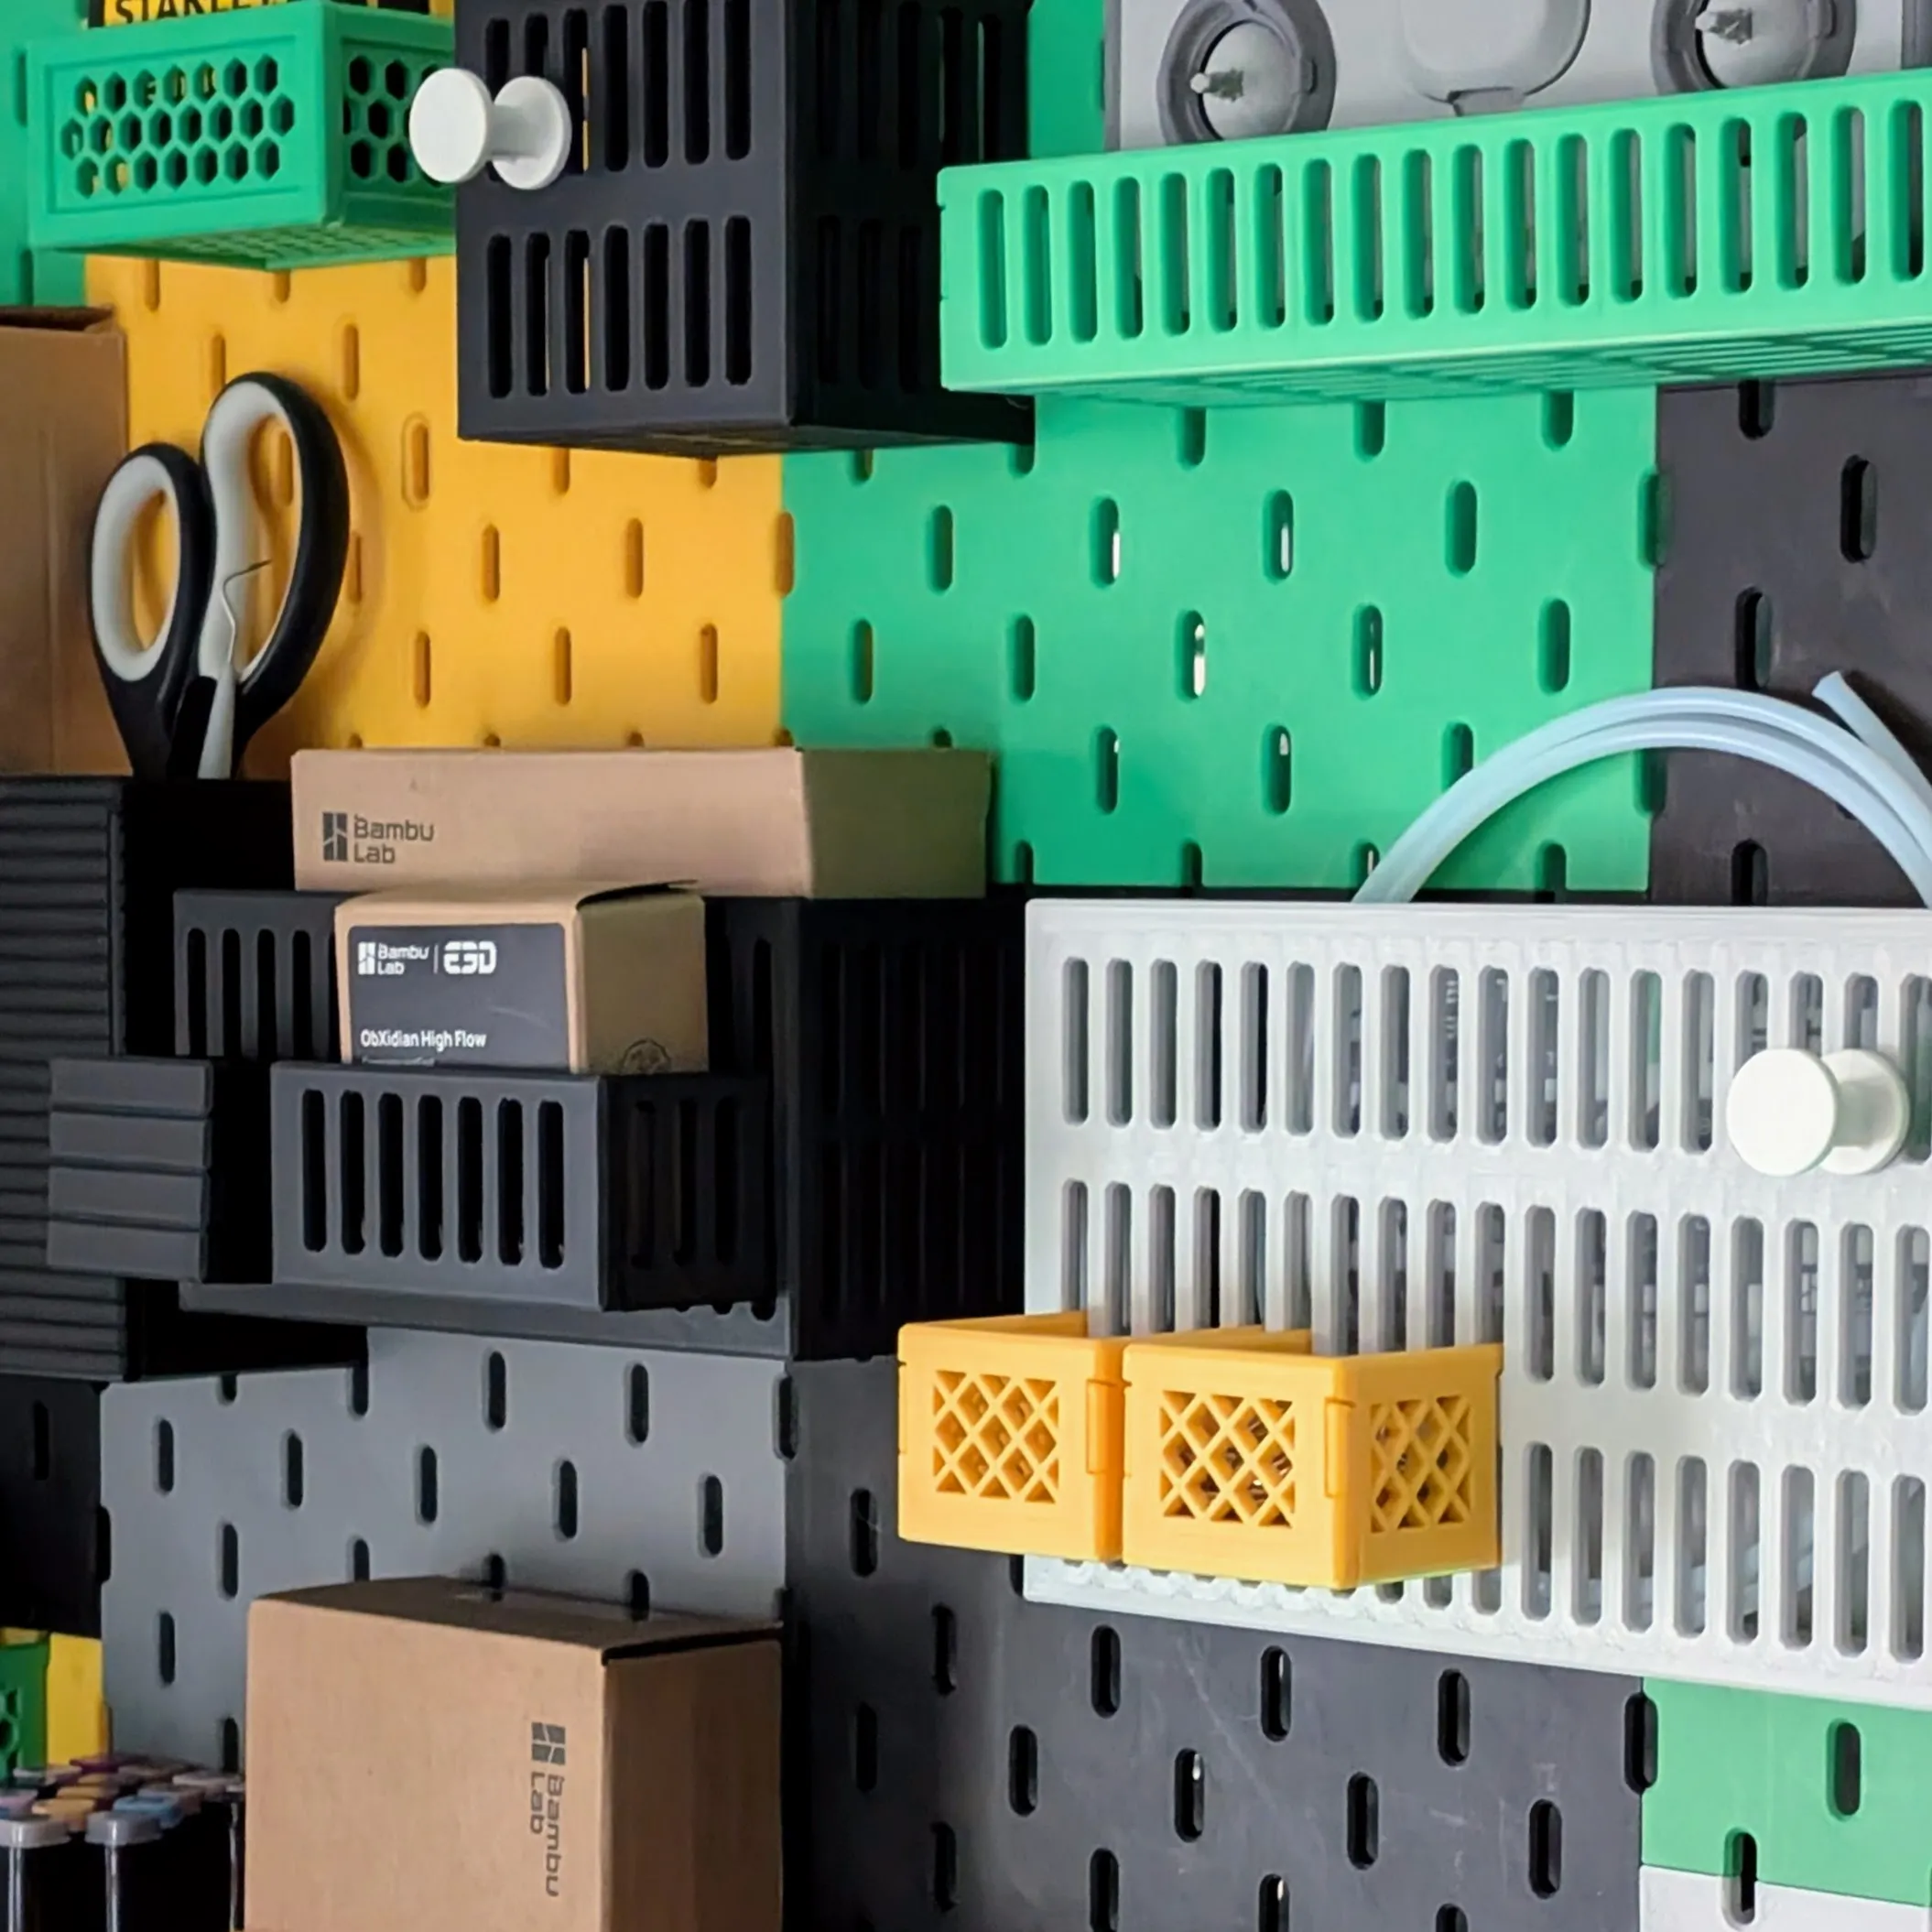
Pegboard-on-Pegboard
This is my favourite detail: If you choose the Slotted Pattern, the walls of your bin effectively become new Skadis pegboards. This means you can mount other standard Skadis accessories onto the sides of this bin, creating a truly modular storage stack!
Assembly Instructions
This design prints in separate flat parts for optimal strength and surface finish.
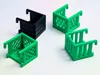
- Assemble the Walls: Slot the 3 vertical walls (Left, Right, Front) together first to form the frame.
- Lock the Base: Slide the base panel into the bottom grooves from the back.
Secure: Ensure the protrusion on the base lines up and clicks into the corresponding slot on the back of the front wall to lock the entire assembly rigid.

Print Specs
- Material: PLA, PLA+, or PETG.
- Supports: None required (prints flat).
I hope this gives you some flexibility to help tackle those organisation projects!
I'm continuously creating new products so please follow @moss3d to be notified when new models are uploaded
License

You shall not share, sub-license, sell, rent, host, transfer, or distribute in any way the digital or 3D printed versions of this object, nor any other derivative work of this object in its digital or physical format (including - but not limited to - remixes of this object, and hosting on other digital platforms). The objects may not be used without permission in any way whatsoever in which you charge money, or collect fees.


Comment & Rating (81)